If you’ve ever returned home to photos with bright spots that have lost detail, you’ve made the unfortunate mistake of overexposing your image. When you take a photo that’s too bright, you may be totally unable to recover the details, even when you shoot in RAW. There is usually no way to recover these details without taking a new image, so you need to make sure you get your exposure correct in the field. Luckily, there’s a tool that can help you to avoid this common photography mistake: zebra setting.
What is the Zebra Setting?
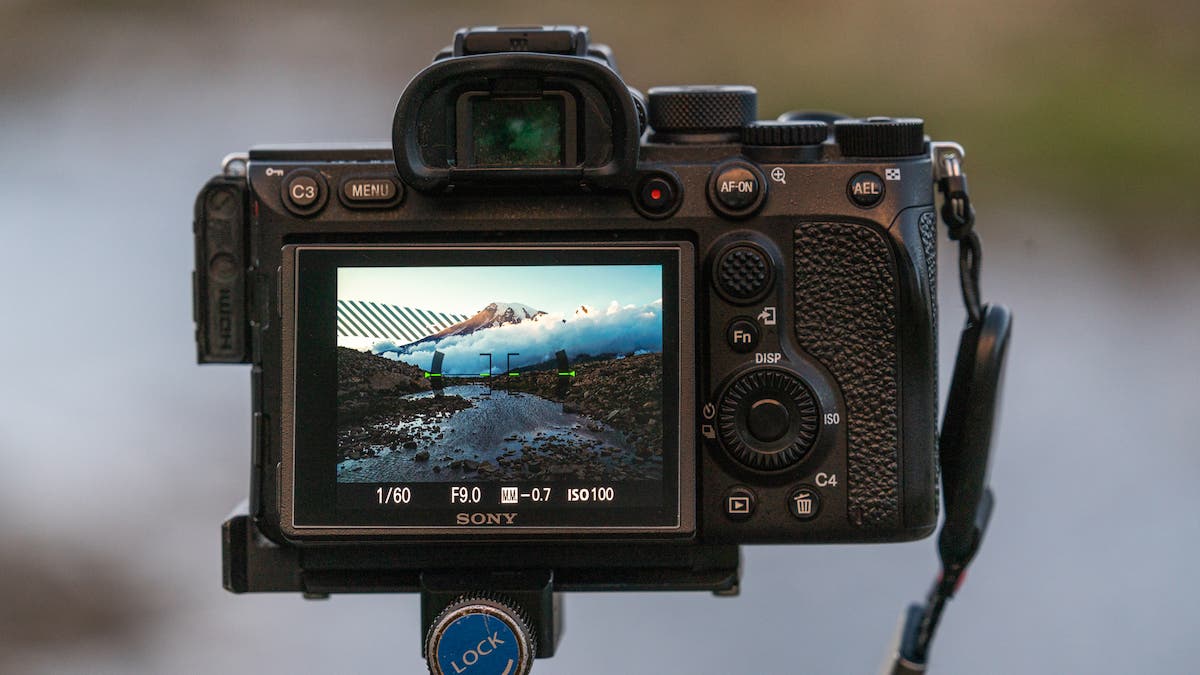
The zebra setting is a tool that aids photographers in properly exposing their image. With the zebra setting turned on, a zebra pattern will appear in live view anywhere on your image where the camera suspects the image to be overexposed, or blown out. You can adjust the exposure until the zebra pattern disappears, letting you know that your image is now properly exposed.
How to Set Up Zebra Setting in Camera
In order to use the zebra setting, you’ll need to be using a camera with this feature. Most mirrorless cameras or DSLR cameras with live view give you access to this setting. Although, you should check your camera’s manual to make sure the feature is available. Once you find the setting in your camera’s menus, you’ll usually have a few different options.
First, turn your camera’s zebra setting on. Other names for the zebra setting may include Zebra Pattern, Zebra Function, and others. Most cameras offer different sensitivities when using this zebra setting. The number refers to a percentage, with 70 meaning that zebra pattern will appear anywhere on the image above 70% brightness. Sensitivities usually range from between 70-100. Most cameras go up in intervals of 5. Let’s go over the best times to use each of the different sensitivities.
Setting at 90-100
Using the zebra setting at 100, you’ll notice the pattern only when an area of your image is actually overexposed. This is ideal for situations where you only want to avoid blowing out the highlights, but plan on doing some editing to your photo afterwards to darken the rest of the image.
It’s recommended that you use a setting between 90-100 for most types of photography. This is because you generally want to expose your images as bright as possible without blowing out the highlights, rather than properly exposing for the whole image in camera. It’s usually easy to bring down the highlights in post processing as long as you don’t overexpose. Therefore, it is beneficial to make the image as bright as possible to retain as much detail in the dark parts of the image. This technique is known as exposing to the right, or ETTR.
Setting at 70-80
Most people use the zebra setting to help avoid blowing out any part of their photo. Although, you can actually use it to learn how to set your exposure correctly. Let’s say you aren’t shooting in RAW and don’t want to use editing software to adjust your photo. In this case, you can use the zebra setting to properly expose your image by setting between 70-80. This will show the zebra pattern when any part in the image starts to get too bright.
When is the Zebra Setting Useful?
Many photographers leave their zebra setting on at all times. Although, there are certainly times when using this tool are especially helpful.
High Dynamic Range
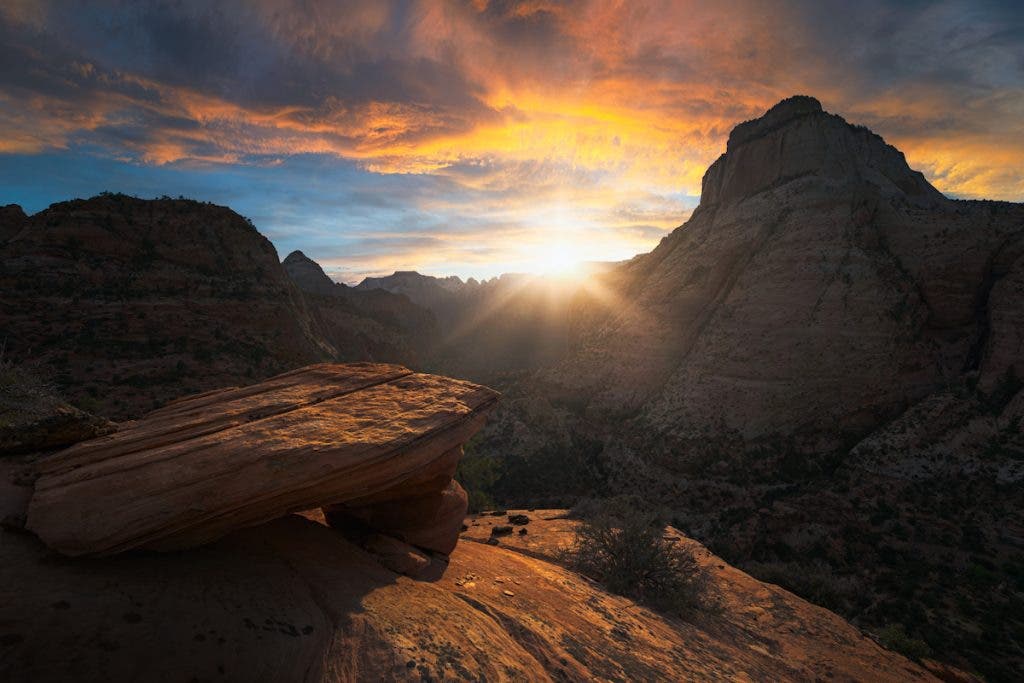
If you’re shooting a scene with a very high dynamic range, zebra lines can help properly expose your image. Having a scene with a high dynamic range means you will have very bright shadows and highlights. You’ll want to expose the image as bright as possible to bring up the detail in the darks, but you don’t want to overexpose the highlights in the image.
Using the zebra setting, you can tune your exposure to be as absolutely bright as possible without blowing out the highlights.
Portraits
Even if you aren’t shooting a scene with a high dynamic range, the zebra setting will still prevent you from overexposing your image. Portraits in particular have a tendency to become overexposed quickly, with the glare on things like skin and glasses providing bright spots in the image.
Seasoned portrait photographers may subconsciously know what to look for and how to avoid these problems. Although, intermediate and beginners will want to use the zebra setting to remind them when their image is too bright.
Videography
Zebra setting also works for videographers too. While you may see the zebra pattern on the back of your camera’s screen while you’re recording, you can be rest assured that the zebra pattern won’t actually be in your video. It simply helps to show you if your video is overexposed. This can save you hours of time having to reshoot. It can help you dial in the settings correctly the first time.
Overall, zebra setting is perfect for beginner creators who are worried about getting the proper exposure in camera.
Conclusion
Zebra setting is just another tool designed to help creators properly expose their photos and videos. It allows you to focus more on your creativity and less on the technical aspects of the camera. With its varying degrees of sensitivity, you can play around to find what works best for your equipment setup. Consider the zebra setting a safety net to help you avoid making the common mistake of overexposing your photos and videos.