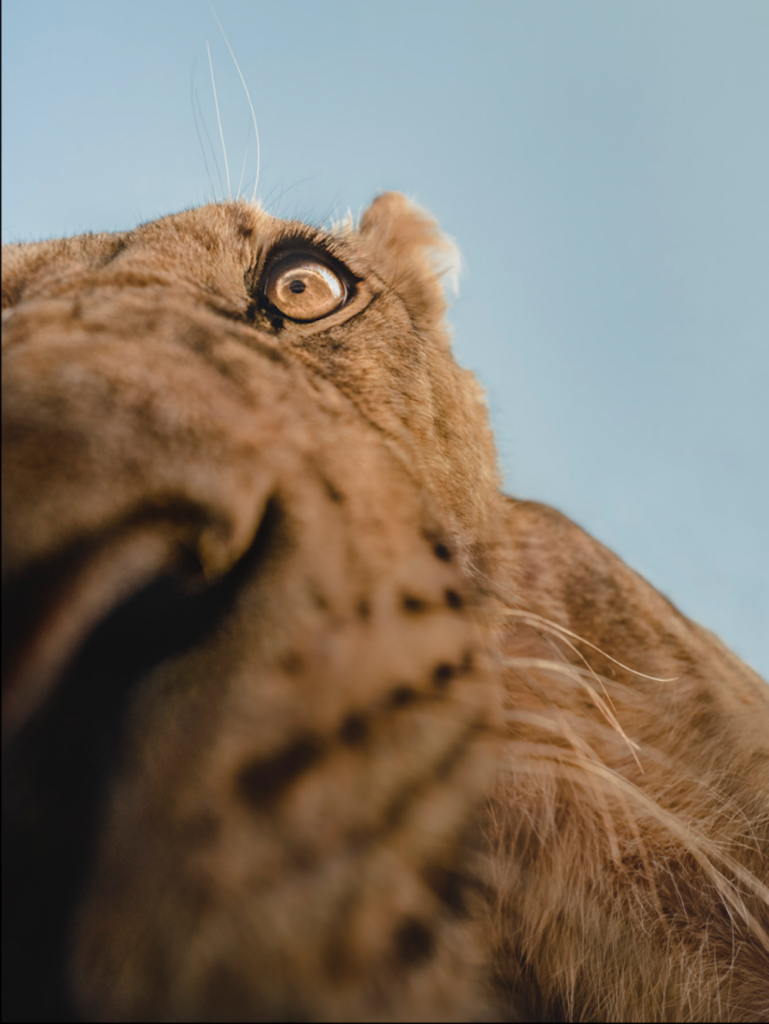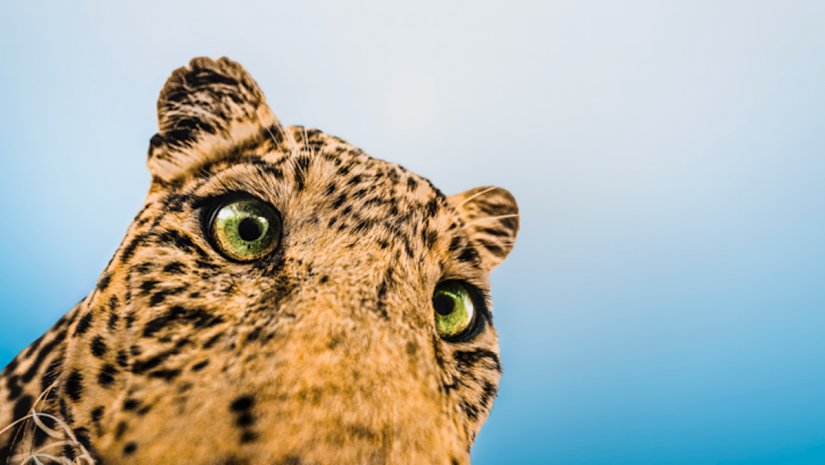

Portrait photography is an attempt to connect a viewer to the subject of the photograph—to empathize with the subject, relate to it, and understand who the subject is on some level. Great portraits give context and the best provide connection. They allow you to feel close, to be a part of the moment. They give you the impression that you know the subject somehow. But what do you need to incorporate into your methodology to achieve this in a wildlife portrait?
I prefer to get on the same level as my subject—literally. I need to see them “eye to eye.” Whether that is through direct eye contact, or the general feeling of being equal. This, however, isn’t always easy since most of my subjects are wild animals.
Capturing from Far Away
Telephoto lenses are incredible in that they can optically bring the subject closer. Most of the portraits in this article were taken from a location physically far away from the subject. Although, our brains are tricked into seeing the subject as closer because of the details the lens can resolve.
It’s pretty easy to visually identify portraits that are not taken from close-up with shorter focal length lenses, or captured from a position with two feet on the ground. In the most common scenario, they’re captured from a safari vehicle, which is ideally at the same level as the subject and at a distance that is respectful to the wildlife. The result is no doubt a superb depiction of the wildlife captured, but it has a specific look.
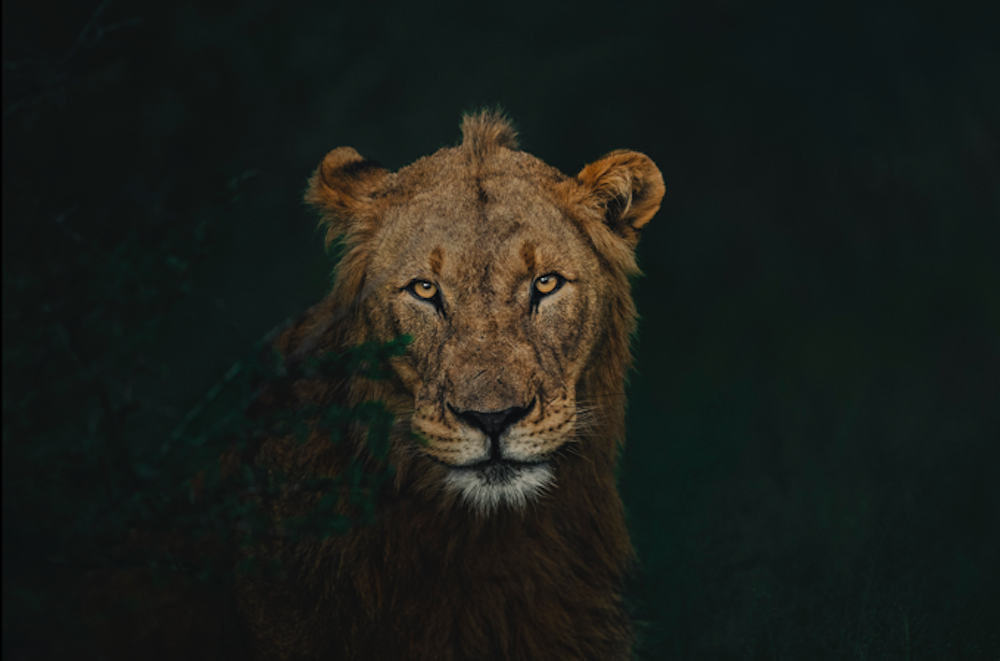
As photographers, we can use large objectives like the 400mm or 600mm to capture the character of a subject. Although, for me, it’s missing something fundamental to my goal of bringing people closer to wildlife through photography. There’s a lack of immersion, intimacy.
In my view, the best wildlife portraits bring you into the world of the subject. The only way to do that is with a wide-angle lens.
The Solution
A few years ago, I started to experiment. Obviously, I couldn’t cozy up with a lion or kneel at the feet of an elephant herd. So, along with the team at Erindi Private Game Reserve in Namibia, I developed a custom device that would allow me to portrait animals up-close without risk to either party.
And so, the “Wildlife Camera Box” was born in 2018.
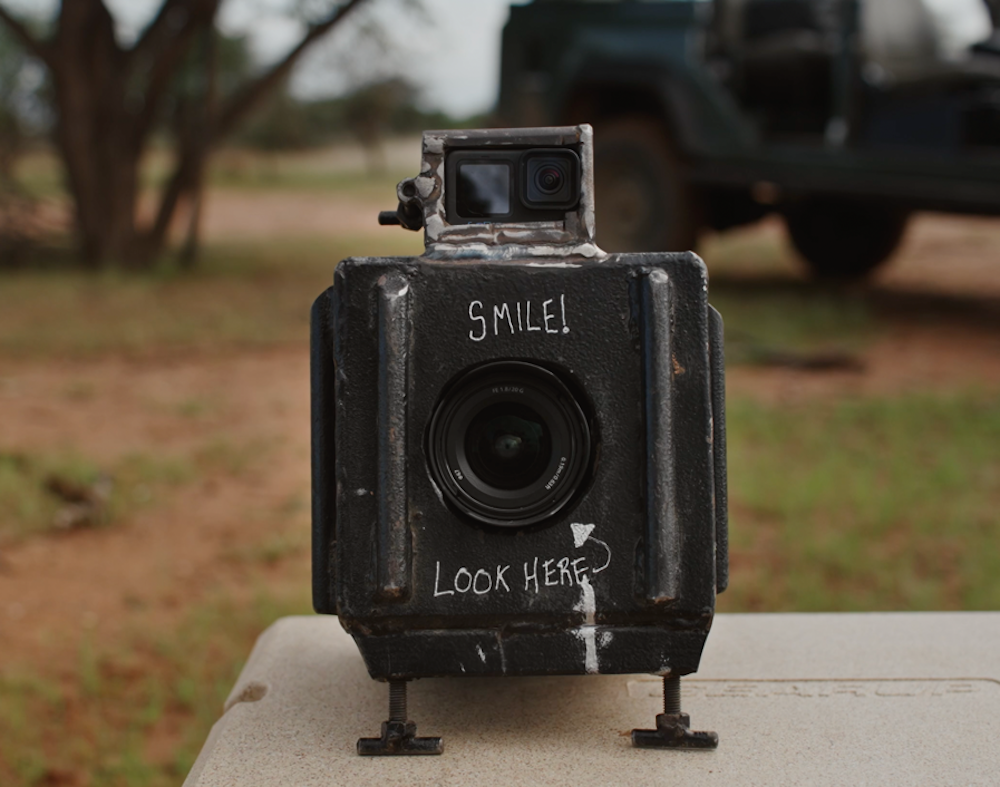
The box is designed to house a Sony mirrorless camera, GoPro, and variety of wide-angle lenses. It is made of steel and refined to ensure any interactions with wildlife are safe. It’s triggered with a radio-controlled remote and manually put into place upon locating wildlife at the discretion of expert wildlife behavioral knowledge.
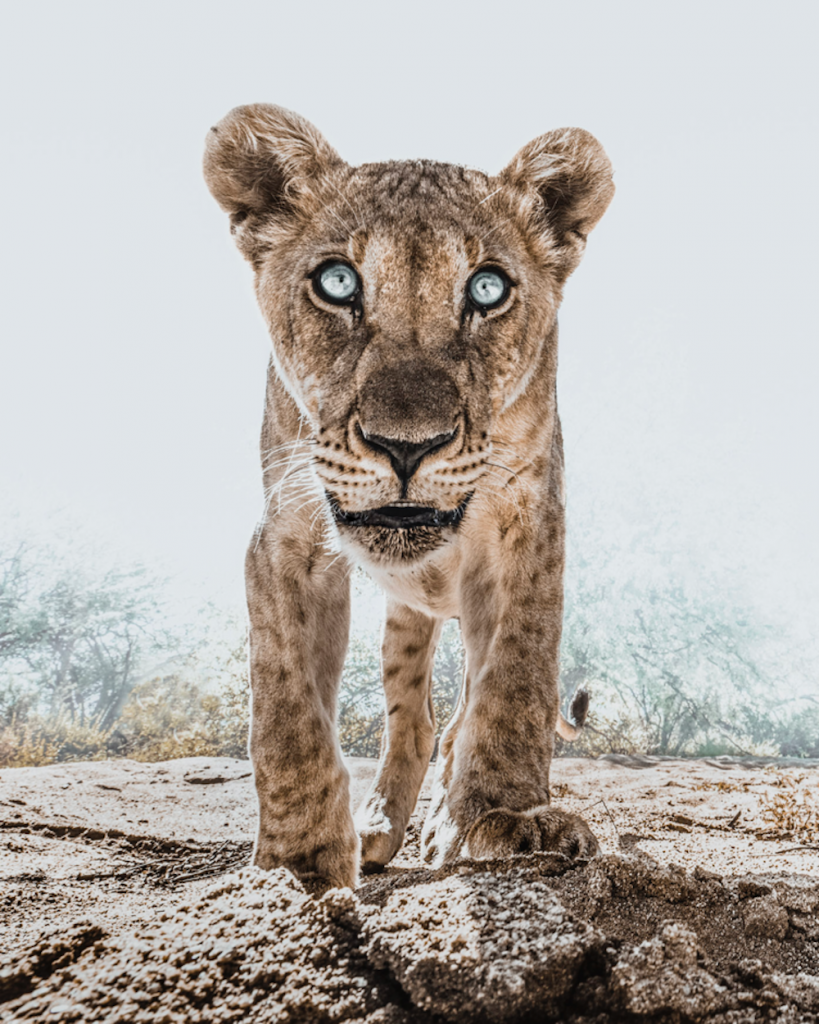
Unlike traditional camera traps, I actually want wildlife to interact with the box—to express their genuine curiosity. I want to showcase their character up-close and personal with the camera, which I trigger from a safe distance.
With the box, any interaction is on the terms of the wildlife. Our approach is simple to ensure we don’t significantly impede the animals. Once we locate an animal, we use our knowledge of its behavior to determine its direction of travel and guess the most likely path it will take.
If the animal notices the box in its path, it might approach and interact. Sometimes, the animal sees it and avoids it. Other times, it’s especially interested. Either way, it’s up to the animal to approach the box. This way, we get a natural reaction.
To see the box in action, check out the AdoramaTV video below.

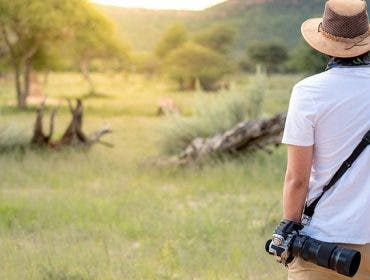
The Gear
Camera Settings
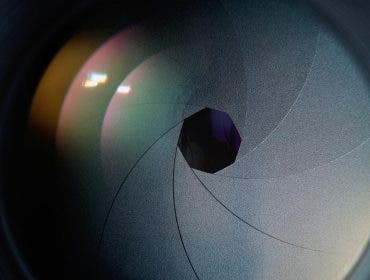
Aperture
Generally, when using the camera box, I make a decision about the aperture based on the available light and the size of the subject.
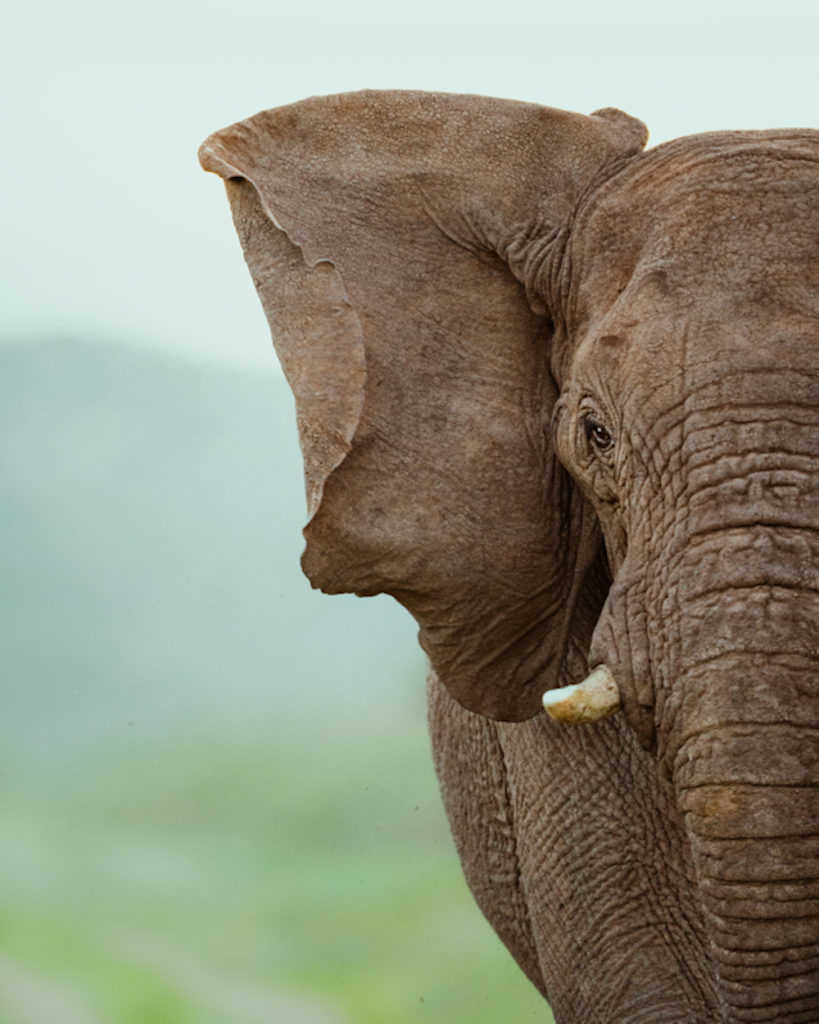
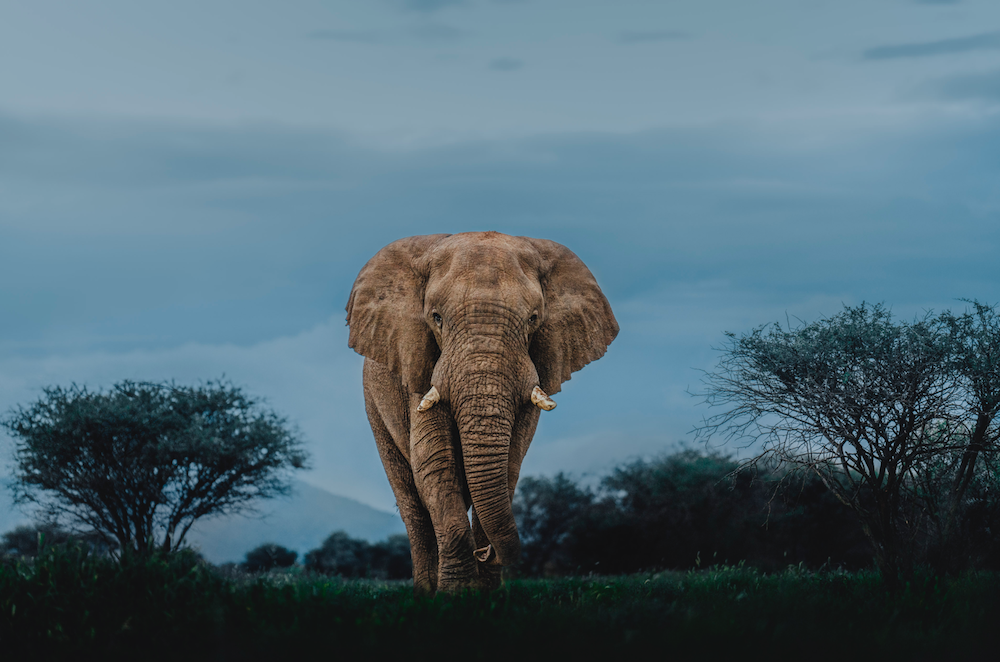
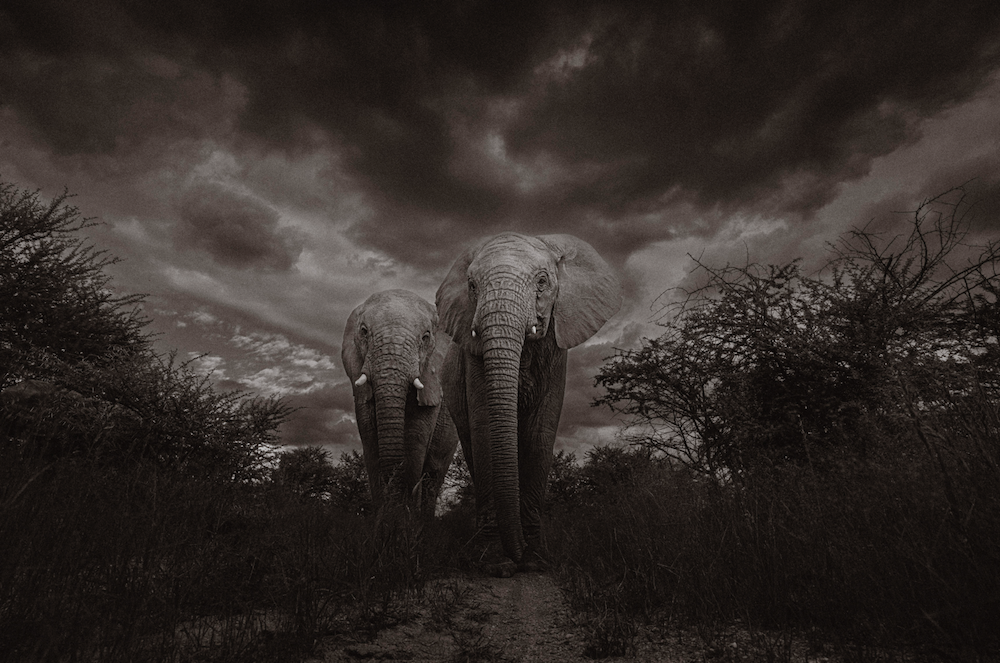
With a larger single subject or groups of animals (for example, an elephant herd) I want to make sure I get as much in focus as possible. In this case, I’ll set a higher aperture number—like f/8.0 or even up to f/13.0. In a recent shoot with a herd of elephants, I set the camera to f/8.0 which allowed me to capture several elephants in the same frame at slightly different distances from the camera. If I had chosen f/1.8, the aesthetic would be entirely different.
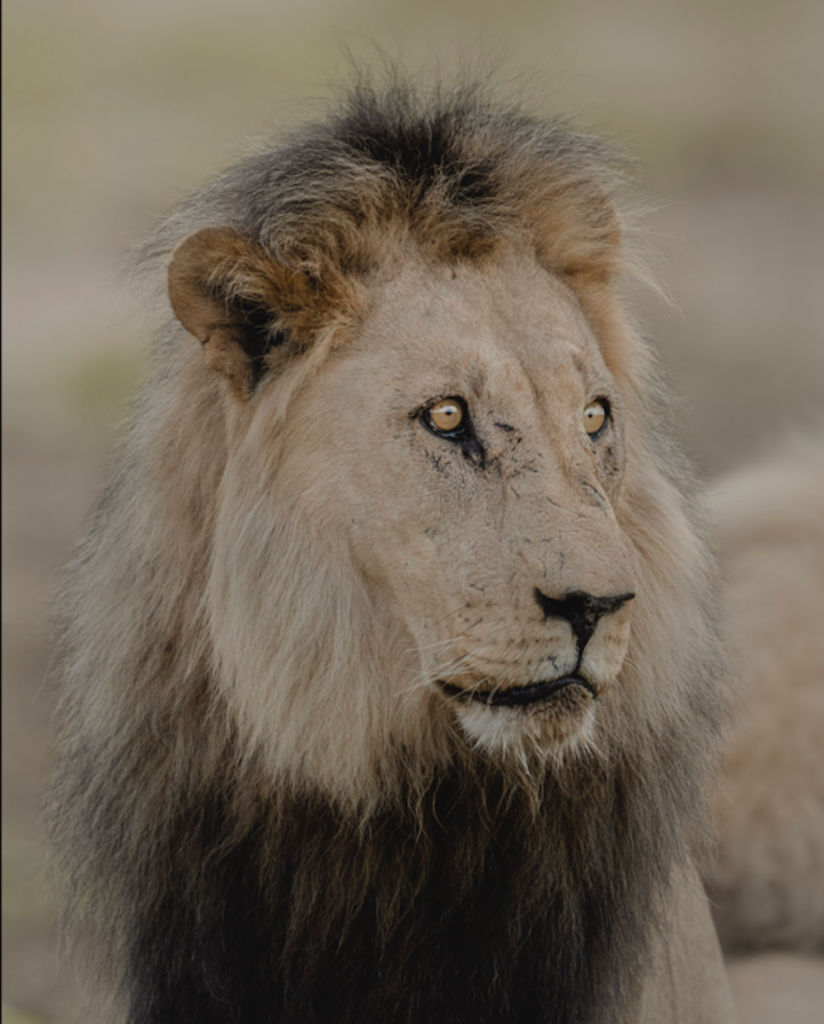
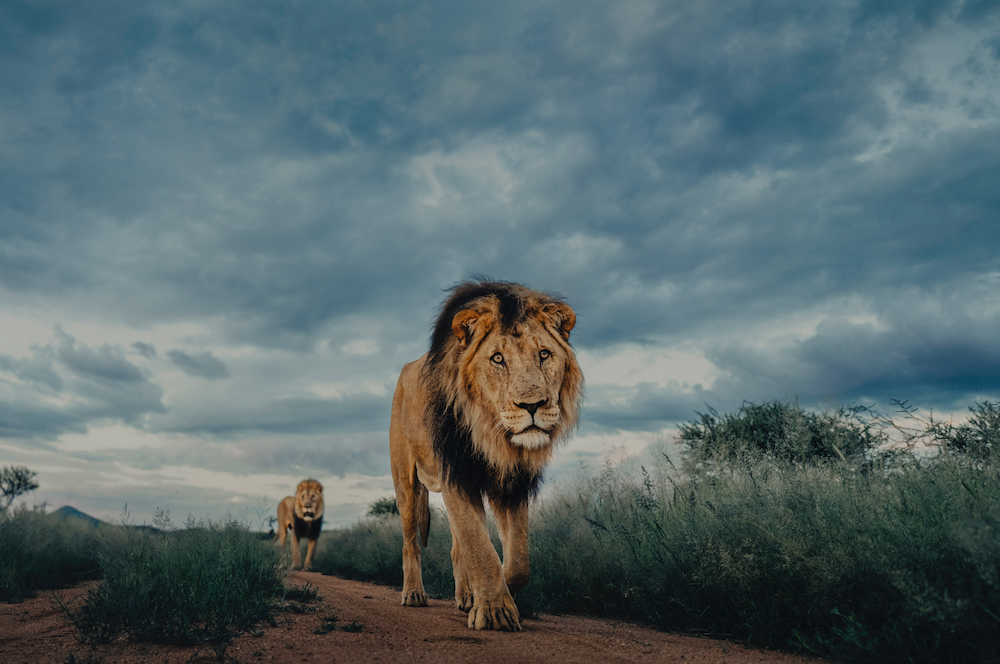
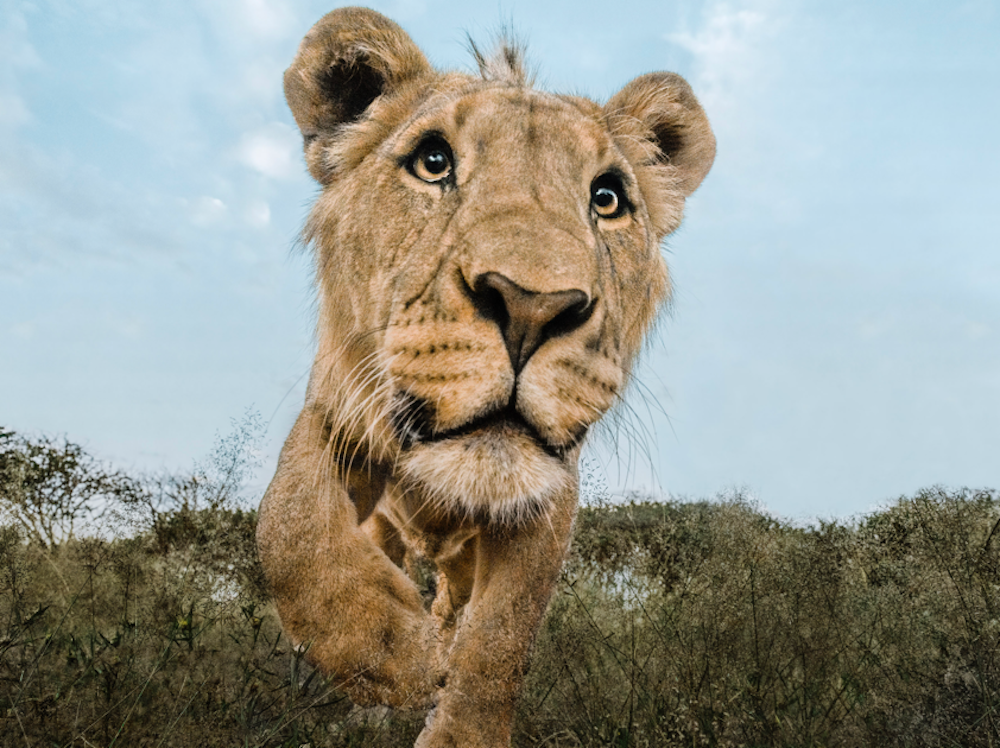
In another recent shoot with lions, I set the aperture to the lowest that the lens allowed: f/1.8. It was much later in the day when we located the lions and there was much less available light. Also, I wanted to isolate the subjects individually. I knew there were two lions, so I was hoping to capture each of them separately. Although, the result of one in the foreground and the other in the background out of focus created an immersive portrait.
Shutter Speed
I also want to ensure I can freeze motion and capture tack-sharp images. Depending on the available light, I’ll set the shutter speed to a minimum of 1/640s. Through trial and error, I’ve found that at 20mm, for example, anything less than this can result in minor motion blurring. The motion blur itself can be aesthetically attractive but, personally, I’ve aimed to avoid it in my images lately. If there is a lot of available light, I’ll increase the shutter speed accordingly, but not too high as to push up the ISO which I have set to auto.
ISO
Again, through trial and error, I found that it’s best for me to set the aperture first, and then the shutter speed, to ensure sharp images. I also used to set the ISO to expose the subject for what I thought would be appropriate. However, I found that as often as I set it, the lighting would change while we waited for the subject to approach, or the subject would move the box into the shade or into direct light. Any number of factors can impact the exposure.
Thus, to ensure the images are appropriately exposed, I set the light meter to “average” for the entire frame at +1 EV. I set the ISO to Auto with a minimum of 100 and a maximum of 3,200. Now, for example, if the subject approaches the box with the sun behind it, blocking the sun, the camera will correct the exposure to increase the ISO to expose the shadow side of the subject properly.
Autofocus
Thank goodness for Sony AI eye autofocus for animals. I’m not able to physically manipulate the focus points in real time from a distance. Therefore, I have the focus set to “Zone” and I let the AI tracking pick out the eyes of my subjects. It’s incredible just how affective it is at nailing the focus while the subject is moving.
Most of the time, my photos are highly intentional. Once we place the box, we move to a location far enough out of the away where I’m still able to see the box itself. There are instances where the box gets moved by the subject, or we have to hide a bit more than normal to ensure we’re at a safe distance. In these cases, the box works more like a traditional camera trap in that I have no idea what I capture until I open it up. I just press the button, hoping there is an interesting alignment with the subject.
In almost every scenario, we open up the box to review the photos and are excited to see a rare perspective into the world of these incredible animals.
Disclaimer
This article is not meant to encourage any individual to take unnecessary risks at the expense of the wellbeing of wildlife or your own personal safety. Wild animals can be incredibly unpredictable. If you choose to experiment with camera traps, custom photographic setups, or the like, I urge you to take enormous precaution and work with wildlife experts. It’s our duty as wildlife photographers to show the utmost respect for the animals. After all, we’re only visitors in their world.
I’m given special access to document the wildlife through the kind of methodologies that I’ve presented here. Guests should not expect to engage with wildlife, or any conservation practices depicted in the same way if visiting Erindi.
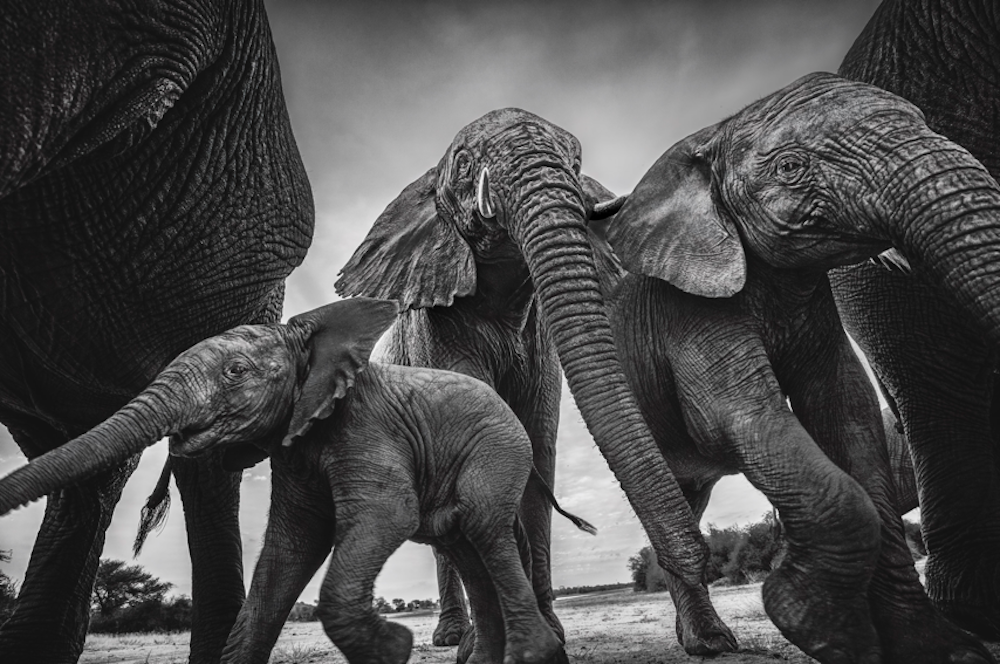
Here are more portraits using the box from the archives: