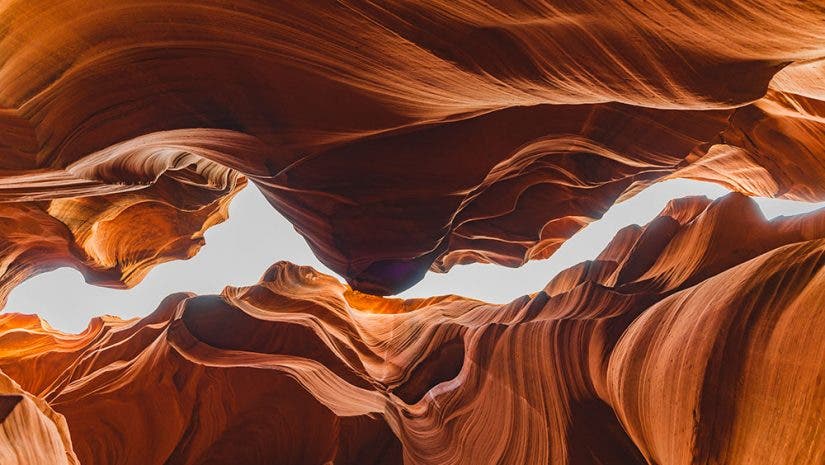
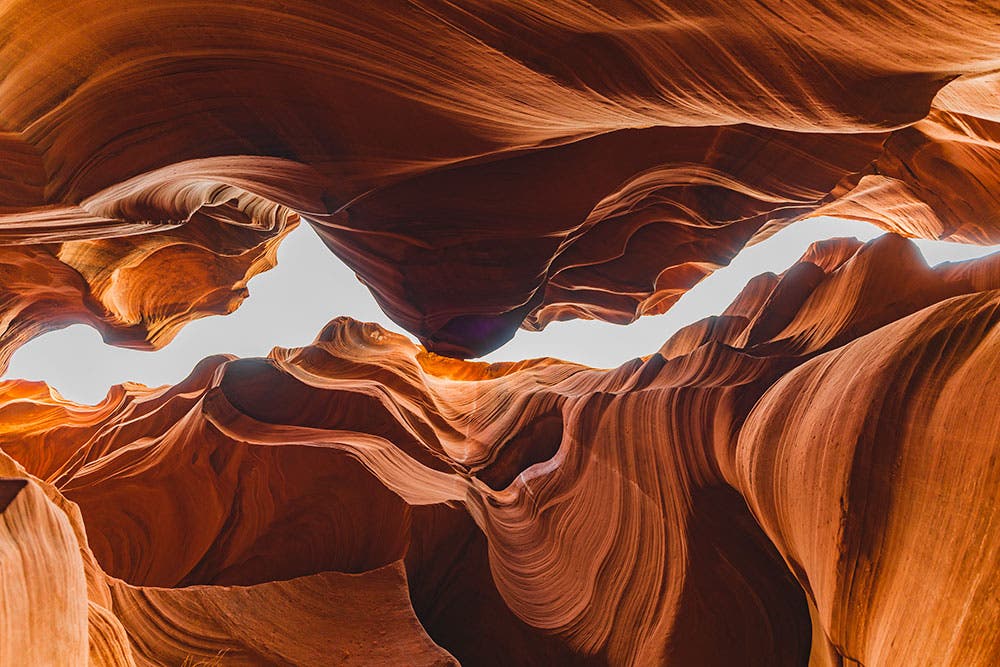
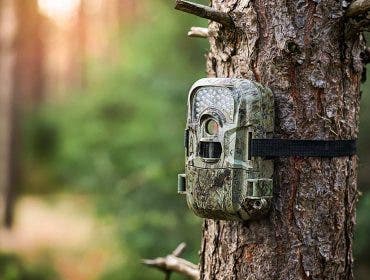
Photographing any subject can benefit from a successful use of texture. In the era of high-resolution digital photography, the most compelling images make use of the details, shadows, line, and light found in textures.
Every type of surface you intend to photograph will have its own inherent texture, from human skin to a brick wall. To help create a sense of depth and realism, it’s useful to know how to effectively capture texture in photography.
Why is texture in photography important?
Texture sends cues to your viewer, helping them relate the subject to something they’ve already experienced in their own lives. Whether it’s a photograph of a smooth surface like satin, or a rough surface like sandpaper, they’ll relate the images they see to their personal encounters to form a connection to the subject.
We tend to notice when the texture of a common subject has been altered. Have you ever looked at a highly airbrushed model and wondered why their skin looks like plastic? Texture matters! When your brain is accustomed to what the texture of skin looks like in real life, an over-manipulated photograph is distracting and uncomfortable.
By depicting relatable textures, you will help viewers access your images more easily and effectively.
Does texture matter for all subjects?
We feel a sense of disconnect when a photograph gets texture wrong. Not enough texture or too much can be equally jarring for a viewer. Also, with the high resolutions available to us, the absence of texture tends to make images look low-res, or as if a mistake has been made. How much texture to depict will vary depending on your subject matter.
Portraiture
For portraits, you’re more likely to want to minimize texture a bit for the sake of beautifying the subject of your photoshoot. Some black and white portraits push texture beyond reality with lighting and post-processing techniques to emphasize wrinkles and other characteristics. Both smoothing and enhancing texture can be useful in portraits depending on the goal of the image and how much you adjust the texture.
Landscape
In landscape photography, you can use texture effectively depending on the scene and how busy it is. For example, in a woods scene, amplifying texture can potentially lead to visual overload. You’ll lose your viewer’s attention due to the sheer quantity of objects and textures.
For a wide-open expanse with grass in the foreground and a quilted sky filled with clouds, texture can help give each portion of the frame impact and interest.
Macro
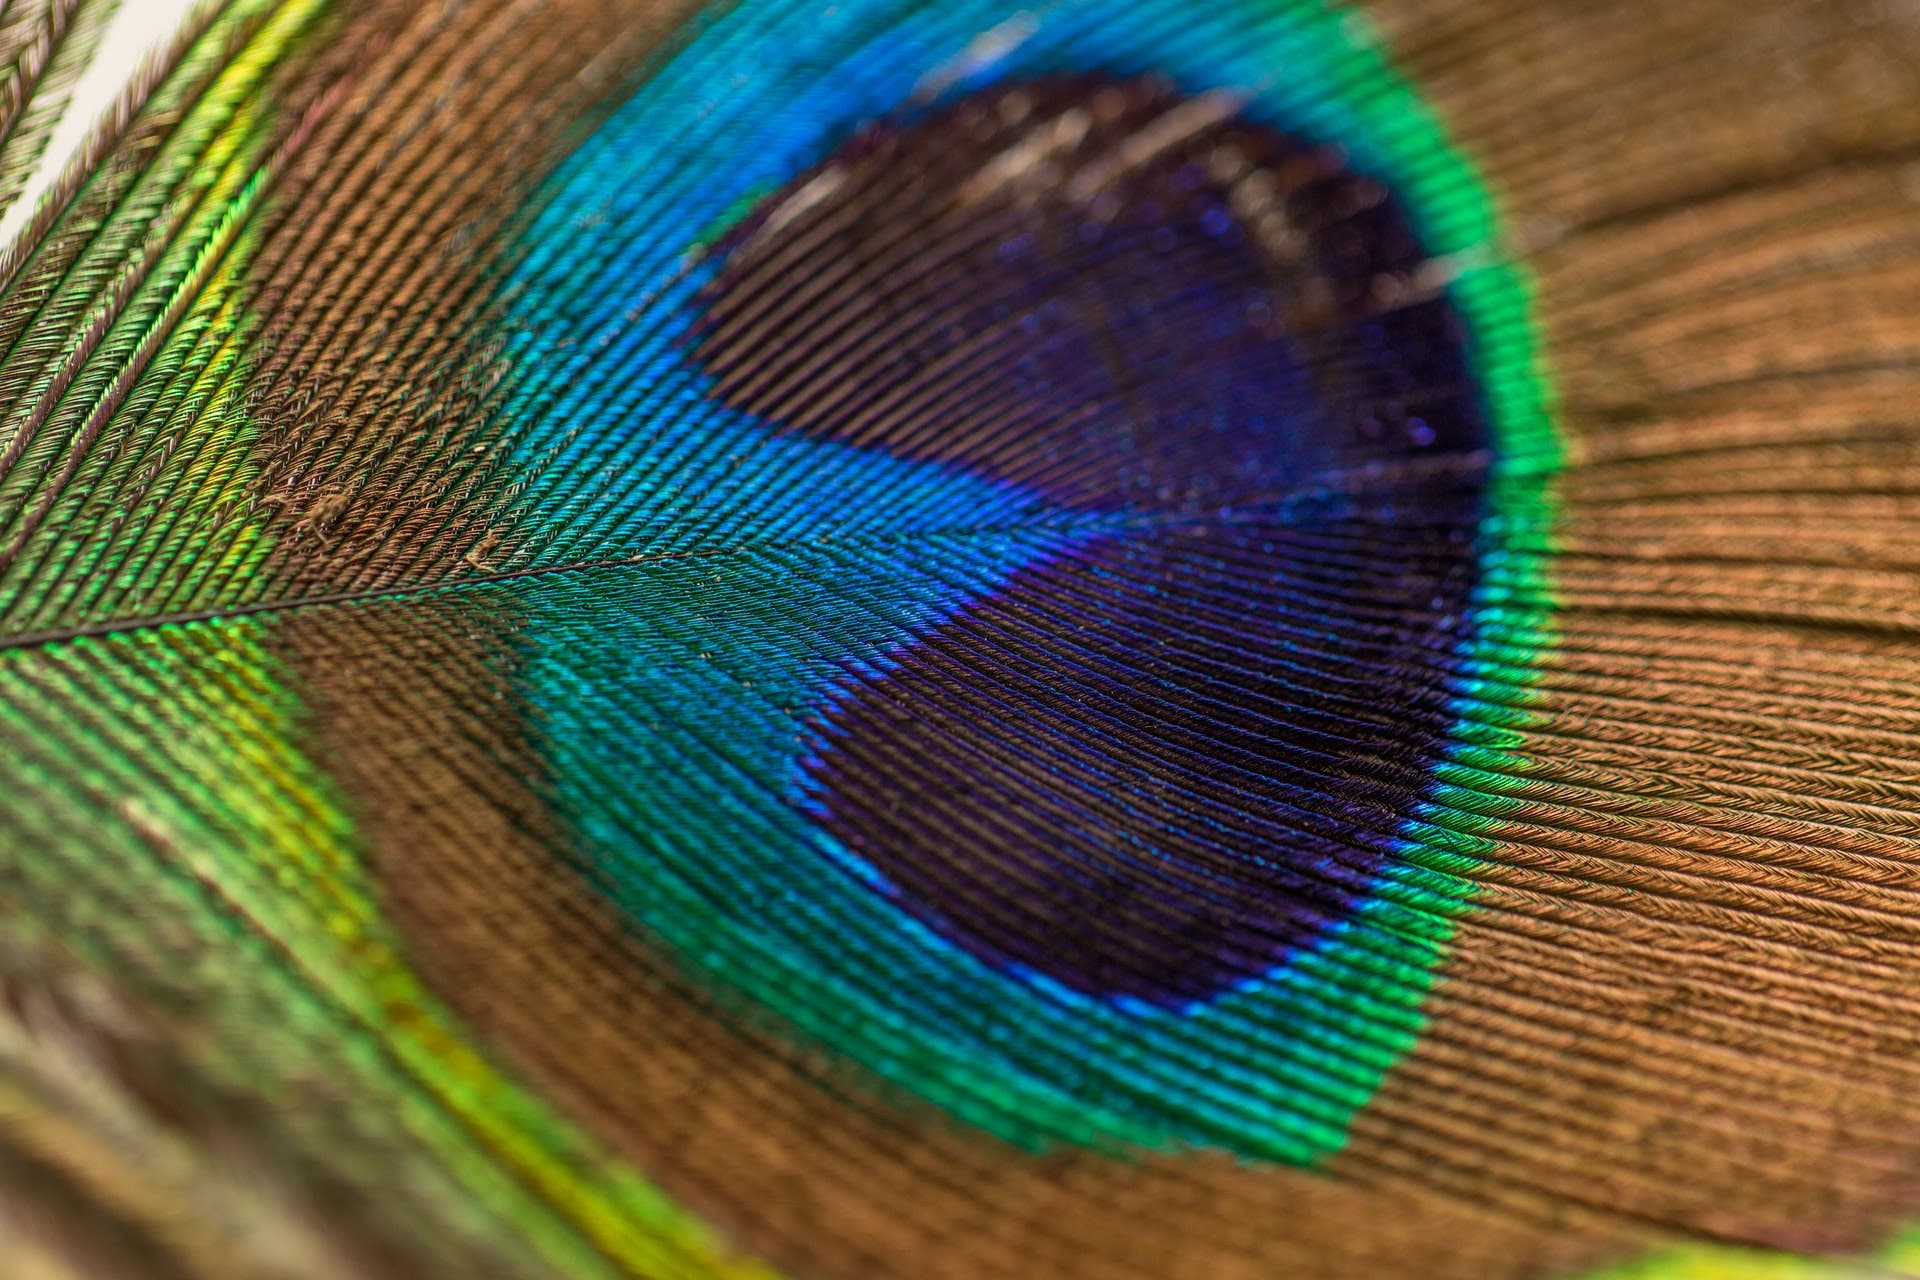
When examining smaller, everyday objects like flowers, shells, tree bark, peeling paint, and insects, you can use texture to help highlight just how intricate these objects are. We aren’t used to seeing tiny things on a grander scale, so when taking macro photographs, texture helps tell the story of what we’ve often overlooked by making them the focal point of eye-catching shots. It can also give you some new and creative photography ideas.
We rarely concentrate on the veins of a leaf, for example. However, by making these incredibly interesting textures visible in a macro photograph, the image will have more intrigue and nuance.
Want to know more about this close-up type of photography? Read our macro lens FAQ.
How can I capture texture in my images?
There are a few key things you can do to bring out different textures. Consider these texture photography tips during your next shoot. You can also look for video tutorials online to help with any camera settings you may want to change or adjust.
Selective use of lighting
Texture becomes most visible through the use of light and shadow. When a light source is low like the natural light of the sun in late afternoon, shadows grow longer and therefore amplify texture. To show the texture of an object, play with the light source for improved visibility.
If you’re shooting a macro image of an orange, the texture will be more apparent as the light source moves closer to the surface. By positioning the light in such a way that the pores of the orange peel are in shadow, the texture becomes more apparent and helps you get the best photo possible.
Depth of field
A narrower aperture will create greater depth of field. In many applications, this will help increase the visibility of textures in an image. If you feel that an image looks too flat as you shoot, try narrowing the aperture for better texture.
Post-processing
Many photographers like to give their texture images a little boost using the Texture, Clarity, and Detail sliders in Adobe Photoshop Lightroom. Make small adjustments and look at your image at 100% scale to see if you like the effects and if you’re capturing texture in the way you want.
