As a photographer, understanding concepts such as moiré can help you create images with improved clarity and reduced interference patterns. This is one of those phenomena that sounds complex but is actually quite simple — once you know the basics of how it works. In this article, we’ll delve into what is moiré and how to avoid it in your photos. Plus, you’ll learn some ways to fix the problem if it occurs, using software such as Adobe Lightroom and Photoshop. However, before we begin, let’s break down what moiré is and how to spot the issue.
What is Moiré?
Moiré is an optical phenomenon that often appears in photography and video. It usually occurs when two similar patterns (repetitive patterns or lines of varying widths) collide, creating an intertwined repetitive pattern. While it can be seen with the naked eye, it is more prominently observed by high-resolution cameras due to the vast amount of pixels they possess.
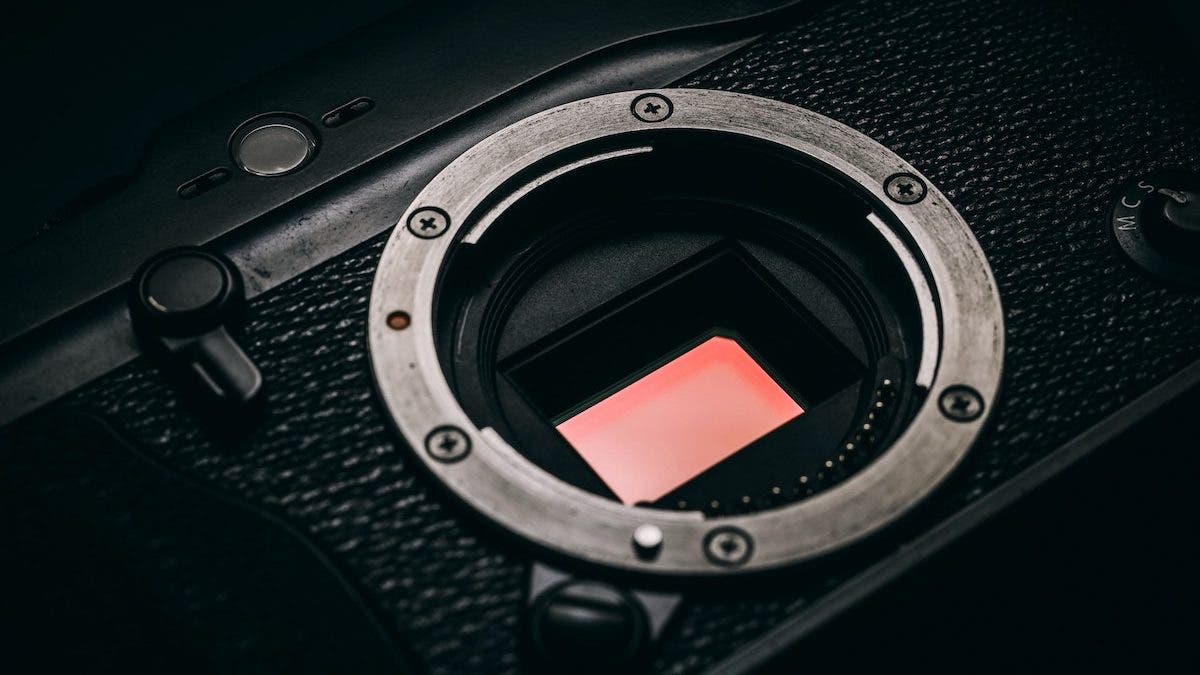
It can be created naturally or synthetically. It results in the visual overlay of two objects, creating an unplanned interference pattern. Manufacturers try to counteract this phenomenon by implementing an Optical Low Pass Filter (OLPF), which is designed to break up the light hitting the sensor to avoid the moiré effect.
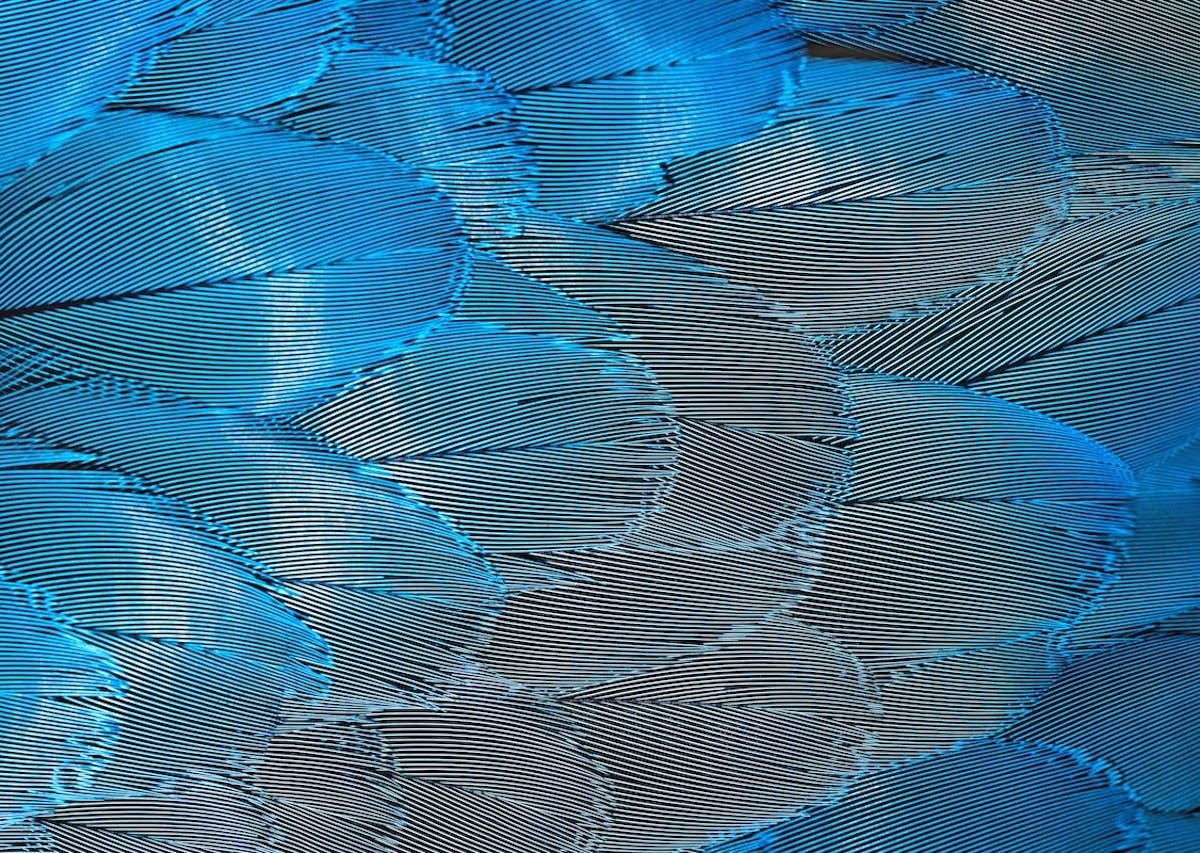
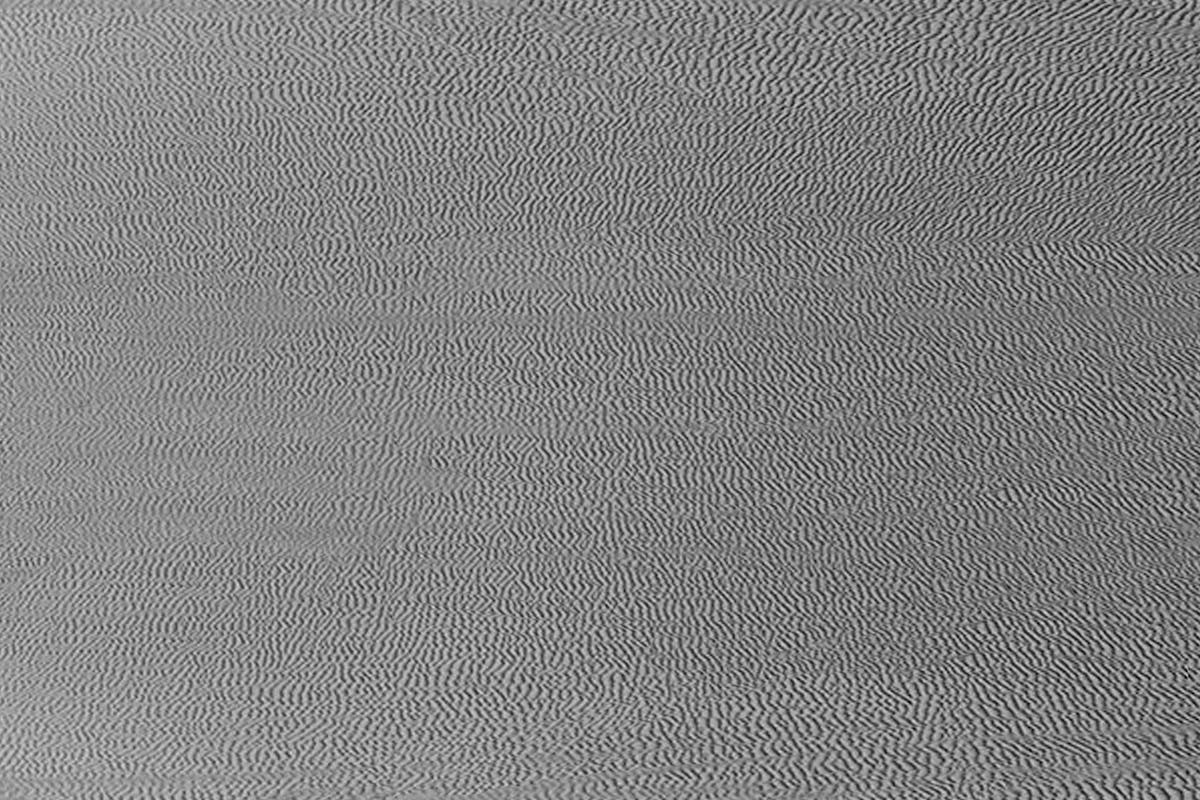
Here is an example of what moiré can look like:
What Causes this Effect?
Photographers never noticed any problems with moiré before camera sensors, since film is a completely random crystallized structure. This is the opposite for sensors that abide by rows of pixels to create an image. The moiré effect becomes noticeable when the real-world pattern is too close together. This is because the camera’s image processor struggles to capture all the points it receives from the sensor.
As an attempt to recreate the image, the camera creates a moiré pattern interference between the repetitive pattern of lines and outputting them. As a result of such interference artifacts, any regular pattern may seem distorted or have strange waves added to it — which is referred to as moiré.
A great example can be seen when photographing something with lots of close-together stripes, such as awnings and window shades, or anything with lots of small overlapping features or textures, such as moss on a rock, a honeycomb pattern or the branch structure of trees. Textiles are especially susceptible to moiré since fabrics have distinct threads that are sometimes visible. Moiré can also be found in water if photographed with movement represented in it — for instance, through ripples. Conversely, it is common when any combination of repetitive and non-repetitive structures line up perfectly.
Here is another example of moiré:
How to Avoid Moiré
To avoid moiré from occurring, an Optical Low Pass Filter should be used. An OLPF is a filter found on most mirrorless or DSLR cameras. This filter is one of the most important components in photography, as it reduces moiré caused by interference between fine details in your photos. OLPFs are positioned just above the sensor. This helps to ensure that light will pass through the filter before ever reaching the sensor itself. The OLPF works by blocking any wavelengths above a certain cutoff level. This will reduce moiré while still allowing you to capture detail in your photos.
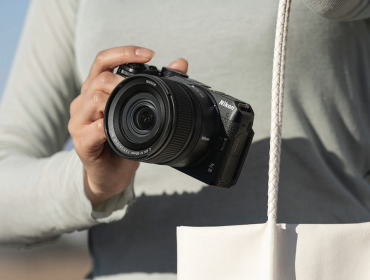
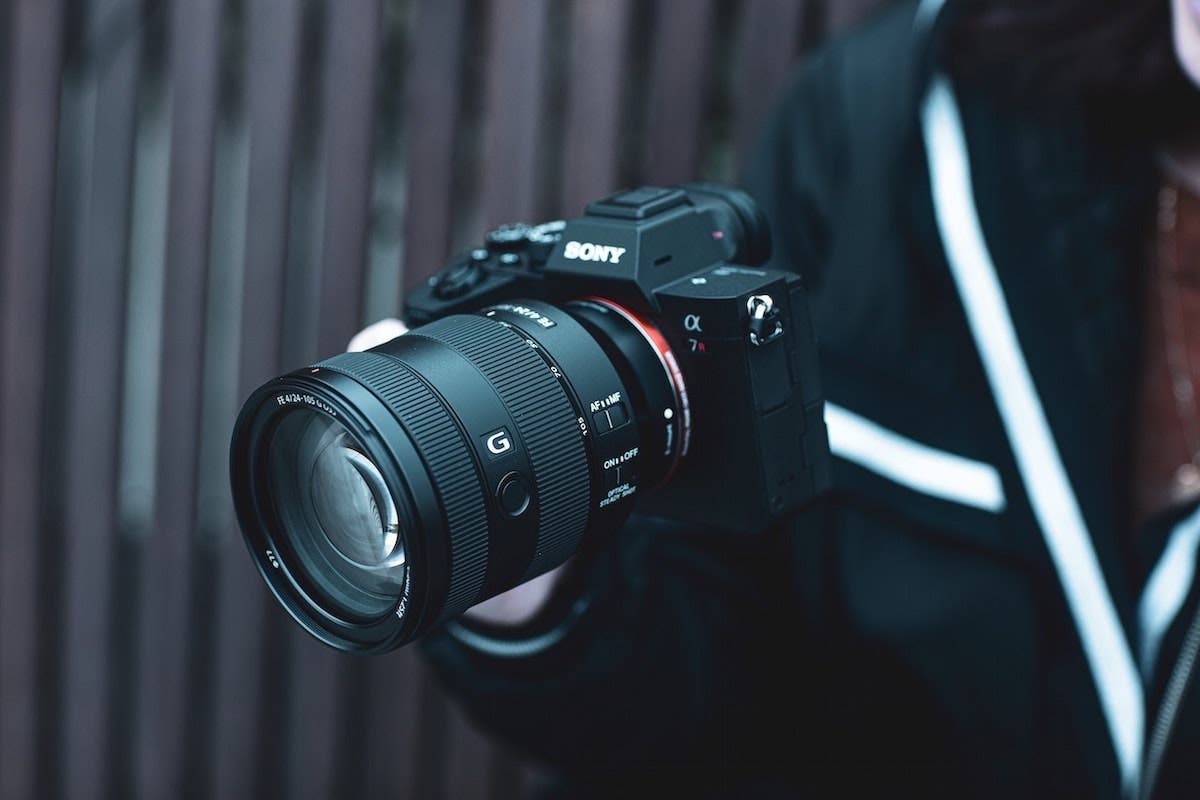
Alternatives are purchasing and using a camera with a sensor specifically designed to avoid or reduce the moiré effect. For example, Sony’s A7 series of full-frame cameras use a unique design to prevent moiré from occurring. These cameras feature a back-illuminated sensor (BSI) which can capture more light than conventional sensors, resulting in brighter images with less noise. Another suggestion is to use an X-Trans CMOS sensor found in Fujifilm X Series cameras. These sensors differ from the standard Bayer filter array as they more closely align with film. The alignment of RGB pixels (color array) is scattered to reduce the moiré pattern and false colors without needing an OLPF.
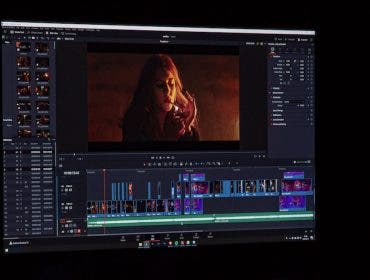
How to Remove Moiré in Lightroom
You might be wondering — what is moiré in Lightroom? Fortunately, Adobe Lightroom has the tools to show, reduce, and remove it without much trouble. The process is quite simple. Once mastered on one photo, editing settings can sync to a batch of photos for faster results.
Step 1: Select Your Photo and Zoom In
To begin, open your image in Adobe Lightroom and zoom in as close as possible so you can see the pattern clearly. It’s important to make sure you are zoomed in enough to see the details of how the pattern affects your image.
Step 2: Adjust Luminance Settings
Once you’ve zoomed in on your photo, click on the “Develop” tab and select “Luminance” from the left side menu. Once this is done, use the sliders to adjust both shadows and highlights until you eliminate most of the moiré pattern that was present previously.
Step 3: Reduce Color Noise Reduction
In some cases, there may still be some moiré visible after adjusting luminance settings. To further reduce it, go back to the Develop tab and select “Color Noise Reduction” from the left side menu. Move the slider until all of the remaining moiré has been eliminated or reduced significantly. If you still see moiré at this point, you may have to export the photo in Photoshop to reduce the effect further.
How To Remove Moiré In Photoshop
If you don’t have Lightroom and still want to work with your RAW file to reduce moiré, we recommend using Adobe Camera Raw (ACR). To do this:
Step 1: Open your image in ACR and go to the Detail tab.
Step 2: Look for the Moiré Reduction slider, and adjust until the pattern disappears.
Step 3: If you don’t see a difference after adjusting the slider, try increasing or decreasing its value until you do.
The second method involves using Photoshop’s Content Aware feature. To use this method, select your image and choose:
Step 1: Filter > Noise > Reduce Noise from the menu bar.
Step 2: Under “Reduce Color Noise,” select “Strong” for both sliders and click OK.
Step 3: Now go to Edit > Content-Aware Fill and select “Selected Area Only” from the dropdown menu. This should help reduce any noticeable moiré patterns in your photo.
If neither of these methods works for you, more options are still worth trying. You can also try using an anti-aliasing filter (Filter > Sharpen > Unsharp Mask), adjusting sharpness levels manually (Image > Adjustments > Sharpness), or even just blurring your image slightly (Filter > Blur). Experimenting with different techniques may be necessary if the mentioned options aren’t successful. In all scenarios finding what works best for your particular image may involve some trial and error.

Conclusion
By now, you should have a good grasp of what moiré is and how to overcome the challenging issue. If you’d like to learn more about it and its causes, we encourage you to watch the AdoramaTV video below. Gavin Hoey will walk you through how to overcome moiré in a practice example within the studio environment. Moiré can be frustrating, but with a little knowledge and effort, it can be avoided entirely or removed in post-production fairly easily.