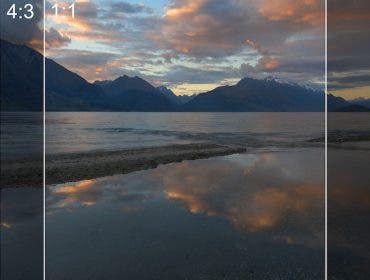
Look-up Tables, or LUTs, are a tool to use during the pre-production, production, and post-production process, although it is most commonly associated with post production. A LUT can be used in a variety of ways including adding an aesthetic look to an image, converting footage from one color space to another, or even to calibrate monitors on set. Everyone from the director of photography to the video editor and the colorist rely on LUTs.
What is a LUT?
Technically, a LUT is nothing more than a large set of numbers that remap an image’s values to change the look of the image. More practically, LUTs act as filters that can be dropped onto images to get a desired outcome. There’s a variety of LUTs that all achieve a different goal.
Sometimes, the terminology for the different types of LUTs can change, but here is a basic breakdown of the different LUTs and their uses:
Technical LUT
A commonly used LUT in post-production, the technical LUT transfers footage from one color space to another. Colorists or finishers may use a technical LUT to convert Rec. 709 footage – the standard color space for high-definition video – to DCI XYZ, which is the colorspace used for digital cinema projection. You may also hear this referred to as a transformation LUT.
Calibration LUT
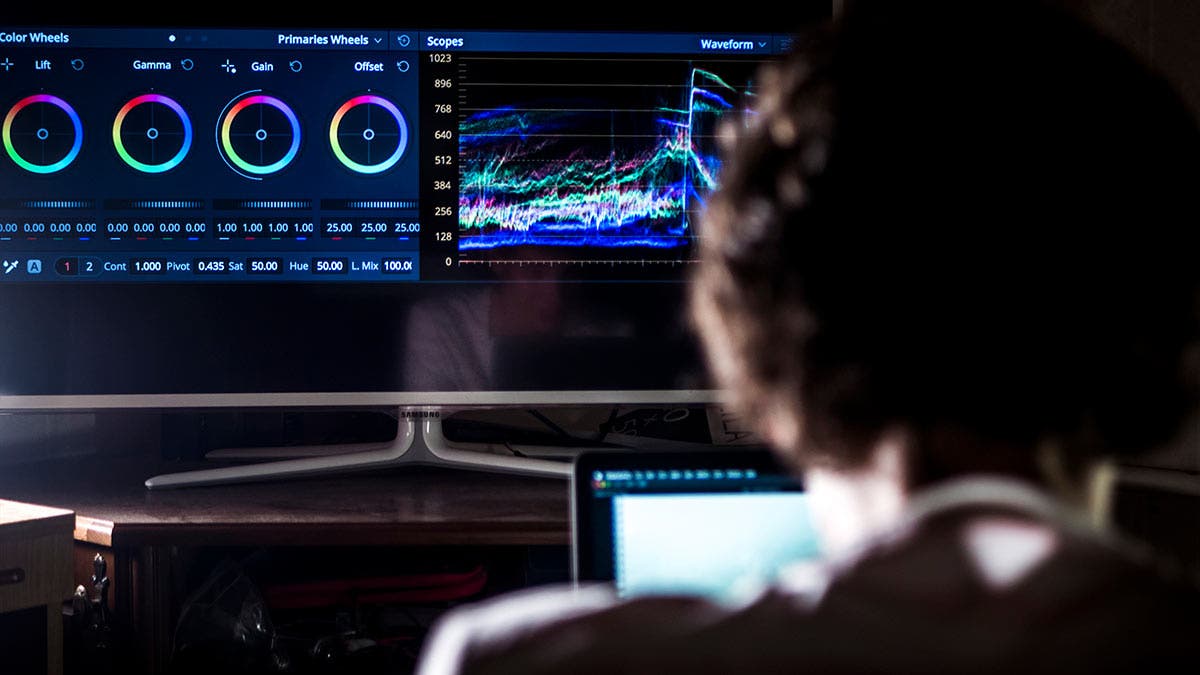
Calibration LUTs fall under the umbrella of technical LUTs, but are sometimes referenced separately. As the name suggests, they are used to calibrate or profile monitors for the correct colorspace. That way, when colorists correct, grade, and then deliver the finished product, it is accurate and consistent with the intended viewing space. For example, if the intended viewing space is sRGB, the colorist wants their grading suite to be calibrated to that color space.
Speed LUT
Also referred to as log normalization LUTS, speed LUTs quickly convert footage from a cinema camera’s log color profiles to more standard color spaces such as Rec. 709. Log color profiles capture footage in high dynamic range, so it lends to a more flexible color correction process. However, the footage appears extra flat out of the camera. Common log profiles include Sony’s sLog, Canon’s cLog, Red’s REDLogFilm, ARRI’s Log C, and Blackmagic’s Log.
Viewing LUT
Viewing LUTs are used on production sets so the crew can accurately view live shots on the monitors. As mentioned, shooting in log profiles retains more information from the image to use in post-production. However, it appears flat and unsaturated out of the camera. So a viewing LUT will convert those log color profiles to a more standard space, such as Rec. 709, so the crew can more properly adjust their on-set image..
Creative LUT
Creative LUTs are the most recognizable (and the most fun) on the list. They are used to create a look, feel, or aesthetic to an image. When color grading, they can be dropped right onto footage — similar to a filter on a social media app — to creatively change the look in different ways.
1D LUTs and 3D LUTs
In addition to the above list of LUTs, you may hear the terms 1D LUTs and 3D LUTs. Simply, 1D LUTs control limited parameters including white point, color balance, and contrast. Meanwhile, 3D LUTs affect a wider range of characteristics including hue, saturation, and luminance (or brightness) in a three-dimensional space. You’ll most often be using 3D LUTs, but 1D LUTs still have their uses. Also, 1D LUTs will have the file extension “.lut” while 3D LUTs will have the extension “.cube”.
What are LUTs Used For & When to Use Them
As briefly covered in the above list, LUTs have many uses across every phase of production. But for clarity, let’s run through an example of the practical uses of LUTs in pre-production, production, and post-production.
Pre-Production
In pre-production, a LUT could be created along with the development of the overall aesthetic of a project. A colorist could work with the director, DP, and DIT to create a LUT for a production that would focus on a cooler balance, or an orange and teal look, or a high-key grade. Once this LUT is finished, it carries through the rest of the production process.
Production
In production, crews are never not using viewing LUTs to accurately monitor the live image. In the video village and around set, each monitor will be converting the incoming image – from the camera – from a log color profile to a standard color space such as Rec. 709. Without this, the crew can’t precisely judge the exposure, saturation, etc. of the footage. Also during production, the digital image technician will be using the LUT created in pre-production to QC footage as it is captured on set. The DIT can quickly relay this information to the director and DP on set to ensure the desired look is being achieved.
Post-Production
And lastly, in post-production, LUTs have a wide range of uses. A video editor may use a speed LUT to convert a log image to Rec. 709 as a starting point for color correction. A colorist could use a calibration LUT on the monitor so it matches the final intended format of the project. Or a colorist could drop a creative LUT on a color corrected image to achieve a certain feel for the footage.
How to Apply LUTs
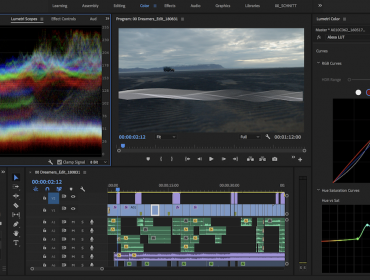
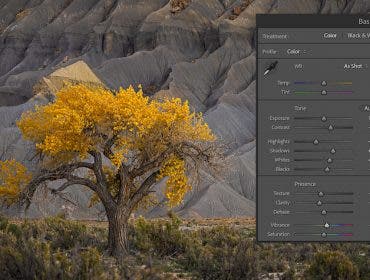
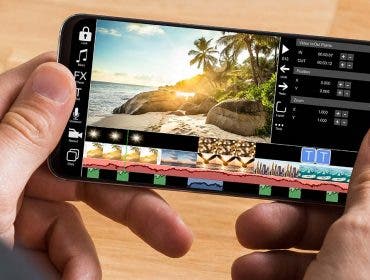
So after covering all the types of LUTs and their uses, how are they applied in color grading? Most often LUTs are used within a non-linear editing program in the editing bay or color grading suite. Whether you’re in Premiere Pro, Final Cut, AVID, or DaVinci Resolve, you can download and import LUTs into the software to easily be drop and apply to footage.
Even more, after manually color correcting and grading an image, you can save the grade as a .cube file to be used on your other footage, or uploaded and shared with team members or users online.
Are LUTs Easy to Use?
LUTs are one of the easier things to do in post-production. The only difficult part is going through the technical process of importing LUTs into your preferred NLE. But after your LUTs are imported, they just need to be dragged and dropped (or selected from a dropdown). That’s it. No other complicated steps, just select or drop the desired LUT onto your footage.
While using LUTs in the color grading process is a simple process, LUTs can sometimes be incorrectly applied.
Common LUT Errors
- Using a creative LUT to color correct instead of color grade. Creative LUTs are designed to create an aesthetic, such as the ever popular orange and teal look, but they are not used to balance the contrast or saturation of an image. So be sure to color correct before dropping on a creative LUT!
- Not adjusting the output or gain of a creative LUT. Although it is simple to add a creative LUT to an image, be sure to dial in how much of that creative LUT you want applied. A creative LUT at 100% intensity can trash an image, but adjust down to 50 percent may strike the perfect amount of LUT.
- Using the incorrect speed LUT, or normalization LUT, to convert from a log profile to a standard color space. Not all log profiles are created equal and they require a specific LUT to convert accurately. For example, an sLog3 to DCI-P3 LUT cannot be used for cLog to DCI-P3.
- Not properly calibrating your monitor. Be sure to use the proper calibration LUT if you’re using one! But more generally, be sure to calibrate your monitor for color grading. The look of images will undoubtedly change from monitor to monitor, and environment to environment. To keep your grade consistent and accurate across the board, always calibrate your monitor.
LUTs vs Presents: What’s the Difference?
Lastly, LUTs can be used in both video editing and photo editing. In the realm of photo editing, LUTs are different from presets and the terms are not interchangeable. Presets are more established and can target parameters that LUTs cannot, such as sharpening. LUTs are useful in photo retouching, but only tweak hue chroma and luma values.