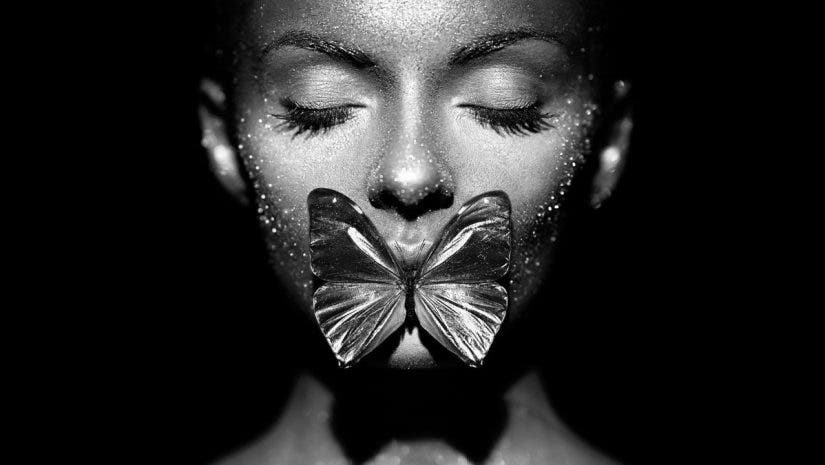
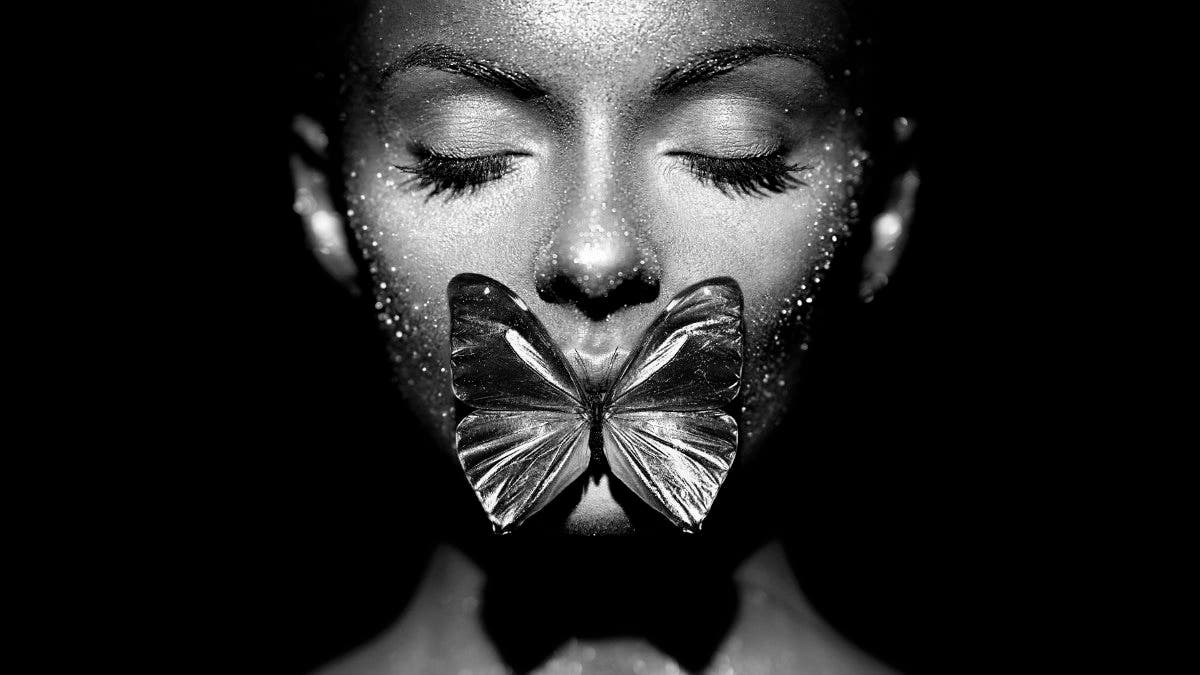
Is there a secret formula to beauty photography? You know, the type we see in high-end cosmetic ads and on the covers of fashion magazines. Yes, and it’s called butterfly lighting. Butterfly light is simple on the surface but more nuanced in practice. This lighting pattern is the go-to for celebrity portraits for a good reason. This article will discuss how the butterfly lighting pattern is achieved. Also, light placement and the best practices for mastering this beauty photography staple. We will also discuss choosing suitable lighting shapers to create stunning beauty shots for your subjects.
What is Butterfly Lighting?
Butterfly lighting is a lighting pattern where the light source is placed slightly above and center on the face of the subject. You may also see this technique referred to as paramount lighting. When discussing butterfly lighting, we often focus on the tell-tale sign: The shadow under the nose with a butterfly shape. This is an excellent place to start when you are learning to use butterfly lighting. The shadow will help you position your light properly to achieve the pattern.
That said, it is essential to remember that the light source is centered on the subject’s face and not just positioned above the camera. In a typical butterfly-lit portrait, the light source may be placed over the camera position because the subject is likely looking that way. Still, if the subject is in a 3/4 or profile view, the light must move to compensate for this.

Best Gear to Capture Butterfly Lighting
Butterfly lighting relies on controlling shadows. This means we want to work with smaller light sources close to the subject for fast falloff. The go-to light shaper for many beauty and portrait photographers for butterfly lighting is a beauty dish. A good example is this one from Profoto: Profoto Silver Softlight Reflector. For even more control over the light, many creators add a Profoto Honeycomb Grid for the Softlight Reflector, which narrows the spread of light and increases contrast.
Umbrellas are another popular option when creating beauty-style portraits. A shoot-through style like this Glow 40” White Umbrella gives a directional diffused light that can be gentler on the skin. This is ideal for beauty-style portraits of older subjects. With this setup, add a reflector to fill the light. Cutters or flags are also a good idea to capture more contrast in the cheekbones.
Softboxes, the staple of photo lighting, can also be used, but I recommend something small. For example, this Chimera Super Pro Plus Shallow X-Small would be a fine light shaper to create butterfly lighting.
Whatever you choose for the key light, you will almost always want to add a large soft fill. This can be a large umbrella behind the camera or a softbox in a clamshell position.
How to Capture Butterfly Lighting
As noted, butterfly lighting is achieved when the key light is placed directly in front of the subject’s face and slightly above. The light source should be close to the subject to achieve the dramatic falloff we want. In most cases, it should be at most three feet away. This will ensure the light is not so flat that we lose the distinct butterfly shadow.
With that in mind, let’s consider a classic beauty shot and how we can light it with the butterfly pattern. Beauty photography typically calls for precise and “punchy” light, so a good option for our key light would be a beauty dish. Adding a grid to this lighting instrument can add even more control and up the contrast of the key light. With our source selected, we will first frame up the subject and decide where they will be facing. If they are facing the camera’s direction, the light must be centered on their face, thus positioned above the camera. A good option for this would be a C-Stand with an arm; remember the pin.
Ok, with our light about 3 feet away from the subject and above their eye level, we will tilt the beauty dish down to create a perfect butterfly pattern. As we want to control the depth of our shadows, a second light will be added to fill them. A great way to do this, and one used quite often in commercial beauty photography, is to use a very large modifier. Something like a 5-foot octagon softbox, placed behind the photographer. The size of the light will allow it to wrap around the photographer and fill in the shadows on the subject, leaving no directional shadows of its own. We often call this on-axis fill light.
Butterfly Lighting Techniques and Setups
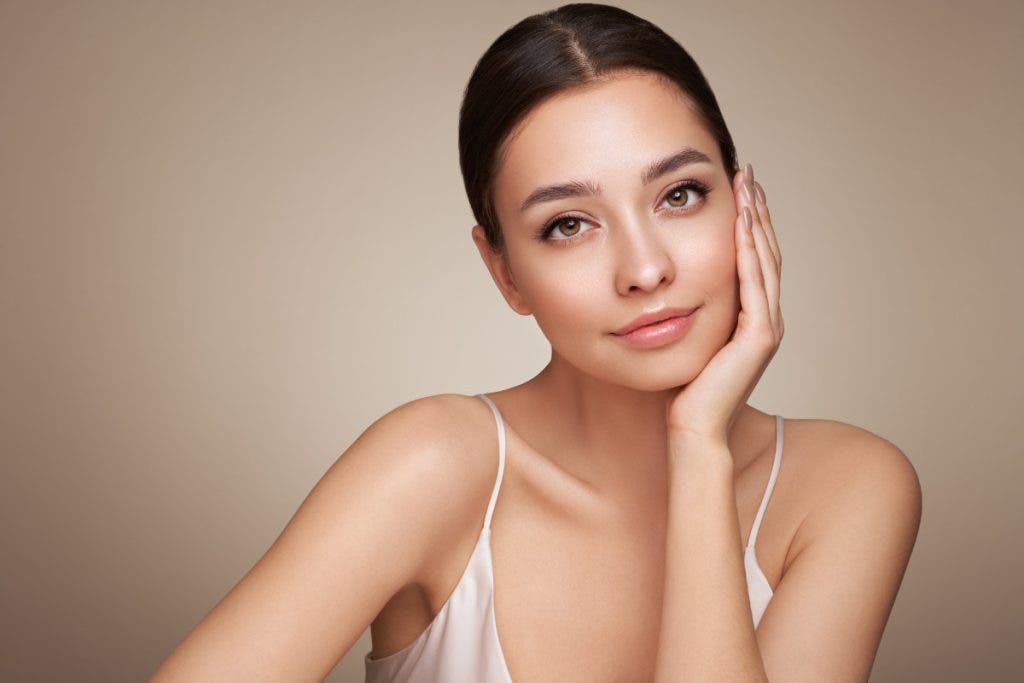
While the words paramount or beauty lighting may immediately form a picture in your mind, the reality is that beauty photography and portraiture can take on many looks and feels. I pulled a couple of images here to show you how the same lighting technique can create two completely different scenes.

In this first image, the photographer has chosen a small diffused source with no fill light to achieve rich saturated colors and contrast. I can tell it is a small source by the fast falloff of the shadows down the cheeks and below the nose (the butterfly). It’s a diffused source by the gradation of the highlight on the subject’s nose, forehead (though retouched a bit), and hand.

In this next example, the photographer has used ample fill light to achieve a “fresh-faced” look. A punchy key light helps reveal the details in her complexion, like the beautiful freckles. In contrast, the large, soft, fill light keeps her face virtually free of shadow. It is important to note that a very flat light source, like a ring light, would not achieve such a subtle effect. The combination of the butterfly light and well-placed fill makes this image pop even though it is lit with an almost 1:1 lighting ratio.
Advantages of Butterfly Lighting
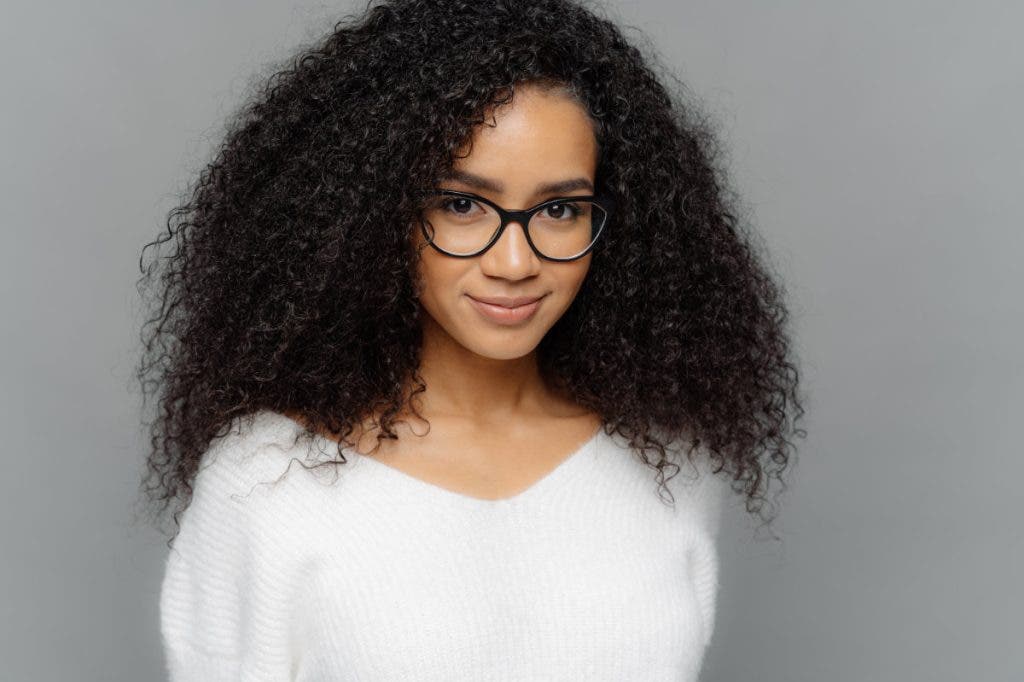
Butterfly lighting is the primary style of lighting used for beauty work for good reason. With the light close to the subject and centered on the face, butterfly lighting narrows the face. It does this primarily due to the fast falloff, leaving the lower parts of the cheeks in shadow. Also, the shadow directly under the chin minimizes any weight the face may carry in that area. Beyond that, the butterfly pattern under the nose might be the most apparent shadow. Still, we also get excellent shape in the lips and cheekbones. In many ways, butterfly lighting is forgiving and helps shape the face in a well… beautiful way.
Another thing to remember is that, on many levels, the placement of the light, which would create butterfly lighting, can be slightly modified to make a very versatile setup. If you back the light up a bit but keep it centered and slightly tilted down, this is an excellent light for general photography as it allows the subject to move easily within the light without risking a poorly lit frame. If, for instance, we side-lit a portrait, when the subject turns too far away from the source, we completely lose detail. However, with a butterfly, a turned head might technically make it not 100% true butterfly, but we will still get a well-lit shot.
Disadvantages of Butterfly Lighting
Butterfly lighting is the primary style of lighting used for beauty work for good reason. Yes, I just repeated myself. While butterfly lighting can be very flattering, as described above, it is also created using hard light sources close up. Where there are shadows, there are details. Details such as wrinkles and blemishes in the skin, details as in uneven skin tones. Thus, while butterfly lighting can easily enhance a portrait and elevate it to a beautiful one, it can also create a lot of retouching work if the subject does not have clear skin or great makeup.
Another aspect of butterfly lighting is that it almost always requires some fill light. This needs to be on-axis or in the clamshell position, meaning that using ambient light is generally not an option. Thus, if you are traveling light and only have a single light source, butterfly lighting will give you a few posing options to work with. In those cases, you are better off with a more forgiving light pattern, like a classic 3/4 light.
Conclusion
The butterfly lighting pattern is one of the best ways to light a portrait to evoke beauty and glamour. Using hard light and great shadow placement, we sculpt the face with light. Like any lighting pattern, always think first about your subject. Do they have a clear complexion? Is a glamorous look right for them? If so, grab your beauty dish and make some fantastic beauty portraits.
Check out this live stream where I create some beauty portraits using butterfly lighting.
