Balance is a word we usually associate with a good photographic composition. We want to frame only the visual elements that add value to the story and create meaningful relationships between them. Balance is essential for that. However, balance doesn’t necessarily mean the pairing of identical elements. It may mean the matching of different, even opposite, elements, as it’s often the case in photography. The dynamic of the composition should invite the viewer to go from one element to another. As visual elements rarely have the same weight, asymmetrical balance comes into play. Here is what you need to know to recognize it in the scenes you photograph and use it to your advantage.
What is Asymmetrical Balance?
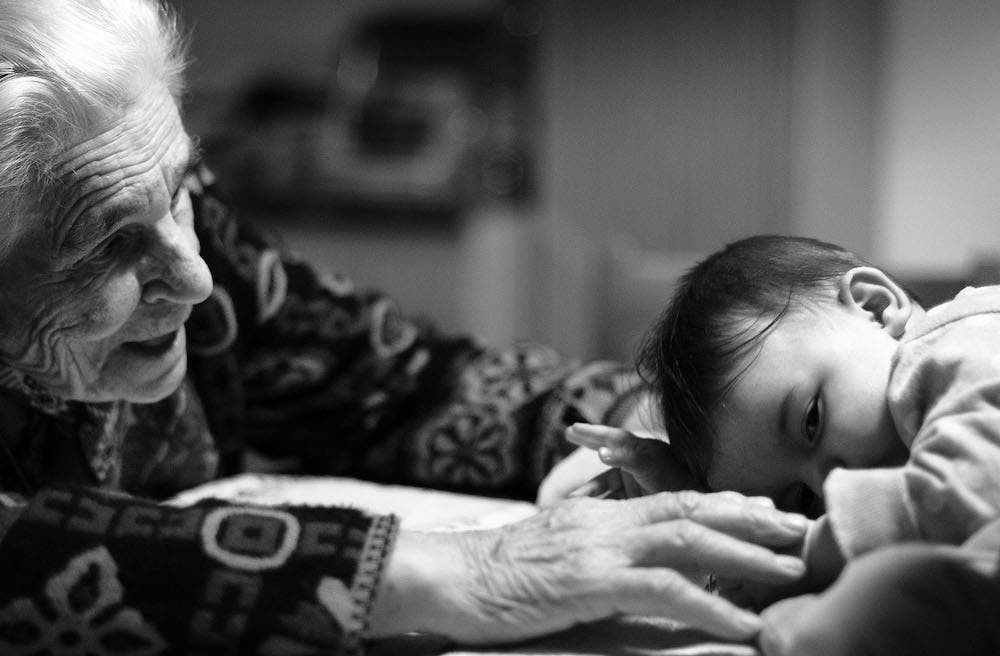
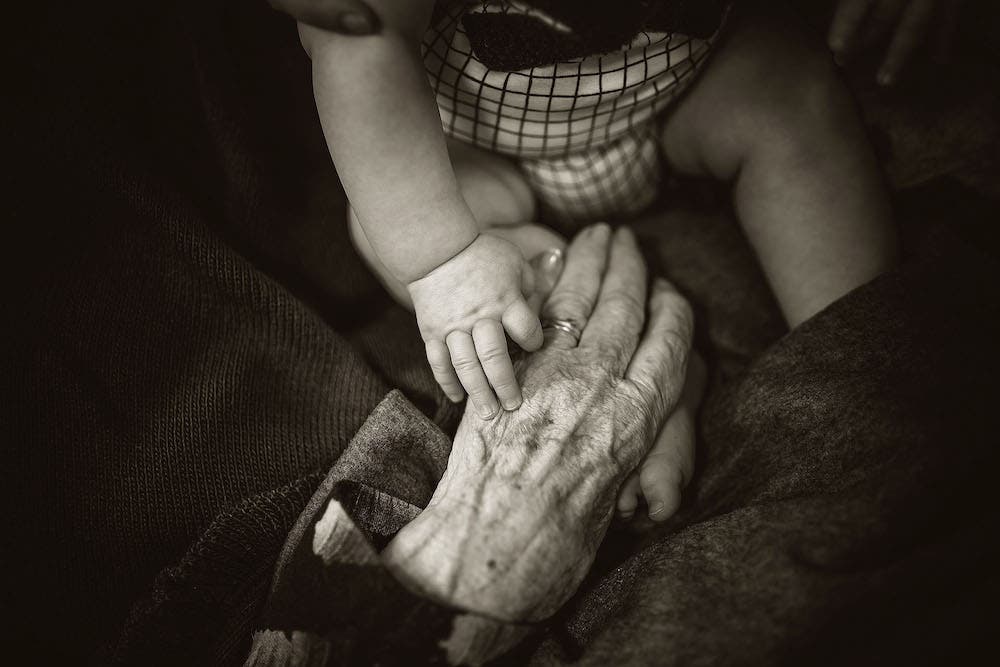
Asymmetrical balance means achieving equilibrium by using visual elements with different properties. For example, half of the frame may include sharp, dark shapes. Meanwhile, the other half has smooth patches of color or neutral tones. While the two parts have visibly different elements, none of them overpower the other. They give the impression they belong together.
Unlike symmetrical balance, where the composition has to include two equal areas with identical visual elements, asymmetrical balance thrives on dissimilarities. The higher the contrast between elements, the more attention the photographer needs to pay to create the perfect match. A large element that occupies a big part of the frame needs to compensate for a small but visually striking element (e.g., a vivid color or recognizable shape, etc.). While symmetrical balance provides uniformity and rhythm, asymmetrical balance provides diversity and harmony.


How to Create Asymmetrical Balance
Framing
Diversity is easy to find in whatever subject matter or photographic genre you prefer. The world is a generous provider of objects with different shapes, sizes, and textures. All you have to do is adjust the position and angle of the camera until you achieve the composition you want. Framing is the first step towards balance — being it symmetrical or asymmetrical.
First, decompose the scene into basic visual elements and select the ones you want in the frame. Then, evaluate the visual weight of each element. Large elements, saturated colors, dark areas, recognizable shapes, and textured areas have more weight. Small elements, neutral tones, highlights, arbitrary shapes, and smooth areas have less weight. Furthermore, the position in the frame influences the weights. Elements placed in the foreground or according to the rules of composition become heavier. With this in mind, you can compute the visual weight of each part of the frame and adjust the framing until you reach balance.
Rule of Thirds
The rule of thirds is often used to create asymmetrical balance. For example, it helps balance a textured, highly detailed ground and a serene blue sky. To compensate for the heavier ground, you use just one-third of the frame for it and leave two-thirds for the sky. Another example is placing a small subject on the rule of thirds grid to increase its weight and compensate for the vast space around it.
If you have multiple subjects on the same part of the frame, their weights will add up and create a heavy focal point. You need to counterbalance the other part of the frame, either with something larger, more textured, or more colorful. If the subjects are spread throughout the frame, the side with the lighter subject needs some help (e.g., a more interesting background, some texture, more color, darkness, etc.). The principles of Gestalt psychology may help you better understand the relationship between the subjects’ placement and their impact on the viewer.
Contrast
An element that includes contrast weighs very much. It captures the viewer’s attention and is very hard to counterbalance. And contrast has many forms, from highlights and shadows, to textured and smooth, to detailed and plain, to color contrast. When you have two contrasting elements in different parts of the frame, they will balance each other. But when you have a juxtaposition of contrasting elements on one side of the frame, you need to find the framing that adds enough weight on the opposite side. Therefore, evaluate not only individual characteristics but also the relations between them.
Conceptual Meaning
Sometimes the weight of an element doesn’t come at all from its visible characteristics but from its conceptual meaning. For example, colors may convey feelings, induce warmth or coldness, or add a temporal dimension (e.g., autumn leaves, sunset). Warm colors such as red, orange, and yellow have more weight than cold colors. Emotional charged shapes and elements also weigh more.

Negative Space
One way to counterbalance a visually heavy part of the frame is to use negative space. Negative space is the featureless space that surrounds a subject. It doesn’t have a bright color or distracting texture and doesn’t steal attention from the subject. Instead, it grounds the subject and balances the composition. For example, a heavy textured object with lots of striking patterns — such as a bouquet — looks better on a plain background or an empty table. If you don’t have a plain background, you can reduce its weight by using a shallow depth of field and blurring it.

When you want to create asymmetrical balance, ask yourself, “What is the second visual element that captures my attention after the main subject?” If the answer is nothing, you’ve missed something.
How to Create Asymmetrical Balance in Post Production
If you didn’t get the asymmetrical balance right when taking the photo, you still have a chance in post-processing. While framing is essential, it can be adjusted using a photo editor. Just be careful not to compromise image quality while looking for the best balance.
Cropping
The first thing you can do to fix balance is to cut out distracting elements. Cropping allows you to eliminate awkwardly framed objects and clean up the composition. It also allows you to respect the rule of thirds even if you didn’t do it initially. It’s good practice to preserve the aspect ratio of your photograph. But if you need to alter the aspect ratio, for example, to cut a landscape-oriented composition out of a portrait-oriented photo, having a RAW file helps you achieve a good-enough resolution.


Cropping eliminates distracting elements at the edge of the frame and can change the ratio between parts of the image (e.g., sky and ground). But it doesn’t change the relationship between the remaining elements. You need more subtle edits to do this, such as adjusting the color, brightness, or clarity of a particular part of the image.
For example, if you need to decrease the visual weight of an object, you can reduce its color saturation or increase its brightness using a brush or working on a selection. If you need to tone down a large part of the image (say, the background) the blur tool is a better option. Blurring also helps when you have a textured element that needs a smooth surface around it for counterbalance.
Adjust Contrast
Adjusting contrast works when your asymmetrical balance relies on brightness versus darkness. If the dark side is too large and overpowers the bright one, using the Curves tool to increase the highlights will bring back balance. On the contrary, if you need more negative space to compensate for a visually powerful subject, a darker background will do the trick.

Color Grading
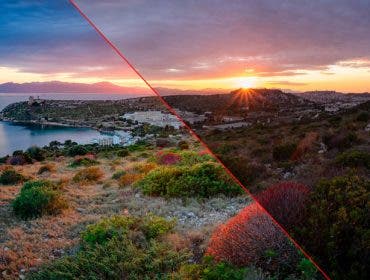
If you want to create balance through color, color grading is what you need. By adjusting the hue, saturation, contrast, and brightening, color grading creates looks or effects that change the mood of the photograph. Color grading may create cinematic looks, affect color temperature, influence contrast, or favor a particular shade. It changes how a photo feels and, as a result, influences the relationships between elements.

There are also less subtle ways of creating asymmetrical balance. You can remove objects from the frame, change the background, recolor an object, convert to black and white, add vignettes, or add light sources. But, in many cases, the result won’t be natural looking or have the original aesthetic. It’s up to you how far you want to go.
Conclusion
Symmetrical balance is something you look for, trying hard to find symmetries and reflections that improve your composition. Asymmetrical balance is something you work with on a regular basis. Most of your pictures will be asymmetrical, incorporating elements of different shapes, sizes, and colors. Therefore, it should become second nature to compute the visual weight of each of them and find the best camera angle and perspective to create the relationships you need between elements. Although post-processing can fix a few errors, try to have the discipline of getting the composition right in the camera and train your eye to ‘feel’ the balance.


