Portrait photography — especially fashion, beauty, and studio portrait photography — focuses on capturing the model’s best features. Everything has to look flawless, from the tone of the skin to hair and the color of the eyes. Furthermore, everything has to look natural too. Therefore, lighting becomes an essential part of the photo setup. But lighting means much more than using a flash or placing a powerful light source in front of the subject. Lighting has to be subtle, natural-looking, and resemble a sun-kissed appearance. This is where the hair light enters the scene.
What is a Hair Light?
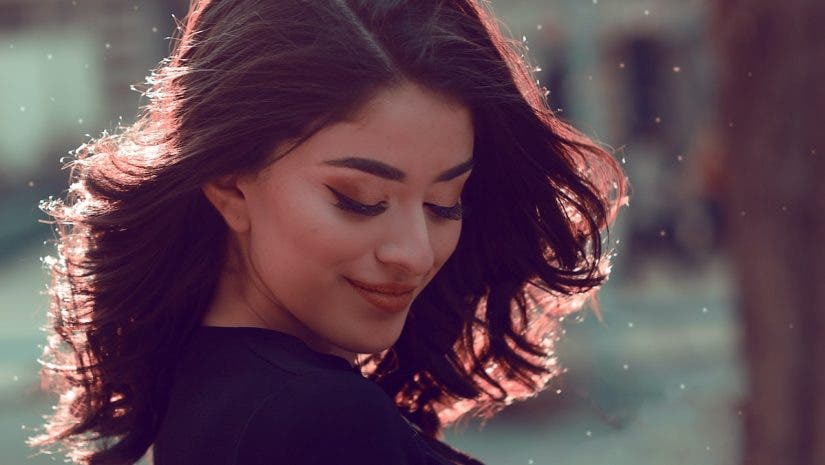
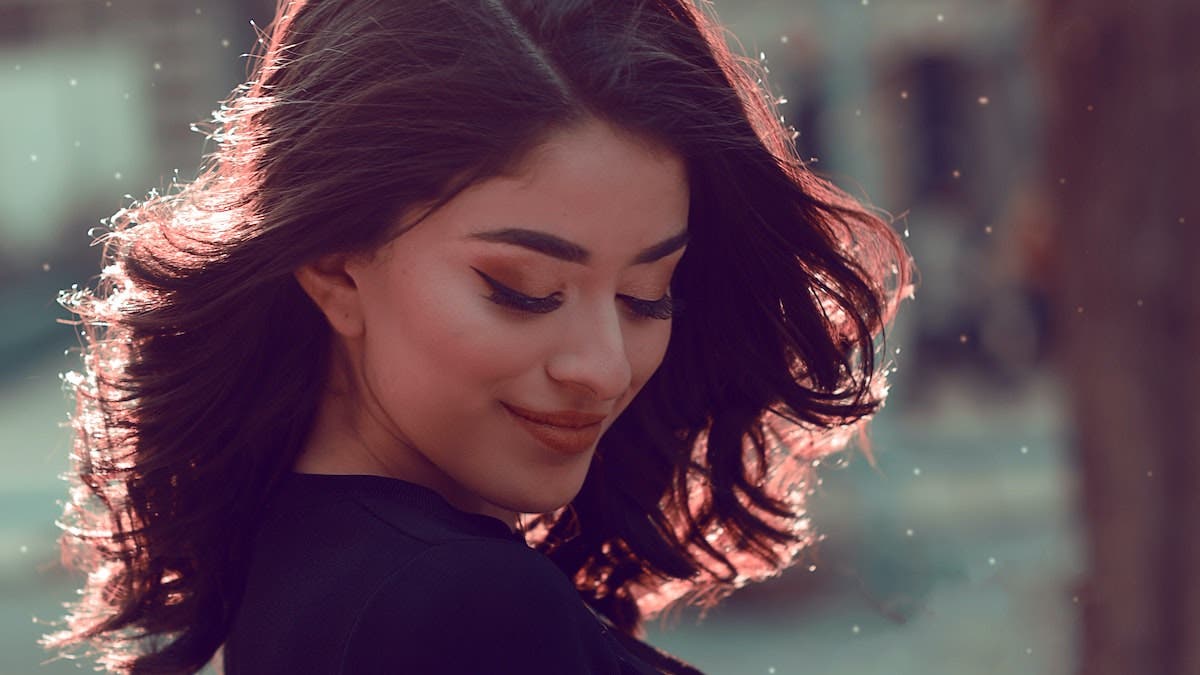
A hair light is a studio lighting setup that focuses a source of light exclusively on the hair of the model. The main purpose is to make the hair look glossy and more defined.
Another purpose is to separate the hair from the background by creating a halo effect. Often, a hair light is used when both the model’s hair and the background are dark and hard to distinguish. The effect is similar to the chiaroscuro painting technique, which uses light accents to separate the important features from a dark background. In this case, one of the important features is the model’s hair.
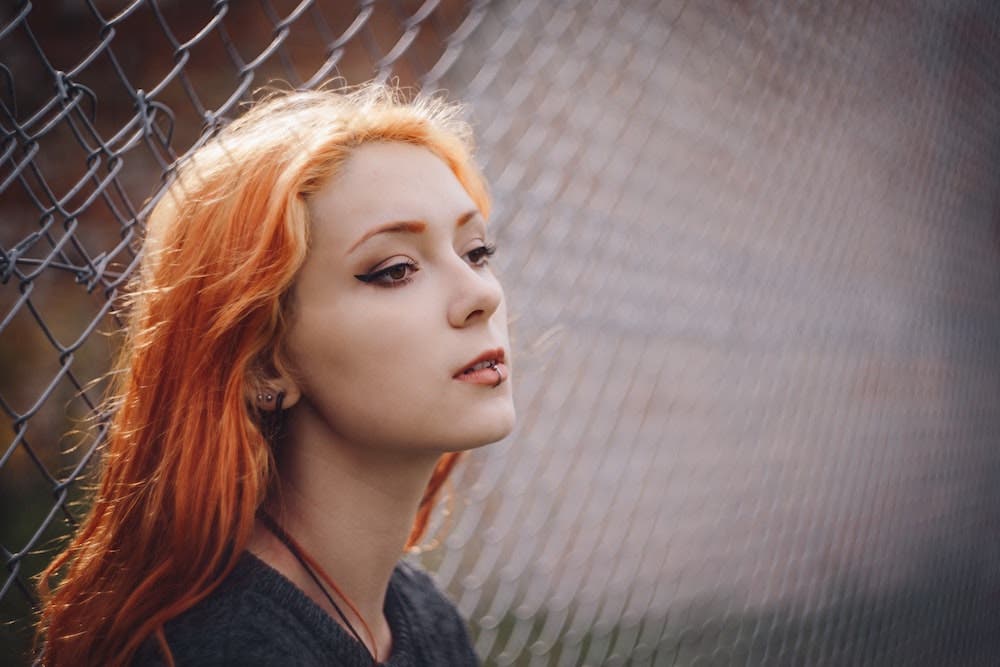
By separating the hair from the background, you make the model stand out. You also add a sense of depth to the portrait, making the image look three-dimensional and appealing.
At the same time, a hair light adds texture to the person’s hair, which is flattering. This accent light is a must for fashion and beauty portraits, since time and effort in invested in designing the model’s hairstyle. The hair will lack sheen and look flat in the absence of hair light. The perfect example of using a hair light is shampoo or hair color ads.
You can use either a flash or a continuous light source to create a hair light. You can even use the sunlight, but only if you can have it illuminating only the person’s hair and maybe the shoulders. It is not a hair light whenever the sunlight illuminates more of the person than the hair and shoulders.
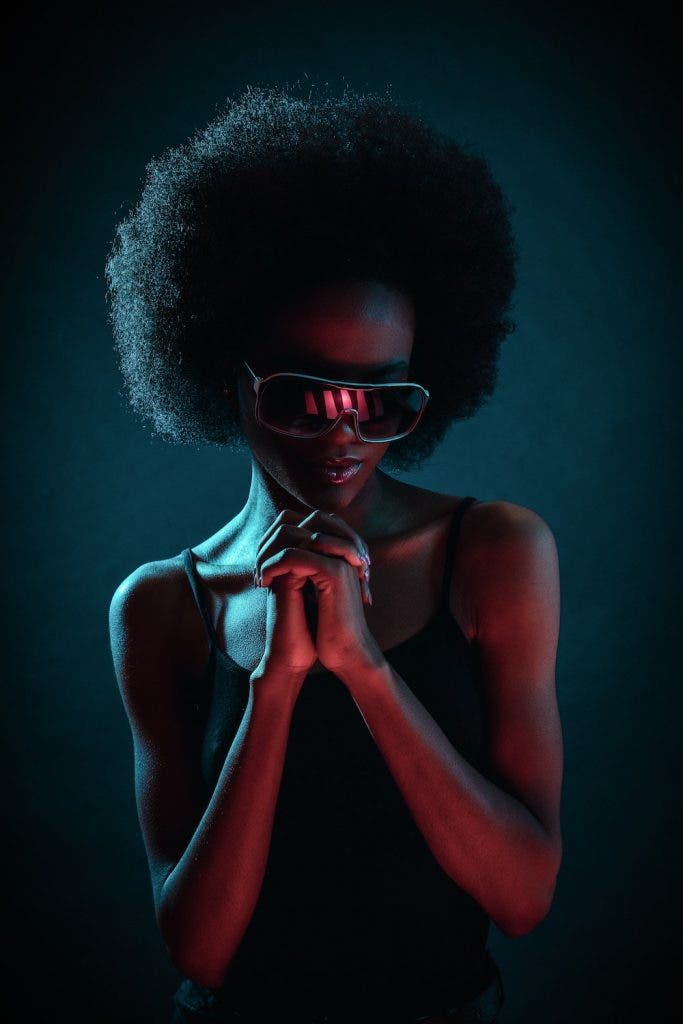
Many photographers consider a hair light so subtle that it passes unnoticed to the untrained eye. The effect just enhances the natural beauty and glow of the hair. However, a hair light can be harsh and obvious as well. You can be as dramatic as you want and create fine art portraiture or anti-portraits instead of commercial-looking photographs. It depends on your brief and artistic purpose.
How to Position a Hair Light
A hair light is a secondary light in your photo setup. You also have the primary and fill lights, and possible others. The hair light is placed behind and slightly above the model’s head and illuminates just the hair. You need to ensure the hair light doesn’t reach other parts of the model (e.g., the face), the background, or the lens. It is a very precise source of light with a single target. When you can’t control the spreading of the light, you resort to lighting modifiers.
However, you have a little freedom when it comes to the angle of the light. You can position the hair light exactly behind the model or to the side (right or left). Especially for lateral portraits, having the hair light to the side is very handy.
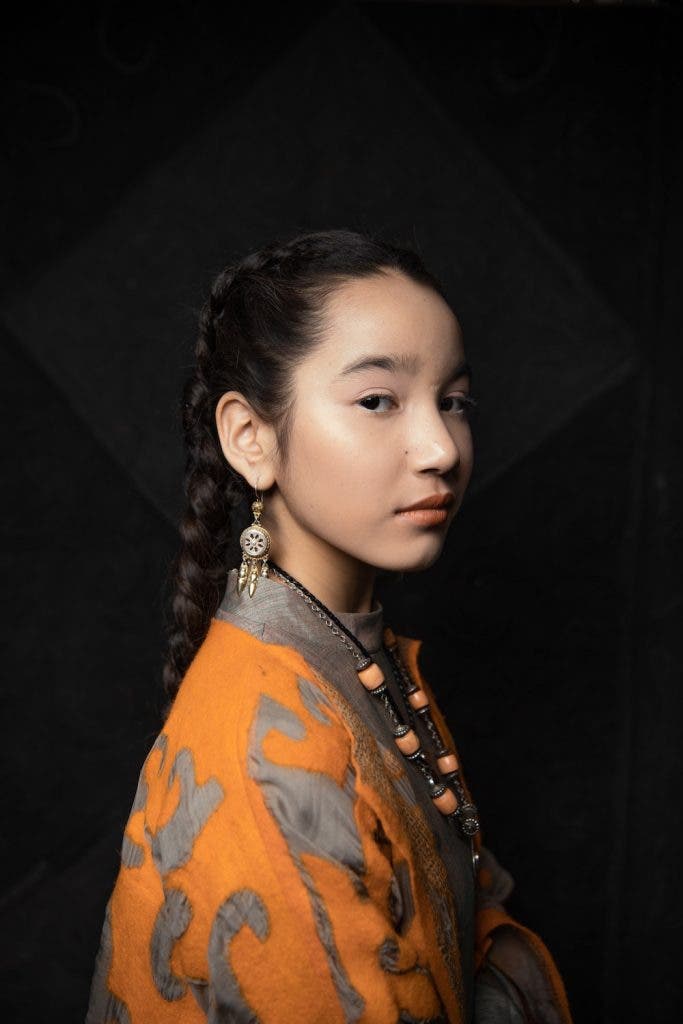
Classic portraits have the hair light on the brightest side of the model. However, because you want to create a separation between hair and background, it’s often better to use the hair light to illuminate the darkest side of the model. This is where dark hair and background will blend and become inseparable.
There is also the matter of how far from the model you should place the hair light. As you know, the light fades with distance. At the same time, further away from the source, it also spreads and covers a larger area. If you place a hair light too high above the subject, the light will surround the model and reach much more than the hair area. If you put the light too close to the model, the light will create a bright blob of light instead of the subtle highlight you are after. So, it takes some time to find the best position for the hair light.
Setting a hair light depends not only on your artistic brief but also on the model’s hair. For example, for a model with blonde or silver hair, you will have to reduce the intensity of the light or adjust exposure to avoid overexposing the hair. You can also soften the light by using a diffuser. As a general rule, the hair light should have the same characteristics as the primary light source, but it is usually less intense and softer.
When to Use a Hair Light
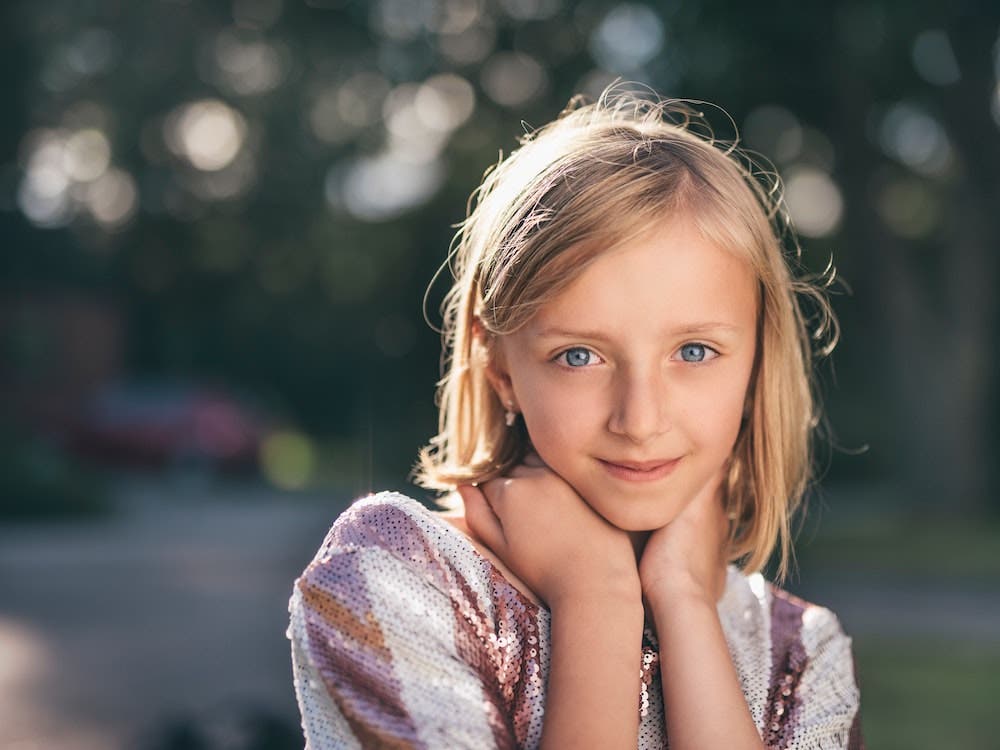
Use a hair light anytime you want to enhance the texture and quality of the hair. The subtle highlights will create a glamorous and healthy aspect. But, at the same time, it will accentuate the defects of the hair. A damaged, frizzy hair will show all its flaws under a hair light.
Adapt the position and intensity of the hair light based on the model’s hairstyle. Curly hair needs strong highlights to define the curves. A bright color hair needs a softer light. Long hair looks best when the highlights follow its natural flow. In a geometric cut, you need to emphasize the lines. You may also want to adjust the color of the hair light and create a warm, metallic, or funky aspect.
Also, use a hair light when you need to make the subject stand out more and add a sense of depth to the composition. When you don’t have an obvious contrast between hair and background, you need to create a separation with lighting.
Many photographers have a hair light on hand, although they don’t always use it. So you can take a few shots with and without the hair light and observe the differences.
Recommended Products
You can use both hard and soft light sources as a hair light. Usually, you use the same type of light as for the other lighting setups. For example, you can use an off-camera speedlight, which is an external flash that produces a powerful burst of light. It is small, easy to set up, and versatile. Although it produces a hard light, you can soften it using a diffuser or softbox. Here’s an example of a speed light and softbox.
If you don’t worry about the weight and size of your equipment, you can use a strobe. It is also a flash but emits a shorter and more powerful burst of light than a speedlight. As a result, you can place the hair light further away from the model. The power of the strobe has another advantage. It freezes the slightest movement of the model and produces sharp images.
In addition, strobes have a modeling light, which is a continuous light that simulates the effect of the strobe. You can use it to determine how the resulting image looks and make informed decisions. If you decide on this, don’t forget about wireless flash triggers and batteries. Here’s an example of a strobe and flash trigger.
A hair light doesn’t necessarily have to be a strobe or speedlight. It can be a continuous light source, such as a compact fluorescent light (CFL) or a LED light. A continuous light source lets you see how the light falls on the model before taking the photo. As a result, you see the exact position of highlights and shadows.
A continuous light source is also gentler with the model, doesn’t get very hot, and doesn’t request cables lying around. You can control the intensity of light closely and, in some cases, even the color temperature of the light.
On the negative side, continuous light sources are less powerful than flashes. And if you use a diffuser, you reduce the amount of light even more.
Besides the light source, you will also need a stand or light pole to mount the hair light in position. As the light has to be above the model, make sure you get a tall stand.
Photographers use lighting modifiers because the hair light has to reach just the model’s hair and nothing else. The most common are grids and barn doors.
For example, a honeycomb grid provides a strong directionality and helps you avoid the spreading of the light beyond the model’s hair. Likewise, a barn door blocks the light from getting to the lens and creating flares. Here are examples of a grid and barn door:
Concluding Words
Finding the most flattering lighting setup isn’t easy or cheap. And it doesn’t suit all models and situations. Usually, it takes a trial-and-error process until you find the correct position and intensity for the hair light. However, the results are worth the trouble. It creates an artful effect, enhances the model’s natural features, and adds a new dimension to your composition. It opens endless creative possibilities. So try it and see what a hair light can do for your portraits.
