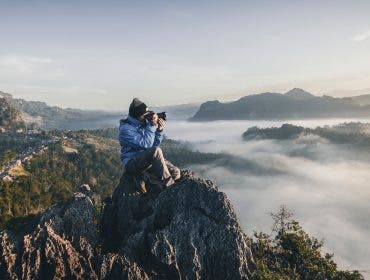
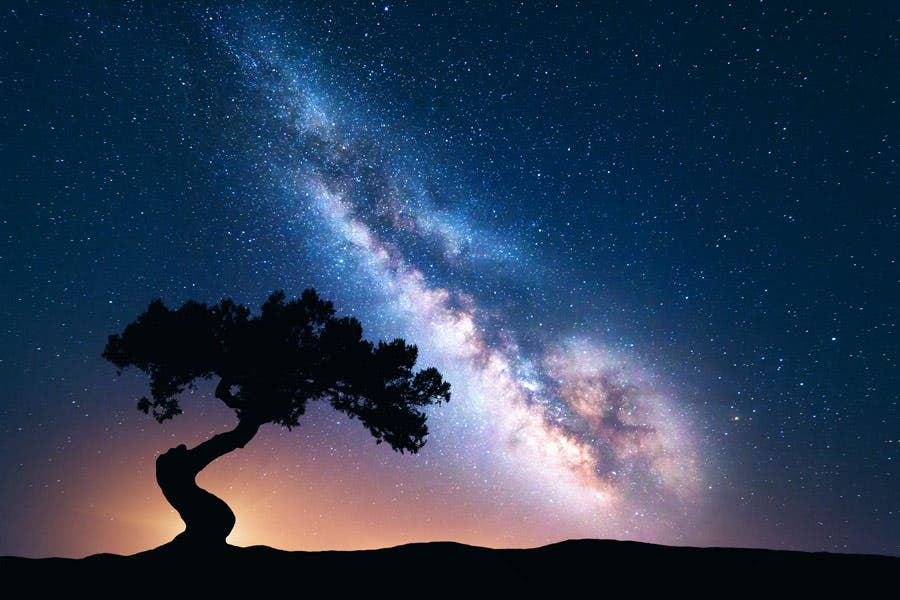
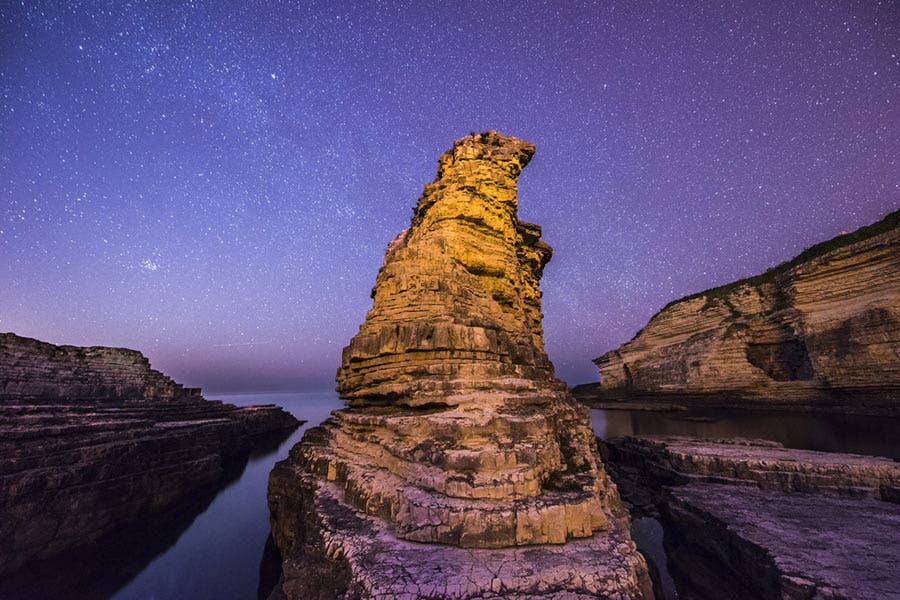
Photographing the night sky is one of the biggest and most difficult feats to accomplish for an aspiring photographer. It not only requires significant experience, especially in long-exposure photography, but also requires a lot of knowledge in using professional cameras, including astrophotography settings.
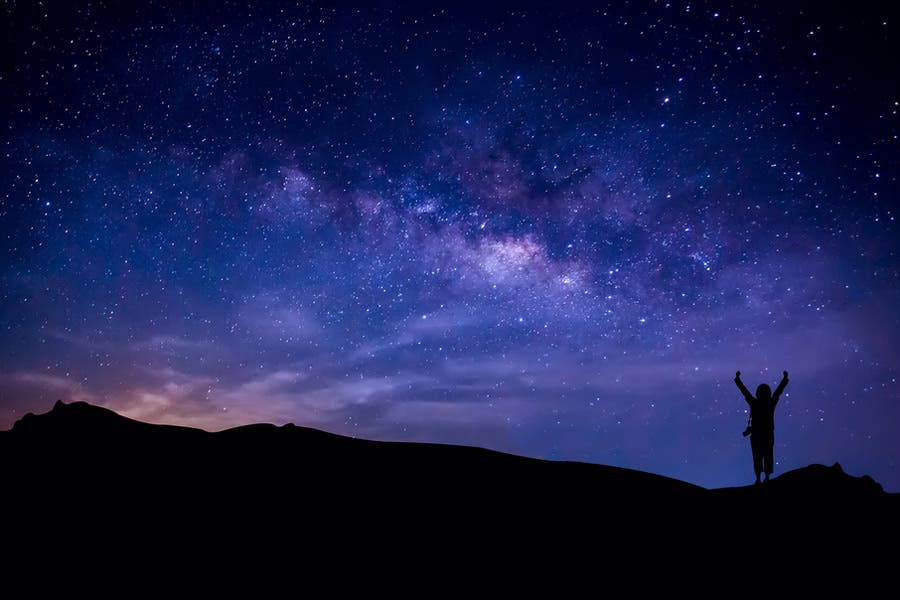
Fortunately, you don’t have to spend years practicing or a fortune in photography workshops just to level up and be able to get a decent shot of the moon and stars. All you really need is some dedication, a lot of patience, your camera equipment, and technical suggestions to optimize your camera for astrophotography.
Recommended Manual Camera Settings for Astrophotography
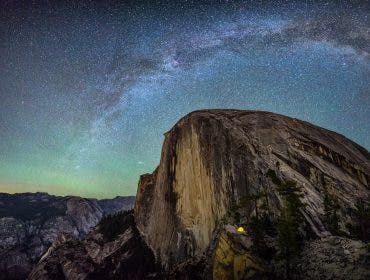
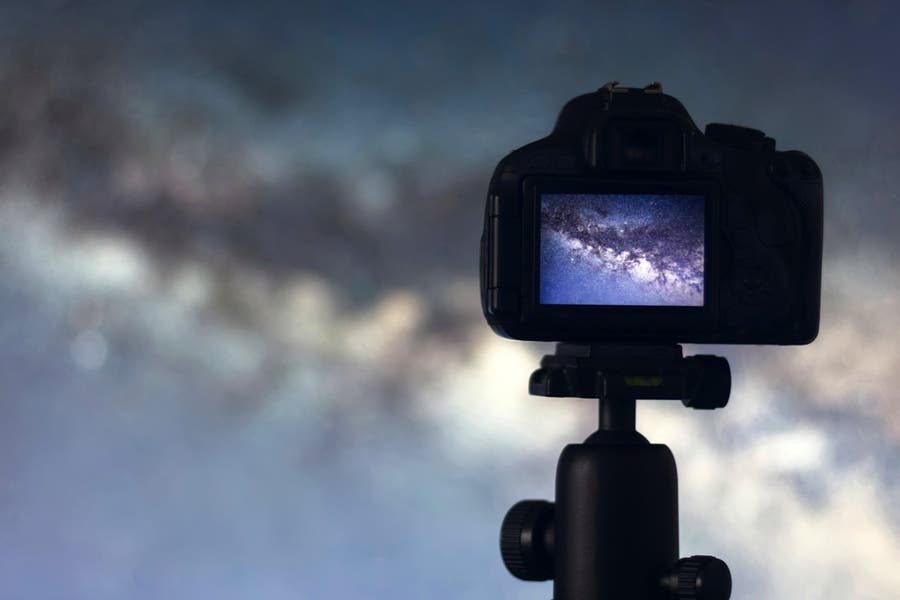
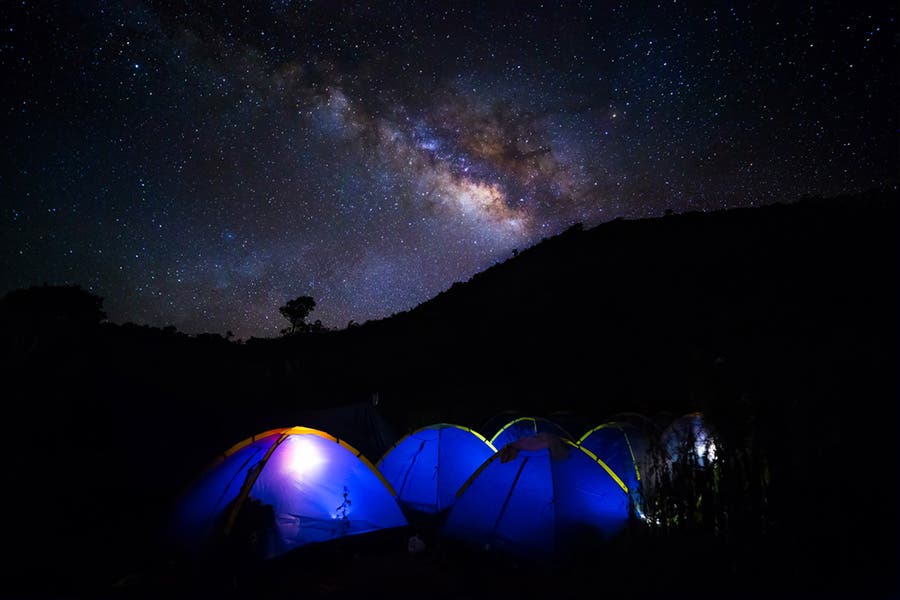
Before anything, you’ll want to choose a good spot for your camera and an ideal tripod for astrophotography. It should have a pretty good view of the night sky that’s ideally pitch black and far away from the light pollution of the city.
Once you’re ready to start shooting, dial in these recommended camera settings. These are basic camera settings usually set with controls on the outside of your camera, but they can also be set in menus. Most of these should already be familiar to you, but we’ll also explain it in detail below.
- Set Camera Dial to Manual Exposure Mode
- Adjust Exposure Compensation to Zero
- Go With a Very Wide Aperture
- Use Longer Shutter Speeds
- Set High ISO Levels
- Turn the Auto-Focus Feature OFF
- Select the Highest Resolution and Quality Setting
- Choose the RAW (or RAW + JPEG) Image File Format
- Set White Balance to Daylight
- Turn In-Camera Long Exposure Noise Reduction OFF
- Disable In-Camera Sharpening OFF
- Set Color Space to sRGB
- Turn Built-In Flash OFF
- Use a Remote Shutter Release
- Shoot in Bulb Mode
- Enable Mirror Lockup
- Cover the Viewfinder
Set Camera Dial to Manual Exposure Mode
Astrophotography involves taking long exposure shots at night, which means adjusting different manual camera settings that include the shutter speed, aperture, ISO, and many others. This also explains why shooting night skies requires more advanced photography skills and camera know-how.
Adjust Exposure Compensation to Zero
In case you used auto exposure beforehand or allowed somebody to use your camera, make sure your exposure compensation is set to 0. After all, you’ll be adjusting your astrophotography exposure settings manually.
Go With a Very Wide Aperture
Since it’s very important to let as much light in as possible when shooting dark skies, it’s crucial that you really open up your aperture. Use apertures like f/2.8 or bigger, depending on what your lens allows. If it doesn’t, you may want to consider getting one that’s much faster! You’ll be surprised how just a few stops can make a huge difference in terms of image brightness (i.e. f/1.4 letting in around 200% of the light at f/2).
Use Longer Shutter Speeds
Many shooters use shutter speeds of 30 seconds and longer, but if you can leave your aperture wide open, you should already be able to get a good shot of the stars at 20 seconds.
Set High ISO Levels
For deep-sky astrophotography, your ISO levels should generally be set high and support your other exposure settings. For some, 800 or 1600 works in bringing out the moon and stars during long-exposure shots of dark night skies. You can opt to go higher than that if your camera is one that excels in low light conditions.
Turn Autofocus OFF
Cameras have a hard time autofocusing when there’s not much light present. Instead, autofocus on the moon, the nearest star, or the hard edge of a faraway tree or building before switching to manual focus to keep it there. If there aren’t any bright or visible points, you can try using a laser pointer and try to make your camera focus on that (using LiveView) before switching to manual focus.
Select the Highest Resolution and Quality Setting
For astrophotography, it’s always ideal to pick the highest optical resolution and quality possible. They’re usually labeled as “Large”, “Medium” and “Small”, or “High”, “Medium” and “Low” within the camera menu, depending on the model and brand of your camera.
Choose the RAW (or RAW + JPEG) Image File Format
Shooting in digital RAW vs JPEG allows you to preserve all of the original image information, which means it also gives you a much larger 12-bit photo compared to compressed JPEGs. It’s obviously the best file format to shoot in when doing astrophotography as it gives you more control over how it is manipulated and enhanced later on.
Of course, you also have the option to shoot both JPEGs and RAW files at a time, especially if your camera has good low-noise performance. This saves you from going through any trouble just to have a ready image to show.
Set White Balance to Daylight
The easiest way to do it is to set your white balance to Daylight, especially if you’re shooting JPEG images. You’ll find that this white balance mode color corrects the entire image based on the whitish color temperature of most stars. However, the effect may not be as pleasing on the sky background, especially when there’s light pollution present.
Fix it by using a custom white balance, or even the Tungsten mode for sites with reddish light pollution. Or, you can simply shoot RAW image files and try out different white balance settings on them later on during post-processing.
Turn the In-Camera Long-Exposure Noise Reduction OFF
This recommendation greatly depends on your skill level. If you will be shooting long-exposure JPEG photos, then you’ll do well with your camera’s long-exposure noise reduction (LENR). Capturing photos will take longer than usual, but it helps “reduce” the appearance of image noise by weakening your thermal signal. Once you level up and wish to try shooting multiple frames that you can stack later on to create a more sophisticated and professional image, you’ll want to turn this feature off.
Disable In-Camera Sharpening
Your camera’s built-in sharpening feature can make stars look sharper, but it can also make image noise more pronounced, especially if you’re shooting JPEGs at a high ISO. Hence, it’s best to save the careful and selective sharpening for later during the post-processing stage.
Set Color Space to sRGB
Many professionals know that using Adobe RGB allows you to use the largest color space available, but this also requires some serious understanding of color spaces. Otherwise, you end up with inaccurate colors that will ruin your image.
Unless you know what you’re doing, avoid damaging your images and set your color space to the default sRGB.
Turn Built-In Flash OFF
This should go without saying, but taking photos of stars and the night sky doesn’t require any flash as the light won’t even reach the atmosphere, much less the moon.
Use a Remote Shutter Release
Nobody should dare do long exposures without using a remote shutter. If you don’t have it, use the built-in timer so that you don’t have to touch the camera, as well as to reduce vibrations and the appearance of star “trails.”
Shoot in Bulb Mode
Experience will tell you that 25 seconds is just not enough sometimes. So by all means, use shutter speeds beyond that but depending on your camera, it may require you to choose Bulb mode. Use a cable release so you don’t have to stand next to your camera during every lengthy exposure.
Enable Mirror Lockup
For most astrophotos with short exposures and a tripod, it helps to lock the mirror up beforehand so the internal mirror stays up and doesn’t slap or cause vibrations that will result in blurry stars. However, this may not be necessary if you’re doing longer exposures with a decent and solid tripod.
Cover your viewfinder
When doing long exposures in the dark, remember to always cover your viewfinder to prevent any light coming from the back of the camera from disrupting or brightening your exposure. Many cameras are known to have light leak problems, so it’s best to be sure by covering your viewfinder with your hand, a cloth, a cardboard, or the cap that came with it, depending on the light source and strength.
Here are a few more recommended settings for astrophotography:
- Set Drive to Single Shot
- Turn Image Review Off
- Set Metering Method to Spot
- Set Contrast and Color Saturation to Normal
- Turn Red-Eye Reduction Off
- Set Optical Resolution to Highest Native Setting
- Use a Compact Flash Card
What is the 500 rule in astrophotography?
The 500 rule is used to determine the maximum exposure time you can shoot in a dark, new moon sky before the stars become blurry or create star trails. Following this rule will lead to the best astrophotography camera settings and the sharpest stars in your images, or at the very least, create a fantastic starting point for your astrophotography settings.
The formula goes as follows for the sharpest astrophotography settings:
500 / (Crop-Factor x Focal Length) = The Best Shutter Speed for Sharp Stars
Crop factor values are as follows, depending upon the camera sensor you are using:
- 1x = Full-frame sensor
- 1.5-1.6x = APS-C sensor cameras
- 2x = Micro 4/3 cameras
- 2.7x or higher = Compact cameras
So for example if you’re shooting with a full-frame camera at 15mm, your shutter speed would be:
500 / (1 x 15mm) = 33.3 or around 30 seconds
Once you’re able to calculate your ideal shutter speed, you can then adjust your settings by raising your ISO for astrophotography, based on light pollution and how light or dark you want your sky to be, while taking into account the amount of noise in your image that occurs with higher ISO settings.
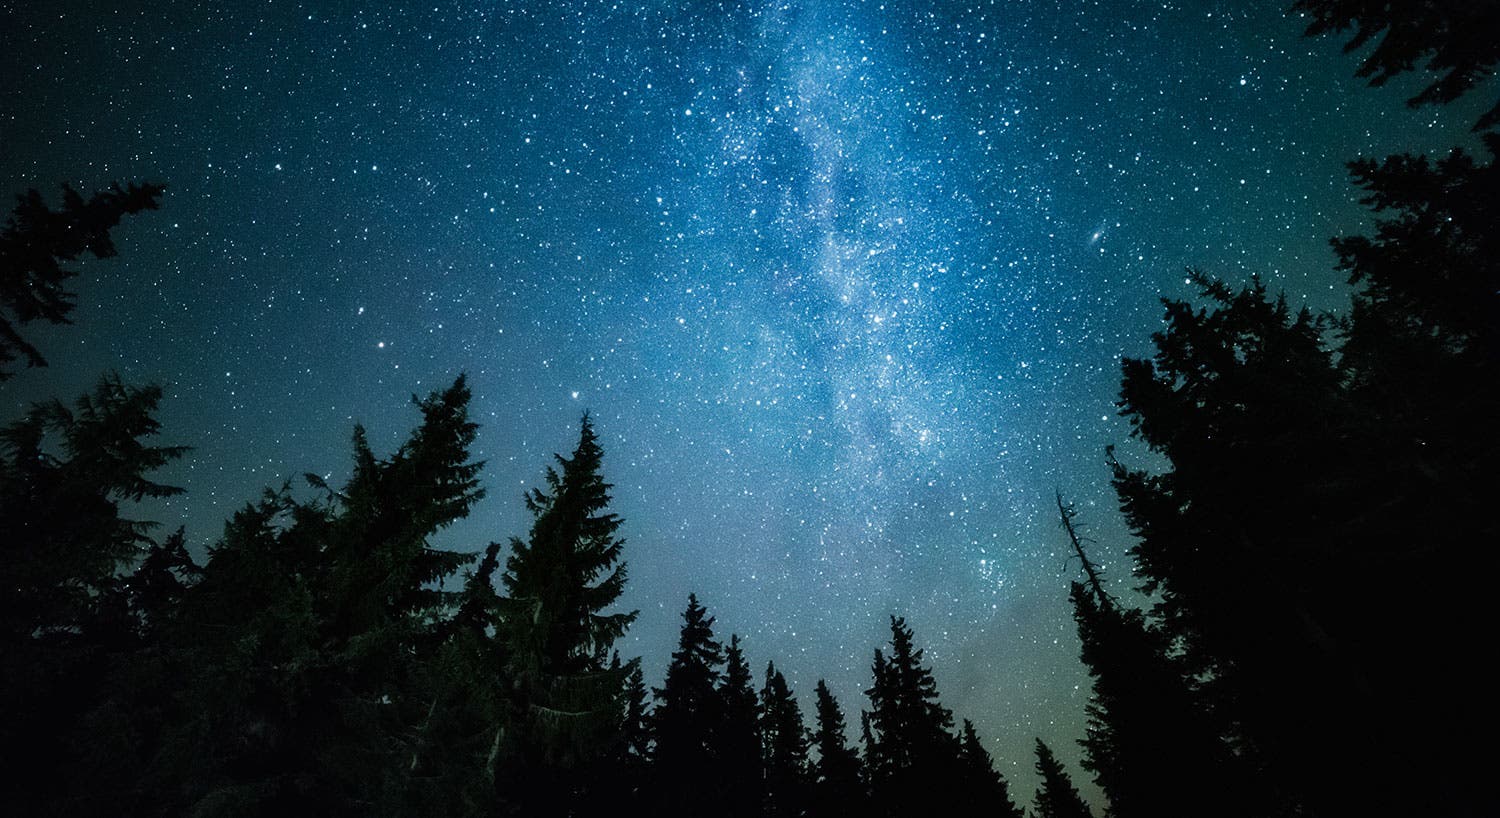
How long does it take to catch star trails?
If you’re looking to capture the beautiful effect of star trails, it does require some patience. While you can start to see small star trails when shooting longer than the 500 rule, to get more dramatic lines or circles, you need much more time.
Depending upon the star trail look you’re going for, it can take between 30 minutes to several hours. So it’s good practice to set up your tripod for an overnight session during the day, so it can handle hours of shooting at night and be positioned to capture star movement from the north or south celestrial poles.
How many photos do I need for star trails?
It can take hundreds of images or just one. It depends on the method you are choosing to photograph.
There are two types: image stacking with a shorter exposure and single exposure with a very long exposure. Typically, most photographers prefer the first method, for two main reasons.
First, depending on your internal or external camera intervalometer settings, you will take hundreds of images in a span of 30 minutes or more using this method. This is much more forgiving, in case some of your frames aren’t sharp or have issues.
Second, shorter exposures have far less noise in the image, making them much easier to work with during post-processing, when you begin applying techniques like focus and image stacking.
See how a professional does it in the special AdoramaTV episode below: