Videography has lower budgets than filmmaking and doesn’t benefit from large studios with expensive equipment and lots of employees. Furthermore, videographers often shoot in locations where they can’t bring all their lighting equipment and must rely on whatever is available on site. So, they need to get creative and improvise on the spot.
Knowing film lighting techniques, such as practical lighting, is handy because it opens many possibilities. Practical lights are neither expensive nor hard to find, brighten the scene, and create an atmosphere. You can use them for just one video and repurpose them after that. Second-hand items are a good solution, too. So, here is everything you need to know about practical lights and how to use them in videography.
What Are Practical Lights?
Practical lights refer to a film lighting technique that uses light sources visible on the screen to illuminate a scene. Instead of being hidden behind the camera or outside the frame like you would expect film lights to be, practical lights are in plain view. They may be natural (e.g., sunlight coming through a window) or artificial (e.g., lamps, lanterns, candles, surgical lights, household bulbs, bare neon tubes, etc.).
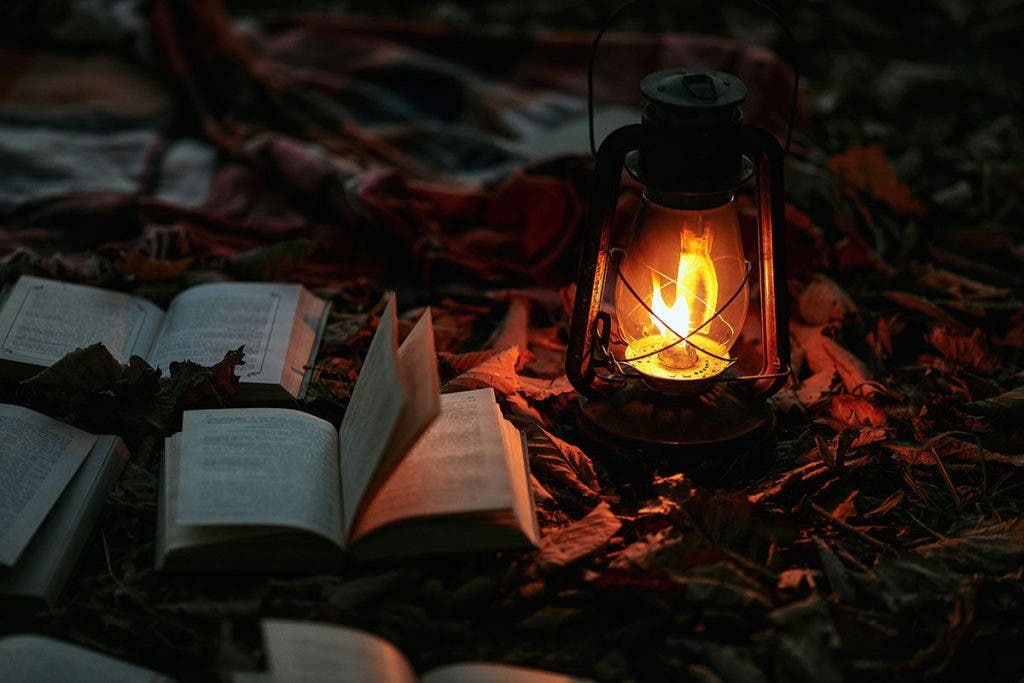
In videography, there are situations when you can’t adjust practical lights (e.g., street lights, table light design at weddings, etc.). Therefore, you must learn to work with them and thoughtfully include them in your videos. On the other hand, there are situations when you purposefully place practical lights in the scene to enrich your visual story, such as a lit smartphone that tells that someone was just looking at their phone, maybe anxiously waiting for a message.
Why Should One Use Practical Lighting in Videography?
Practical lighting provides a light source that illuminates the scene realistically, allowing you to record high-quality video footage. When you film indoors or at night, people expect to see the light source and notice if the lighting is there without any explanation. For instance, if a book is important to the story in a dark living room scene, place it under a lamp so the audience won’t find it strange that there is light in the book.
Unless you can count on sunlight or moonlight, light has to come from somewhere. Placing all the lights outside the frame creates a fake-looking atmosphere, and, at a subconscious level, people feel that what they see is not real. The effect is similar to a televised theater play.
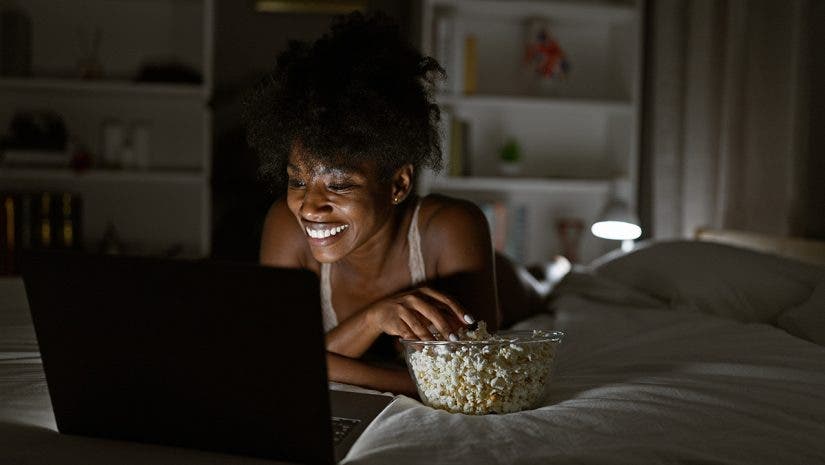
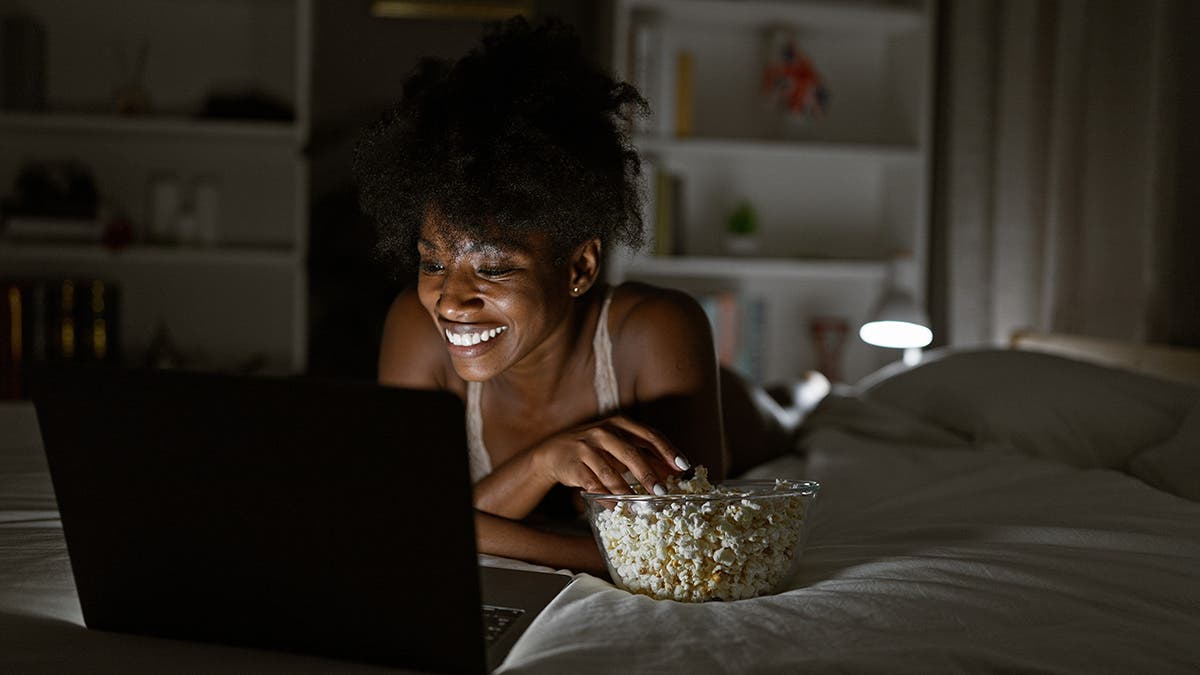
At the same time, practical lighting creates a mood, casting carefully designed shadows only on subjects in their proximity. You can use them to add another layer of meaning to your story or create interesting effects. For example, warm, soft candlelight may be romantic or spiritual, but add a lot of candles and the scene becomes frightening. Interior lights add a sense of homeliness. Think about how recording an interview with a person sitting on an armchair near a table with a small lamp on it denotes closeness and an informal tone. On the other hand, industrial lighting, such as white surgical lights, makes one think of hospitals and adds drama and tension.

Practical Lighting and Composition
Alongside their conceptual purpose, practical lights also have a say in composition. When placed in the background of a scene, practical lights add depth, giving the impression of a three-dimensional space.
This is particularly important in videography because you often work with a flat background. When you record a YouTube tutorial, for example, you usually have the speaker in the foreground and a wall or an artificial backdrop behind them, with little space between foreground and background. The overall appearance is flat, dull, and unengaging. But place practical lights between the speaker and background, and the atmosphere changes. The speaker suddenly stands out, separated from the background, and the shot is more realistic and inviting.
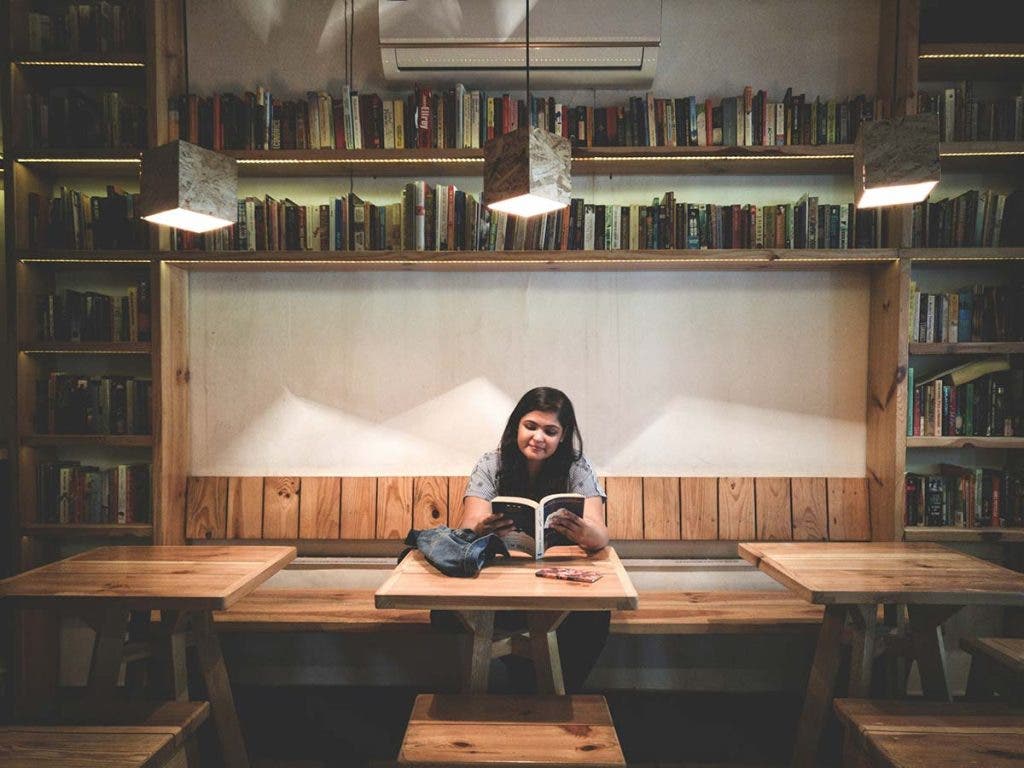
Practical lighting may create a focal point in an otherwise uninteresting frame, balance the weight of a heavy focal point, hide an unappealing background, or act as a leading line taking the viewer through the frame. Use them wisely and creatively, and the reward will be tenfold.
How to Light a Video with Practical Lights
If your focus is on mood and drama, you can illuminate a video entirely with practical lights. Often, the result is low-key images, with plenty of shadows. The theme may be romanticism, mystery, horror, sadness, nightlife, or anything else. Nowadays, it is common practice to use light coming from electronic devices as a means of speaking about technology and its impact on society.
In this scenario, practical lights can take the place of any light source in a film lighting design. They may act as the main light, illuminating the subject directly, as a rim light, creating contouring, as a fill light, balancing the main light, and as a background light, creating separation between subject and background.
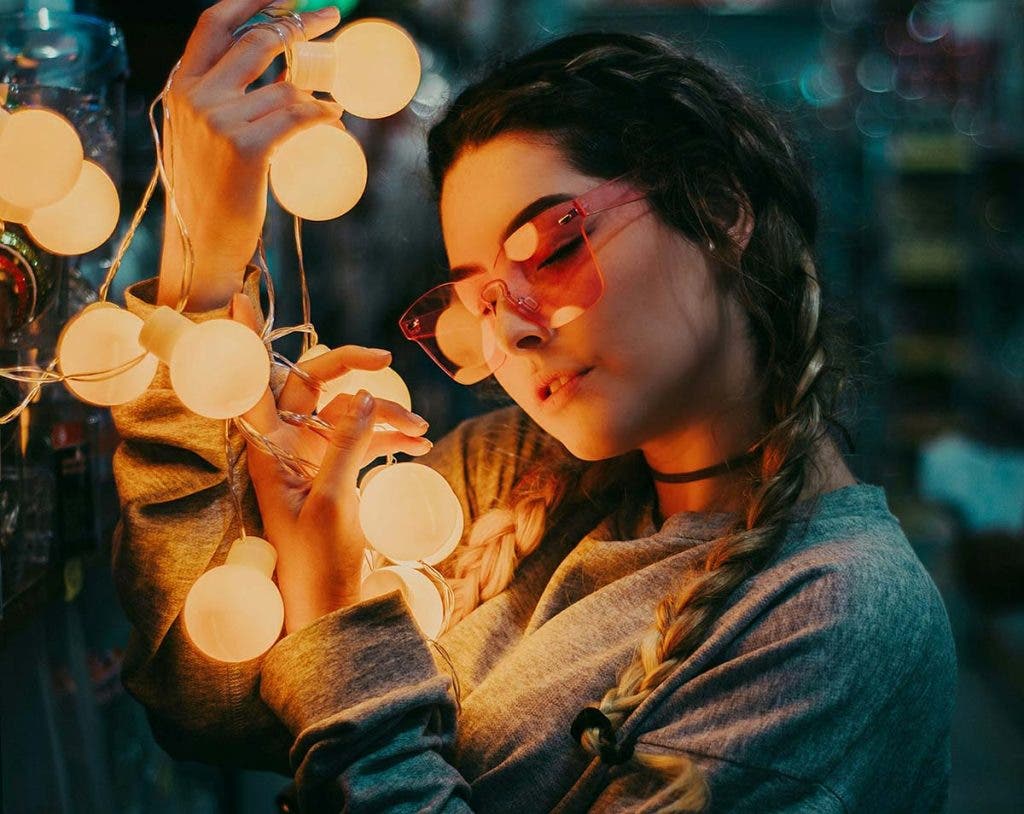
However, more often than not, practical lights are used in combination with professional film lights and/or ambient light. That’s because they are less bright and powerful than sunlight or LED light, such as the Aputure Light Storm 600D Daylight. Practical lights don’t get very far and can’t illuminate the entire scene. They create light accents and an atmosphere but can’t produce enough light for a commercial video, for example. And if you want clarity and detail in your videos, you need film lights, too.
Set Up Practical Lights and Film Lights
If you decide to mix practical lights with film lights, set the practical lights first, and turn off anything else. Set the exposure for the practical lights. Don’t worry that the scene is still quite dark. Next, arrange the film lights so they support the practical lights, but lift the general light level and record a test shot. This means that the LED lights will be a little off to the side of the frame. The key is to make the film or LED light motivated by the practical light, and make it look like all the lights are coming from the practical light. Here you also need to match the color temperature of the film light to the practical light.
Take some test footage with actors or stand-ins. The test shot is necessary because it reveals the match between the film and practical lights. If the practical lights are too bright, they may distract the viewer’s attention and change the focal point. On the contrary, if the film lights are too powerful, they may overpower the practical lights, making them useless. You want harmony between lights, which means having the same light quality and color temperature is key. Remember to include shadows in the scene for a more realistic and dynamic scene.
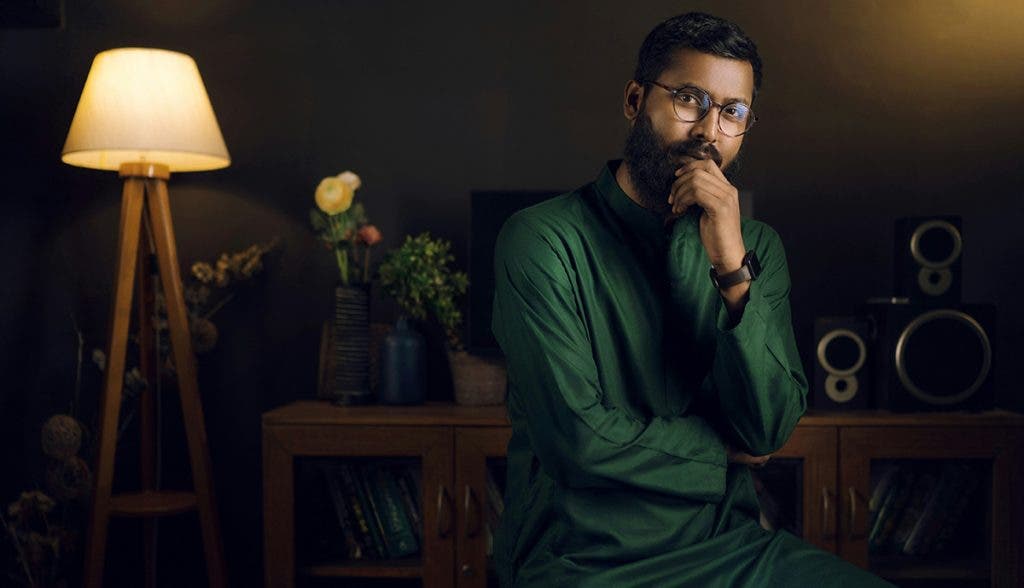
When shooting outside a studio, you may not be able to adjust available light sources. Therefore, you may want to rethink the framing (e.g., include some but not all available lights), block what lights you can block, and add new practical lights from your gear set.
Use Natural Light as Practical Light
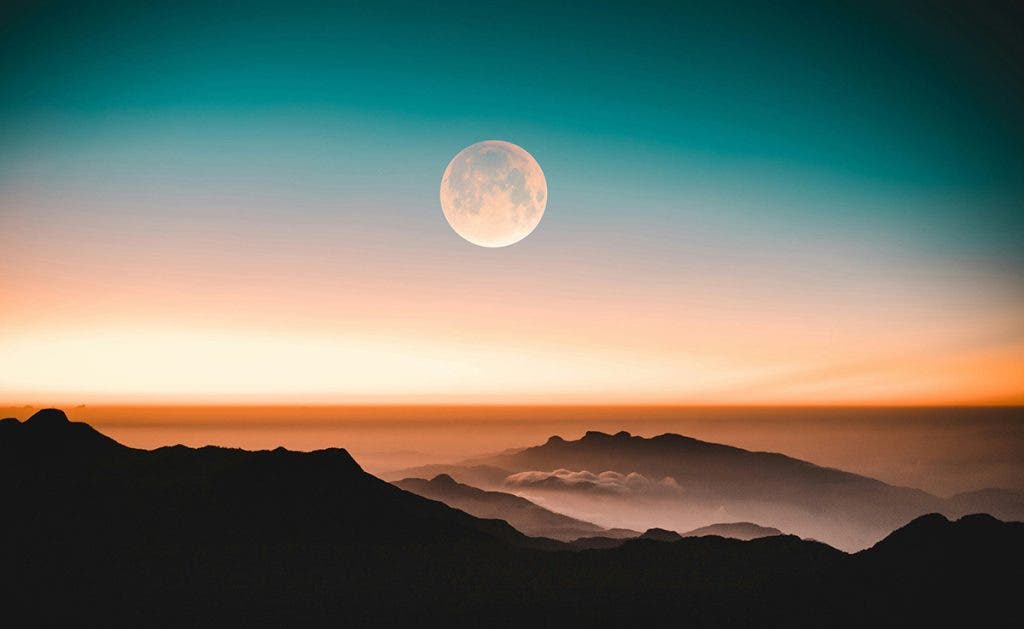
Sunlight and moonlight can be used as practical lights, as long as you manage to transform them into visible sources. Transforming the moon into a practical light is easier because you can point the camera directly to the moon, especially during the blue hours when there is enough ambient light remaining.
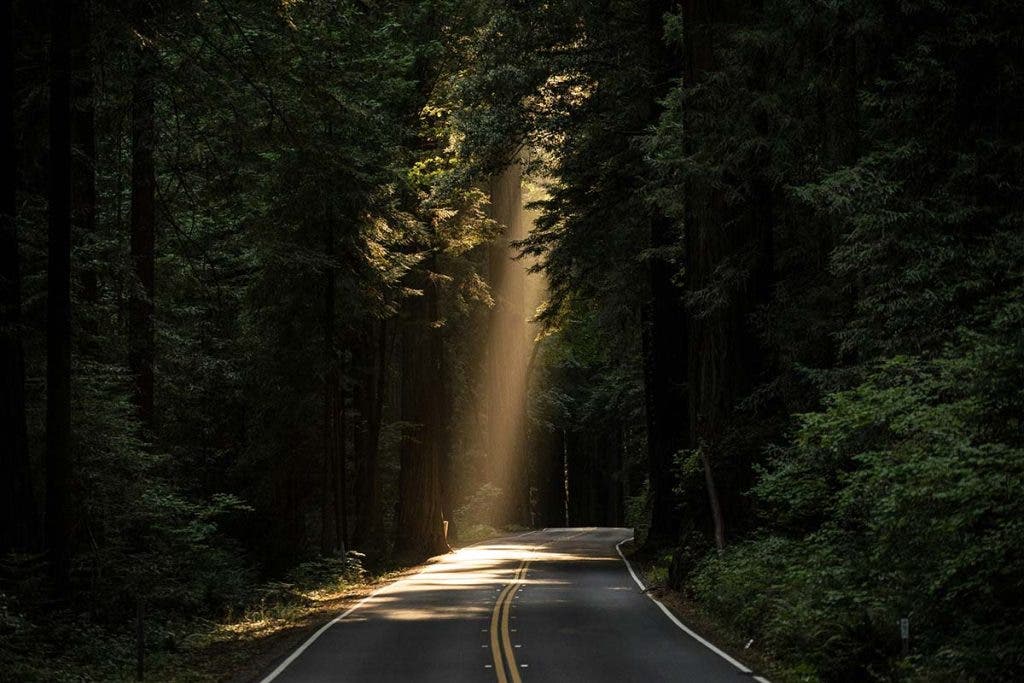
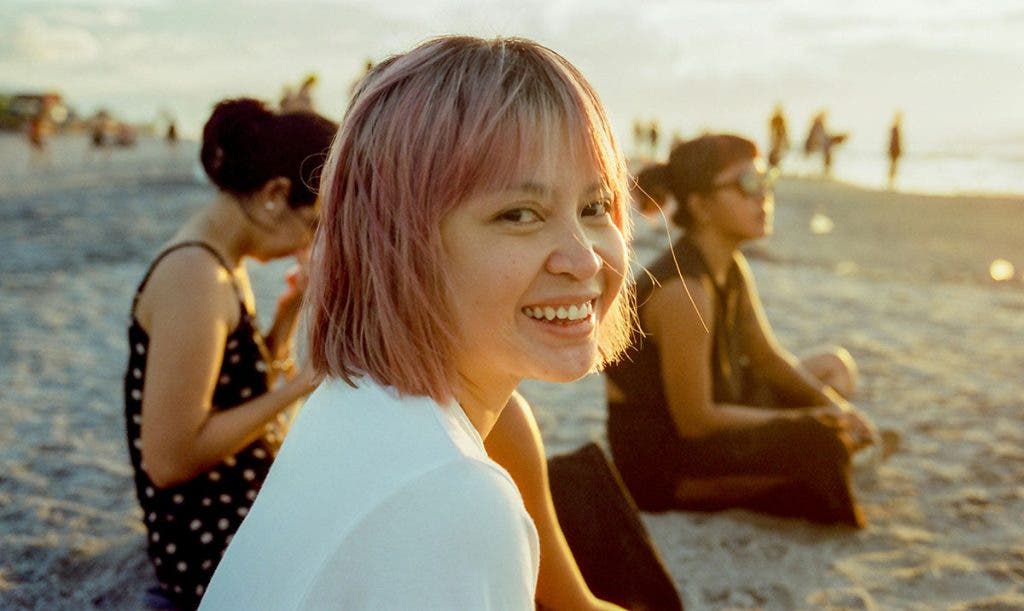
To transform the sun into a practical light, you have to transform it either into rays or a glowing disc similar to the moon. For example, sunlight coming through a window or between tree branches becomes a beam of light that is visible in the frame. Although you don’t include the sun in your video, the beam of light counts as a practical light.
Another method is to slightly block the sun with an object like a tree or building and use a star filter to capture its rays. Shooting your video at sunset or sunrise helps because sunlight is less bright, more diffused, and more colorful.
However, you can add a film light as a key light even when you use the sun as a practical light. In this setup, the practical light illuminates the background and creates a beautiful separation effect. But if you don’t use a film light to illuminate the subject, it will be in the dark, almost a silhouette. Place an LED light behind the camera on the same side as the sun and then place the camera a little on the shadow side of the subject.
Conclusion
Practical lights are either a given of the location where you are shooting your video or something you can easily add to brighten the scene, create separation between subject and background, enhance the narrative, or produce creative effects. However, their potential is huge because they add a realistic feeling and keep the viewer engaged. These subtle light sources add life, structure, and depth to your videos and often to your photographs as well.
