Looking for other ways to promote your podcast aside from getting them on iTunes and Spotify? Once you’ve figured out how to get you podcast on Spotify and Apple, you’ll need to elevate it even further. Why not consider adding a video element to your shows so you can upload them to YouTube and other video content platforms? Adding video podcast equipment and venturing into video podcasting can be a very effective way to reach a much wider audience — and make money on the side!
We understand that the biggest hurdle would be the extra effort in actually shooting the videos, not to mention the added expense that comes with acquiring video recording equipment on top of your podcast starter kits. But if you’re serious about taking your show to the next level, video podcasting is one of the best ways to go.
Let us help you get started by recommending the ideal podcast camera setup for both non-live and live video podcasts below.
Non-Live Video Podcast Equipment
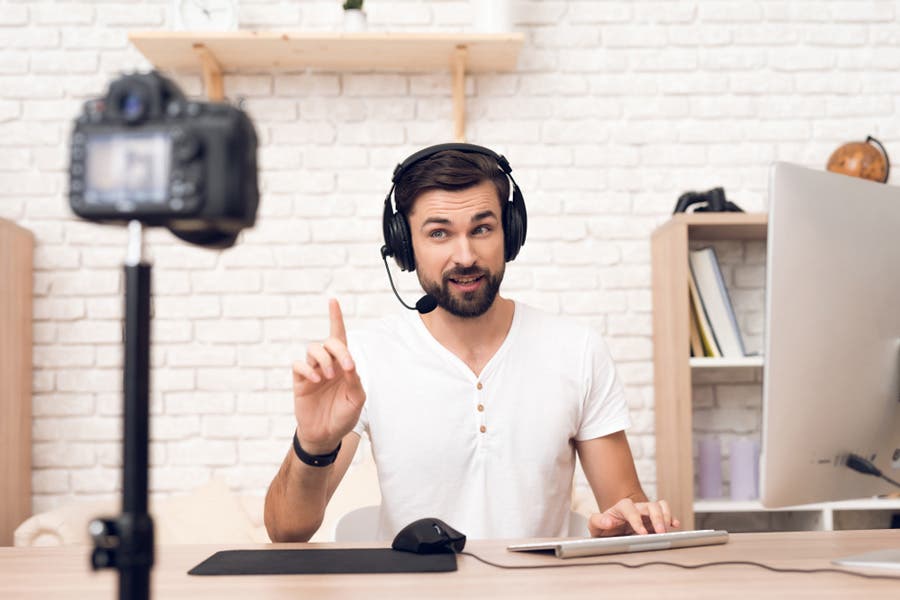
Video podcast equipment is fairly basic and easy to find on the market (and on Adorama). Here’s a list of what you’ll need for non-live video podcasts:
Camera
The truth is, you can get away with just your smartphone or webcam. But since you’re likely to upload your video on YouTube and other popular video streaming platforms like Facebook, you’ll want to make it look as good as most of the videos on there in terms of quality. The best cameras for podcasting are pretty much the same as the ones used for vlogging. However, you can use any type of camera that can record 1080p videos.
However, considering the recommended video quality, you may not be able to use just any camera to record lengthy videos. Even if you have a DSLR, there’s a chance that the model that you are using can’t record for long periods of time due to memory card recording limits or the risk of the camera sensor overheating.
For your own convenience, get an affordable camcorder, or higher-end digital camera that supports long-form video capture. You can even use more than one camera if you want to record more dynamic shots from the left and right side of one or two hosts.
Memory Card
The video camera that you will use obviously needs a memory card to record footage. A podcast typically lasts about half an hour—so make it a point to use a very spacious memory card that can store at least 30 minutes of full HD video in MP4 format.
It’s always best to get the maximum memory card size that your camera will allow. But for reference, you’ll likely need a 64 GB memory card, which will give you about 40 minutes of video. Follow our memory card buying guide to find out which card is best for you.
You may be able to get around the memory card problem by directly recording into your video editing software (more on this below).
Tripod
If you’re shooting from your own podcasting studio, you can pretty much settle for any good tripod that can support your choice of camera and attain your desired shooting height or level. There’s no real need for an expensive, high-quality tripod if you won’t be bringing it outdoors or mounting heavy camera rigs, but you can always use it if you already have one.
External Microphone
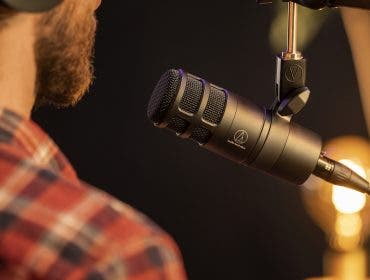
One of the important things you’ll learn when you become a podcaster is that good audio quality is crucial. Using the built-in microphone on your camera or laptop is a major no-no. If you’re just starting, along with the idea of adding a video to your shows, make it a point to choose a dedicated microphone for podcasting.
Audio Interface
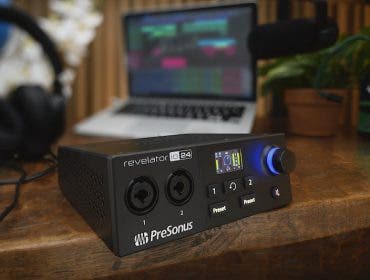
In case you’re using an XLR microphone, know that you cannot directly plug it into your computer. You’ll need a good audio interface, which will serve as your middleman and convert the analog audio signals coming from your microphone into digital signals that your computer can comprehend.
But that’s not its only purpose. You’ll want your audio to pass through an audio interface, which is equipped with a better processor that will effectively preserve sound quality.
Some of the best digital audio recorders also have a built-in interface. This would make it possible for you to save your audio files into a memory card.
Audio Mixer
If you have two or more podcast hosts, you’ll definitely need a good podcasting mixer that will consolidate those audio signals into a single digital audio file. At the same time, it will allow you to balance out audio levels of multiple microphones so none of them end up overpowering another.
You can also find audio interfaces and audio mixers that are built into a single device. This would solve the problem of having to buy and connect two separate devices.
An alternative for a hardware mixer would be a music production program, which allows you to mix separately recorded tracks virtually during post-production and can easily be downloaded on your computer.
Computer
After recording, the next piece of gear that you will be spending the rest of your time on is your computer. This is where the magic happens—from file import and audio/video editing to finally uploading your media online.
We suggest that you upload two versions: the audio, for targeting listeners on the most popular podcasting platforms, and the audio-video, which you’ll likely upload on YouTube and Facebook.
Video Recording/Editing Software
The best thing about non-live podcasts is that you have more control over what you air, both in terms of your audio and video. You get the chance to merge your audio and video files, make cuts, enhance your audio levels, and more. Do the video first and then export it twice—as an audio-video file and as an audio-only file for upload on popular podcast platforms.
Another way to shorten your workflow and lessen the work is to record your video and audio directly into your software. Free video editing software like Windows Movie Maker and iMovie allow you to connect your camera and microphone to your computer so you can edit your files immediately after recording them. We would suggest this for any beginner, but it’s obviously not an option if you happen to only have your camera and audio recorder.
Internet Connection
Once all the editing, exporting, and meta-tagging is done, you can simply connect to the internet and upload your video podcast at your own convenience.
Live Video Podcast Equipment
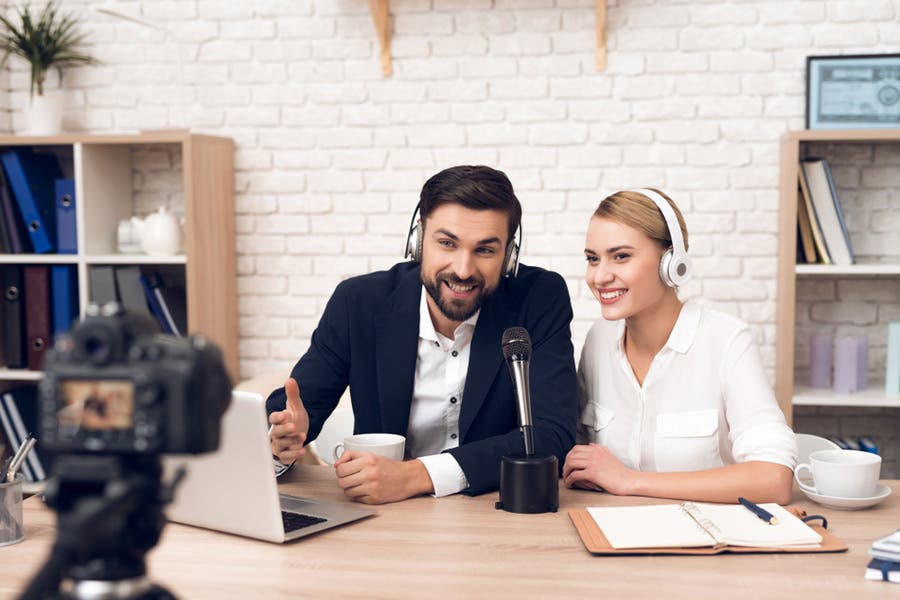
The ideal live streaming setup really depends on your needs and preferences, such as whether or not you want to have dynamic shots and multiple guests on the show. Here’s a what you’ll need as far as video podcast equipment goes if you’re doing live video podcasts:
Camera
The camera you use for live video podcasting can be the same camera for regular video podcasting. However, you also need to make sure that your camera allows you to turn off the overlay so it can provide a true “clean” output that won’t show the icons and grid that we normally see on the viewfinder of a DSLR or rear LCD screen of a mirrorless camera.
If you want to make your videos look more interesting, you may need more than one camera as well as a separate switching device that your assistant or director can use to alternate between camera views.
For more camera choices, you can check out our list of the best cameras for live video streaming.
Capture Card
If you plan on streaming via your computer, you’ll need a capture card to connect your non-HDMI camera to your computer. This small device will serve as an input data receiver that will “capture” what you see on your camera’s viewfinder and send it to your computer.
Tripod
Remember that your camera can’t move around or fall in the middle of a live stream. You’ll need a decent, sturdy tripod that can keep your camera stable even with its legs fully extended. Although an expensive tripod is not required, it at least has to be compatible with your camera and have thicker legs if you’re using a heavy camera (like a premium DSLR).
External Microphone
Depending on your chosen podcast format for the live stream, you may need to have extra microphones on hand. Remember, each speaker will need his or her own microphone. Sharing is frowned upon unless you’re using a shotgun microphone that is optimally positioned to capture sound from multiple sound sources. However, we still wouldn’t recommend it as it can produce noticeably unequal sound levels between the speakers.
Each microphone should also have a pop filter to prevent plosive sounds and a shock mount to eliminate any possible noises from vibrations.
Audio Interface
If you want high-quality audio, an audio interface is essential. We would still recommend that you use one for your live stream. We’re sure you can easily find a way to connect it to your computer or video encoder to produce a live podcast that sounds just as good as your audio podcasts.
Audio Mixer
As with non-live video podcasts, a mixer is only really essential if you have more than one host. And when live streaming, it becomes more important that you use a hardware mixer that allows you to make careful adjustments to each individual signal or channel in real time, since there’s no chance to go through post-production.
Headphones
With non-live podcasts, you may be able to fix uneven sound levels during post-production. Of course, this is as long as you don’t speak too softly or too loudly into the microphone. But with live podcasts, you’ll definitely need a great pair of podcasting headphones to monitor your audio levels in real time and make immediate adjustments to your audio interface or audio mixer,
Video Encoder
A video encoder can be either hardware or software that’s installed in your computer. Either way, its primary purpose is to convert your video into digital format for broadcast to the web. Although, there are some encoding devices that also double as a switcher.
There are standalone encoders that you can connect your camera (and even your microphone) to. This would rid the need for a computer. However, some choose to download a free encoding software for their computer rather than shell out money for yet another device.
Computer with Graphics Software
Although it’s now possible to stream without a computer, you may still need to use one — along with an installed graphics software — if you want to add text, graphics, or at least an opening billboard that will serve as your intro for your video podcast.
Wi-Fi Device
You don’t want to connect to a router that everyone else is using and risk losing your signal in the middle of a stream. For a truly successful live video podcast, you’ll need your own portable Wi-Fi device with strong and reliable internet connection.
Once you’ve finalized all of your video podcast equipment, follow the steps to start your own podcast and get to streaming!
How do you make a successful video podcast?
Whether you’re a seasoned podcaster or just breaking into the space, you may be wondering how to add a video component to your podcasts—and you’re not alone. Video podcasting is increasingly popular. So how do you succeed when it comes to this new style of podcasting? For one, consider your backdrop. You’ll want a cohesive background from show to show; consider how to make it authentic to you (e.g., do you want a Howard Stern-type of in-studio interview feel? Or are you looking to have a clean, polished backdrop that supports your, say, home-organization podcast?).
Additionally, use your video-podcast content across social media. Video is king in the world of social media. Sharing your favorite video-podcast clips will help you grow and reach potential listeners. Additionally, keep it authentic. Your audience wants to see you being you—don’t worry about being too made-up. Know your podcast vibe and let that show through in your video content.
What kinds of cameras do podcasters use?
When determining what kind of video podcast equipment to get for yourself, it’s good to look at other podcasters, particularly famous ones, to see what they use and model after them. For example, the team behind the well-known podcast the Joe Rogan Experience is known to use four of the Canon VIXIA HF G40 Full HD Camcorder. This way they can capture the content from multiple angles.
Meanwhile, Javier Mercedes, who hosts a video podcast on all things video gear and new technology, says he swears by the Sony A6400 for video podcasting. Mercedes also pairs a 16mm wide-angle prime lens and the Sony 50mm f/1.8 lenses with his camera to capture crisp, high-resolution content that brings his podcast to life.
It’s important to note that many vloggers who dabble into podcast use their go-to vlogging cameras to double as podcasting cameras. And, if you’re not able to splurge on a nice video-podcasting camera, you can always get started with your smartphone until enough podcasts sponsorships come in to move to the next level.
Reasons to Film Your Podcast
Thinking about filming your podcast? Good idea. Here are five reasons to add video to your podcast offering ASAP:
Reach new audiences
Having your podcast on Apple or Spotify is great, but why not use the content you already have—with a video component—to reach audiences on different platforms, such as YouTube. Video podcasting lets you amplify your content even further. It ensures you get more bang for your buck at the end of the day.
Social media amplification
Speaking of social media, a video component will help you get your podcast not just out to the masses, but seen by the masses, as platforms like Instagram prioritize video content. So, instead of a static photo with audio, post a preview clip of your podcast with video and subtitles. This is exactly the kind of content Instagram is looking for these days; that means your podcast will get in front of even more people, potentially giving you more listeners and sponsors.
Building audience relationships
When people listen to your podcast week over week, they increasingly become interested in the face behind the voice. Letting your listeners see you will actually help you deepen a relationship with them. This ensures they come back for more and more—and either support you (if you run a Patreon account) or, if nothing else, they’ll rave about you to friends and family.
Look professional
Having a video component to your podcast will immediately elevate your brand. It shows that you take your content seriously—something sponsors are particularly interested in when it comes to investing.
Sponsorship opportunities
Adding video opens the door to numerous new or deeper sponsorship opportunities. In addition to ad breaks, you could also offer product placement as a sponsorship offering. Or, you could add a video and audio component to your sponsorships for a higher investment.
