You’ve filmed a YouTube video, movie, or shot a music video, and now it’s time for the other half of the battle: the post-processing stage. As with filming, this step requires a good mix of both creativity and technical knowledge. And in this article, we aim to help make the video editing process much easier and more productive by providing a few helpful video editing tips, techniques, and “life hacks” for beginners like you below.
While these tips don’t exactly teach you how to make edits to your video clips, they help you learn how to cut your editing time in half and give you better results in the end.
How to Edit Videos
- Choose the Right Software
- Use a Fast Computer
- Watch Video Editing Tutorials
- Get the Project Files
- Obey the 321 Rule
- Edit for a Story
- Maintain an Efficient Workflow
- Utilize Keyboard Shortcuts
- Learn Important Terms
- Color Correct Your Clips
- Select Good Music
- Add Text and Graphics
- Export Web Versions
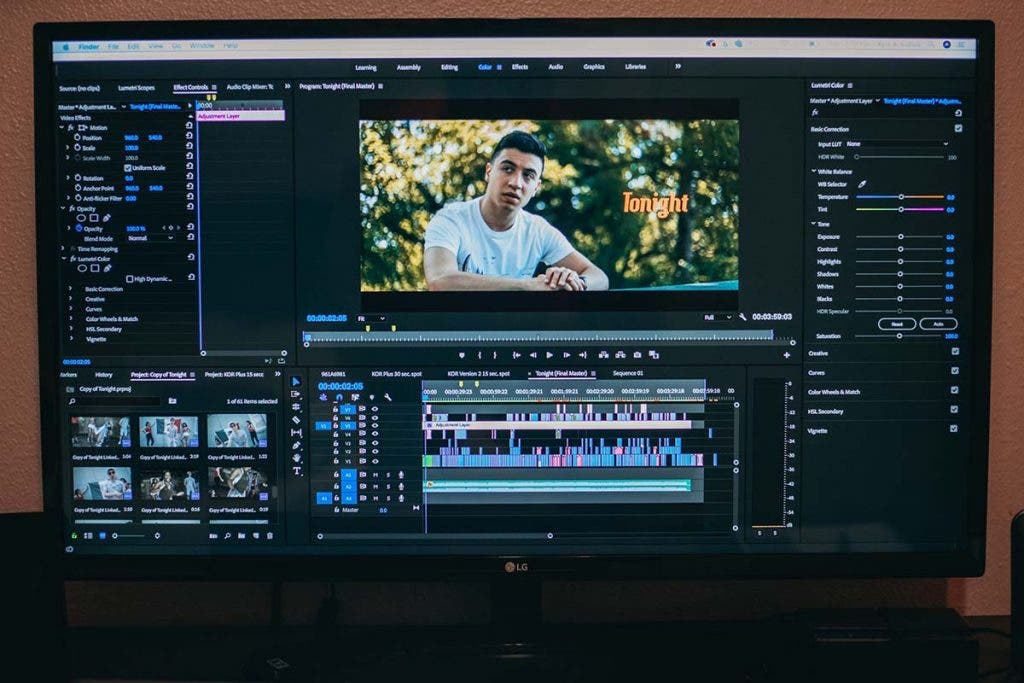
1. Choose the Right Software
The first step in improving your video editing process is to choose the right software for you and your work. They normally offer everything you need to perform standard video edits, but you may prefer one over others for their usability, digital interface, and features. The key here is to choose what works for you and your editing style instead of just the latest, most advanced video editing program out there.
Top favorites include After Effects, Premiere Pro, Avid Media Composer, Final Cut Pro, and DaVinci Resolve, which offers a free and comprehensive Lite version. You may also want to try Lightworks, Autodesk Smoke, and Sony Vegas, if you’re looking to try other less popular yet highly capable alternatives when learning how to edit videos.
Best video editing software for beginners

Some of the most popular video editing tools for beginners are After Effects, Adobe Premiere Pro, Avid Media Composer, Final Cut Pro, and DaVinci Resolve, which offers a free and comprehensive Lite version. You may also want to try Lightworks, Autodesk Smoke, and Sony Vegas, if you’re looking to try other less-popular yet highly capable alternatives. Some free video editing tools exist, like Apple iMovie, but they’re often less robust than paid options, offer only a few file formats, or have limited functionality.
For shorter clips, especially for social media, you could use a free video editing app to create and compile your video clips.
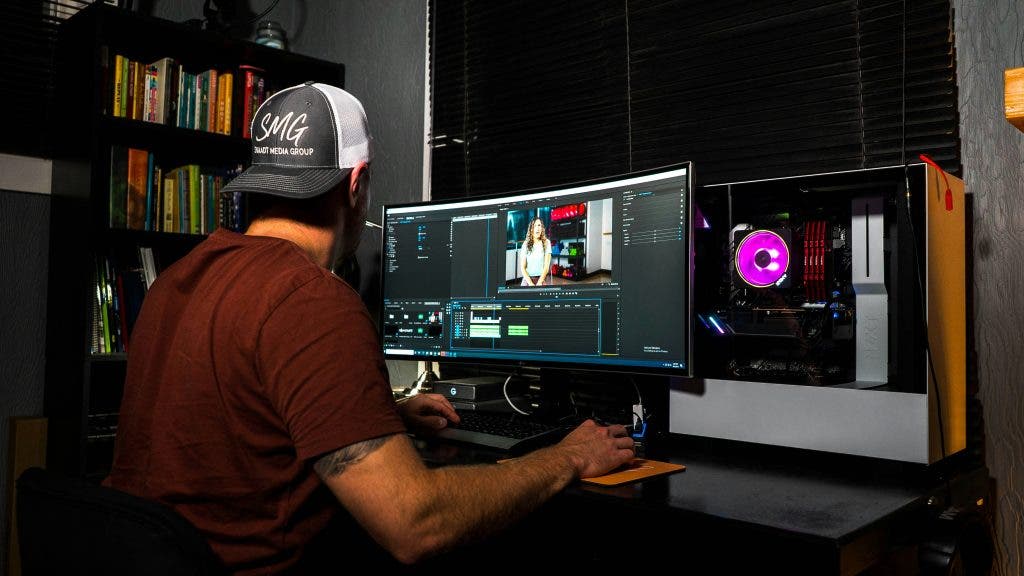
2. Use a Fast Computer
No, we’re not about to pit PCs against MACs in this section. You can choose whatever computer brand or model you want, as long as it’s fast enough for you to store huge files and allows you to focus more on your editing work without having to worry about slow rendering.
It definitely helps to invest in a faster storage drive (SSD) that will allow you to access your files and software faster, as well as speed up your rendering, loading, and export times. Other things you can do to significantly shorten your editing times is to increase your computer’s memory (RAM) to at least 8GB if you’re going to be doing professional or commercial work, and get the recommended video card and processor for your editing software.
It’s generally easier to customize and upgrade a PC than an Apple computer on your own, but you can use either for a video workstation. You can use some video editing tools on Android and Apple mobile devices and tablets, but they’re often more limited in scope and quality. It’s also much harder to learn editing effectively on an iPad or iPhone than learning how to edit videos in a laptop or desktop computer.
And don’t forget your monitors either. Setting up a dual monitor will allow you to more easily view, organize, and work with large amounts of footage.
3. Watch Video Editing Tutorials
Youtube, blogs, and educational websites are full of useful tutorials for creating great video content that teach how to edit videos. Most of the tutorials you’ll find will teach how to edit videos for free, which makes them even better for video editors under a budget. Websites like Video Copilot, Skillshare, and Red Giant Tutorials offer lots of very specific tutorials to help you improve your video content. As you look for tutorials to achieve certain looks and complete specific tasks, target the software version of the program you’re using. Many companies adjust functionality and menu settings from version to version.

4. Get the Project Files
When following along with a tutorial, many new video editors prefer to use the same project files as the instructors in the tutorial. This will help you learn the steps correctly, because your work will look exactly the same as the sample from the demo. Many tutorials allow you to download their project files for this exact reason. Once you have more experience with a technique, you can repeat the process with your own video files.
5. Obey the 321 Rule
Just like woodworkers learn from the start to measure twice and cut once, video editors using any program should practice the 321 rule. Keep 3 copies of everything you create, in at least 2 different places, with 1 of those places physically separated from your other locations.
6. Edit for a Story
One of the most important takeaways from this article is to remember your creative goal: to tell a great story. Go beyond the basics — cutting away extraneous footage and correcting the order of your clips — and take the opportunity to make your film aesthetically-pleasing and dramatically compelling so as to evoke the right emotions and effectively impart your intended message. Use your practical and technical knowledge in achieving this instead of just adding a bunch of effects to impress your viewers.
You can simply follow the storyboard used during filming, but there may be times when the director — or you, if you have the liberty to call the shots — will decide to make on-the-spot changes to the predetermined flow, scene transitions, effects, and other editing elements for the sake of improving the story.
7. Maintain an Efficient Workflow
Even with a super-fast computer system and editing software, you’ll also need to be systematic and organized in how you edit your videos. One way to improve your workflow is to organize your projects and files in folders that you can use again and again. Create homes for your projects, footage, audio files, images, and graphics, in which you can also create more subsections and folders.
Another way that you can work faster is to use external hard drives for storing your footage. This is helpful so you can free up more computer memory. We recommend that you choose hard drives that can be connected via USB 3.0 or Thunderbolt to enable faster file transfers. Also consider allocating your RAM to be able to use more of it for editing and getting a gaming mouse that allows you to set specific editing functions for its buttons.
8. Utilize Keyboard Shortcuts
Speaking of buttons, keep in mind that most editing programs allow you to use keyboard shortcuts to perform a range of in-app editing functions. Feel free to review, memorize, and customize the different set of shortcuts for software programs like Adobe After Effects, Premiere Pro, Final Cut Pro, Media Composer, and DaVinci Resolve.
If you have a little more money to spend, the easier option would be to purchase an editing keyboard (or at least a replaceable editing keyboard cover) that already has keyboard shortcut icons in them. These are usually software-specific so you don’t have to worry about compatibility issues with your editing software.
9. Learn Important Terms
The video editing industry will require you to communicate with other video editors or clients. This means you’ll have to learn a lot of lingo. To those who haven’t heard of them, some of the terms used in video editing can be impossible to figure out without any research. This is why you’ll want to learn them early on. Basic concepts include the following:
- Jump Cuts – Cutting out portions to skip boring or predictable moments and preserve visual interest.
- J Cut – Audio precedes the video.
- L Cut – Video precedes the audio.
- Montage – Sequence of clips showing the passage of time, usually for a transformation or character development.
- Cutting on Action – Cutting when the subject is moving instead of after each movement to create a more interesting and fluid scene.
- Match Cut/Match Action – Cutting together two visually similar shots or scenes
- Cutaways – Adding transition pieces that don’t include the main subject or action to show the surrounding environment and set the mood, add meaning to the scene, or aid dramatic tension.
These are just a few, as there are certainly many other cuts and terms to learn. All you need to do is take the time to read and do your own research.
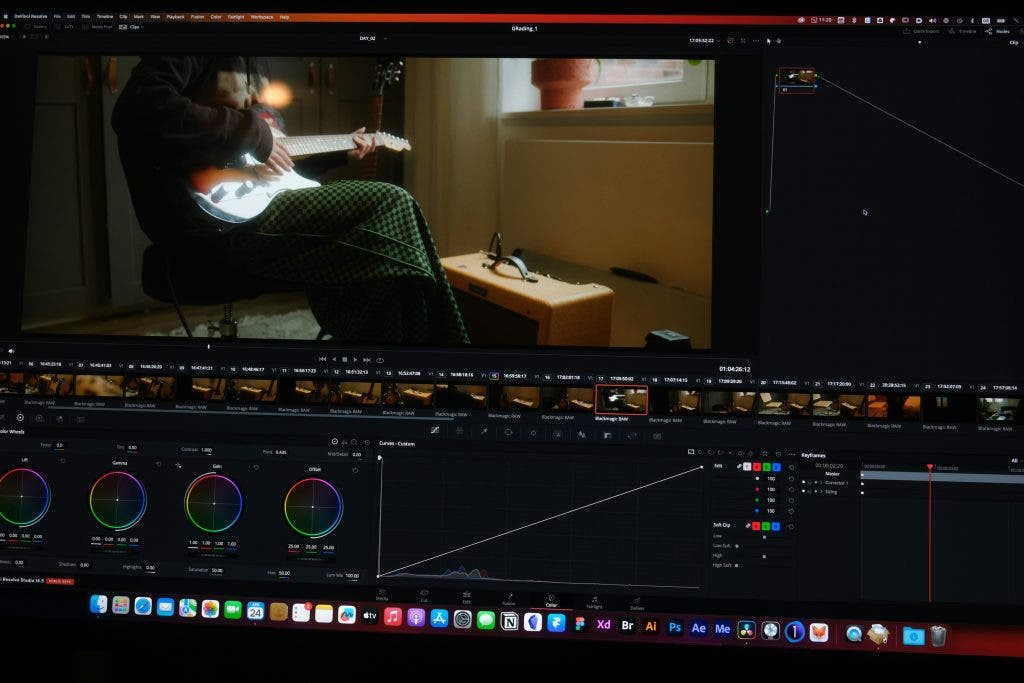
10. Color Correct Your Clips
Color is a major design element that can be manipulated to highlight certain subjects, evoke specific emotions, and set the mood or atmosphere of your scene. Fortunately, today’s video editing programs give us a lot of color editing options that used to be only possible with photos.
Most editors do two things: color correction, to make sure that the colors of your footage are consistent in each scenes, and color grading, to give your film a different look. Both are essential when you want most of your scenes to look as realistic as possible, or to differentiate certain scenes from others, such as when you use presets like sepia and monochrome on “flashback” scenes.
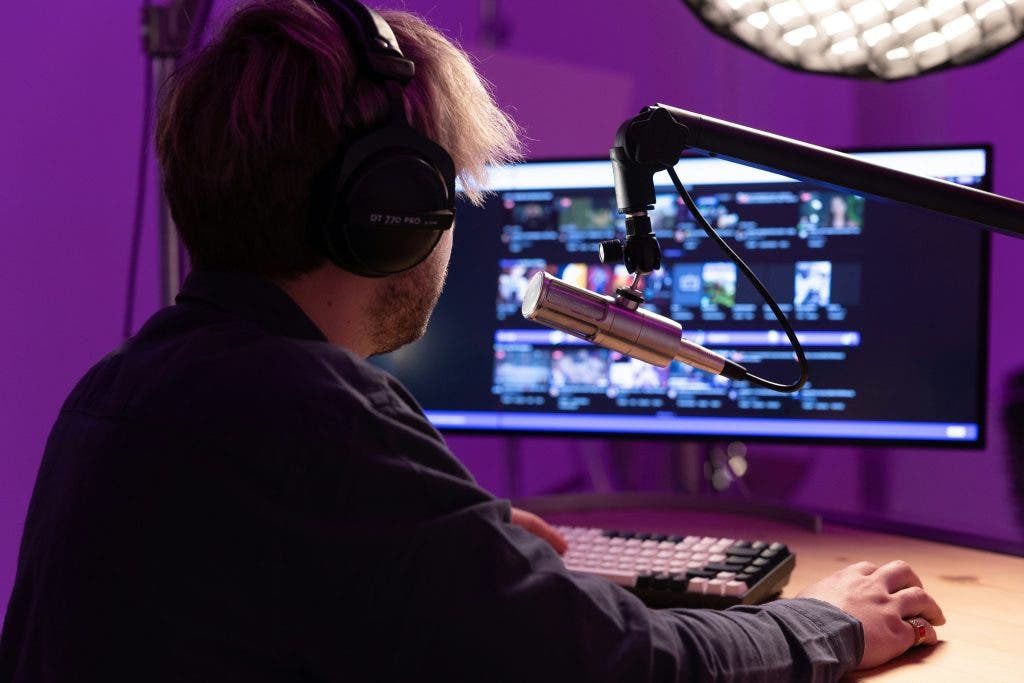
11. Select Good Music
Don’t just focus on the visuals; it should only be as good as your music. If you’re creating a drama film, for instance, you’ll want just the right song or instrumentals to make key moments (where you want to trigger certain emotions from your audience) more effective. Cheerful comedies can be a little forgiving, but it can also be easy to overdo it with upbeat songs. It can be difficult if you’re doing it on your own. Having a musical scorer can help take the guesswork out of it.
But before you even think of using just any music, remember that the safest option is to get music from a royalty free music provider. You may be able to find free music, but the best audio usually comes at a price. If you’re doing a professional project, music is usually included in the production budget.
Make sure you’re also using quality video editing headphones to get the best sound out of your footage.
12. Add Text and Graphics

Depending on your film type, you may have to include more text aside from the title, opening/closing billboards (for broadcasting), and film credits. You’ll usually want to keep it simple, with a clean and white sans-serif font that doesn’t grab too much attention. Have them dissolve in and out, and see how it works for your film.
But if you need to add flashy graphics, you can create them using your editing software. Adobe After Effects is a popular choice for creating some of the best motion graphics. If you’ve yet to learn how to make your own by hand, you can always get impressive ready-made After Effects templates from RocketStock.
13. Export Web Versions
Once your video is done and ready to be exported, the natural tendency of most editors is to export it at the largest video resolution possible. This is definitely the way to go if it’s going to be played in cinemas and ultra HD screens. But in today’s generation where video projects are usually marketed online and on social media, you should also export smaller, high-quality versions for easier playback
When exporting for the web, the goal is to create a file that maintains its high quality without making it too heavy for upload and online viewing. If you’re unsure about the export settings to use, don’t worry. Sites like YouTube, Facebook, and Vimeo all have recommended export settings to help you appropriately resize your file:
| Export Settings | Youtube | Vimeo | |
| Maximum Resolution | 2160p (4K) | 1080p (HD) | 720p |
| Recommended Codec | H.264 | H.264 | H.264 |
| Audio Codec | AAC-LC (up to 96kHz) | AAC-LC (up to 48kHz) | N/A |
| Bit Rate | HD 8mbps at 24fps, 4K 45mbps at 23fps | 20mbps | N/A |
| Supported Frame Rates | 24, 25, 30, 48, 50, 60 | 24, 25, 30 | < 30fps |
How to Edit Videos: Frequently Asked Questions
What do most YouTubers use to edit their videos in 2024?
Depending on your computer setup, the two big editing software’s are Final Cut Pro and Adobe Premiere Pro. DaVinci Resolve is another popular program for professional-quality films, commercials, and narrative work. When deciding on DaVince Resolve vs Premiere Pro, it may just come down to your skill level and the quality of your footage.
More things to note are compatibility. Final Cut Pro only works on a MacBook and Mac computer, however Adobe Premiere Pro works on both PC and Mac. Adobe is helpful if you write, film, and edit all on your computer. Final Cut Pro requires a one-time payment to own the software, whereas Adobe has a monthly payment option. There are trials for both programs, so test them both out if you have a Mac computer. Both programs will give you the features you need to learn how to edit videos.
What is the easiest way to edit videos for free 2024?
Editing videos for free is possible, but if you want to elevate your finished product, a paid program will be the next step. If you’re on a Mac, check out iMovie. It comes free with all Mac devices, and it even has templates, which make it easier to edit. Another great option is Lightworks, which has a free version and a premium version. You can get a lot done using the free version and the premium version is affordable if you want to upgrade.
If you want to edit on the go and stay in the Adobe family, Adobe Premiere Rush lets you shoot, edit, and share your videos anywhere. This app is great for your phone or tablet, and it also works on desktops.

What is the best 2024 app to edit video?
It’s hard to choose the best app overall when there are many apps that serve many functions. The best advice would be to try a few and see which app you enjoy using. We have a breakdown of the Best Free Video Editing Apps to help you narrow down your search. Some favorites are Splice, Adobe Premiere Rush, and iMovie.