Unlike umbrellas, bank lights are bulky (even when collapsed!), a pain to set-up, and equally frustrating to break down! But if your studio is a small room (like that spare, back bedroom) or your subject is highly reflective, they are in a class by themselves. That’s when bank lighting can really shine.
What is Bank Lighting?
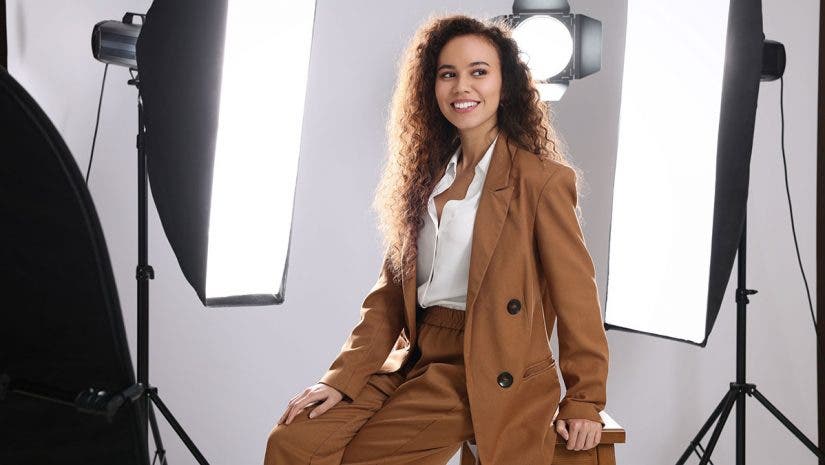
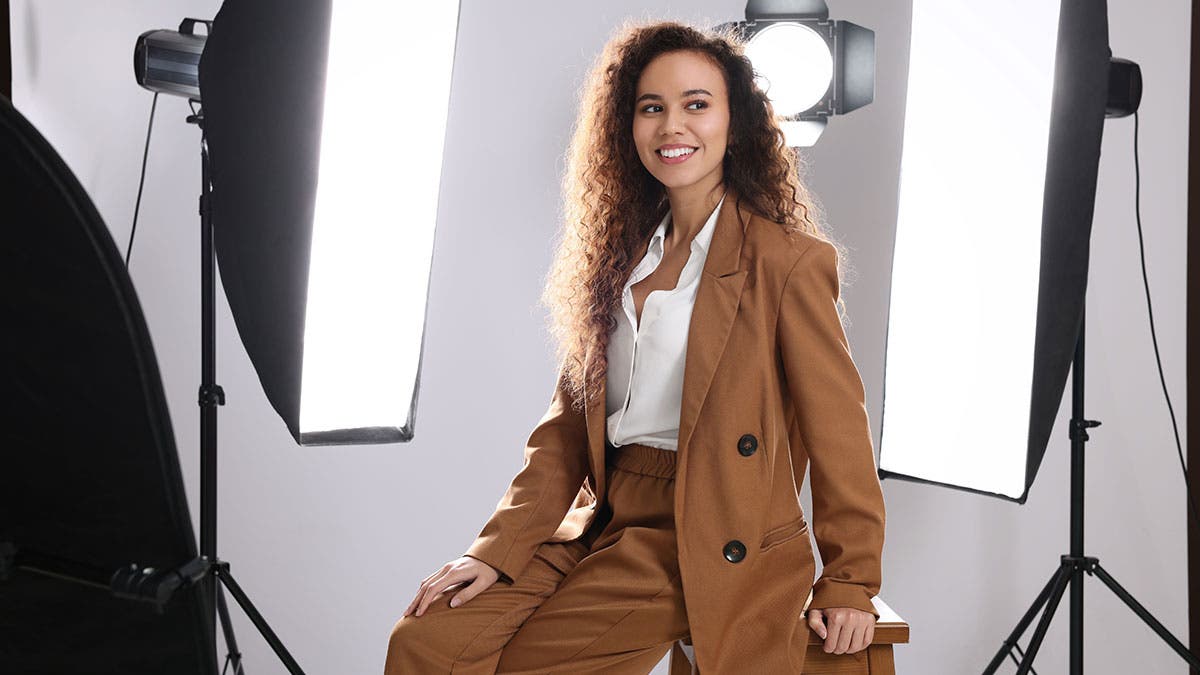
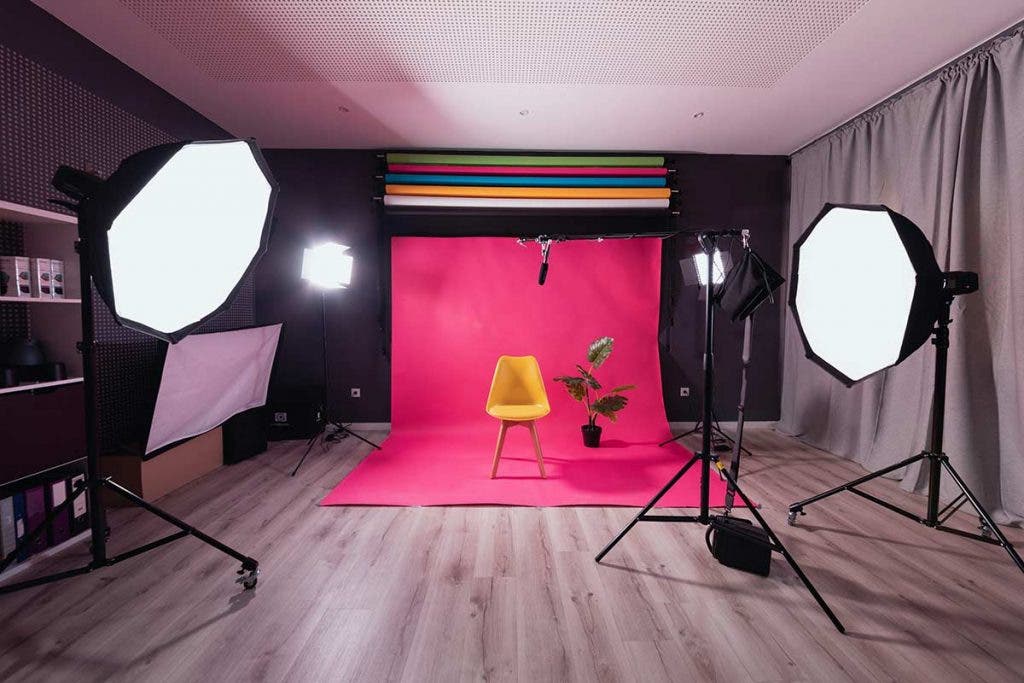
Bank lighting is a photo lighting setup that uses polygonal soft boxes called bank lights to modify the light source and produce a soft and directional illumination. The modifiers can have different shapes (e.g., square, rectangular, octagonal, strip) and sizes.
They are usually used with secondary light sources to produce subtle side or background lighting. However, because the effect resembles light coming through a window, it can also be used as an artistic effect.
Varieties of Bank Lighting
Bank lights come in a huge variety of sizes to create beautiful, soft, directional light suitable for a huge variety of subjects. They are available as hard-sided light boxes or soft-sided collapsible units. Before manufactured bank lights were available every studio pro figured out a way to make one–from aluminum frames and Foamcore board. Big ones, small ones, rectangular, square and octagonal ones, they come in just about every size you might need!
When Should You Use Bank Lighting?
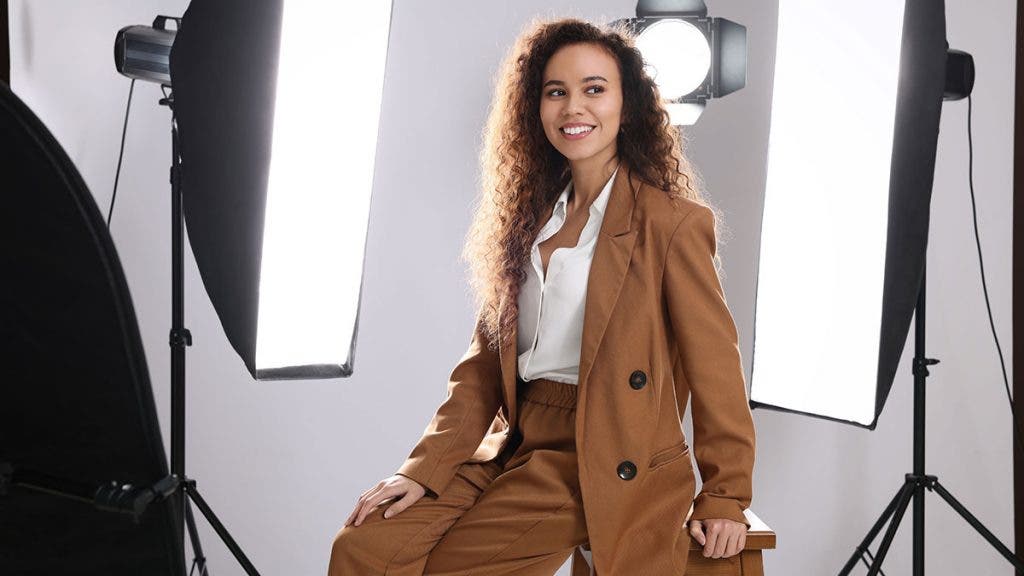
The best photo genres for using bank lighting are portraits, pictures of reflecting objects, still life, and compositions that capture light coming from a window. You can use it as a secondary lighting setup to illuminate shadows (e.g., as hair light), bring the background to life, or create contours (e.g., using a strip bank light as a lateral light). It creates a soft and natural-looking illumination that flatters the skin and enhances the atmosphere. So, use it for artistic purposes as well.
You can also try it as a permanent studio lighting setup if you take photographs in confined spaces because banks are smaller and more compact than other light modifiers such as umbrellas.
As a Window
A photographer might use a bank light like a north light window that you can position where needed. One way I jazz things up a bit, and reinforce the feeling that the light is a window, is to put two pieces of black one-inch-wide tape across the front surface of the bank. One runs top to bottom over the bank’s vertical centerline and the other runs left to right across the horizontal centerline. The two pieces of tape look like window mullions in the bank’s reflection as they divide the catchlight into 4 separate rectangles or squares. Look at the photo on the right to see the tape on the bank and the photo below for the resulting catchlight on the subject.
Umbrella vs Bank Lighting
Unlike the umbrella’s spider-shaped catchlight, most bank lights create simple, clean rectangular or square catchlights that match the shape of the bank. But often, in poorly-designed banks, the central light (located behind the bank’s front diffusion panel) creates a hot spot. Instead of a beautiful, even rectangular, a too-hot catchlight turns the bank into a grayish rectangle with a white spot in the middle of it. This problem becomes really noticeable when photographing dark reflective subjects such as deep blue or green glassware or a subject on a glossy black acrylic sheet.
To get the front panel of a bank evenly illuminated, many well-designed units have a second diffusion panel inside the bank, halfway between the light source and the bank’s translucent front surface. One way to discover if your bank light is even is to shoot a picture of the bank’s front surface and underexpose it by two or three f-stops. The underexposed photo will reveal any hot spot. If you’re shooting dark, reflective subjects and want a smooth, evenly-illuminated catchlight, you’re better off using a bank light with a secondary, internal diffuser included in the design.

Break the Rule and Turn That Hot Spot to Your Advantage
Before you get overly hot and bothered by a hot spot in your bank, you should know that a hot spot can be used to your advantage. I once assisted a photographer who used lights behind translucent acrylic sheets as his broad sources (in the days before ready-made bank lights were available). Instead of centering the point source light behind his diffuser, he would move it off to one side of the panel or rotate the light left and right as he studied the reflections in his subject. By doing this his catchlights would become a unique reflection that showed a dark to light gradation. Always remember that there are no rules when it comes to placing reflections in your subjects other than making sure the results look beautiful or interesting.
Bank Light Impersonators
The story about the photographer and his acrylic sheets is worth exploring further. For many, for fewer dollars than the cost of a ready-made bank, you can use almost any diffusion material clamped to a light stand in front of a point source light to create the look of a bank light. You can turn it into an even more realistic impersonation of a bank light if you use barn doors clipped to two or four sides of your light source to limit the point source’s beam so it only hits the diffuser.
For your diffuser you can use Rosco’s Tough Rolux stapled to a single piece of 1×2-inch wood, or even create a frame made from four 1x2s held together with inexpensive angles from the hardware store to stretch the diffusion material across. You might even choose a piece of 1/8- or 1/4-inch translucent white acrylic, instead but neither of these solutions is easily portable.
Because I often work on location, and the portability factor is important to me, my favorite substitute for a bank light is a Flex Fill diffuser clipped to a light stand with a point source shining through it. Since I always have a light stand, 2 spring clips and a Flex Fill with me on location, I can simulate a bank any time I want one.
The Umbrella Masquerading as a Bank
To close the circle on this column, it is only fitting to backtrack and point out that an umbrella can also be used as a bank light. Some well-designed umbrellas (Photek, for example) are designed with a removable opaque cloth backing; this feature has a special advantage. Once you remove the backing, turn the umbrella around and project the light through it at the subject. You are, in effect, creating a bank light type of look. And—joy of joys—you still get the quick set-up/break down associated with using an umbrella.
There are some caveats here, though. First off, there can be a problem with the color of the light coming through the umbrella. As umbrellas age, the material yellows and, although a shift to the warm side is usually acceptable when photographing people, the results can be disconcerting when a technically exact color rendition is required. This is a problem with almost all diffusers made from white material so don’t get overly hung up on it. Secondly, if you don’t use some type of barn doors, spill off the edge of your umbrella can create lower contrast than when using an opaque sided bank light.
If you use a translucent umbrella (or remove the black cover from a Photek one) it too can be a pretty good representation of a bank light. But, it only works in situations where the catchlight shape is not paramount.
Bank Lighting or Umbrella:
Whether you use an umbrella or bank there is one last point that is true about all broad light sources. To be most effective at creating tiny shadows, they should be placed as close as possible to your subject. A 2-foot square bank light (or a 2-foot diameter umbrella) placed 50 feet from your subject will create the same type of large, inky black shadows a point source light at closer distances would!
To illustrate this point we need only to look at the sun. Knowledgeable photographers treat direct sunlight as a point source light. In reality, our sun is almost a million miles in diameter (870,000 miles in diameter to be more exact) but, because it is about 93 million miles away from the earth, it creates the same type of large, inky black shadows that a 2×3 inch light creates when placed 5 feet from a subject.
So, to paraphrase Al Pacino in Godfather Part 2, keep your friends close and your broad sources even closer!
