You’ve got your photography basics — rule of thirds, proper exposure, leading lines. But, let’s be real! Sometimes… the usual tricks just don’t hit the same anymore. If you’re itching to shake up your creative process, you’re in the right place.
Let’s talk about four next-level, unique photography techniques that will push your skills beyond the ordinary. We’ll cover what they are, why they work, and how you can start using them.
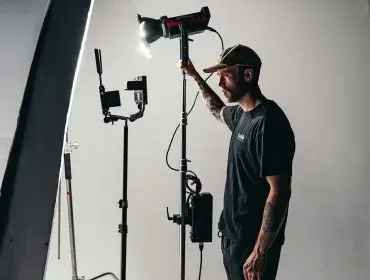
Computational long exposure
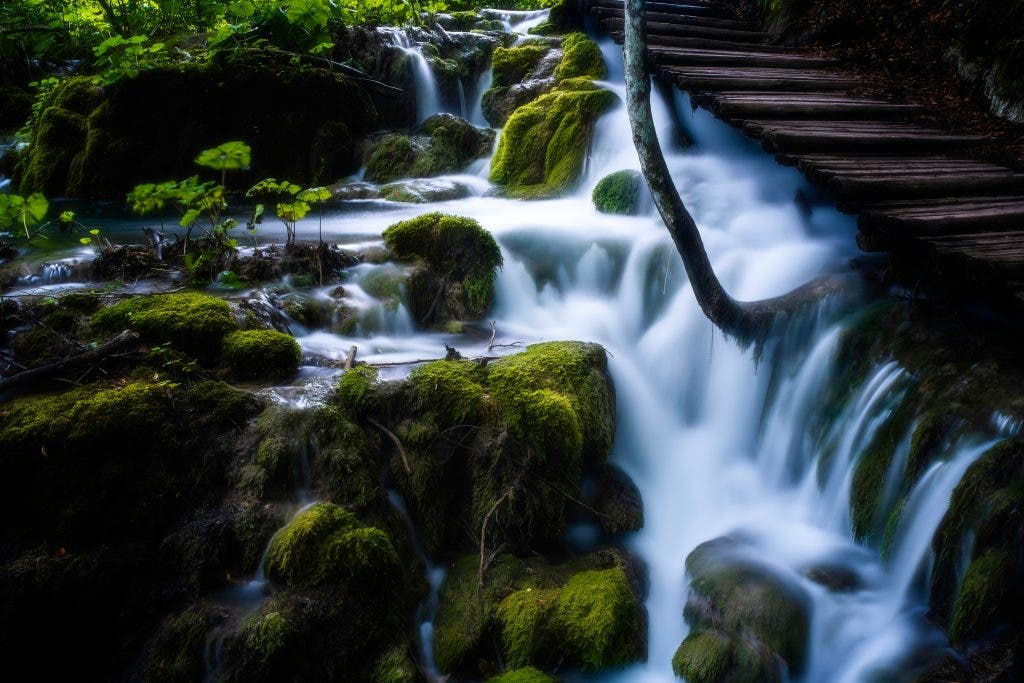
Long exposure photography has been around forever. It’s the technique that’s been giving us those dreamy waterfalls, silky-smooth ocean waves, and mesmerizing city light trails. Traditionally, it requires a slow shutter speed, a tripod, and so much more patience. Now… enter computational long exposure.
Computational long exposure blends multiple images together. How? Using AI or in-camera processing. This means you can achieve those stunning motion blur effects without overexposing highlights or needing an ultra-steady tripod.
The best part? You don’t have to be a pro or own a ton of gear to pull this off.
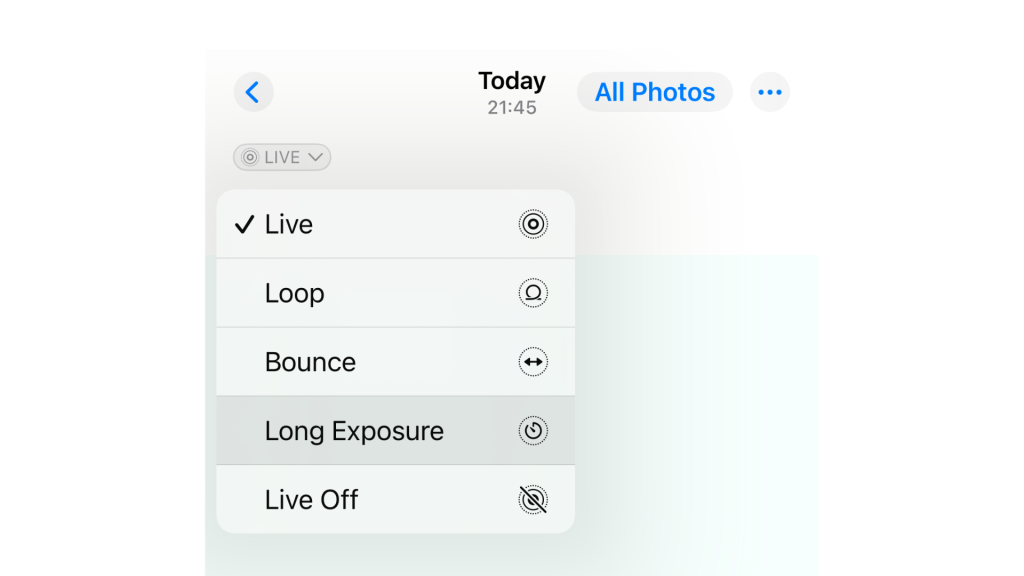
How to do computational long exposure photography on iPhone
- Turn on Live Photo and set your timer from 3-10s.
- Go ahead and take the pic.
- Go to your Photos and open the picture you just took.
- Press the Live button on the upper left corner and select Long Exposure.
How to do computational long exposure on camera
This works if your camera doesn’t have a built-in Long Exposure Mode.
- Set up your camera on a tripod if possible (or a stable surface).
- If using a DSLR/mirrorless camera, switch to manual mode and set your shutter speed to a shorter setting (1/10s – 1/30s).
- Take a series of photos. For water or clouds: Capture 10-20 images over a few seconds. For light trails: Take bursts while cars or fireworks are moving. For crowds: Take multiple images and later blend out people for a “ghost town” effect.
- Open Photoshop (or a Free Alternative). Import all your images as layers.
- Select all layers → Go to Edit → Auto-Align Layers (to make sure they stack correctly).
- Change each layer’s opacity or use “Mean” stack mode (this creates a natural motion blur effect).
- Fine-tune the effect with layer masks or blending modes.
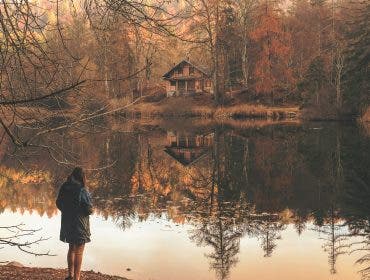
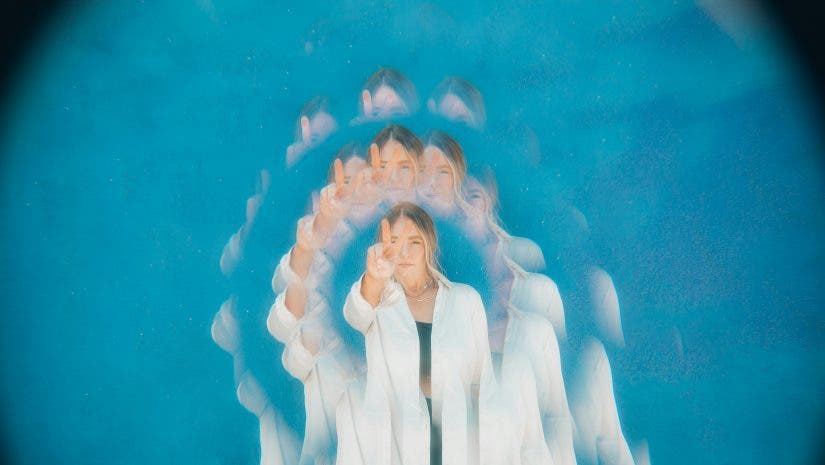
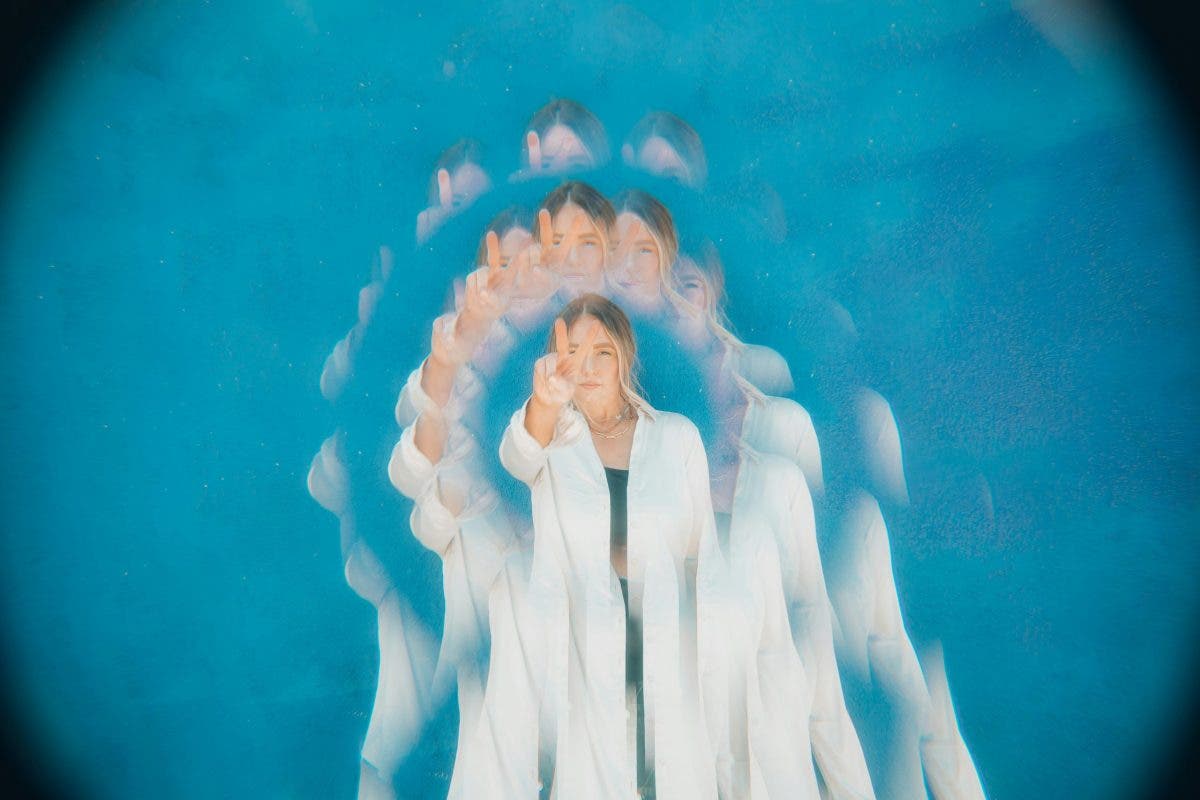
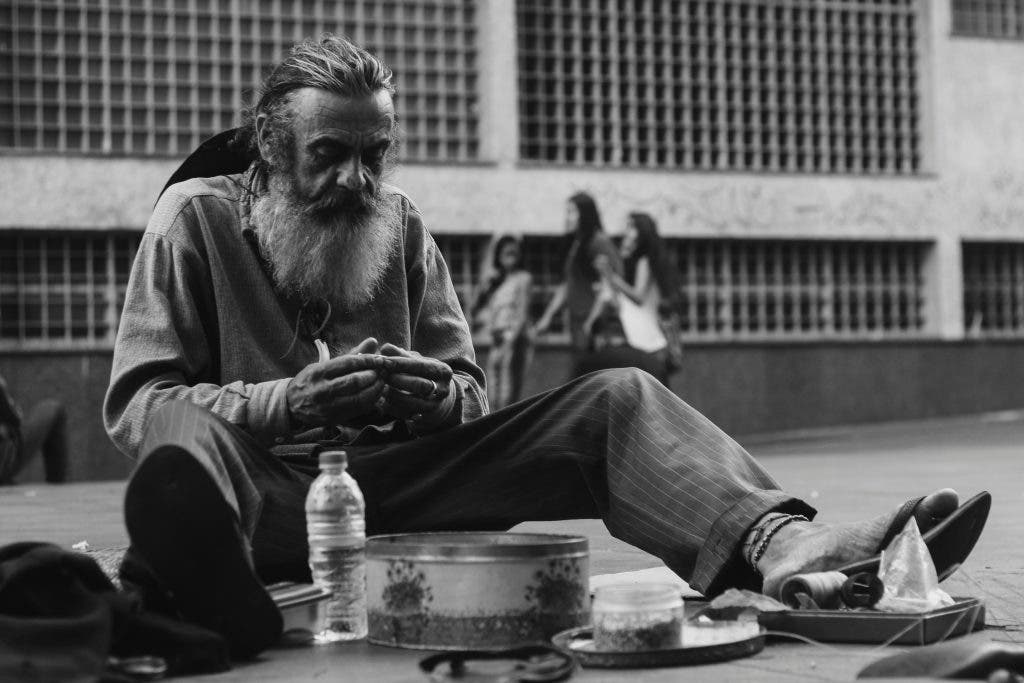
Documentary-style narratives
This is visual storytelling in its rawest form. No staged poses, no artificial lighting setups. It’s just real life, unfolding naturally. This style is all about preserving genuine moments, emotions, and interactions.
You’ve probably seen this approach in photojournalism, street photography, and wedding reportage, where the best shots capture people in unfiltered, unscripted slices of life. The goal of these unique photography techniques? To make the viewer feel like they’re standing inside the moment, experiencing the scene just as it happened.

How to shoot documentary-style photos
- Stay unnoticed. Use a small, unobtrusive camera, turn off your shutter sound, and spend time in your environment before shooting.
- Shoot from the hip. Use a wide-angle lens here (24mm to 35mm). Adjust to a small aperture. Set your shutter speed fast (1/250s or higher) to freeze motion.
- Go wide but stay close. Use a 24mm or 35mm lens to take those nice, immersive shots. Instead of zooming in, physically step closer to your subject. Position yourself at eye level for a natural perspective.
- Find the best light source. This could be a window, streetlights, or even nearby neon signs. In the dark, use a fast lens (f/1.8 – f/2.8) to say goodbye to grain. Increase your ISO if needed, but not so much that your image looks too noisy (ISO 800-3200 is usually a safe range).
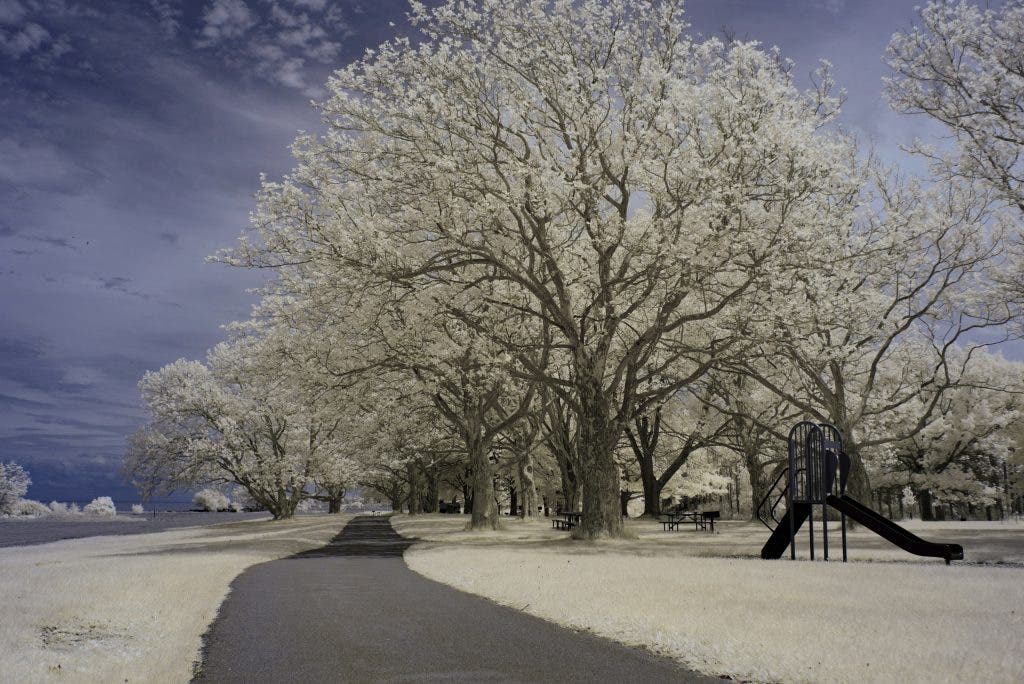
Infrared photography
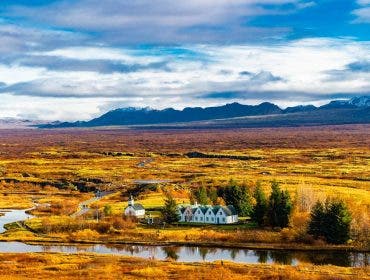
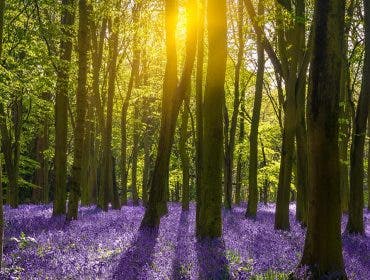
When it comes to unique photography techniques like this one, trees glow white, skies turn black, and human skin… glows? Basically, you capture light that’s invisible to the human eye.
Unlike normal photography (which records visible light), infrared photography captures near-infrared wavelengths. It reveals surreal, dreamlike scenes.
How to shoot infrared photography
- Buy an infrared filter like the Hoya R72.
- Attach the filter to your lens.
- Set your camera to manual mode.
- Get a tripod because you’ll need long exposure times (several seconds to minutes).
- Shoot in bright sunlight. Infrared photography works best at midday when infrared light is strongest.
- Use a Low ISO (100-400) to keep noise minimal.
- You need to do long exposure. You may need shutter speeds of 30 seconds or more.
- Focus manually. Since infrared light focuses differently than visible light, autofocus might struggle.
Post-processing for infrared photography
- Convert to black & white or false color.
- Open your image in Adobe Photoshop, Lightroom, or a free alternative.
- Convert to black & white for a classic high-contrast infrared look or swap the red and blue color channels (using Channel Mixer) to create the iconic blue-sky, white-foliage infrared effect.
- Increase clarity and contrast to make textures pop.
- Fine-tune highlights and shadows to bring out hidden details.
- Try adding a cyan or deep blue tint to give your infrared images a sci-fi feel.
- Experiment with false-color processing to create artistic, surreal effects.
Push your boundaries! Try unique photography techniques
Photography is all about seeing the world differently. Try computational long exposure or dive into infrared, these unique photography techniques will challenge the way you shoot. The best part? There’s no right or wrong over here — just endless possibilities, bestie!