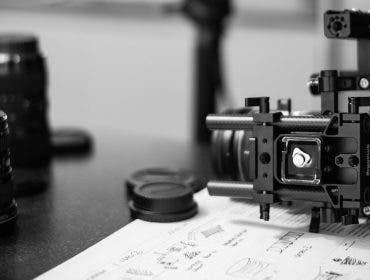
Underwater photography can be one of the most challenging yet rewarding ventures for those who have an interest in the magic of the underwater world. This love affair goes beyond storytelling and what equipment is required. It is an exploration of another universe within our own. It’s a world so vast, alluring, and ever-changing that you can spend the rest of your life exploring the possibilities and barely scratch the surface. Let’s dive into a world of potential and begin with some of the basics to help you get started in underwater photography.
What is Underwater Photography?
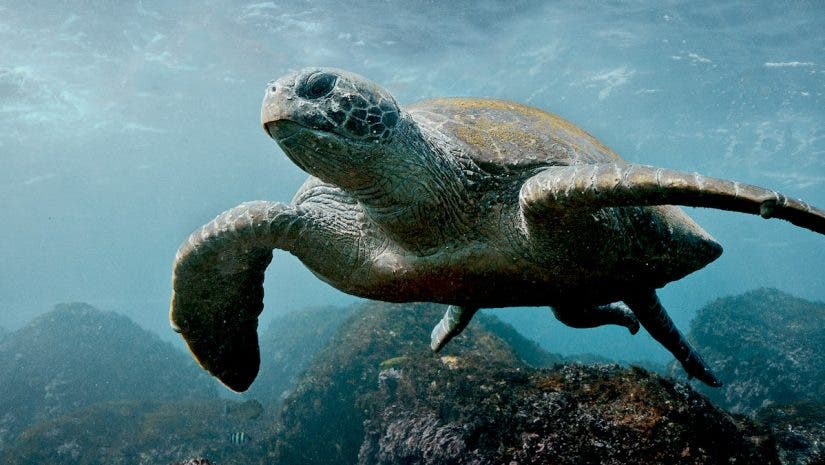
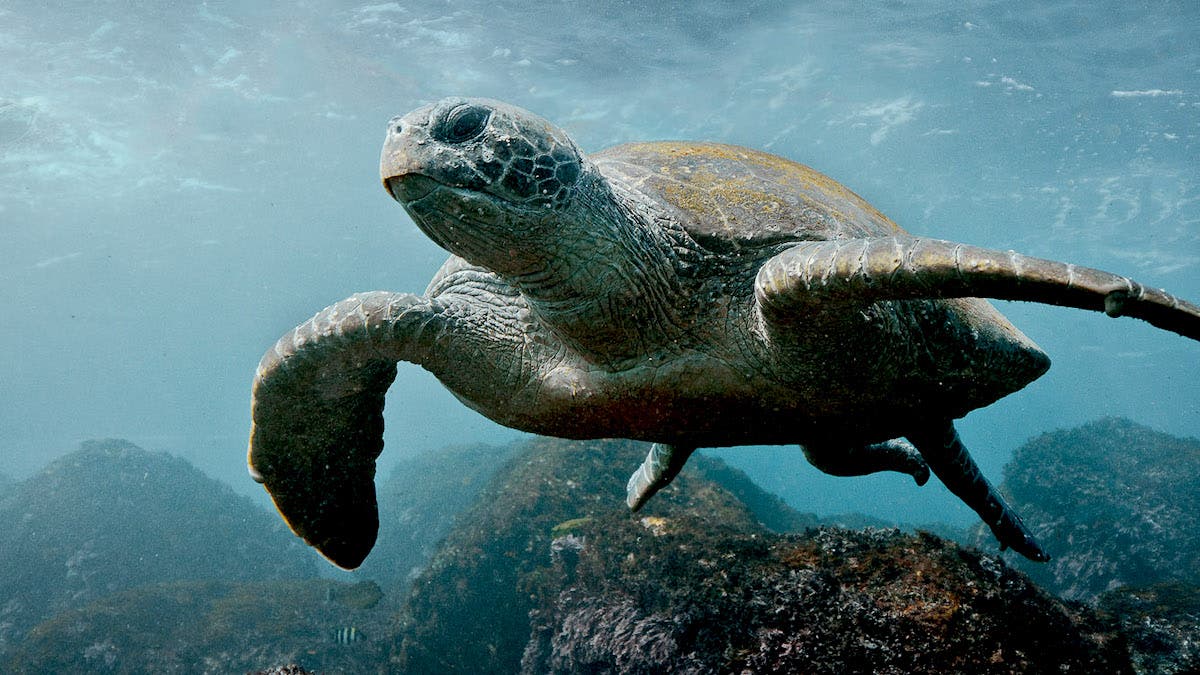
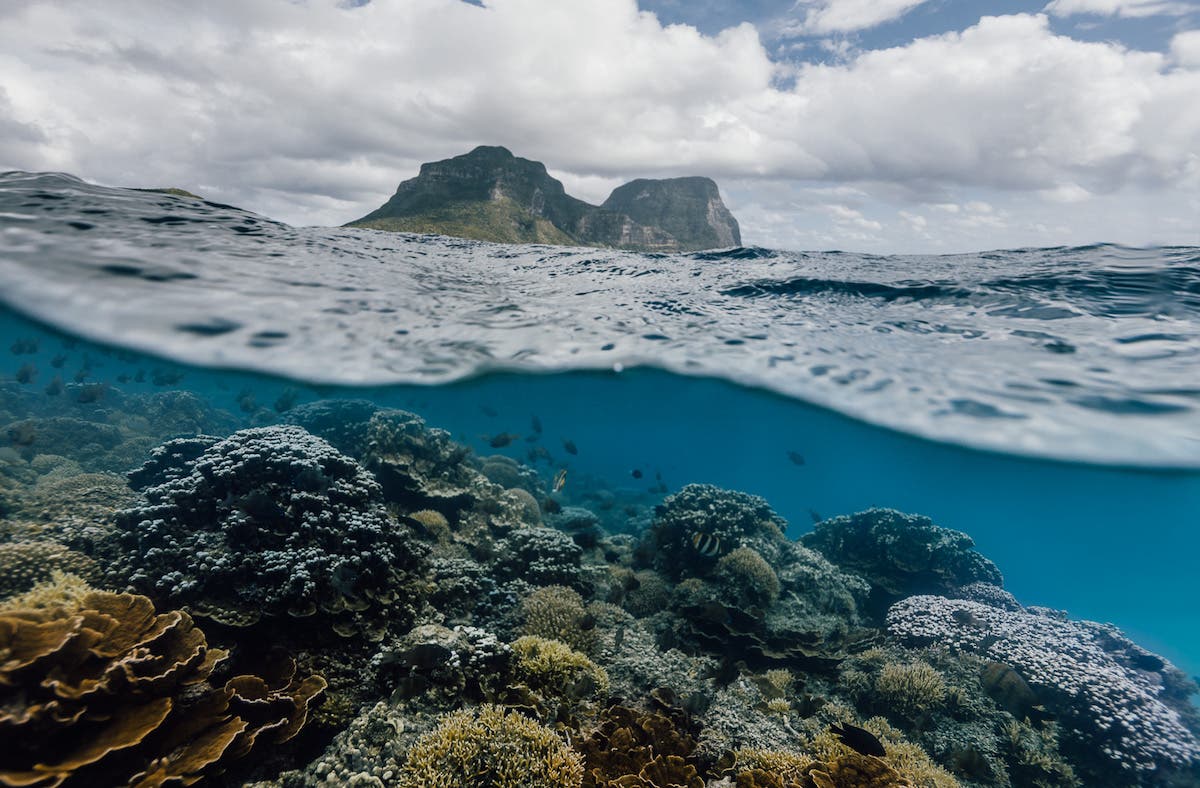
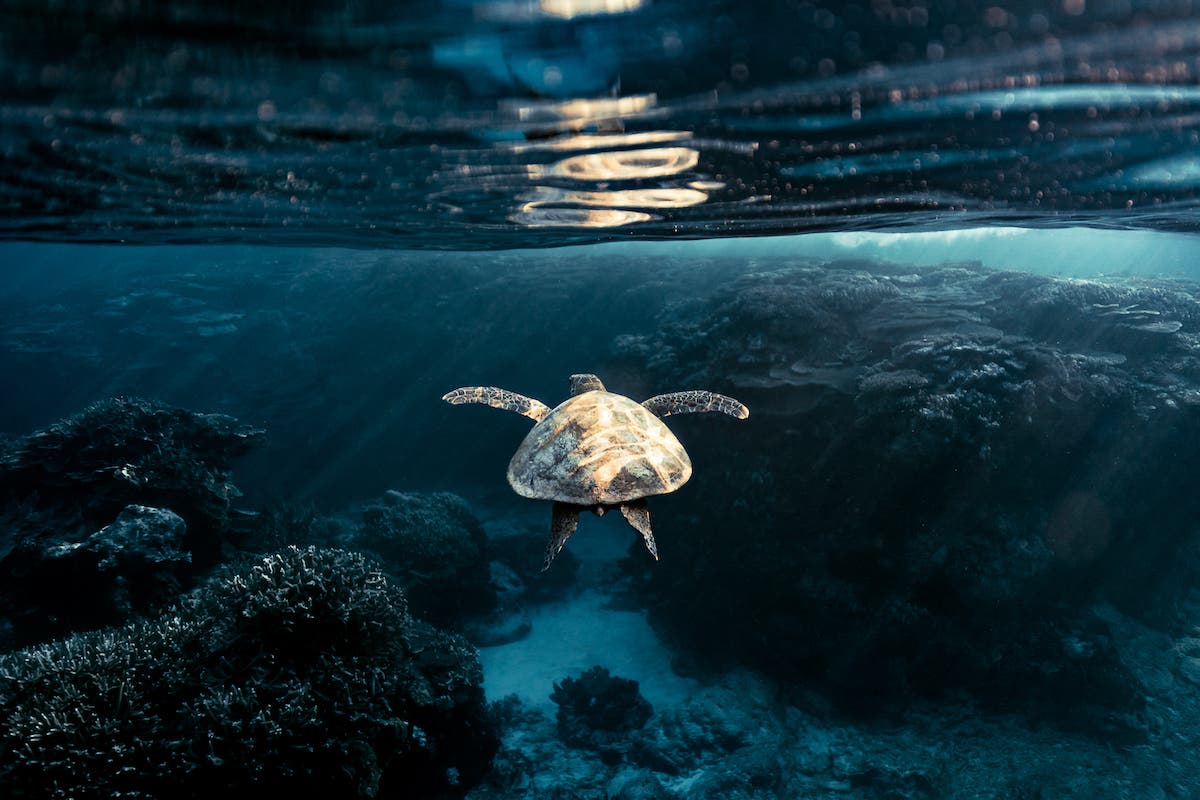
Underwater photography is the act of photographing the underwater world via scuba diving, free diving, or snorkeling. Underwater photography covers a large variety of subjects from scenic wide-angle images, immersive over/under (also known as spilt shots), underwater wildlife, surf photography, macro images, diving and freediving for underwater fashion images or ad campaigns, and for scientific and conservation purposes.
Best Gear for Underwater Photography
When starting out in underwater photography, the amount of specialized equipment that is needed can feel overwhelming. That is why it is best to use what is available to you.
Throughout the last 12 years of my career, I have used various cameras, including an underwater point-and-shoot camera, iPhone in a protective case, GoPro, DSLR, and a mirrorless camera in a professional underwater housing.
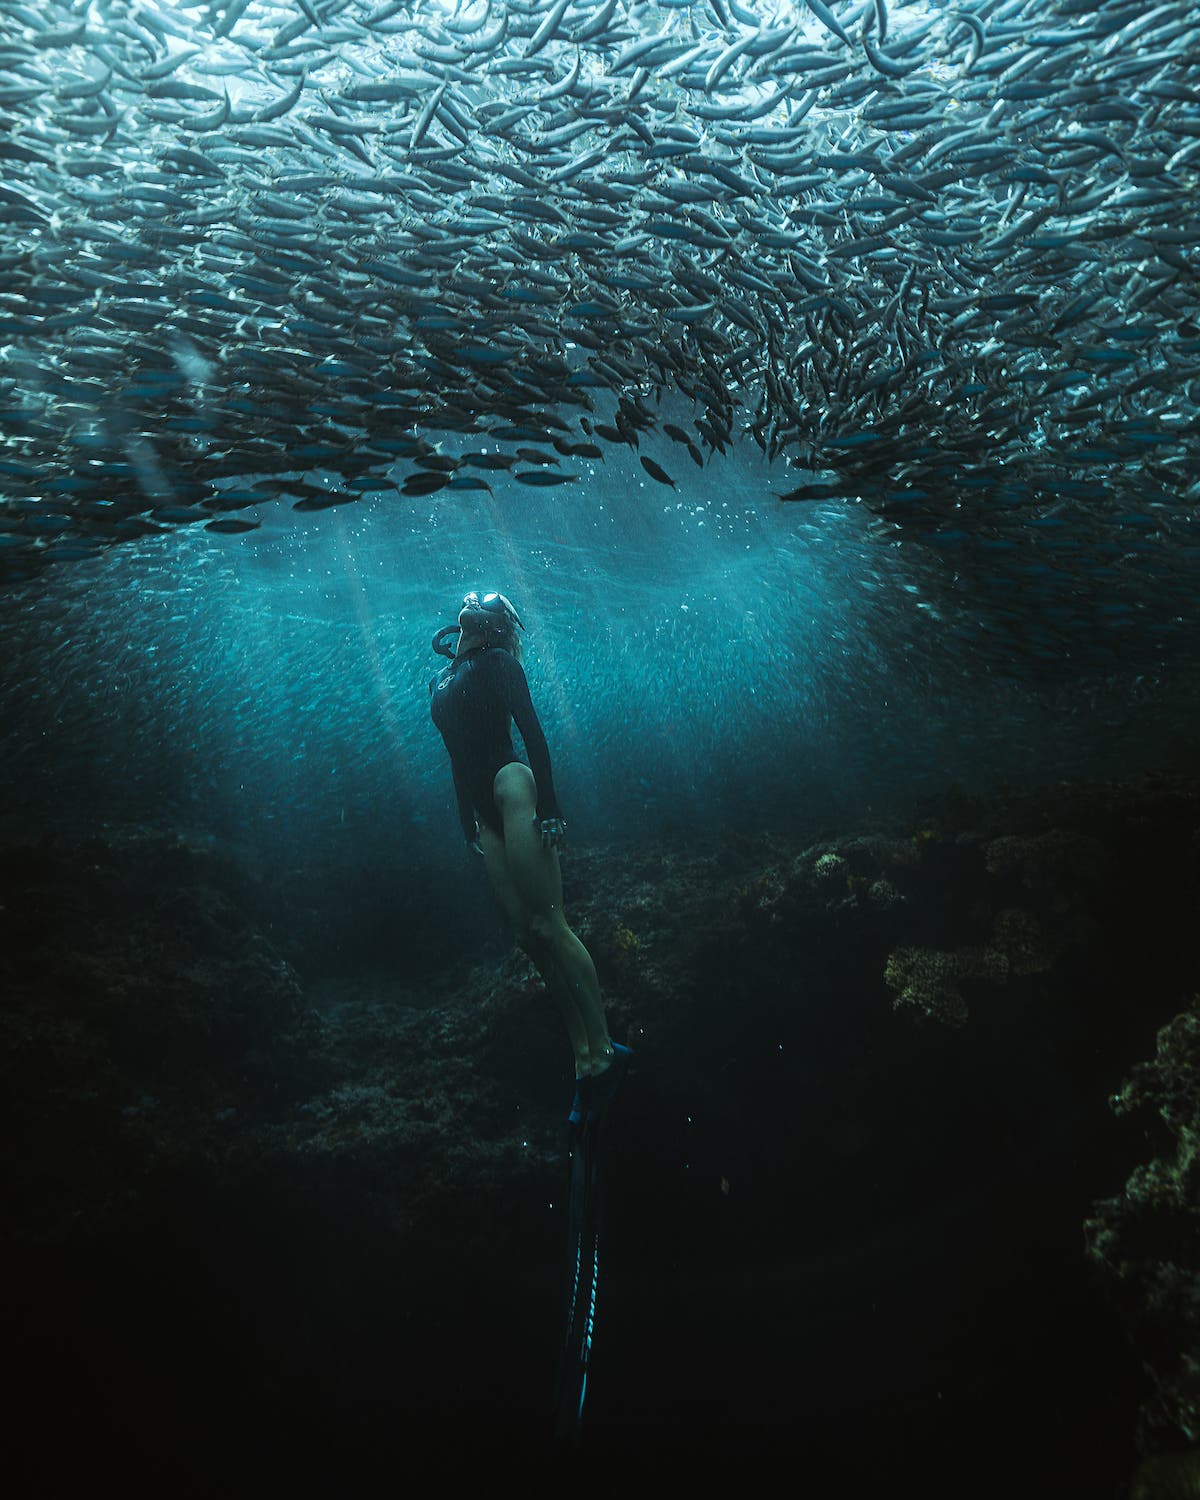
My body of work focuses on employing the use of natural light. This means I do not have strobes or external equipment to compensate for the loss of light and color the deeper the dive. For that reason, I have curated a list of equipment that is compact, lightweight, and trustworthy to achieve the images I conceptualize and create underwater.
GoPro HERO11 Black
To get started, the GoPro Hero 11 is a powerful and versatile tool when it comes to an underwater camera. It can be used for photographic stills (at 27.13MP) or mounting to your housing to create cinematic BTS (5.3K60 + 4K120 Resolution Video). I almost always have my GoPro with me on dives. It is predominantly mounted to my housing, or as my sole camera on quick dives.
My professional camera body of choice is the Sony a7R IV. I use this camera both in and out of the water. It is a powerful full-frame mirrorless body that is agile and responsive with the latest technology to help me capture the beauty of the underwater world.
Sony FE 16-35mm f/2.8 GM Lens for Sony E
My workhorse lens is a Sony 16-35mm f/2.8, I typically use this lens while under water as the f/2.8 allows for a lot of ambient light to enter the lens with fast shutter speeds. It is a versatile lens for capturing wide-angle shots, under/overs, and creative portraits of models or wildlife.
Sony FE 50mm f/1.2 G Master Lens
Another favorite lens under the water is my Sony 50mm f/1.2. I mainly use this image for finer details ir creative portraits. This is especially great in capturing bokeh on the surface of the water while shooting directly into the sunlight.
Ikelite 200DL Underwater Housing for Sony Alpha a7R IV
My underwater housing is Ikelite 200DL Underwater Housing for Sony Alpha a7R IV. In my experience thus far, this housing is one of the best for its price range and flexibility with controls. I can use my camera almost completely as I would on land. I also can switch from photo to video with one flick of a button.
Underwater Photography Camera Settings
The best way to achieve consistent results when photographing the underwater world is to know which settings to use before you place your camera in the housing. Underwater photography is fast-paced and can be quite dynamic. You want to be as prepared as possible to capture the moment as it unfolds in front of you.
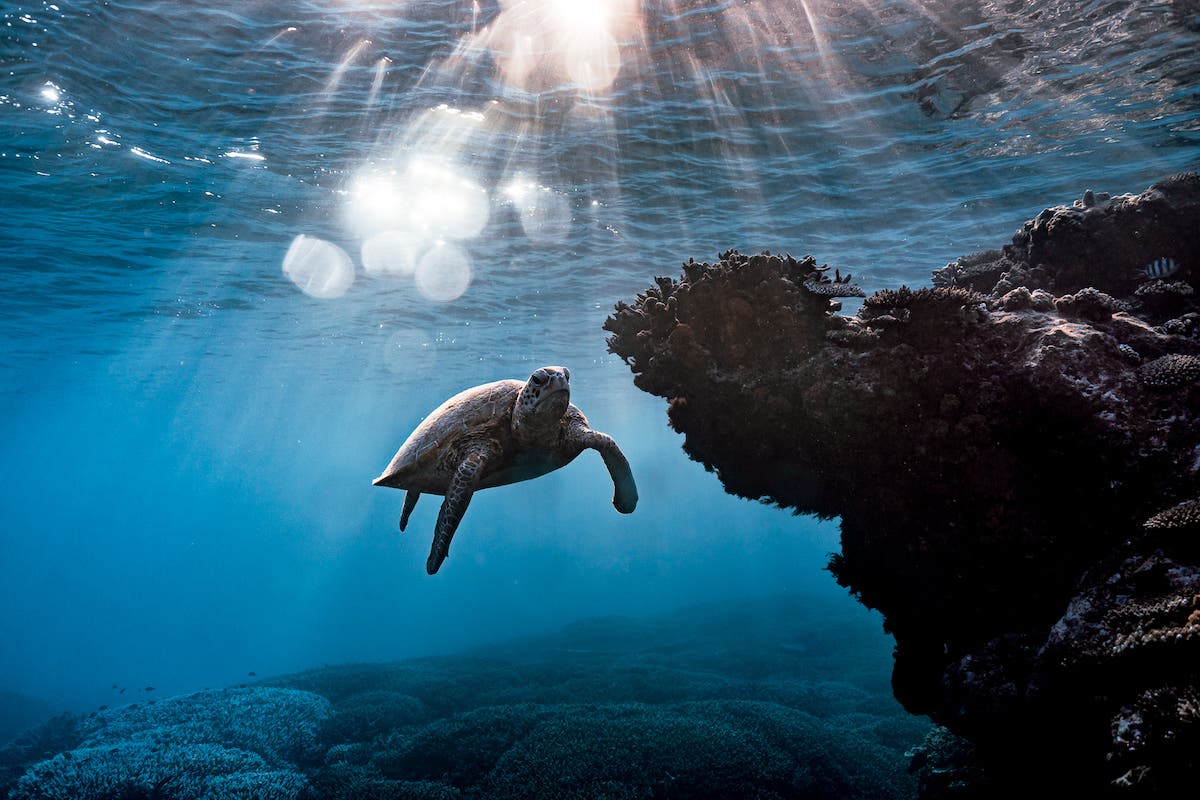
My first and most important recommendation is to always shoot in a RAW format. This will ensure you can get the most out of your post-processing of the digital file.
ISO
If you are just beginning with underwater photography, I would recommend starting with either Shutter Priority mode or Aperture Priority Mode. Select Auto ISO and set up your Auto ISO range in camera (my suggestion example: ISO 100-2000). These settings will take a lot of the manual work out of underwater photography and allow you to focus on composition and the experience as you get started. In either Shutter Priority Mode or Aperture Priority Mode, you’re still able to adjust the EV (Exposure Compensation) to make sure that your histogram is properly exposed.
If you have a clear understanding of the exposure triangle and are comfortable shooting manual while underwater, this will allow for the most control of your images. Be sure to experiment with your settings. Don’t be afraid to explore different focal lengths, lenses, and motion blur.
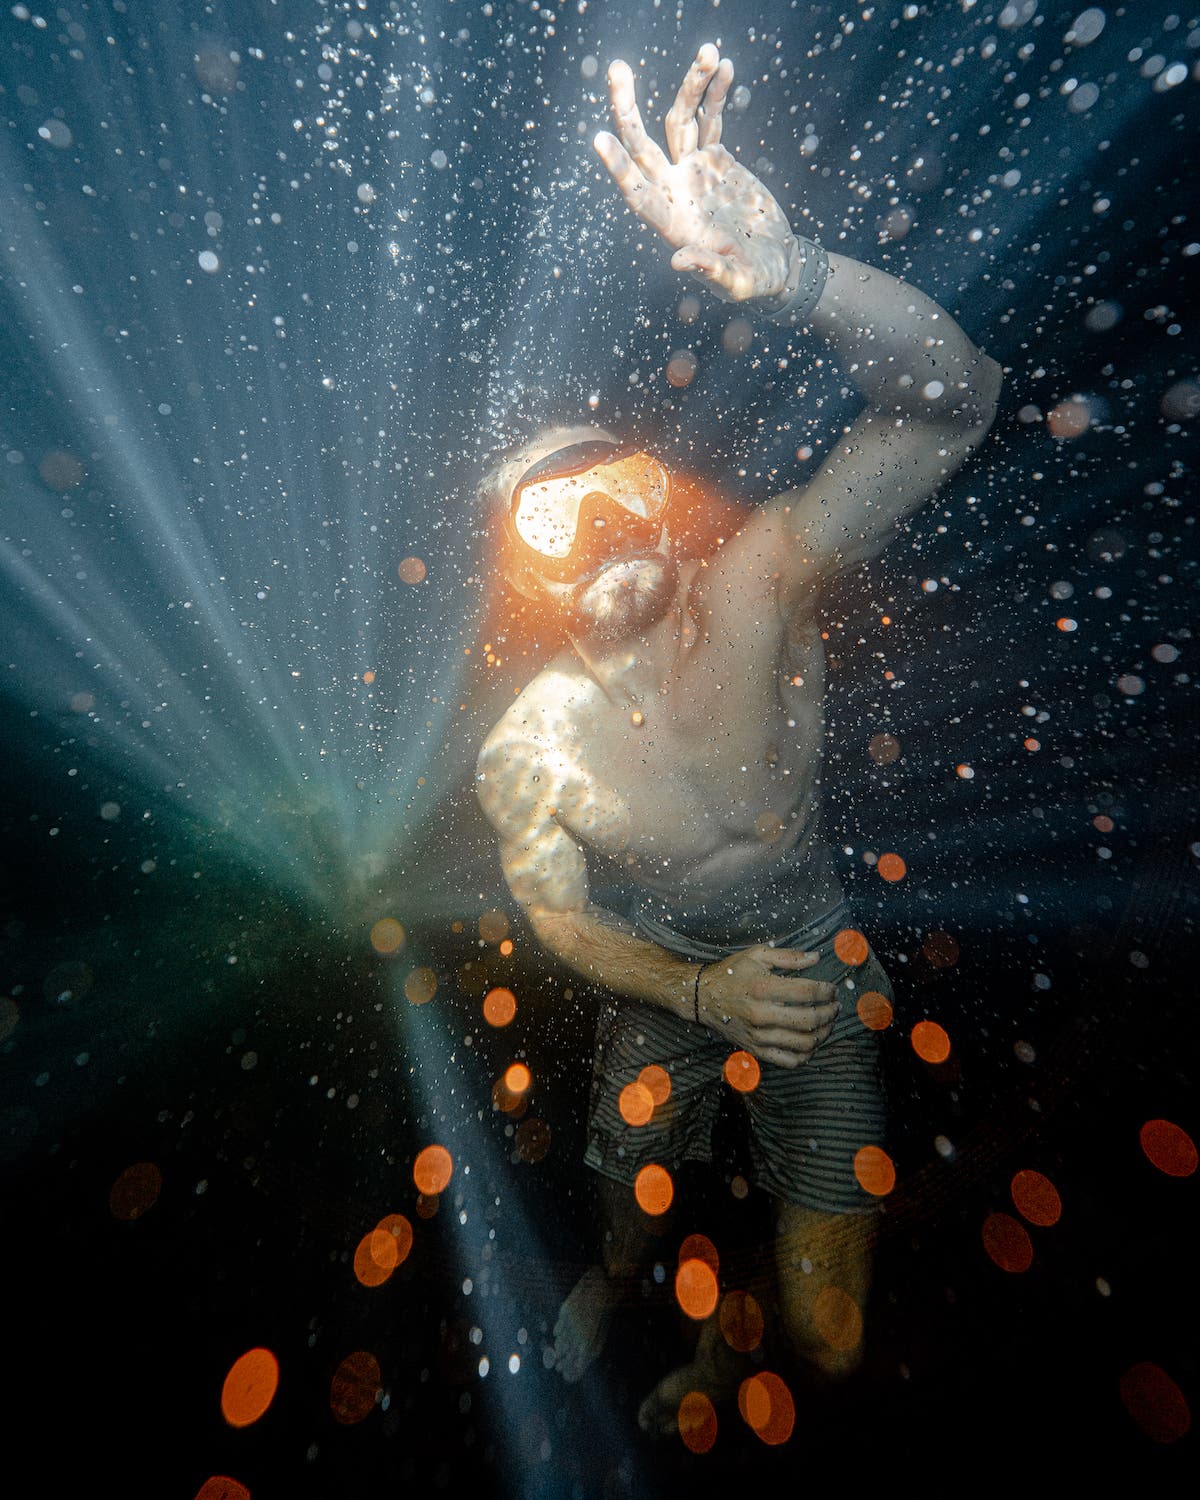
Manual Mode is my preferred mode of underwater photography. With each diving moment, the conditions can — and likely will — change. Manual Mode offers the flexibility to adjust settings in a dynamic nature. I can judge the depth of distance between my camera and subject, then choose my aperture accordingly.
Aperture
When up close, I use f/11–f/16. For subjects that are further in distance, I use f/5.6 to f/11. Having the flexibility to completely control the camera — and switch from photo to video — is imperative for me.
Focusing
When it comes to focusing, I use back button focus when on land. However, when it comes to underwater photography, I change these setting completely and trust my camera’s capability and amazing focusing technology.
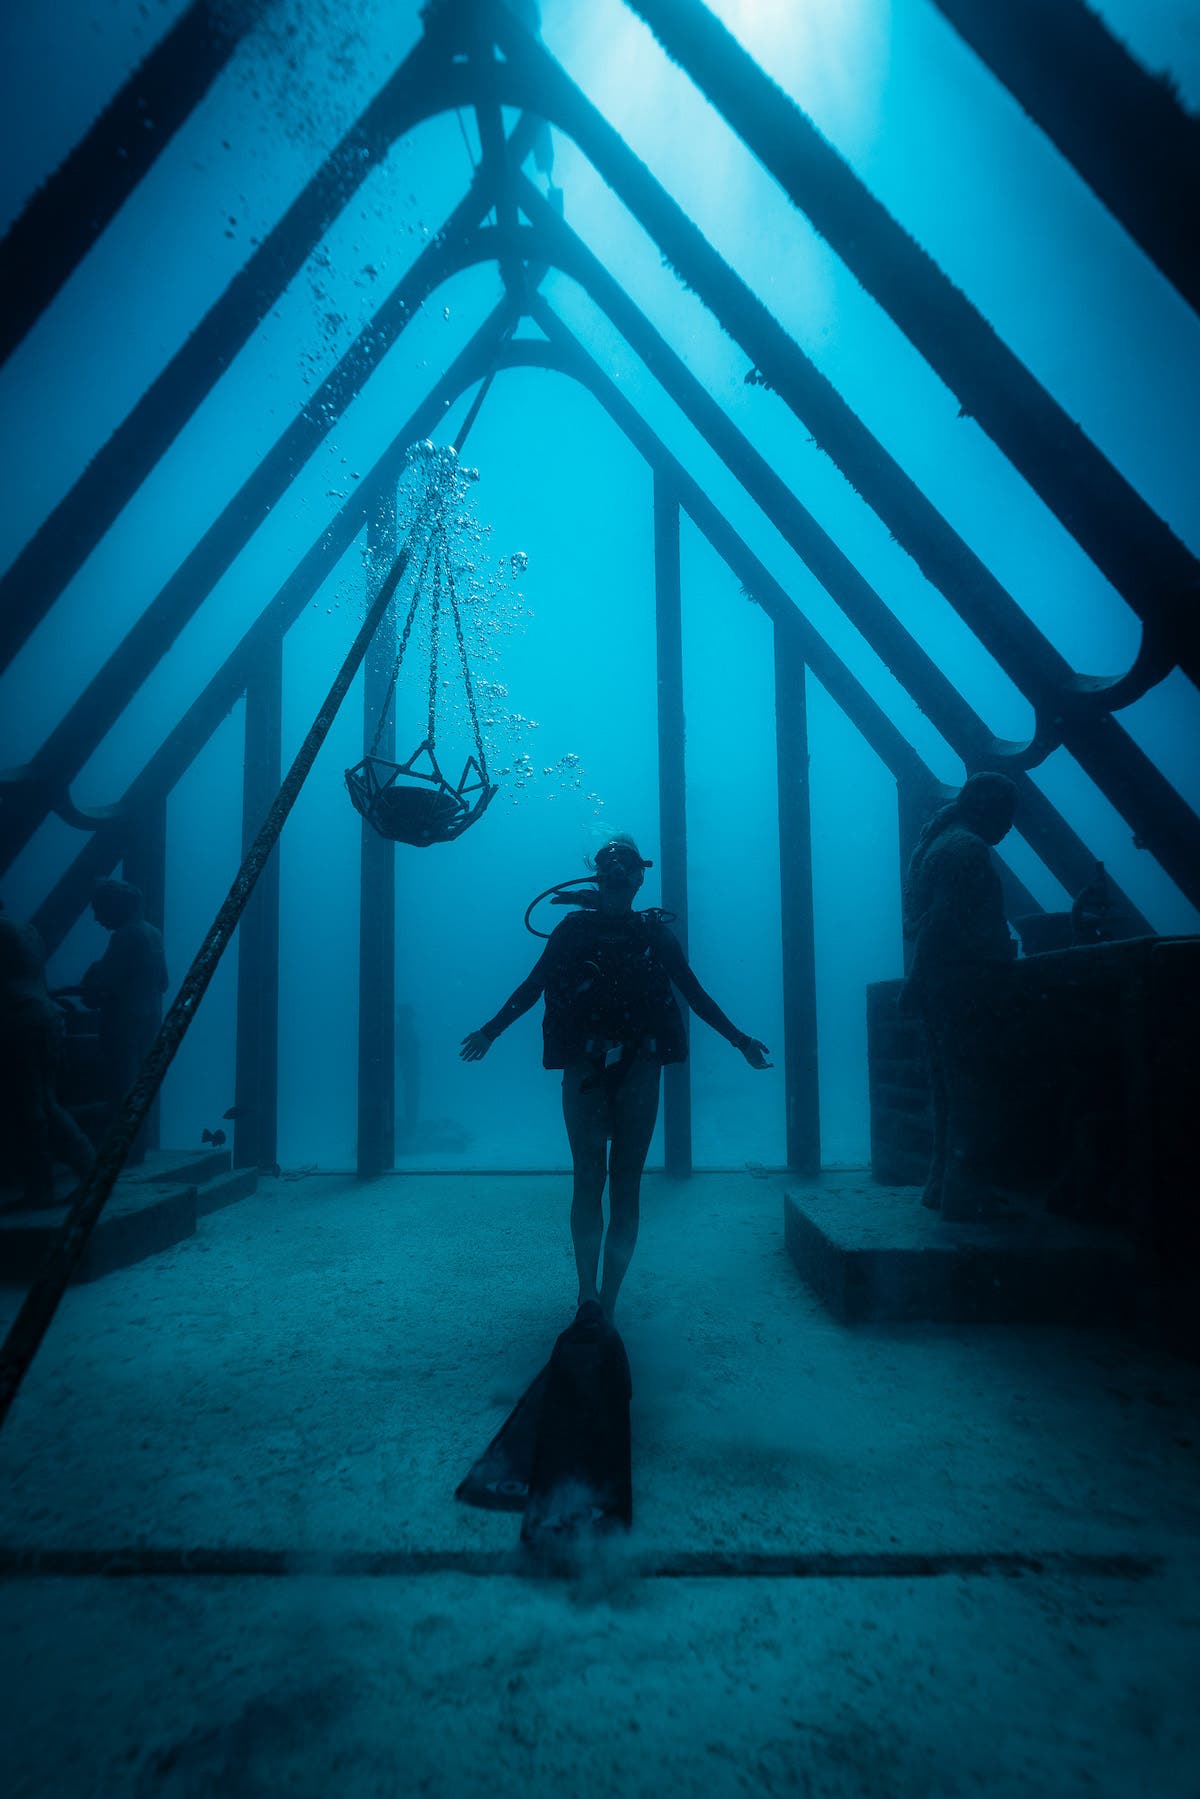
When it comes to underwater photography, I select Continuous Focus mode and High Burst. This means that, with a half-depression of the shutter to pull focus and track the subject as it moves with me, I can ensure focus and allow my camera to take multiple images per second.
Reviewing
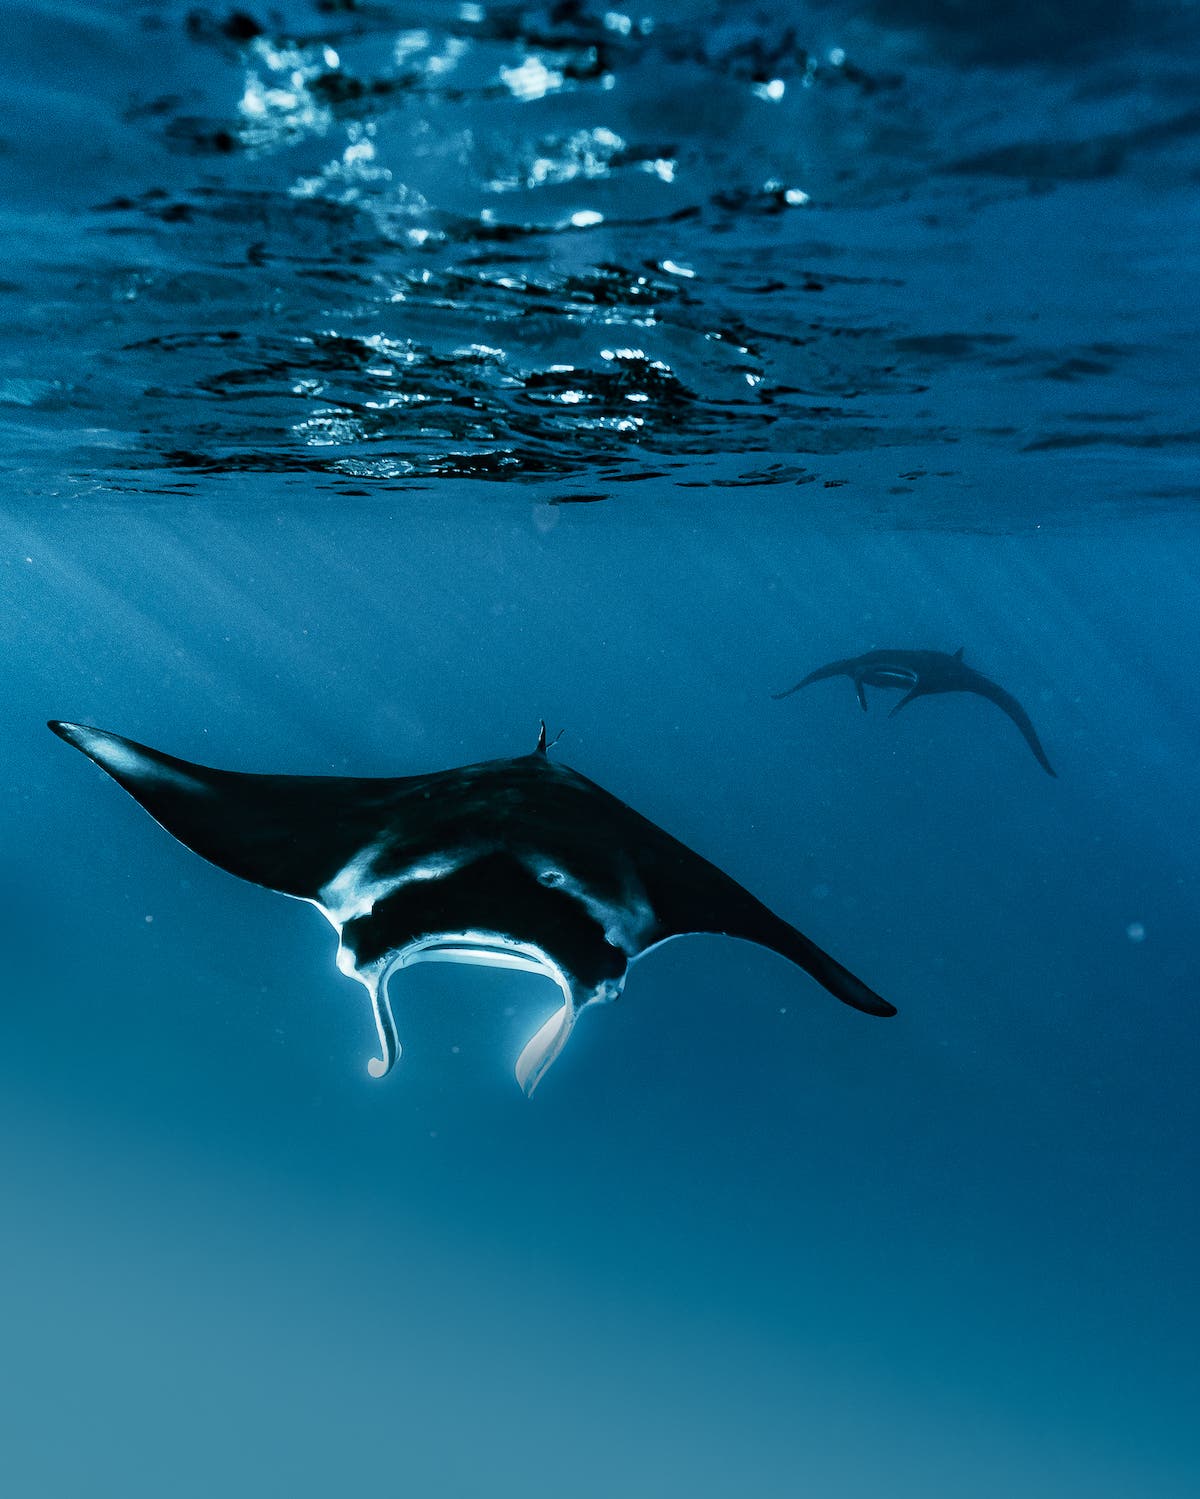
I always try to review images in the water to ensure the focus is correct and the image is sharp. However, I only do this if I am not missing the moment before me. When working with models or divers underwater, it is possible to do one more take. Although, when photographing wildlife or surfing, oftentimes you need to ensure the settings and focus is correct as that may be the only encounter you get. This is what makes underwater photography so special.
How to Stay Safe During Underwater Photography
It is important for any dive — whether includes a camera or not — that you never dive alone. This is the number one rule for your safety. From finding the right buoyancy with your camera equipment, a responsible dive plan, and a focus on capturing that beautiful storytelling image, there is certainly a lot to think about in (and out of) the water.
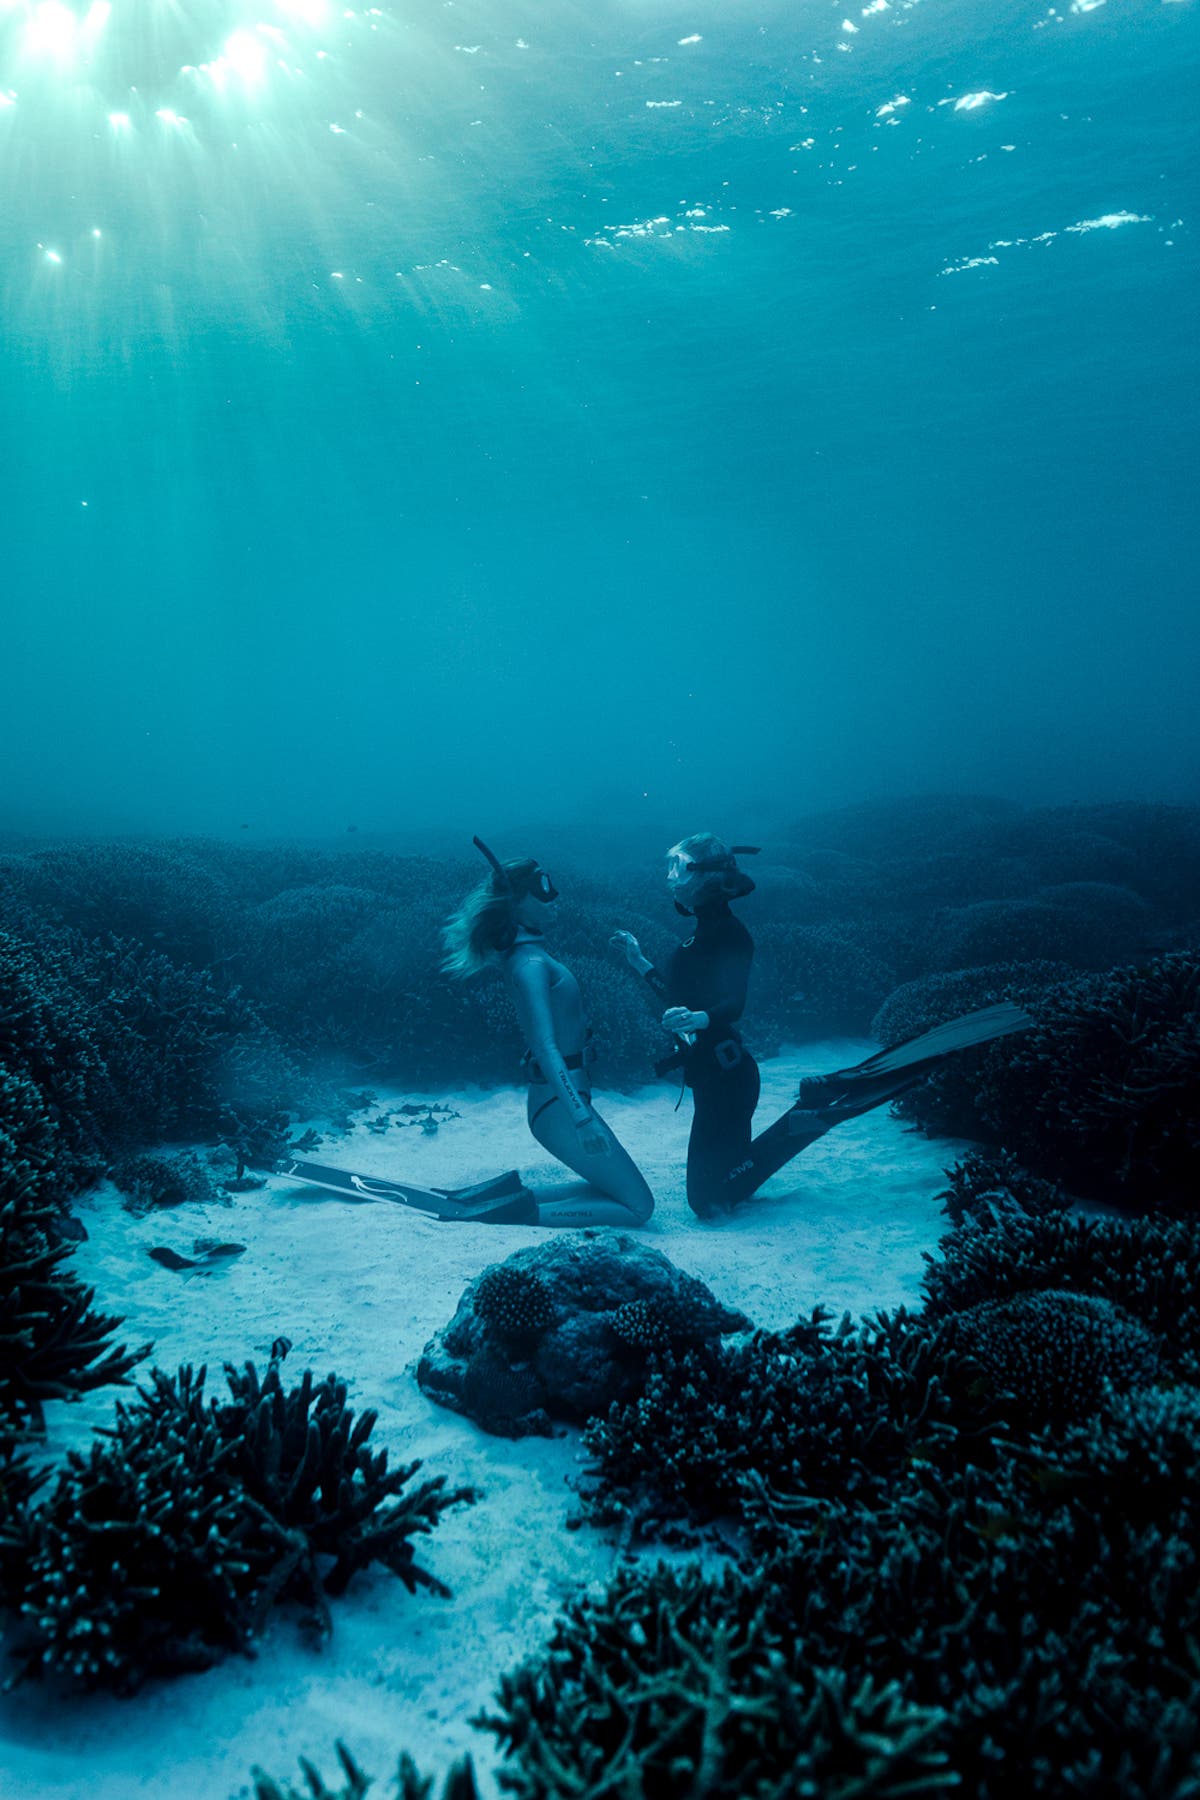
Always dive with a certified dive buddy. Also, dive or snorkel within your limits. Your and your dive buddy’s safety is worth more than any photograph you can capture. Ensure there are more explorations of the big blue through positive experiences and memories made.
On any photography expedition, I always have:
- Fresh water at the surface
- First aid kit equipped for the activity
- Garmin inReach
- Dive watch
Tips for Underwater Photography
Be Conscious of the Light
It is important to know that water is 800 times denser than air. The deeper that you dive, the less light and less color become available to your lens. If you are a beginner and experimenting with natural light, you want to be mindful of this. Remember that the further away you are from your subject, the more blue and green wavelength will be recorded in your image.
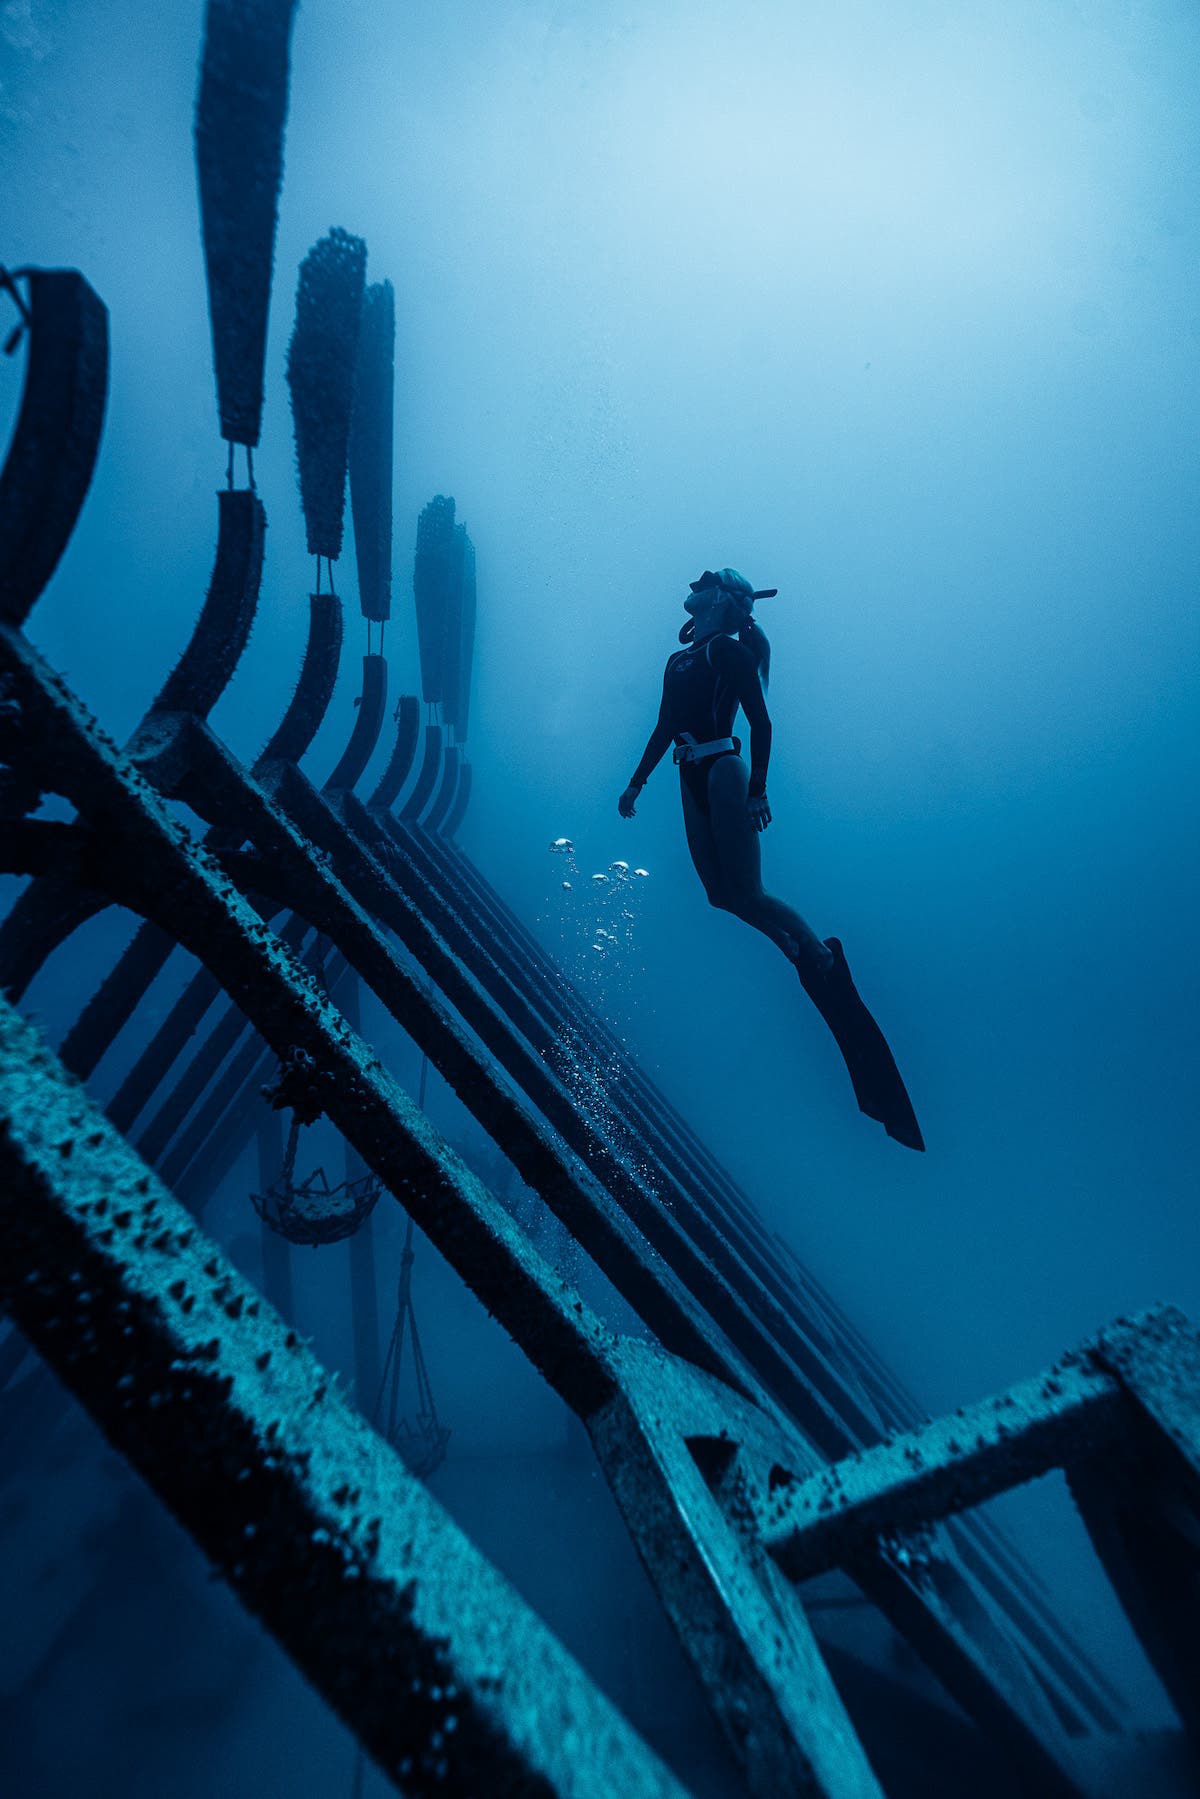
When starting out, I suggest staying shallow and choosing the time of day (noon) when the sun is overhead and, thus, penetrating the whole water column. Underwater photography is a matter of practice, patience, and trial and error. As exciting and uniquely organic as the underwater world can be, it is important to slow down, conceptualize your work, enjoy the moment, and always be respectful of your surroundings.
Be Respectful of Wildlife
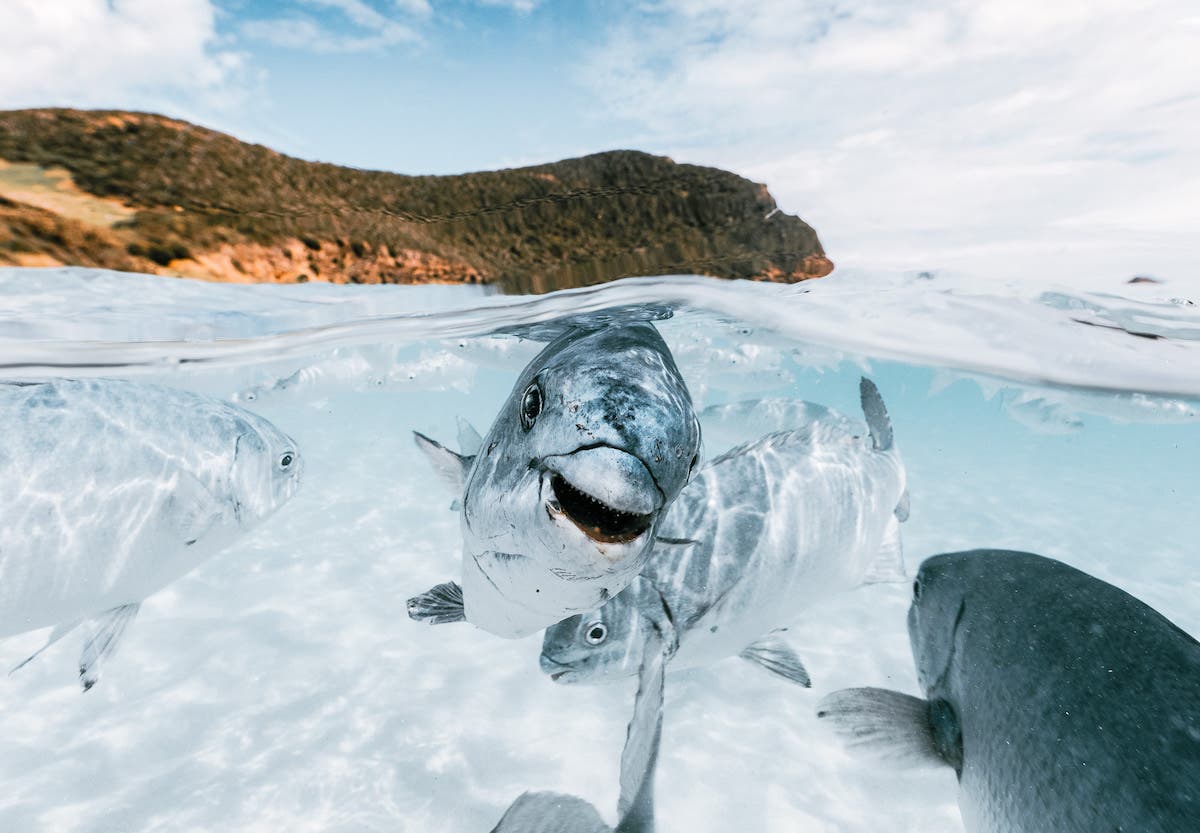
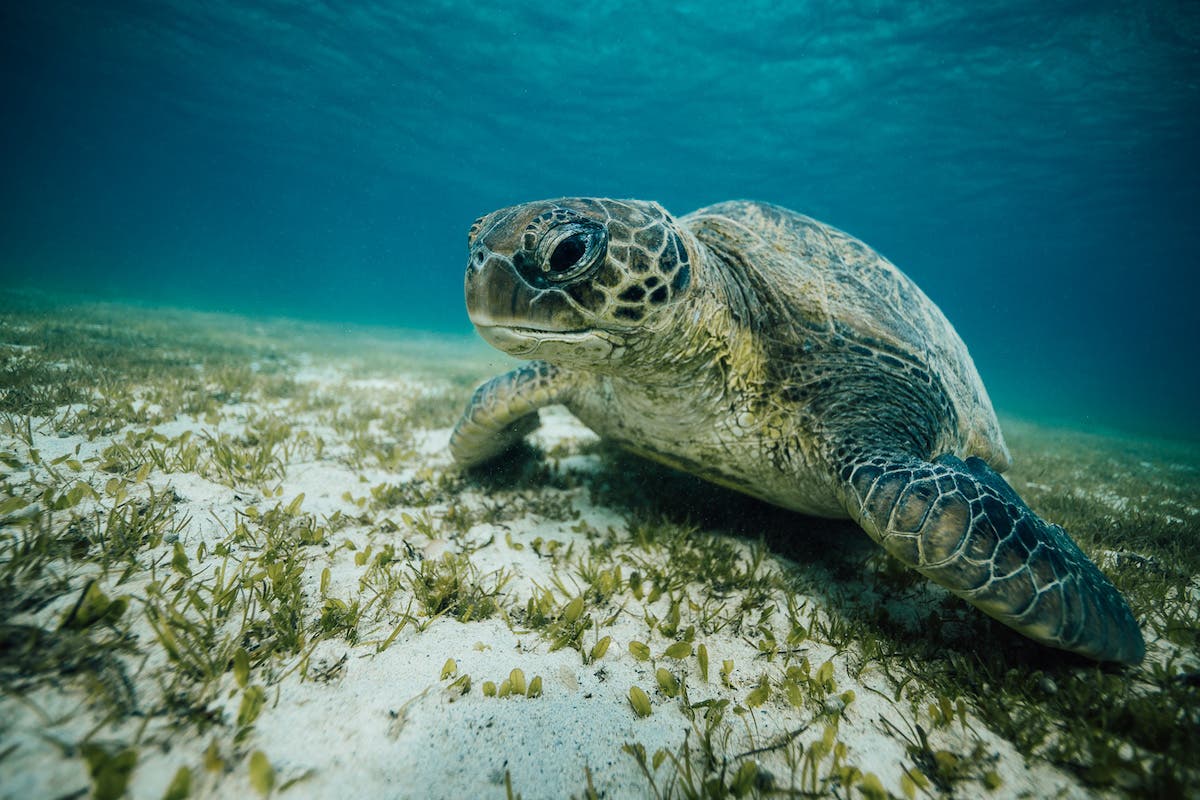
When photographing wildlife or the marine world, never interfere with corals or wildlife. Always give “breathing room.” It is important never to chase, harass, or cause stress to an animal. Observing the animal naturally will ultimately create the best and most compelling imagery.
Remember, if you have a curious creature, check your surroundings (especially for coral) and give space, move aside, or backwards to allow for a positive and non-interfering experience.
Take Your Time
Slow art is one of my core philosophies when it comes to photography. The same set of thinking on land applies below the surface. This is true from conceptualizing, to choosing the appropriate lens and time of day to shoot, and, of course, the right moment to press the shutter. Keeping calm and having your buoyancy mastered allows for better space to immerse yourself in the moment.
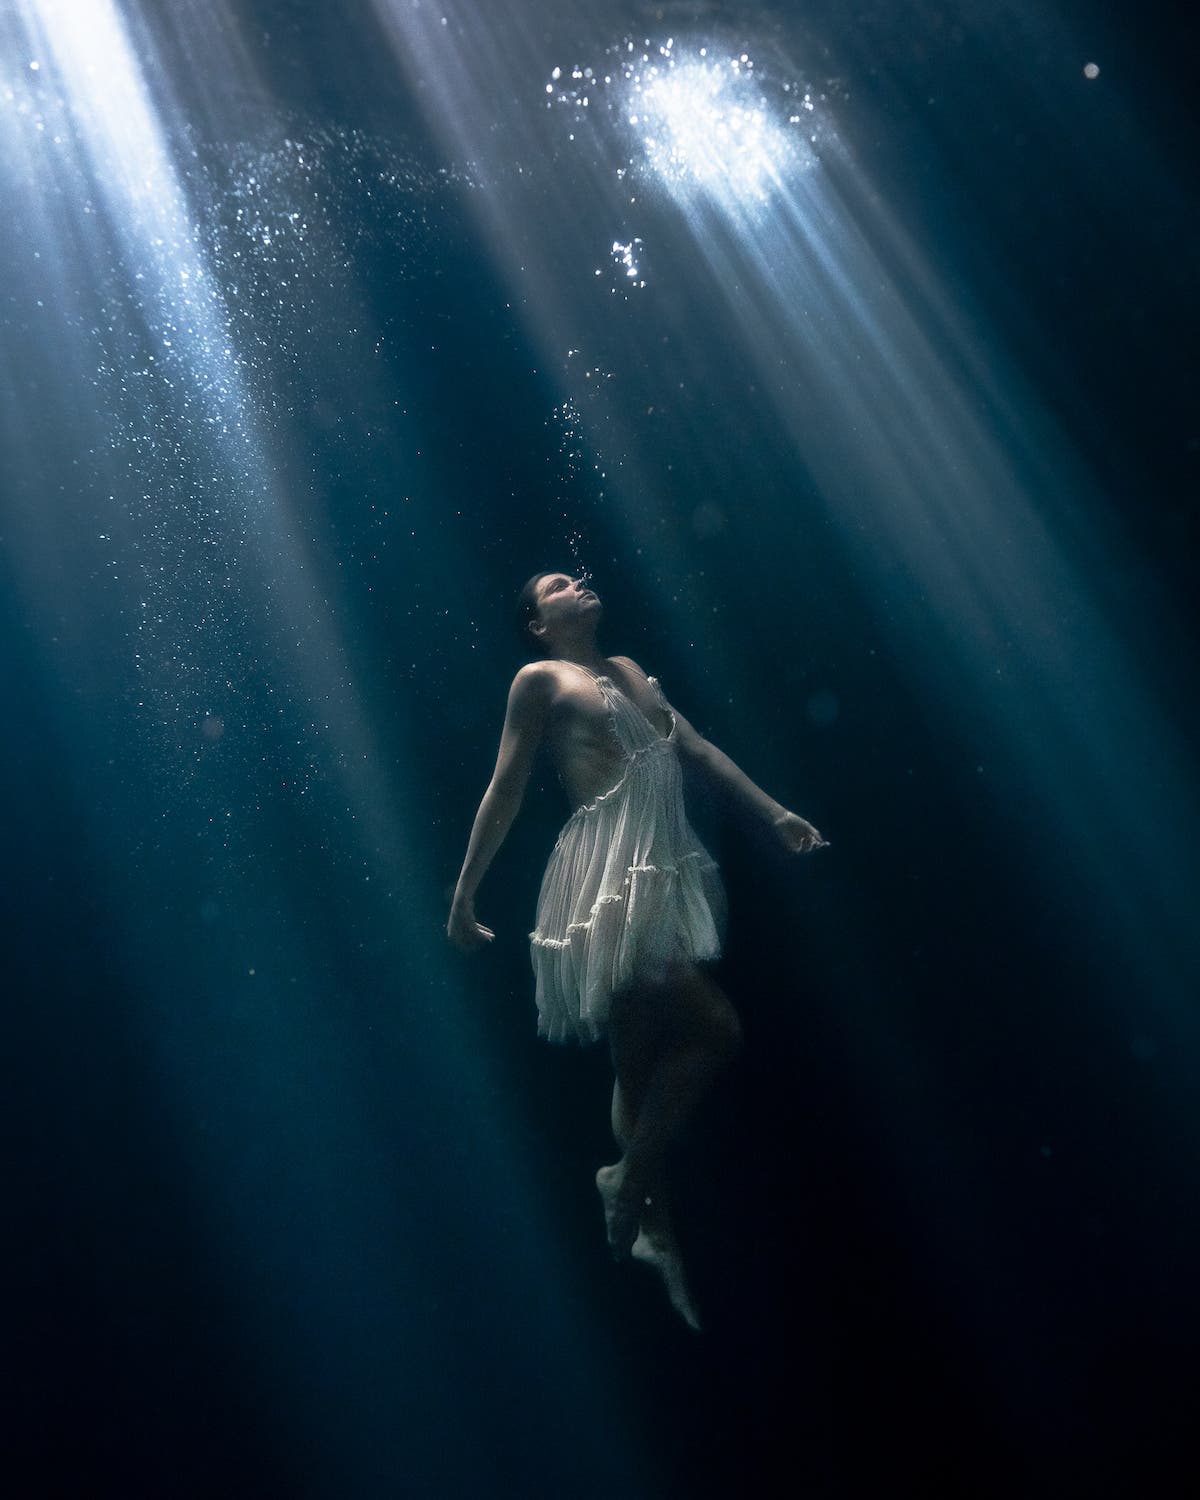
While I have noted above that Continuous Focus and High Burst Mode are my preferred settings for underwater photography, this doesn’t mean I exhaust my camera battery by holding down the shutter. I still take my time to think about composition and storytelling. I believe that for underwater photography — and art in general — to connect with the viewer, it will be more impactful if the time is taken to capture the perfect moments.
Conclusion
Underwater photography can be one of the most rewarding styles of art and personal expression. It is important to have fun, explore curiosities, and always be safe and respect the environment by leaving no trace. As lovers of the underwater photography world, our images can have great impact in raising awareness of the world below. Furthermore, we can contribute to the protection of these wild places. What a wonderful way to give back to a place that offers us so much!
