Underwater photography is not just about getting the right camera, underwater housing and lights. You need to know the basics of composition to tie it all together.
Now that you have started to master the technical side of digital underwater photography including exposure, strobe use and focus, you are probably wondering why your images still do not have a “wow” factor. That is because it’s now time to start using the creative side of your brain to compose your scene. It’s not just about capturing a good fish identification shot but one that help tell a story about the subject.
Composition, in basic terms, is the arrangement of the elements of an image to make the whole scene. Since this is an art form, and not a science, composition can be quite subjective. Yes, there are rules to help guide you, but it all comes down to your artistic interpretation – and this will differ from one photographer to another. As Ansel Adams said, “There are no rules for good photographs, there are only good photographs.”
Let’s start with some basic guidelines that will help you to develop your own style in underwater photography. Using these techniques will encourage you to consider your subject more thoroughly the next time you are in the water. Think it is different for underwater photos rather than land subjects? Think again. These are tried and true guidelines for any genre of photography that will help you come home with an outstanding image rather than another run-of-the-mill one. (If you’re a land-based photographer getting your feet wet with underwater photography, some of this might be familiar. Bear with me, and read on!)
The First Rule
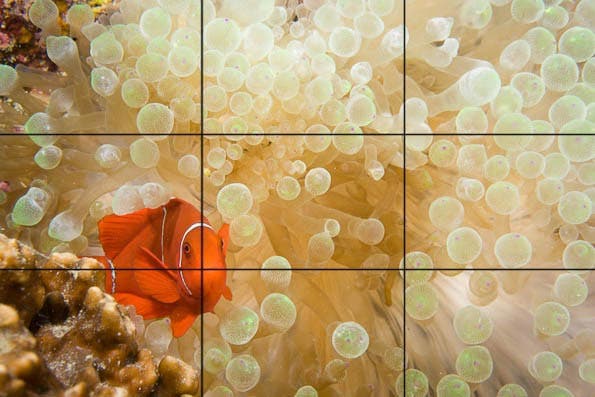
Although you may frequently hear, “rules are made to be broken”, especially in the artistic world, the Rule of Thirds has been tested time and time again. It is basically a rule that if followed, will keep you from photographing all your subjects directly in the center of the frame. This is also a bull’s-eye shot. Interesting to view? Not really. It works well for marine life identification books, but not for a more artistic image.

A topside landscape image is the easiest way to get an idea of how images with horizons are photographed. Unless you are doing a “mirror” image, the horizon is better positioned in the top or bottom third of the image to create visual interest.
Just use your imagination to see the division in the frame. Better yet: If you have a grid screen in your camera, use it! Two vertical and two horizontal lines spaced evenly apart will do the trick. It is more easily achieved using static subjects when starting out. Try placing the point of interest in your subject at one of the intersections of the grid, and take more than one shot! Experiment by moving the subject point to different parts of the frame and you’ll begin to learn just how much placement can have an impact on the image.
There are also viewpoints to avoid. As divers, we tend to swim over a reef with our view looking down. Fish backs and butts are never interesting. It is easy to start shooting right when you get in the water, but try to resist this urge. You’ll be editing a lot more out of your collection than you will be keeping. An eye-level shot is a good place to begin, but also try to get low to the subject and shoot upwards.


I find that I still get overexcited about a subject and start shooting without thinking about the composition. What happens then is that I get lots of photos of fish butts. They swim much faster than you, so take a deep breath out of the regulator and wait. Don’t try to catch them because chasing will only scare them away. Be patient: I have found some fish and marine mammals will circle around and provide the face shot you actually wanted in the first place.
Pieces and Parts
Since marine creatures tend to move fast and unpredictably, it is easy to unintentionally leave part of your subject out of the frame. Generally, this will not evoke the viewer to see anything other than a chopped up version of the animal. That is not to say that a well-planned composition where you crop your subject is unworthy. Once again, it needs to be deliberate and strategic. This is a useful tool when shooting macro images. A beautiful image of the eye of a parrotfish can be very dramatic. A shot of the same parrotfish with its tail missing from the frame leads the viewer to see a photo that is incomplete.


This is certainly not a parrotfish, but cropped out parts often happen with fast moving sharks (see top shot). This leads me to address how your subject comes in to or leaves the frame. To the viewer, an image of a fish, turtle or dolphin with its face at the edge of the frame is awkward since the creature has no space to move forward. Provide enough area in front of the animal and he now has somewhere to go. Both images were shot with my housed system using a 15mm fisheye lens.


Which Way to Turn: Camera Orientation
When you hold your camera, it’s obvious that you can turn it two ways. Horizontal, also known as landscape, is the most common format that new photographers utilize. That’s because handling the housing plus positioning the strobes is quick and simple. I recommend that you take the time and shoot a vertical, or portrait, image of each scene you shoot horizontally. Yes, you now have to reposition the strobes and it might feel like you will miss the fish that is swimming in and out of the frame, but do take the time. I often become over-anxious and, when looking at my images later, wish I had taken that few extra seconds to recompose.


Using your dive buddy as a subject in a scene? Then consider making their eyes a focal point of the image and align close to an intersecting line. It makes the image a lot more interesting. The vertical format of this shot could be used as a cover!

Diagonal Lines
Now that we’ve gone over the fundamentals, you can produce an even more interesting image by utilizing a diagonal line that runs corner to corner. This diagonal flow of your subject or your background can create more interest for the viewer and be more dynamic.
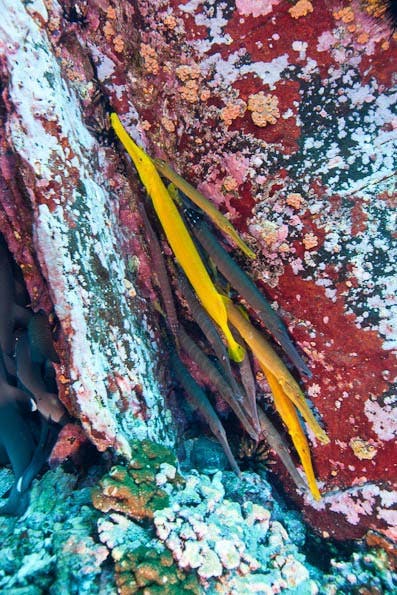
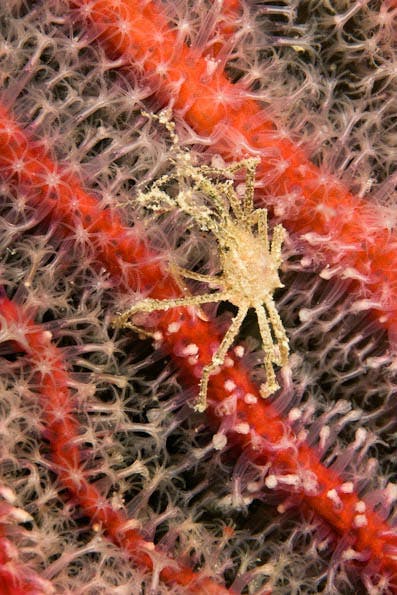
Whether shooting wide angle or macro, diagonal lines can make the image more compelling.
These diagonally composed images are an essential part of creating eye flow-that is the path the viewer takes when looking at an image. A photographer will dictate where the viewer starts to look at an image and where their eye is drawn to from that original point. Try not to make this arbitrary and instead plan where the viewer enters and exits the image. It will leave a lasting impression on your audience. Use the rule of thirds intersections to help you align these leading lines.
Non-Diagonal Lines
Lines are used not only to arrange your images, but also to highlight characteristics of your subject. One that is tall, such as a large barrel sponge, can be emphasized by photographing it vertically to imply power and strength.

Horizontal lines can indicate rest or leisure. A fish sitting on a coral branch or a colorful sponge covered rock says, “I’m not moving”.

Leading Lines
I love using leading lines in underwater photography because they draw the viewer into an image. They are essential in creating “eye flow”. If you look at a photograph and immediately find the starting point and follow to an exit point, then you’ve succeeded in creating visual interest.
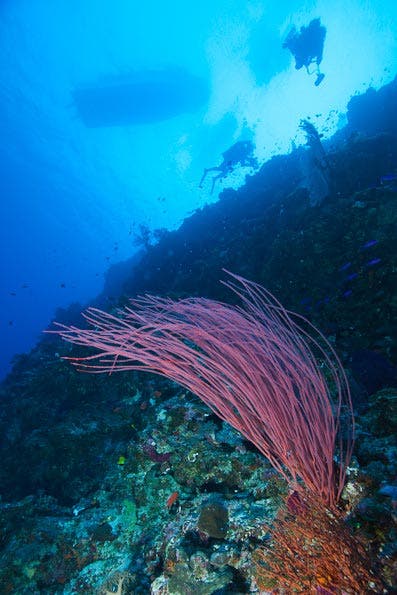
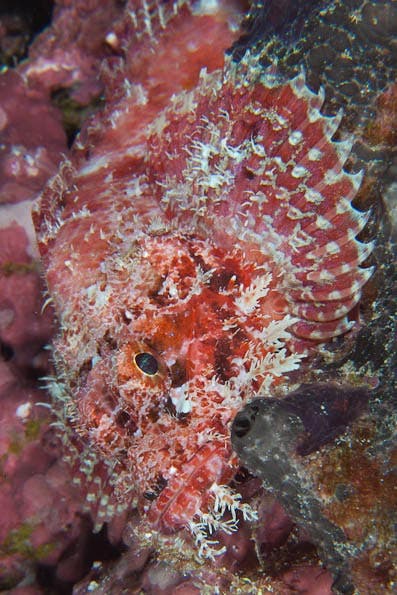
Both wide angle and macro images can have leading lines. In the wide angle shot, you start at the colorful whip coral in the corner and exit the opposite corner of the frame with the dive skiff on the surface. In the macro shot of the scorpionfish, you start with the face at the bottom of the frame and leave from it’s tail at the top.
Curves
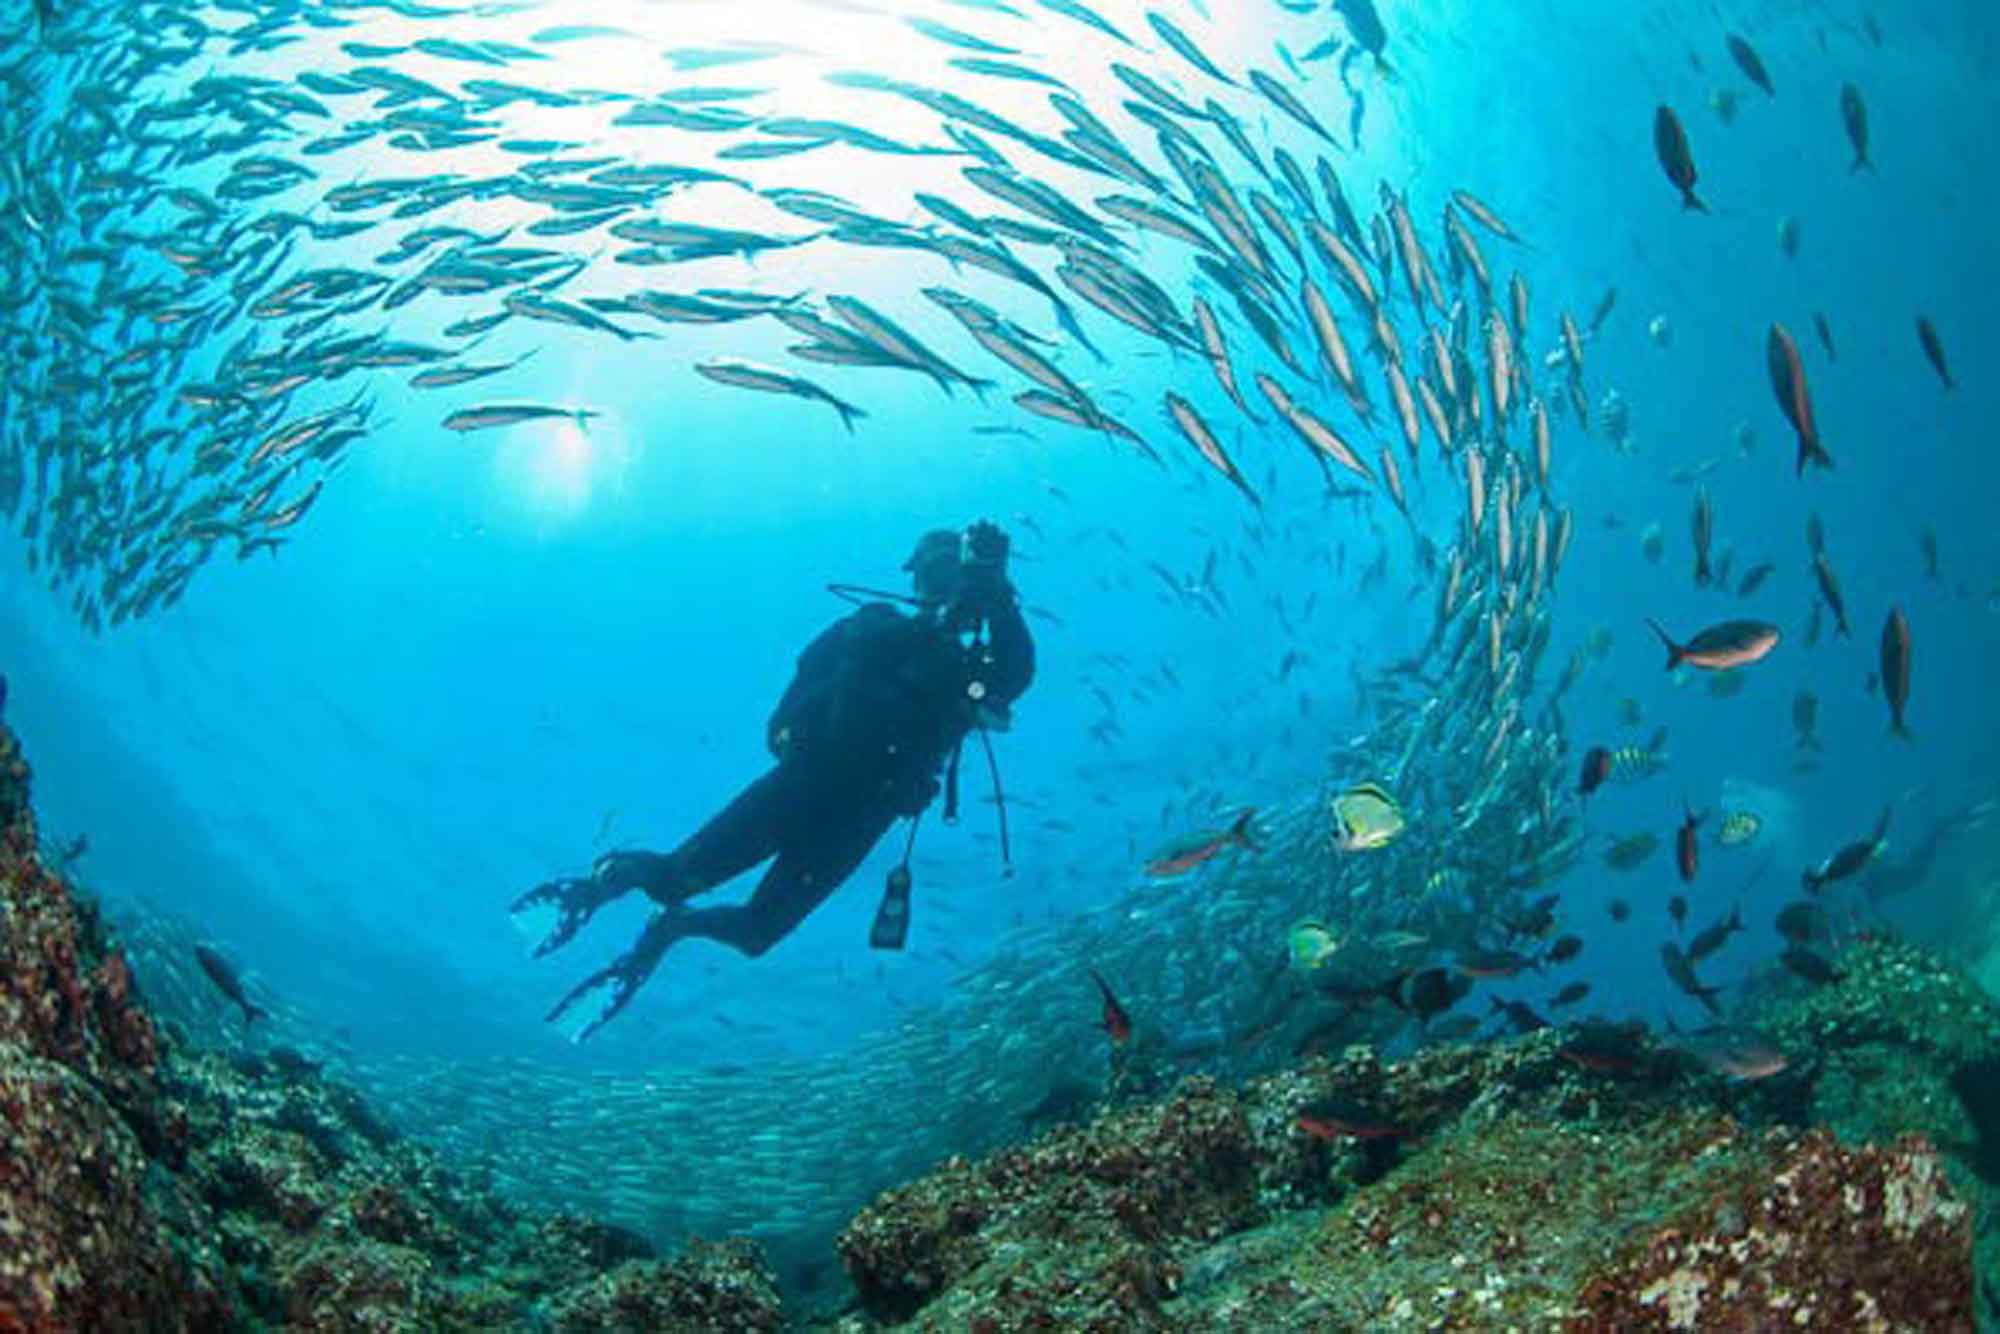
Not everything comes in a straight line. Think of the last time you saw an image of a forest with a lovely curving pathway and what a restful image it was. The same principle can apply the underwater photography. Think about the lines of red whip corals swaying in the current or kelp forest. Create that pathway by composing the curves gracefully through the image. Not only can this “S” curve be used when composing corals, but it can also be used with large schools of fish. Think about the last time you had a huge school of jack or barracuda around you. The next time you have this opportunity, try applying an “S” curve and see just how the image turns out.

You can’t get a better “S” curve than with a natural subject like this seahorse. Don’t stop at getting a full frame photo of the animal. You will have plenty of time to try out other compositions as well, since seahorses certainly don’t move very fast. 100mm macro lens.

We’ve certainly covered a lot of material on composition – but there’s more!! Go now to Underwater Photography Composition Basics, Part 2 for more.
Originally published June 11, 2012.
