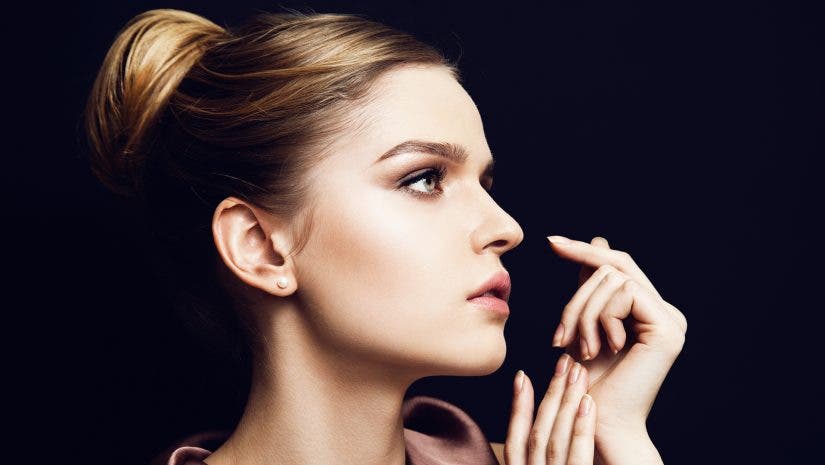
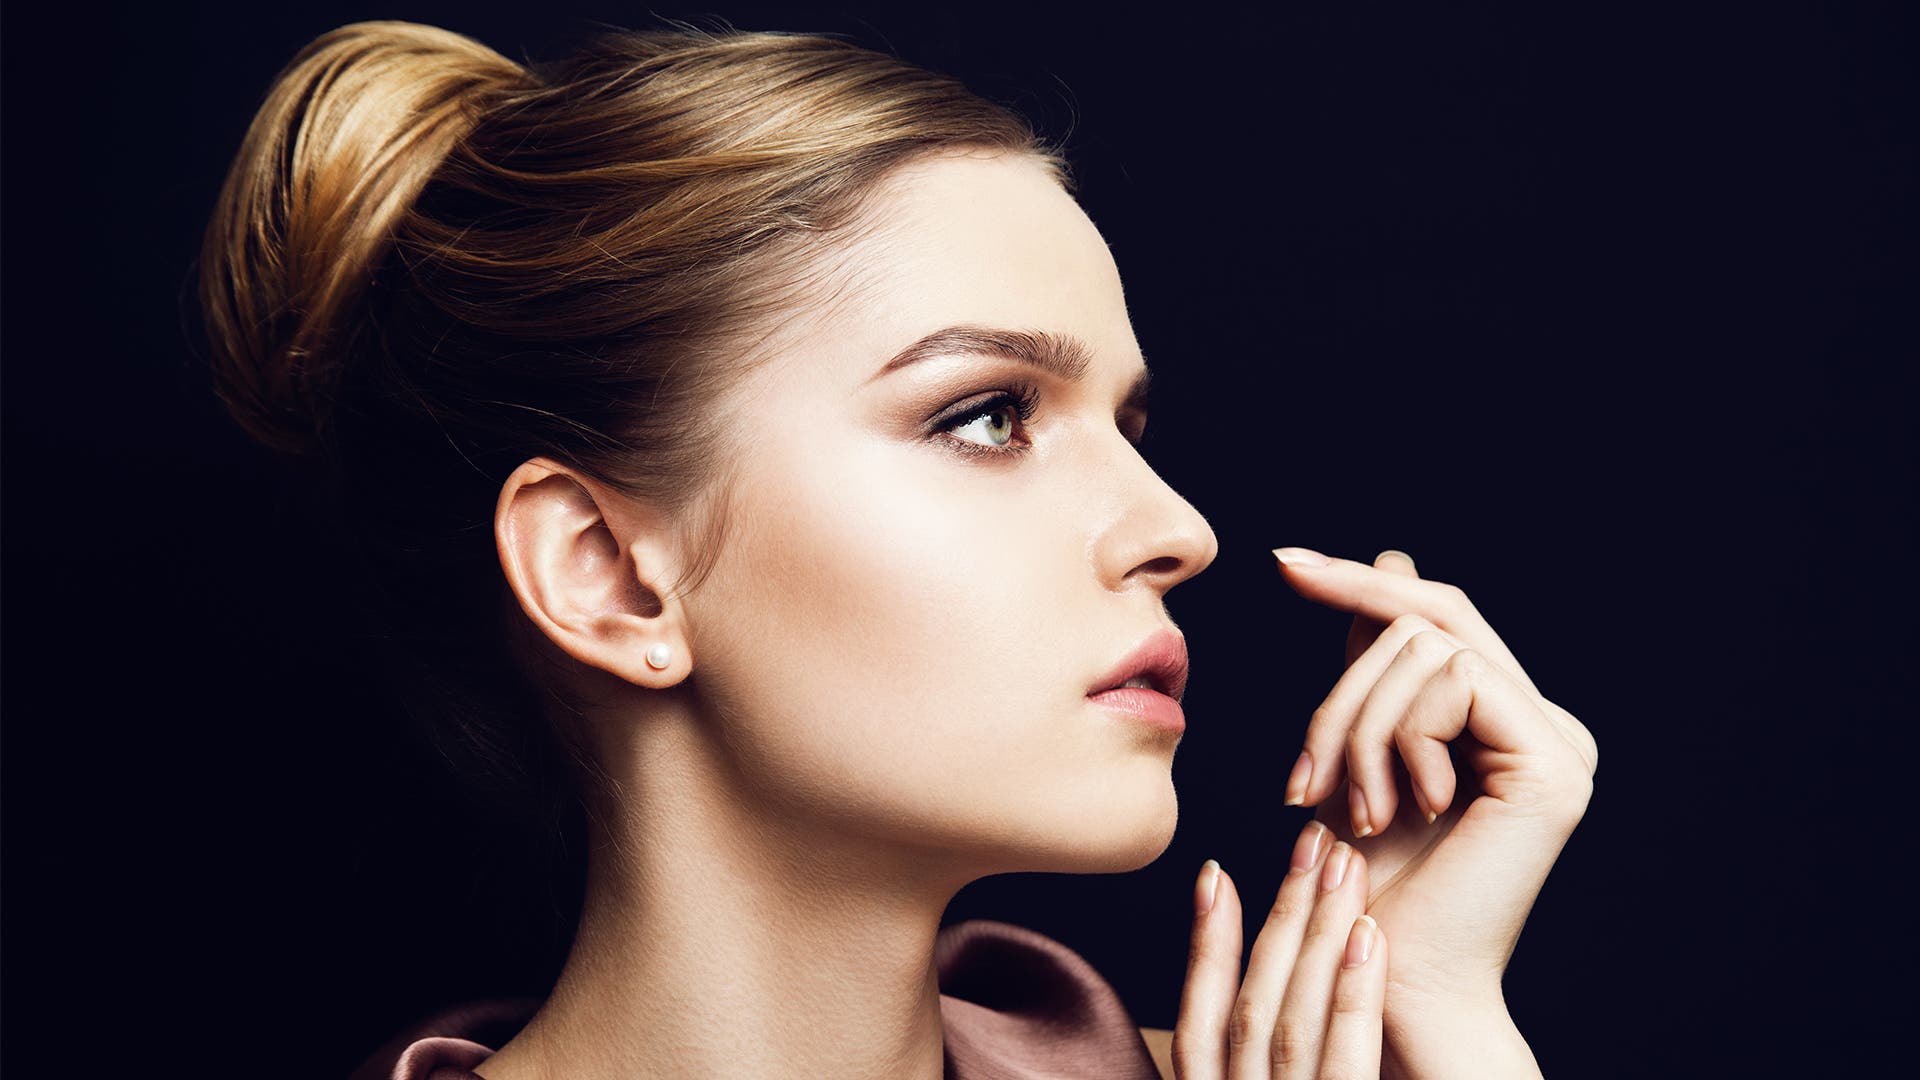
In portraiture, we aim to produce beautiful, realistic, three-dimensional images of our subjects. It can be very easy to produce a flat portrait lighting due to introducing too much light onto the subject and eliminating all shadows. In this article, we are going to dive into the world of lighting ratios to discover what they are and how they can be a useful tool in learning to achieve better portrait lighting.
What Are Lighting Ratios?
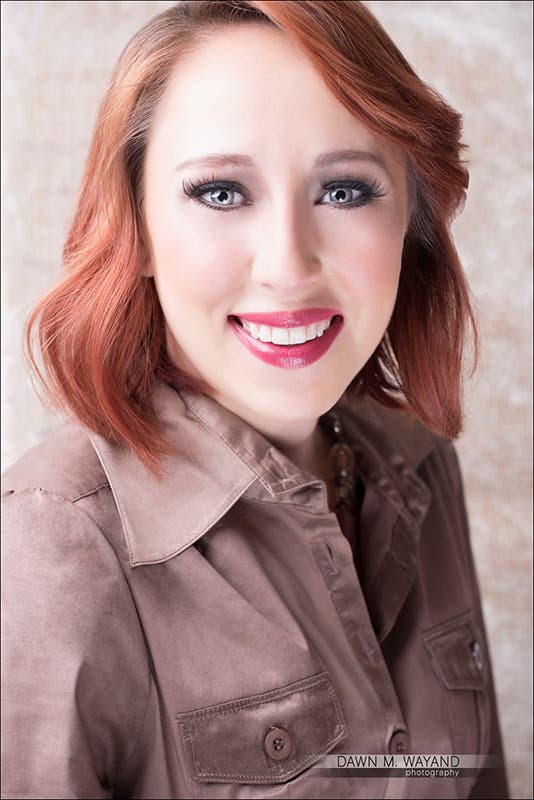
Lighting ratios are basically the mathematical ratio relation of light that falls onto a subject between two light sources, typically a key light on the highlight side and fill light on the shadow side. Say, for instance, you are creating a portrait and you set your key light to a certain power and you set your fill light to the same power. In this instance, because your fill light now has the same strength as your key light when it it is filling in shadows, it creates a 1:1 ratio and would actually eliminate all shadows producing flat lighting.
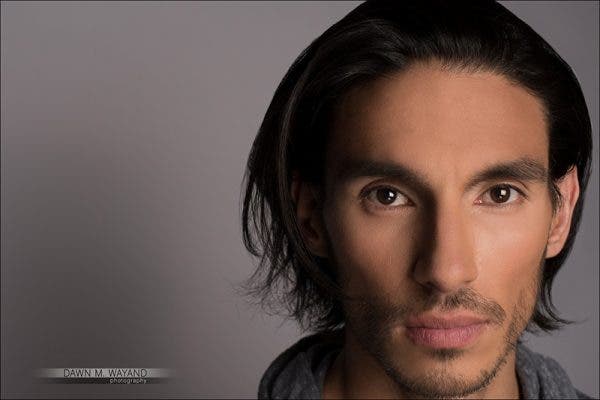
If you vary the power of light between the two light sources, you can create a much more interesting image with depth. If you have a desired look in mind for an image, you can find out the amount of light that is hitting your subject from each light by using a handheld light meter and then adjust your light’s power to achieve the lighting ratio of the look you want.
Why Are Lighting Ratios Important?
Lighting ratios determine the difference between highlights and shadows. As a result, they affect the tone, mood, and aesthetic of the portrait. More contrast creates more depth, drama, and dynamism. Less contrast creates a more uniform and flat perspective, makes the subject stand out, and provides a commercial look (e.g., a beauty portrait). Furthermore, the harsher the light is, the more obvious skin imperfections will be. So, if you want to flatter your model, you need to use a certain amount of shadows.
Although you can always use your intuition and adjust the lighting setup for each photograph, using precise lighting ratios and a handheld light meter offers consistency and predictability. It also speeds up your workflow.
Understanding stops of light
A “stop of light” is when you take a certain amount of light and double it (go up a stop) or divide it in half (go down a stop). Stops of light can be controlled by the physical changing of the light’s power, the light’s distance from a subject, a change of aperture and a change of ISO.
Aperture
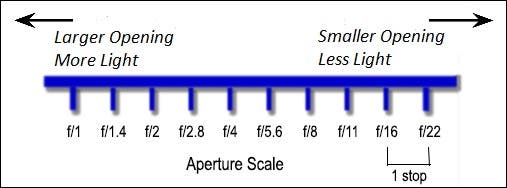
Aperture are the set of blades within the lens that let light onto the image sensor. Light is measured by f-stops in photography. Remember what we learned when we first learned manual settings? The larger the hole (which allows more light in and onto the sensor) the lower the aperture. The smaller the hole (which lets less light onto the sensor), the higher the aperture.
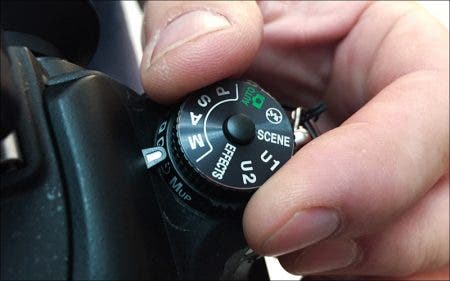
You might also remember some or all of your f-stops on the f-stop scale. Full stops start at 1 and 1.4 and they double (with some numbers rounded off) to get the next stop and continue to double all the way up to f/22 or higher.
Shutter Speed
Shutter speed is also relevant and represents stops of light, except when shooting with strobes. The shutter is the little curtain that rolls over the image sensor and adjusting the shutter speed controls how quickly the rear curtain closes behind it. The number is the duration of how long the light is hitting the image sensor before the curtain closes. The slower the shutter speed the more light that is gathered.
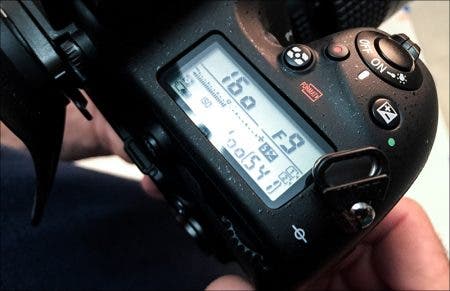
Full stops for shutter speed are kind of like stops for aperture in that they start at 1 (second) and double or divide in half (with some numbers rounded off) up to 1/1000th of a second or more.

When using strobes, there is something called sync-speed of which to be mindful. This is the fastest shutter speed that your camera can properly expose an image when using strobes. This will vary from camera to camera. A good, safe starting point is to set your camera to 1/160 of a second.
Understanding Lighting Ratios
When measuring for lighting ratios, it’s important to note that the f-stops are related to metering purposes only and not the settings you set your camera at for proper exposure. For each of the comparison lighting ratio examples below of the gentleman in the dark blue shirt, I used a keylight and a fill light; and the same camera settings of ISO 100, f/9 at 1/160 of a second.
1:1 Ratio
As we previously discussed, a 1:1 ratio is when a subject is evenly lit on both sides, producing pretty much very little to no shadows and resulting in flat lighting. This is the result of the same amount of light hitting your subject through your key light and fill light.
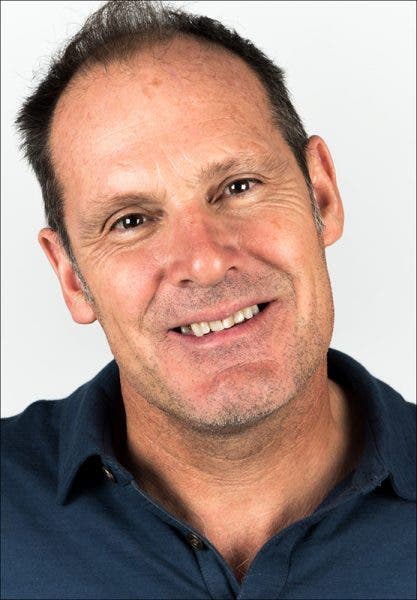
This type of lighting works fine for beauty and some fashion image where the subject is meant to look completely flawless (no wrinkles or pores…)
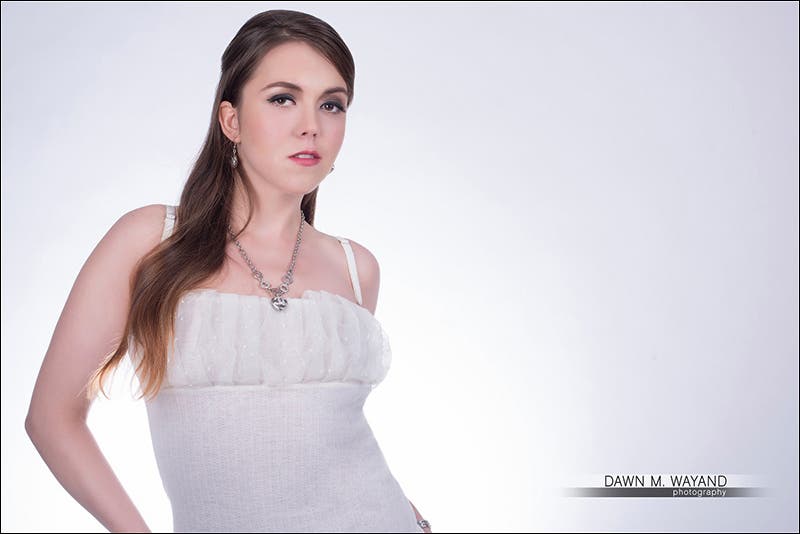
2:1 Ratio
A 2:1 ratio means you have a one stop difference from light to shadow.
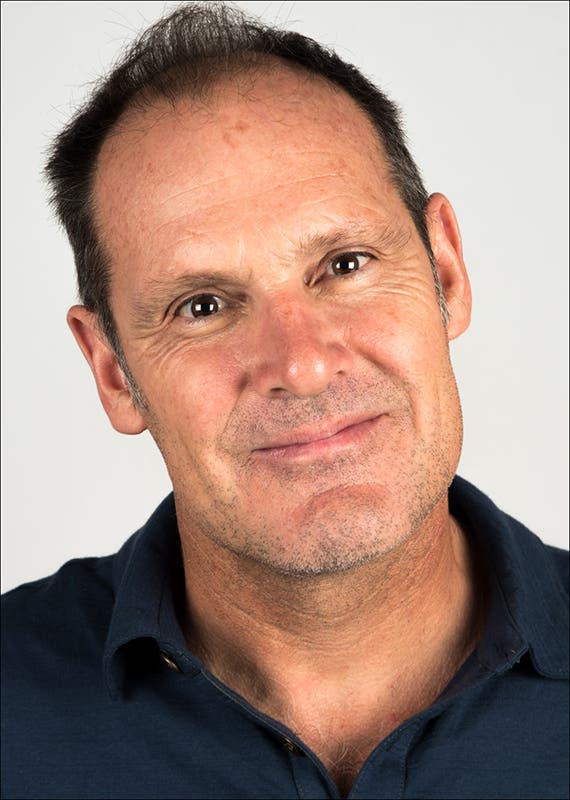
This type of lighting ratio works well when photographing children and babies as the light is just even enough to throw in a little bit of dimension, but just soft enough in shadow transition to preserve the feeling of purity and innocence.
4:1 Ratio
A 4:1 ratio means you have a 2 stop difference from light to shadow.
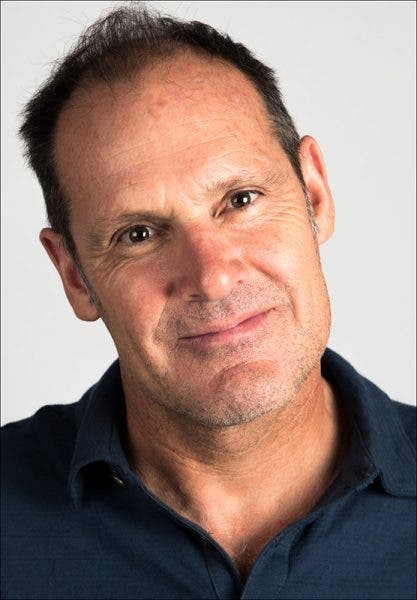
I generally like this type of lighting for portrait photography and use this, the 8:1 ratio or more when shooting both men and women.
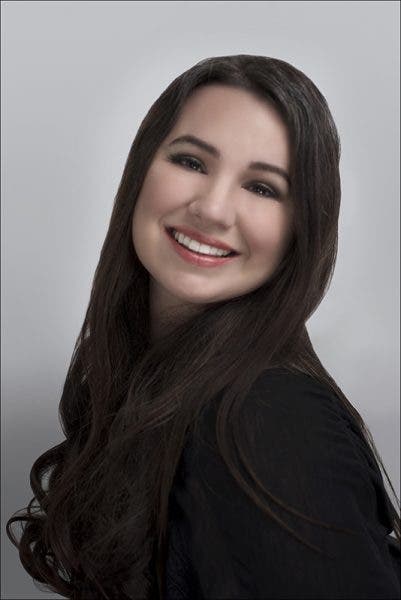
8:1 Ratio
An 8:1 ratio means you have a 4 stop difference from light to shadow.
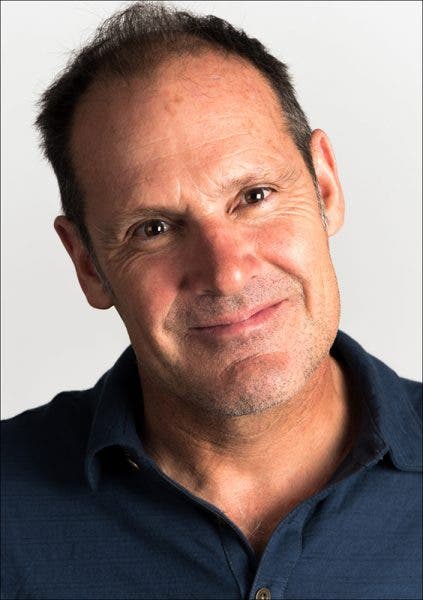
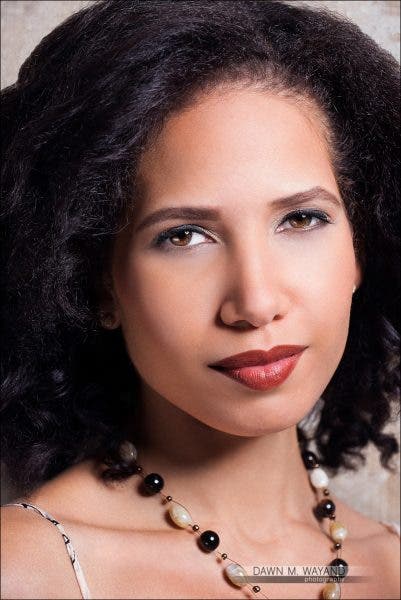
You now have the knowledge to create more interesting images using lighting ratios. All you need to do is experiment!
Tools for Using Lighting Ratios in the Studio
Not much is needed to create interesting lighting ratios for your images: a couple of lights, a couple of modifiers, a light meter, a camera and of course, a subject! Below are some options for tools to get you started.
Light Meter
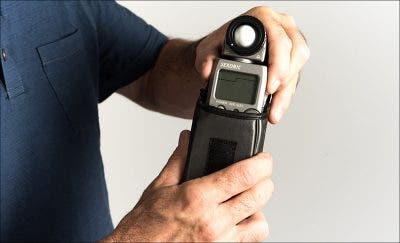
I use an old Sekonic L-358 Flash Master Light Meter which are no longer manufactured, however, the newer Sekonic LiteMaster Pro L-478D is a much better, more current alternative.
Key Light
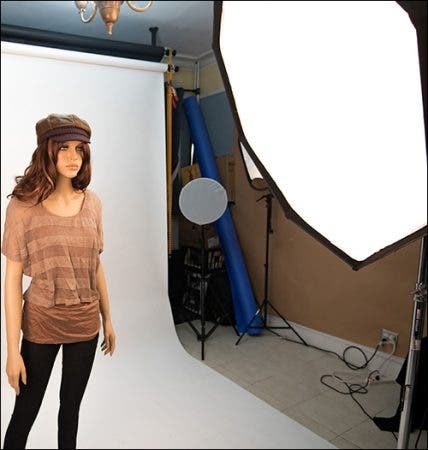
Also called a “main light”, your key light will be the light that highlights your subject’s features.
Fill Light
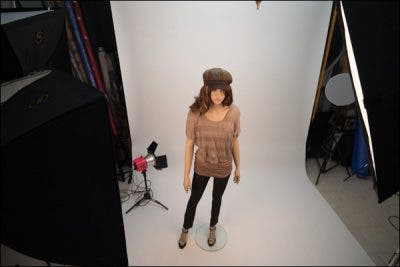
The fill light will be the light source that illuminates and fills in on the shadow side of your subject.
Optional Background Light
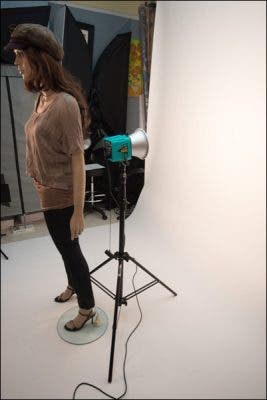
You can add a background light to not only light the background, but you can opt to use it as a rim light too.
Optional Modifiers
Flag
A flag can take away light where necessary. Just attach it to a light stand or tripod and position it as needed. You can use a flag like the Matthews 18” x 24” Flag.
Beauty Dish
You can use a beauty dish (I use a white one) as your main or fill light modifier. Due to it being used mainly for a beauty light, it creates a softer transition in shadows than its silver alternative. I recommend a 22-inch inch beauty dish that works with your strobe. (My next upgrade!)
Grid
A grid or honeycomb can make a wonderful addition to a beauty dish or softbox (respectively) as it lends to focus the light in one direction with little to no spill.
Snoot
The snoot is a great tool when you want to focus on small part of a subject, such as just the face, just the hands or just the necklace.
Barndoors
Barndoors are generally a must-have with studio strobes as they give you an endless number of ways to shape the light.
Collapsible Reflector
Don’t forget a collapsible reflector! As a photographer, you should already have a reflector in your gear bag for shooting almost any kind of subject. Collapsible reflectors work great at filling in the shadows in portraiture when you do not have a second light, though you may not achieve a perfect 1:1 lighting ratio.
How to Calculate a Lighting Ratio
The easiest way to calculate lighting ratios is to use two identical light sources. If both lights are at full power, the lighting ratio is 1:1. If one light is at full power and the other one is at half power, the lighting ratio is 2:1. And so on.
However, you probably won’t use lighting ratios in ideal conditions. You may have ambient light as well or use light modifiers to soften the artificial light. Or you may use different light sources (e.g., an on-camera flash and a strobe). Therefore, the best way to determine the lighting ratio is to measure the amount of light reflected by different parts of your subject. And for that, you need a light meter.
Conclusion
Lighting ratios can be a great tool to use in creating more interesting portraits in the studio. You’ll see amazing pros checking light strengths on every one of their lights and making adjustments before capturing the shot. It is also especially beneficial for the newbie studio photographer to play with different lighting setups and patterns – which I will cover very soon in upcoming articles. You don’t need much to get started. If you need more punch in a flat portrait, start with your lighting. Experimenting with different lighting ratios can add a little personality and more depth to your portraits.
