Are you having a hard time understanding shutter speed? If the idea of changing camera settings or adjusting shutter speed overwhelms you, don’t worry! It’s actually pretty easy to get the hang of how shutter speed works and how it can affect your images. Let’s now take a look at shutter speed, the difference between fast and slow settings, and more.
What exactly is shutter speed?
The shutter speed is shown as a number representing the amount of time the physical camera shutter remains open. Some shutter speeds are very short. The shutter opens and closes in fractions of a second. Some shutter speeds are longer, and the shutter remains open for seconds.
Whether you’re using a film camera, a digital camera, a DSLR camera, or a mirrorless camera, the concept of shutter speed is the same. The camera’s shutter physically opens, allowing light to enter. The light then makes an exposure on the camera’s sensor, or on a piece of film.
How can I tell a fast shutter speed from a slow shutter speed?
Shutter speed is measured in seconds or fractions of a second. For example, if your shutter speed is 1/8000, the shutter will only be open for one eight-thousandth of a second.
In some cameras, like many Canon models, faster shutter speeds appear as a fraction in the viewfinder or on the LCD screen. In other camera models, like many by Nikon, the shutter speed is displayed as the denominator only (in this case 8,000).
Longer shutter speeds usually appear as a number with a quotation mark after it. For example, a three-second shutter speed will look like this: 3”.
If your camera doesn’t show faster shutter speeds as a fraction, then double-check to see if there’s a quotation mark after the number. The quotation mark will always represent whole seconds. If there’s no quotation mark, then your shutter speed is a fraction of a second.
Get familiar with shutter speed with Shutter Priority Mode
Shooting in Shutter Priority Mode is a great way to practice changing shutter speeds. In this camera mode, you can adjust shutter speed manually. Meanwhile, the camera adjusts your aperture settings to compensate for proper exposure. Try shooting in shutter priority mode as you get the hang of shutter speed settings.
Experiment with motion blur or freeze motion with shutter speed
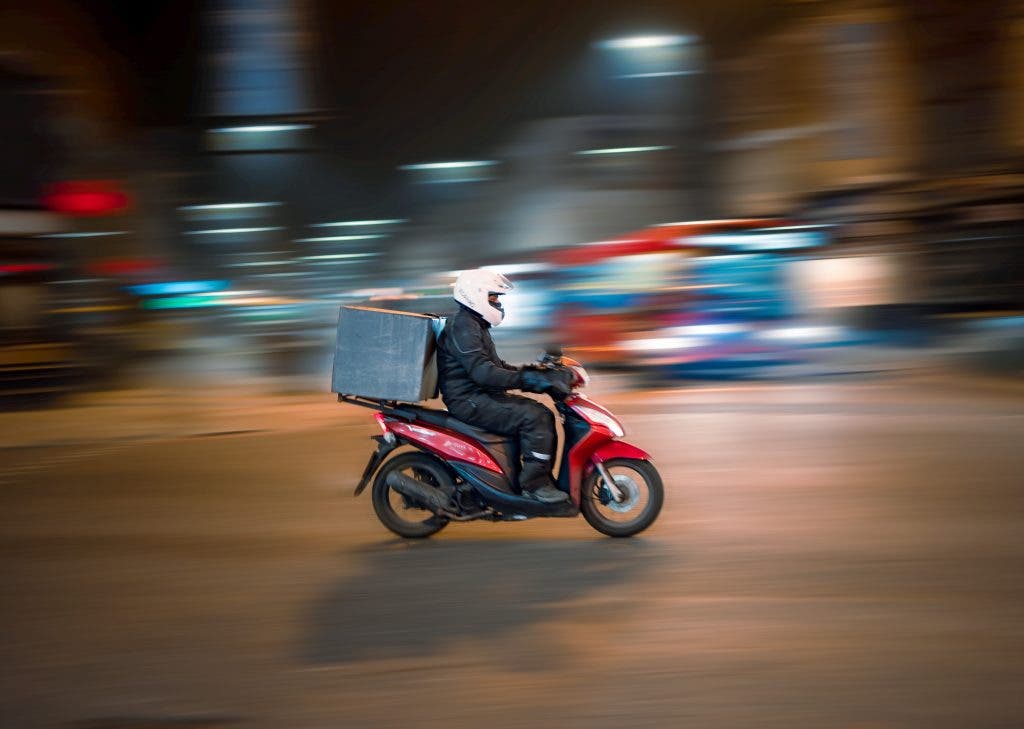
You can play with the appearance of motion by adjusting shutter speed. You can freeze a subject in place with a faster shutter speed, or add motion blur with a longer shutter speed. Finding the right shutter speed for a moving subject will make the difference between a sharp image and a blurry one.
Motion blur
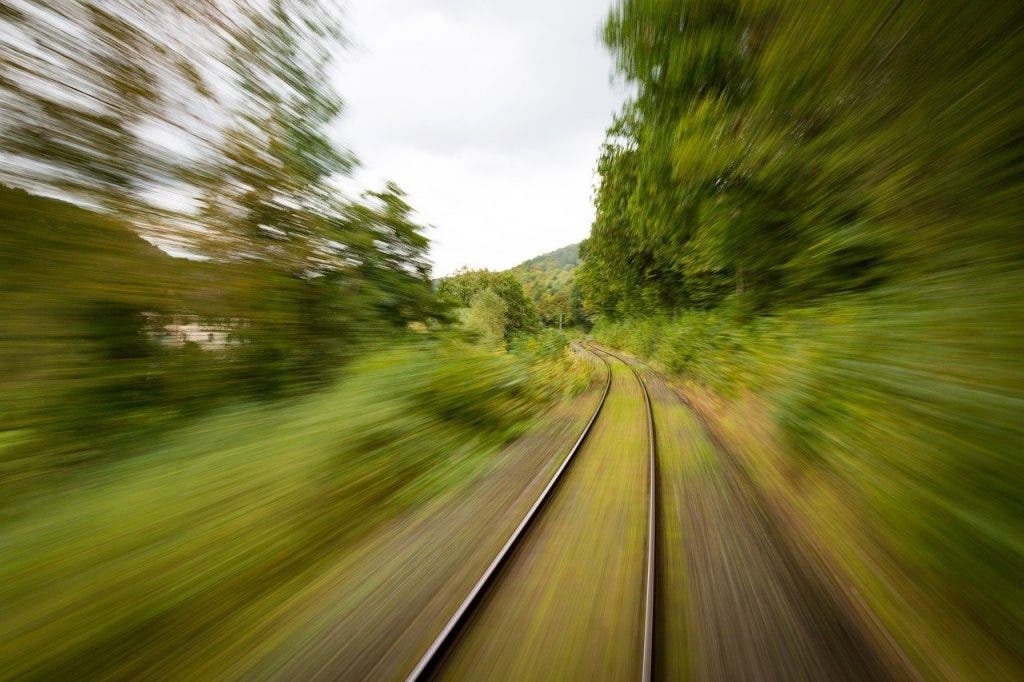
Whether you want to create motion blur with a moving object, or by panning the camera from side to side with the shutter open, start with a slower shutter speed. The longer the shutter remains open, the greater the blur.
To practice motion blur, use a tripod to keep your camera stable, and experiment with long shutter speeds. 1/30, 1/15, or even something as slow as 1” or 5” will provide plenty of time for motion blur. Take the same photo with several slow shutter speeds to see how the images change.
Freeze motion
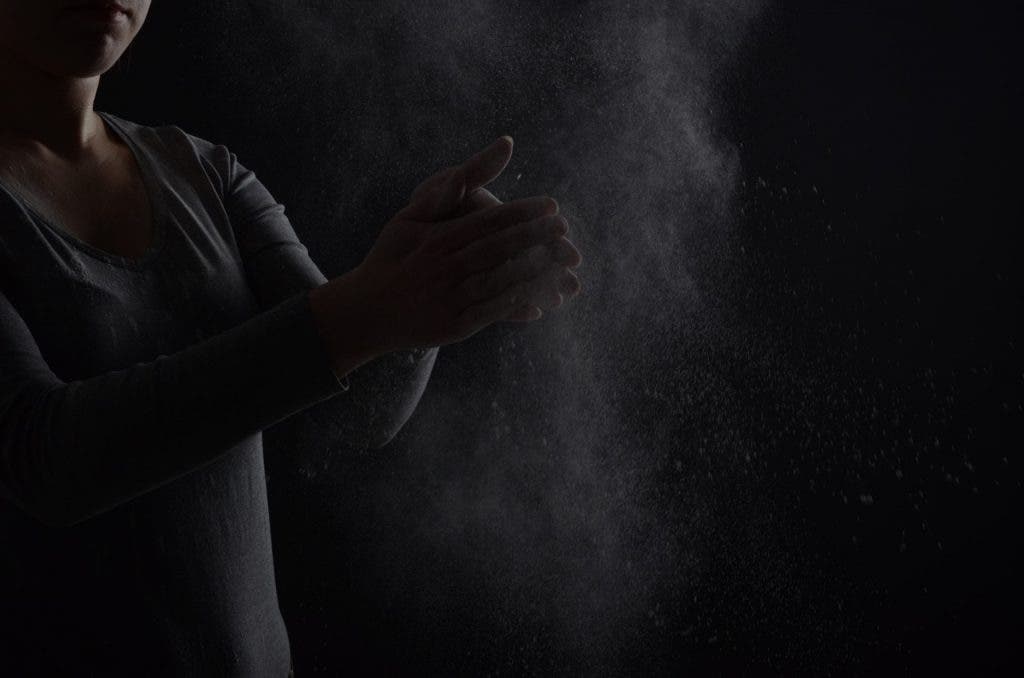
To freeze motion, you’ll need less exposure time and a faster shutter speed. To freeze slow moving objects like a snail or a turtle, you can get away with shutter speeds like 1/60 or 1/125. If you want to freeze fast moving objects, like a runner or cyclist, you’ll need a much faster shutter speed, like 1/500, 1/1000, or something even faster.
Practice freezing motion with your tripod, and test out how each faster shutter speed works with your moving object.
How does shutter speed affect exposure and light?
When the shutter is open for a long time, lots of light can enter the camera. This is helpful in low-light conditions because the longer shutter speed compensates for decreased light. However, in bright situations like a sunny day, a longer shutter speed can overexpose your image.
If you’re worried about the amount of light vs, your shutter speed settings, you can use accessories like Neutral Density filters to minimize extra light. You can also adjust your settings for a narrower aperture, or lower ISO.
Keep practicing!
It takes practice and time to get used to shutter speed. As you learn, it helps to systematically work through lots of shutter speeds to see how your images change. Eventually you’ll be able to predict how different shutter speeds will affect your finished products.
