When temperatures dropping and snow begins to fall, this can lead to magical winter moments for photographers. However, when it comes to shooting snow photography, there are challenges and elements to work through. Whether it’s keeping you and your gear protected and warm during a snowstorm, or creating intrigue in a stark image, there are several tips that are essential for snow photography.
We know you plan to capitalize on the snow this winter season, so here are ten tips for beginner snow photography. These will not only help you achieve better winter images, but also improve the overall winter photography experience.

Maximize Contrast
Contrast is an important element of snow photography. Whether it be the shadows or textures in the snow or landscape, you need a camera with excellent dynamic range that will capture that contrast perfectly. At the very least, shoot with a camera that has around 13-15 stops of dynamic range with around 15 stops being ideal.
Also, use a filter like a circular polarizer (CP) filter. This will help bring out more contrast and definition in your contrast colors and shades. There is a night and day difference that this filter can provide, and it truly does make your snow images far better.

Utilize Different Perspectives
When it comes to snow photography, don’t just shoot what’s in front of you. Look all around and find natural features to work with. Try shooting through an opening in the trees to frame a subject in the background or looking up, getting low, and photographing the snow-covered trees from the ground’s perspective. Snow photography is the perfect opportunity to mix things up, get creative, and find different perspectives.

Add Color
As said above, winter and snow photography can sometimes be characterized by stark and cold tones. A great way to change that narrative is to add color, in some way, to your frame. This can be achieved naturally through a blue sky or a colorful sunset. Or, you can bring in a colorful subject — like a person with a bright jacket — to help draw the viewer’s eye to that color.

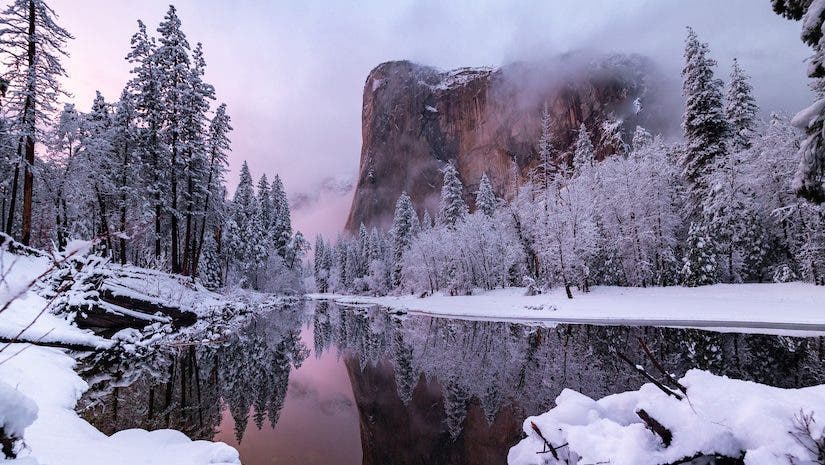
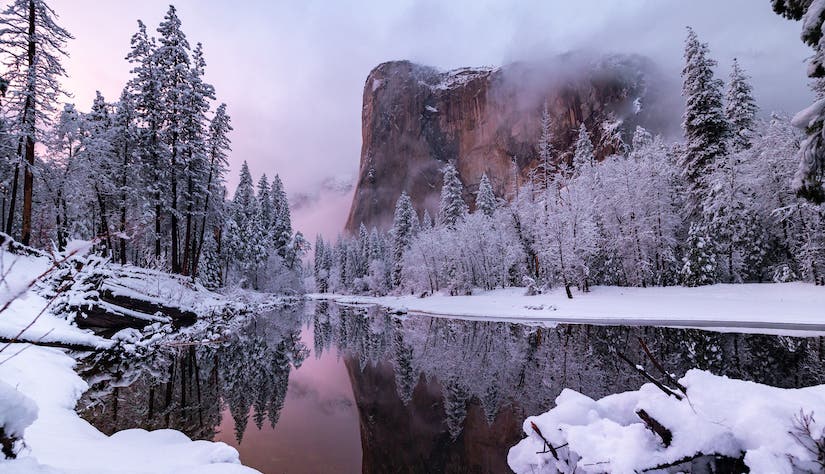
Shoot When the Snow is Freshly Fallen
Freshly fallen snow is soft, pillowy, and beautiful to photograph. It even glistens in the sun.
However, that fresh snow doesn’t last long, especially when the sun is out. Snow will fall off tree branches and begin to melt, which doesn’t tend to look great.
Give yourself plenty of time and start photographing when the snow is freshly falling right after the system moves through and stops for good. Not only will you have plenty of beautiful snow images during different stages of the storm but you’ll be able to see the storm lifting, which is always beautiful to capture.

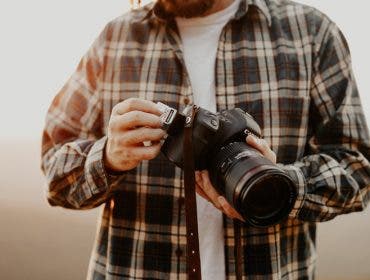
Dress Warm
This might go without saying but always dress warmly when shooting snow photography. Whether you’re in the city or the backcountry, you’ll likely be out for hours in below-freezing temperatures. Make sure to wear layers, a warm jacket, winter socks, winter boots, a beanie, and gloves to stay comfortable and warm in the field.
Gloves are especially important because they protect your fingers. If you lose feeling or motion in your fingers, it’s hard to photograph and it can lead to early signs of frostbite. However, standard winter gloves are too thick to work with your camera’s buttons and touch screen, which can be frustrating as well.
A great option is to find a pair of gloves, like the RucPac Extreme Tech Gloves, which have magnetic snaps on the thumb and mitt sections of the glove. This allows you to retract the fabric to photograph, then immediately put them back on again to keep your fingers and hands protected. It’s the perfect compromise between comfort and accessibility.

Watch Your Exposure Meter and Settings
Snow is incredibly bright in all conditions, but especially on a sunny day. If you aren’t careful, you could easily blow out your image and lose information like the contrast, texture, and shadows.
A great way to make sure the exposure isn’t too high is to watch your exposure meter. It should stay between -1 and 0. If it’s above those numbers, adjust your settings accordingly.
It also pays to bring a Variable Neutral Density (VND) filter. This filter allows you to stop down several stops and lower the brightness and exposure of your image without changing your settings. It gives you much more versatility to shoot winter photography throughout the day.

Shoot Throughout the Day
This leads to our seventh tip — shoot throughout the day. Snow photography is unique because snow can look great throughout the day. You can shoot at sunrise, sunset, golden hour, blue hour, and even midday, and achieve brilliant images due to the beauty of snow and how it reflects differently throughout the day.

Pack a Tripod
One of the best times of the day to photograph snow is around blue hour when the sun is just below the horizon and casts a slightly blue hue across the landscape. The light is soft and looks amazing when it reflects off the snow.
However, if you plan to shoot in blue hour, you’ll need a sturdy tripod that can handle your gear and keep your camera steady when shooting in low light. It also helps when photographing near water subjects, or anything where you want to capture more dynamic movement.

Bring Many Batteries and Keep Them Warm
Cold weather and camera batteries do not play well. Freezing temperatures can significantly lower your battery life. Bring plenty of batteries and make sure the compartment where you put them is insulated, so they stay warm and last as long as possible.

Protect Your Camera Gear Against the Elements
Last but certainly not least, protect your camera gear against the elements. Invest in a weather-proof camera shell, like the Peak Designs Shell. It should safely protect your camera and lens, especially when shooting in wet snow or sleet and freezing rain.
Also, you can protect your lenses by shooting with the lens hood attached. If the weather is really bad, use a weatherproof cover for your camera pack, which can stop moisture from seeping into your back and onto your gear.
But the danger doesn’t stop there. Once you come back inside into warmer temperatures, if moisture finds its way into your bag, it can build condensation on your cameras. To combat this, bring a few plastic bags to put your cameras inside when you’re finished photographing so the condensation stays on the bags, not your gear.