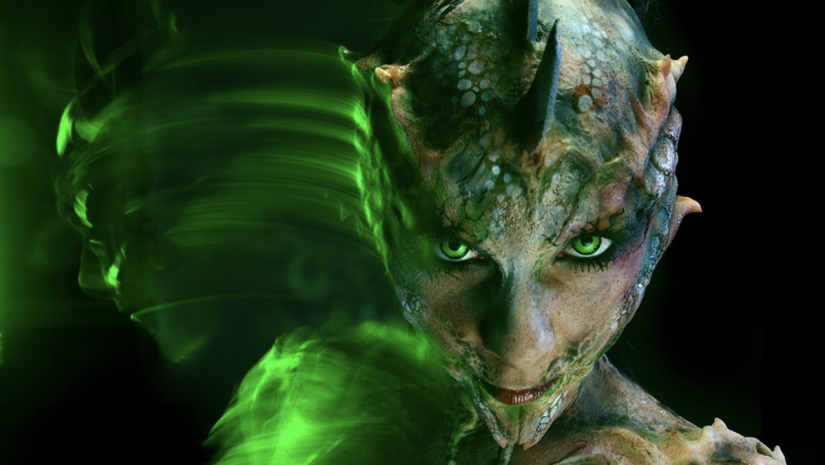
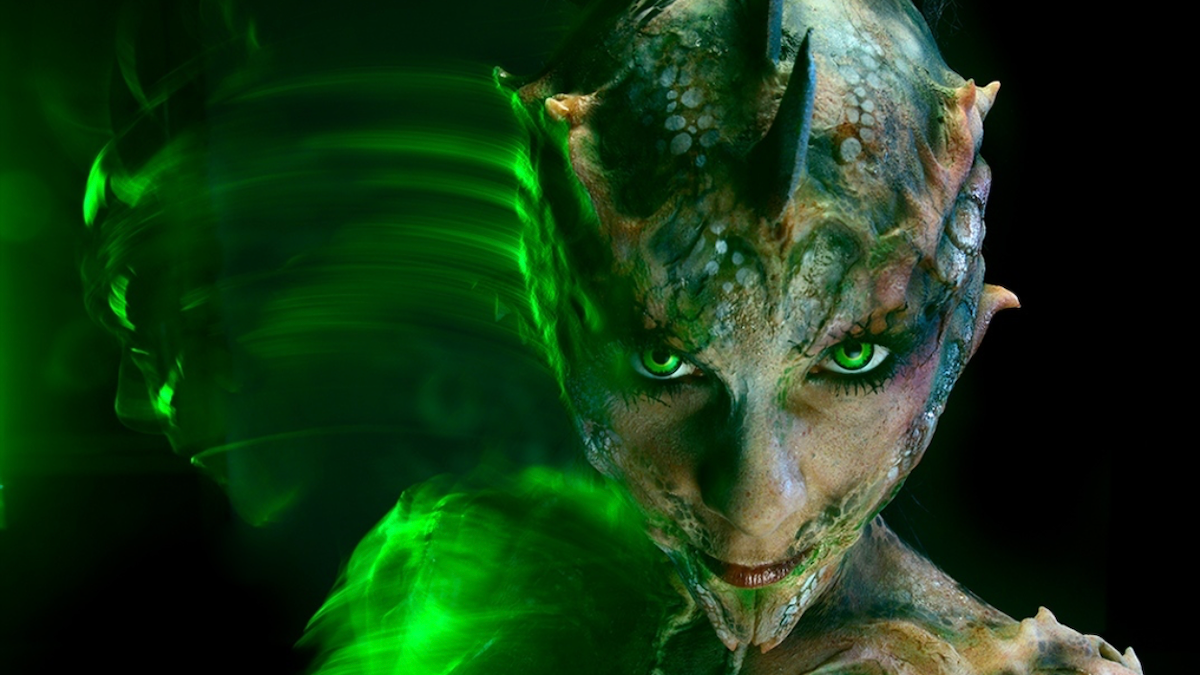
Each year, many photographers step into the world of horror and special effects (SFX) photography — usually just for the month of October. It’s a time when models are often transformed into extraordinary, peculiar creature, and your camera becomes a portal to another realm.
I’ve been photographing the incredible #specialeffects makeup for top artists and brands in the industry for over 15 years, having worked for MUD MakeUp Designory, MakeUp For Ever, MakeUp Artist Magazine, IMATS, and many more.
Now, in this article, I’ll be sharing my tips to capturing the intricacies of this unique photography genre. I’ll provide insights and techniques so you can better understand even the most unconventional aspects of SFX and horror photography.
Tips for SFX and Horror Photography
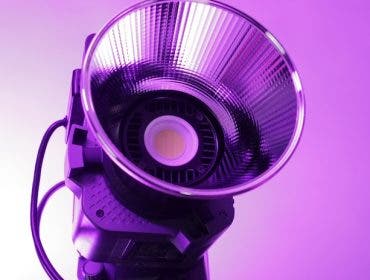
Use light that makes sense
It’s easy to just throw a light underneath your model and go “TADA! It’s scary.” But we can do better than that. Think about the environment where you’d find this character. Think about what narrative you want to tell. Where is this encounter? Once you have answers to these questions, you can create lighting schemes that dictate not only the creepy mood you want, but also what would actually exist in that space.
For some examples of this, check out the AdoramaTV video below. In this clip, I take you behind the scenes of one of Adorama’s recent Halloween workshops, where I lit fix different scenes for SFX photography:
Is this some crazy boiler room encounter in a dank basement? If so, try to mimick that old bare light bulb swinging from overhead with a contrasty look and off-color tone. Is this some random encounter in the woods at night? If so, think about that cool tone light you’d get from the moon, or maybe how it would reflect off the water by the docks at Camp Crystal Lake. You can be more creative than just some gels and a light.
Watch your edges
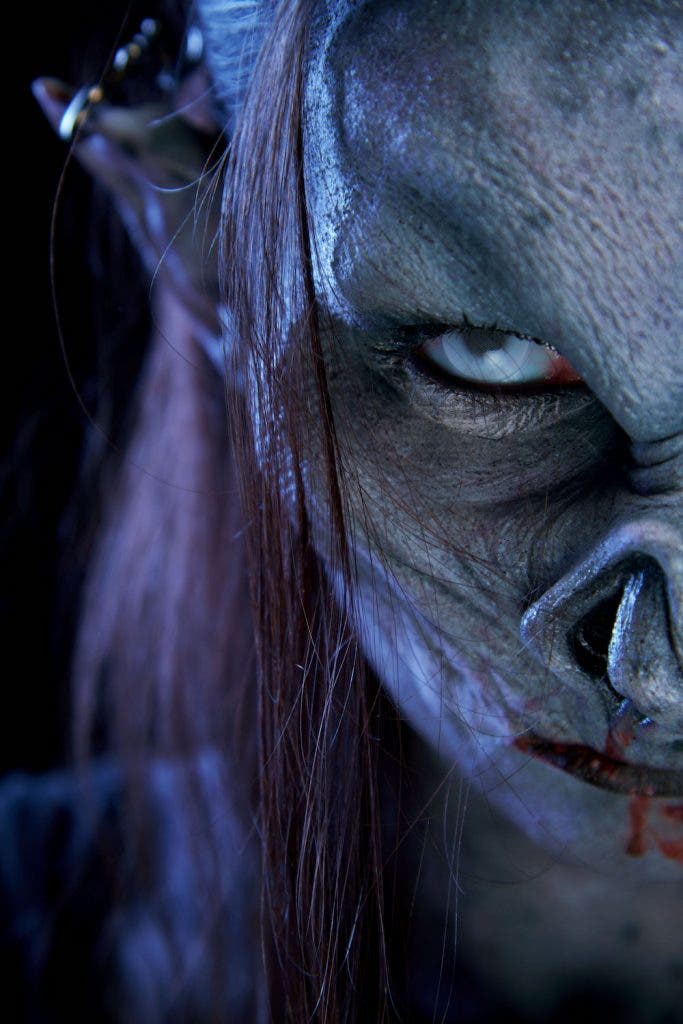
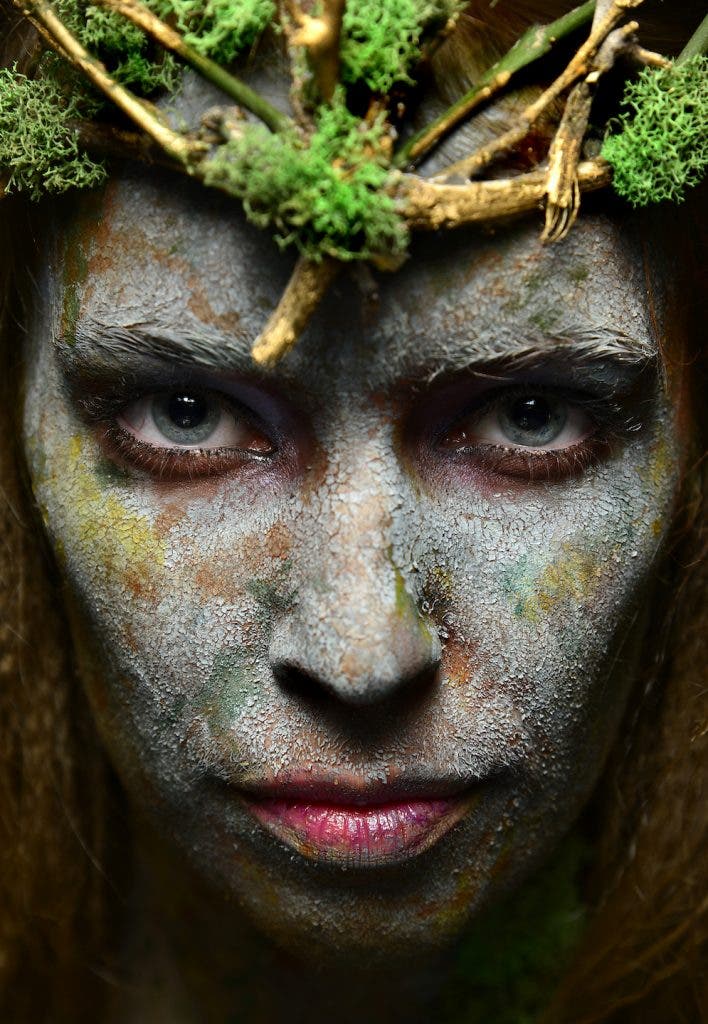
This is something that is often overlooked by people who never shot with prosthetic makeup. “Edges” refer to where the literal edge of a prosthetic exists and the models actual skin begins. Not all prosthetics are high quality and you definitely get what you pay for. Also, not all makeup artists are experienced with prosthetics. Even artists with decades of experience will run into issues with a piece that just won’t flawlessly lay down. It could even fit the model incorrectly if it wasn’t a custom piece. Your lighting will not only dictate mood and feel but also capture the texture of those flaws. Therefore, you need to find that balance of smoothing out while keeping it creepy.
In fact, the typical light shining from below, also known as “monster lighting,” shows off any edges quickly. This is when it is helpful to lean on a fill light. It shouldn’t overtake, but just cleans up what you’re looking to get. The makeup itself can also determine if an image will be successful. This leads me to the next tip…

Get in sync with your talent and crew
The shot happens on both sides of the camera. There’s a lot you can do with your crew — through decision making and overall attitude — to get a better result. Makeup artists are artists, but they may not know how things translate to our world as photographers and lighting technicians. In fact, there may be a struggle in determining how the cosmetic makeup will transfer to a 2D format.
One of the biggest things that can help you battle edges is the actual color of the makeup. I find that white, metallics, pastels, and pearlescent quickly show even the slightest edge. Therefore, it’s helpful to let your artist know that the color could stack the odds against them when determining a lighting scheme. Also, don’t forget you have a person under that makeup. They just sat for hours to get this makeup done. They may be unsure how their face looks with certain emotions as they have only had this face for a short time.
Prosthetics often lead to sunken eyes due to them being built on top of their already existing bone structure. Keep watch on if you’re losing their eyes with light or as they scrunch their face to appear emote. That’s the big difference between masks and makeup: the makeup is attached. They can convey emotion instead of a stagnant face. If you find you’re constantly shooting dead shadows or closed eyes, communicate this to your model. Even if it feels unnatural, they may need to be more mindful of their facial expressions.
Pay attention to details
Remember you’re not just taking portraits of a character. You’re also — on some level — shooting a scene. Think of that narrative and throw your viewers some details. It’s very easy to get focused on the big picture and not pick up on details you could add to pull that image over the finish line.
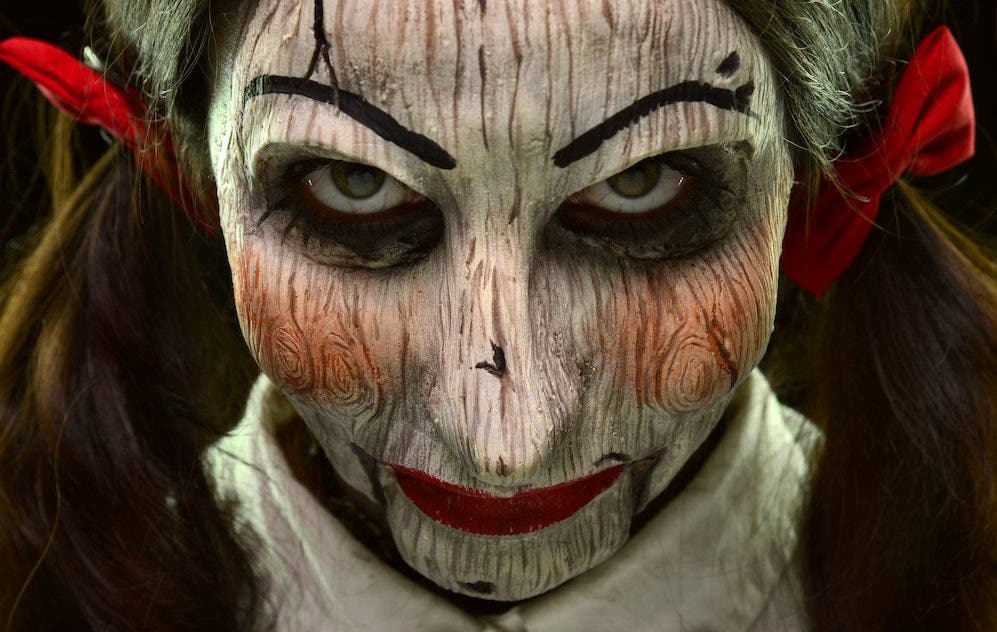
Imagine you were shooting a creepy doll look. Now imagine that same look with a bloody bandage on their wrist — this says a lot more, right? Now you’re telling the viewer that doll may actually be a living thing and not a material come to life. This is all story-building, which gives depth to your character and more for your viewers’ eyes. Although, if you’re going to keep an eye on details, you need to watch the loopholes as well.
Watch for loopholes
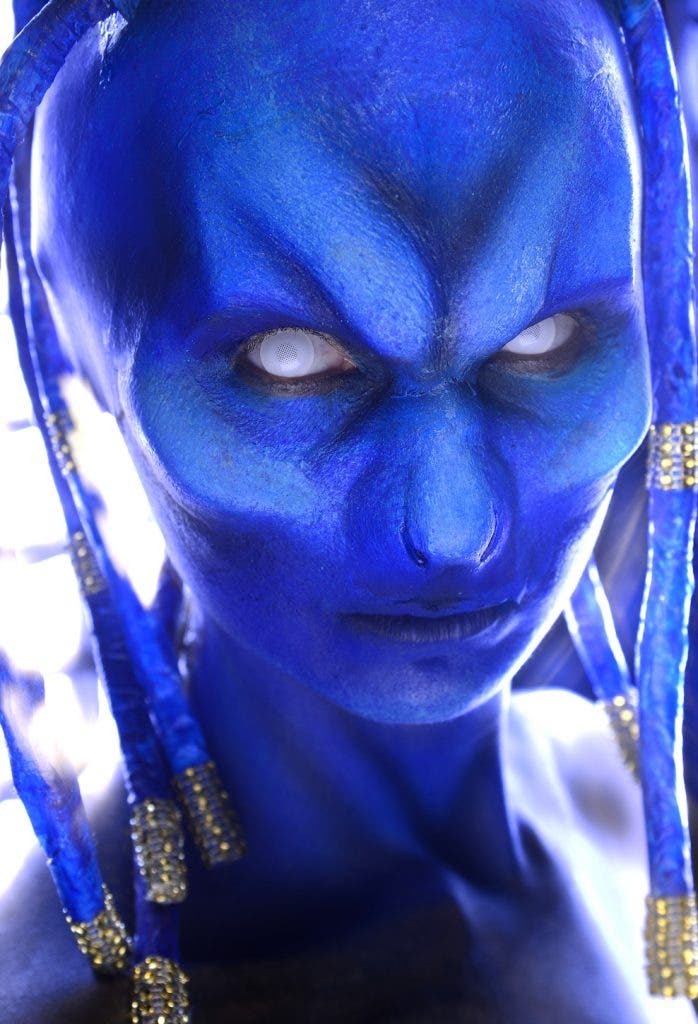
You’re walking into these images with the deck stacked against you. Your viewer most likely will not believe that a zombie is real, but don’t let that be an excuse. Allow them to get sucked into the image by not spotting things that take them right out of that belief. For example, a zombie shouldn’t have a decrepit face and a neck that looks totally fine.
This is especially true for realistic content, such as injuries. You need to really think of a story. For example, if your character is supposed to look like they just got in a fight, they shouldn’t just have a black eye. They would be sweating. They wouldn’t be clean or calm, and their hair wouldn’t be perfect. It seems like common sense but, too often, you’ll find yourself forgetting the narrative. Don’t just focus on your lighting or the overall shot.

The photos you’ve seen in this article have been shot with a variety of cameras and lenses. However, here are some of the most common products that I use for SFX and horror photography:
- Nikon D850 DSLR Camera
- Nikon Z 7II Mirrorless Digital Camera
- Profoto A10 On/Off Camera Flash Kit
- Profoto B1X 500 AirTTL To-Go Kit
- Nikon 24-120mm f/4 NIKKOR Lens
- Nikon 105mm f/2.8 NIKKOR Lens
Those were some quick tips to keep in mind to get your Halloween, SFX, or horror shots to the next level. Don’t forget to have some candy on set as well. If you want more inspiration for your SFX or horror photography, you can watch Adorama’s most recent Halloween workshop below.
