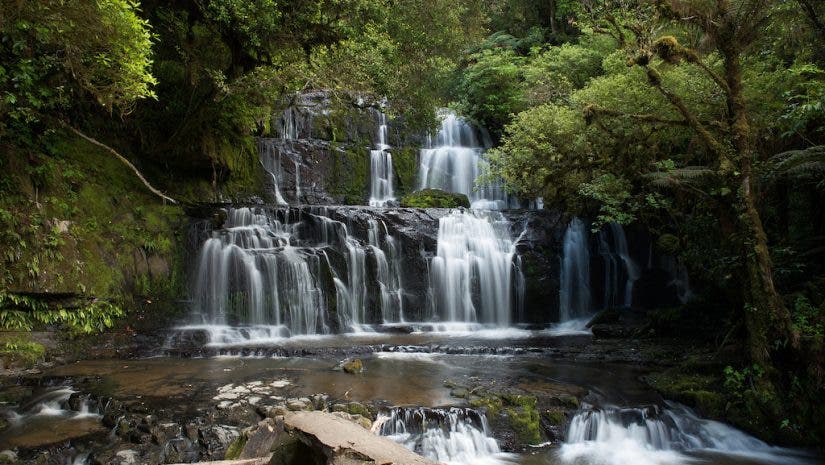
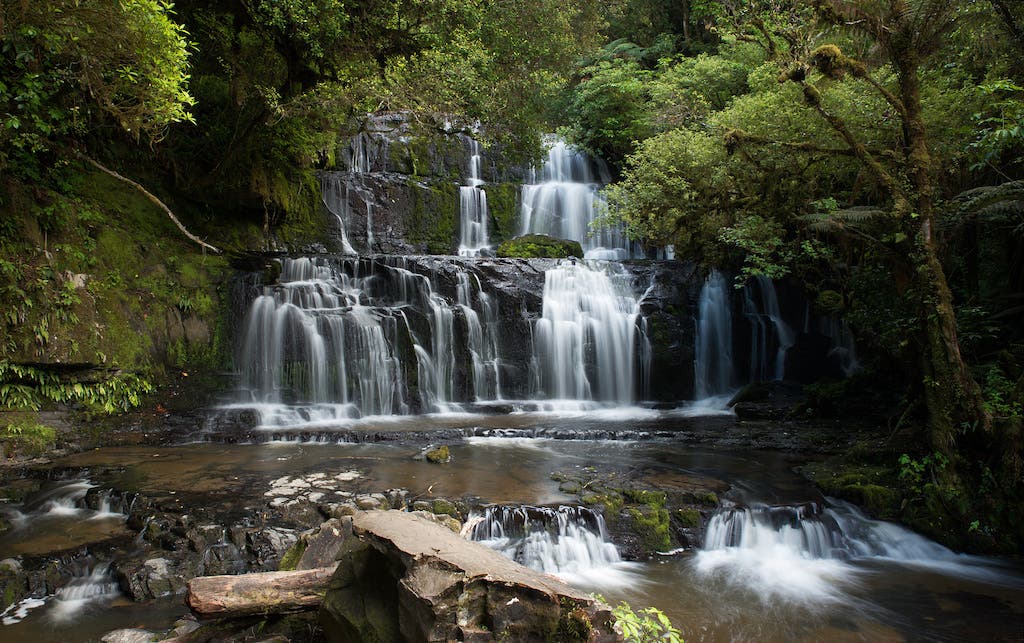
Waterfalls are amazing natural features, and every landscape photographer is happy to capture them. However, it is very challenging to photograph waterfalls.
Usually, you have limited options for positioning the camera around a waterfall. Most waterfalls don’t allow you to move 180-degree around them or are blocked by trees and rocks. You can’t manage the camera-subject distance as you’d wish. They’re also large and hard to frame entirely. The large volume of moving water also means that the optimal lighting conditions change due to reflections showing up in various places, and natural light is all you have for landscape photography.
Waterfalls are difficult elements for composition as well. They have strong vertical lines you need to blend in your frame appealingly. On top of everything, waterfalls splash your gear and create glares. So, how can you make them the star of your compositions?
Check out the following tips when you are ready to photograph waterfalls.
Use long exposure wisely
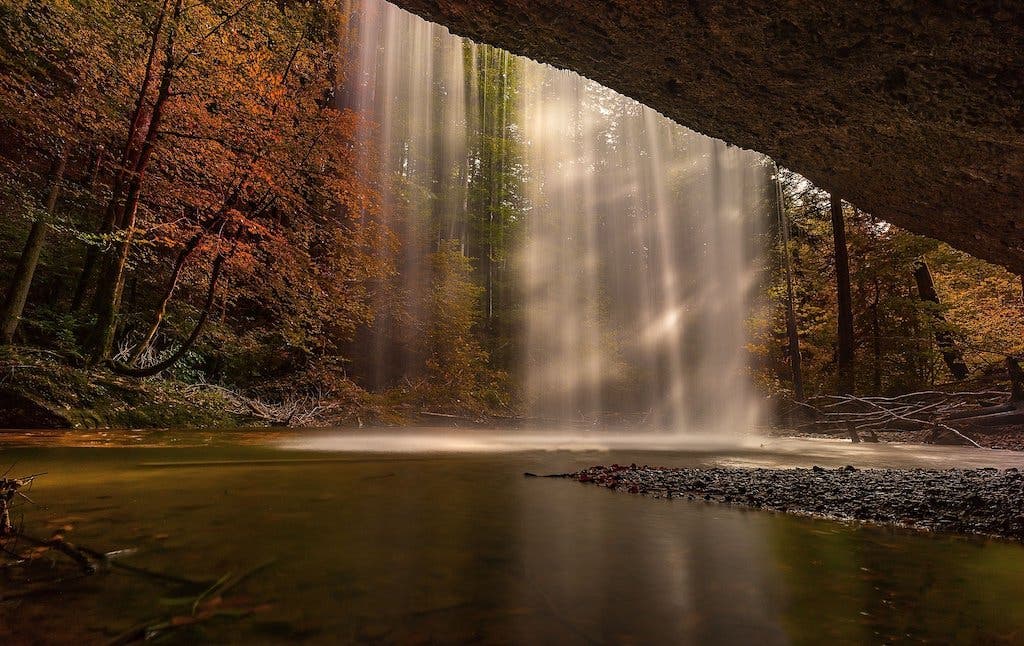
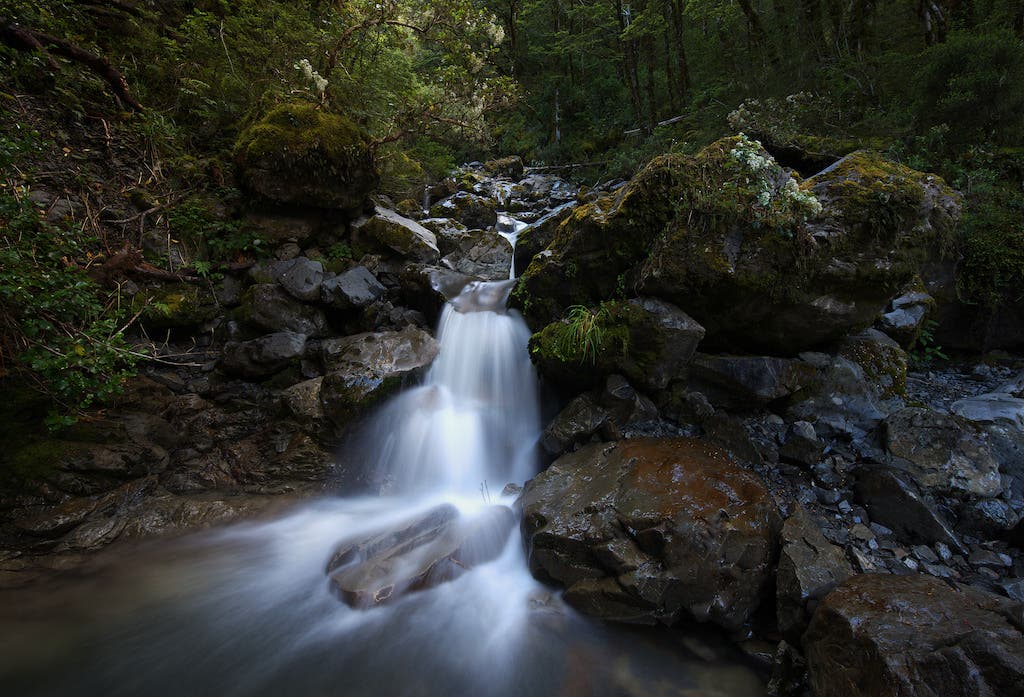
Waterfalls are subjects in motion. As a result, one of the preferred methods to photograph them is to slow down the shutter speed and create long exposures. The result is a smooth, velvety surface of falling water that transforms the scenery into a fairytale. The water is often a bit overexposed and white, while the surroundings preserve its colors and detail.
Long exposures capture movement and deliver serene photos. They give you a delightful sense of flow that is crucial for great waterfall images. Although, how many photos of waterfalls with long exposure have you seen? How many of them looked natural to you? If you slow down the shutter speed too much, the photo will look artificial. Sometimes an exposure of 0.5 to 1 seconds is all you need to capture the flow without making the waterfall look mystical. An ND filter of 3 stops is usually enough for slowing the shutter speed. Besides, each waterfall is different (has a different volume of water, falling speed, and geometry) and should look different in your photos. Furthermore, ultra-long exposures remove details and transform the natural scenery into fake wallpaper. However, using a very fast shutter speed will also make the waterfall look unnatural, as we experience the water in motion. Aim for a solid sense of flow or movement while maintaining texture and details in the water.
Experiment with both portrait and landscape orientation
Another popular belief that leads to similar pictures is photographing waterfalls only in portrait orientation. The portrait orientation singularizes the subject and makes it look taller and more impressive (especially when you photograph it from below). At the same time, the portrait orientation cuts out the environment and makes the waterfall the only element of your composition. While this might work very well for some landscapes and waterfall geometries, it doesn’t work for all of them.
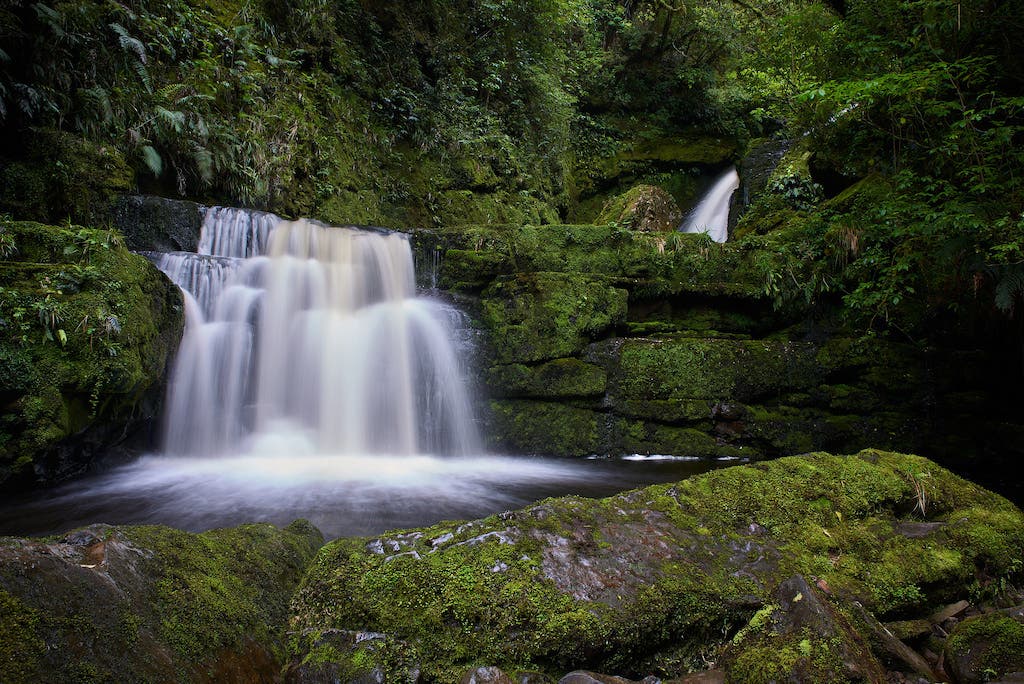
Many waterfalls spread over rocks like curtains and are wider than taller. However, there are also waterfalls surrounded by vegetation and rocks that complete the landscape and create a visual story. The landscape orientation captures the environment and creates richer compositions. It allows you to see and photograph the waterfalls as part of a bigger story, add temporal elements, and create a more meaningful composition.
Framing is essential
To have many framing options, you shouldn’t get too close to the waterfall. Instead, photograph it from a distance to better fit the entire waterfall in the frame and capture its surroundings. Also, make sure you position the waterfall in the frame according to the rules of composition (e.g., at one-third of the frame if you use the rule of thirds). A waterfall is a powerful visual element that can easily unbalance your composition.
However, don’t get stuck in a single type of framing when you photograph waterfalls. There are parts of a waterfall that may be more spectacular than others and deserve the leading role of your photo (e.g., the big splash at the finale, interesting rocks changing the course of the waterfall, water going over the edge of the falls, or a branch hanging in front of the waterfall).
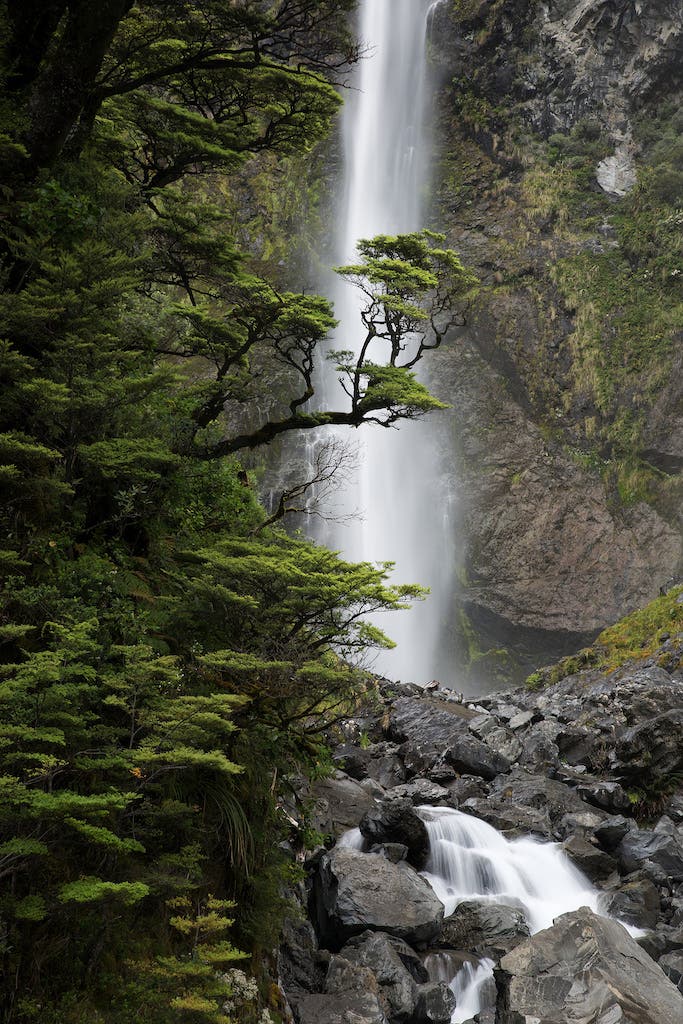
You may also find those little waterfalls that form on mountain rivers in the spring and that require a closer look. Take some time to observe the waterfall and notice what impresses you the most. Then fill the frame with the feature you want to share with your audience. It may be its height or the misty, dramatic atmosphere it creates. It’s up to you but keep in mind that each photograph is unique.
Avoid direct sunlight
Taking landscape photographs at midday on sunny days is rarely a good idea, but it becomes a nightmare when the subject is a waterfall. When sunlight is bouncing off the waterfall and rocks, reflections will take the lead. As a result, the waterfall will be bright and overexposed while the rest of the frame will be dark and shadowed. The lack of detail and the high contrast between bright and dark areas will ruin your photo. To overcome the extreme dynamic range and correctly expose your photo, you can use a circular polarizing filter to suppress the reflections and glare and/or gradual ND filters to decrease the amount of light in specific parts of the frame.
Nevertheless, the best thing you can do is choose cloudy days or plan your photoshoot in the early morning or late afternoon. There are other benefits in choosing a different time of the day to photograph waterfalls. Lateral lighting will enhance details and add a sense of depth. During the golden and blue hours, the color of sunlight will create a special atmosphere. In addition, with less natural light in the scene, you’ll be able to use slower shutter speeds and create long exposures or use larger apertures and create a shallow depth of field.
Find unusual angles
Photographers are always looking to improve their skills, find unique perspectives, and create a recognizable visual style. As impressive as they may be, waterfalls are a popular subject matter for a landscape photographer. It’s hard to find something new where so many photographers have been before you. Yet, to take amazing photos and become a better photographer, you don’t need a new subject matter but a new way to photograph it.
Waterfalls have a powerful geometry you should use to your advantage. Go beyond the straight vertical line placed in the middle of the frame and find more unusual angles. You may try giving up the tripod to have more freedom in positioning the camera. Experiment taking pictures from above and below the waterfall. Rotate the camera and place the waterfall on a diagonal. Use both wide-angle and telephoto lenses. Play with creative focus lenses. Use frame-in-frame technique and find natural frames for your subject. Get out of your comfort zone and get your feet wet (protect your gear, though).
Remember, each angle creates a different effect and conveys a different message. You want more than an aesthetic photo. You want a story.
Concluding words
It’s good to start by reproducing the photographs that inspired you but don’t get stuck in doing the same compositions over and over again. Waterfalls are fantastic subjects, and many people forget that they’re part of an ecosystem. They’re too happy they found them to notice their surroundings, how the light influences the scene, and how each small rock and plant has a role. Be adventurous in finding the most remote waterfalls and positioning the camera, choosing camera settings, and finding interesting perspectives.
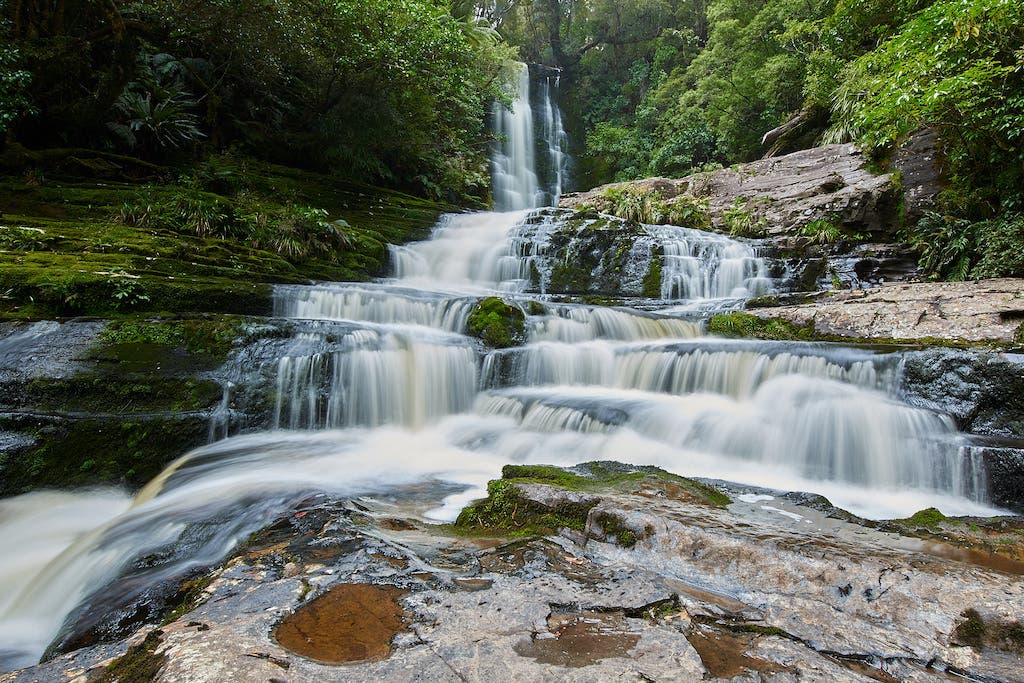
Most of all, keep in mind that waterfalls are natural features and they should look natural in your photos. Landscape photography reveals the untouched beauty of nature and requires respect, care, and commitment. Don’t break branches or plants to have a better view. Don’t move rocks around. You’re a spectator of nature, and you should be grateful for that. When your heart is in the right place, your photos will improve too.
