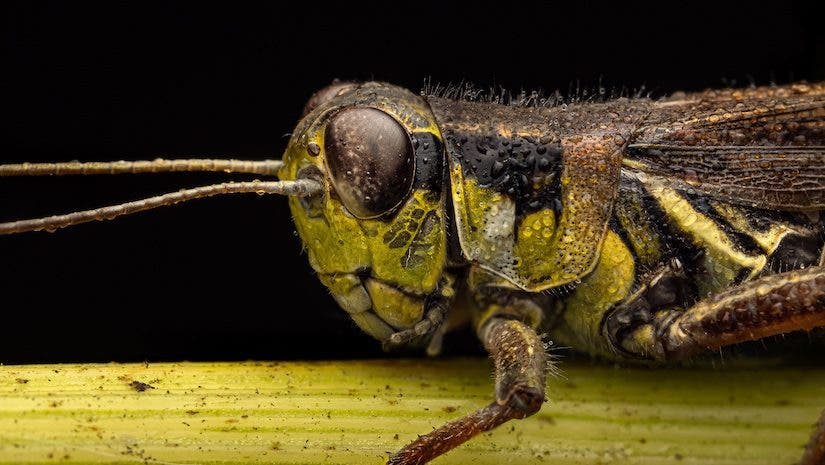
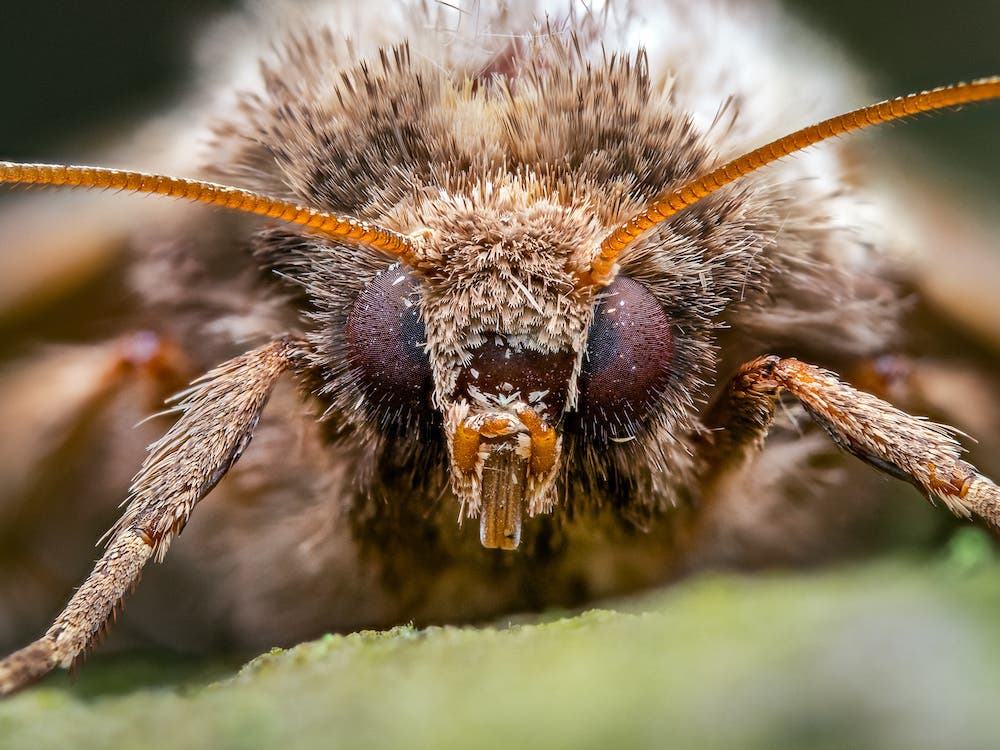
I love everything about field macro photography. I love being outside, exploring new places, discovering creatures that are new to me, interacting with subjects, and — of course — making awesome close-ups of amazing critters. If this sounds like a good time to you, I’ve got some tips to send you in the right direction when capturing insect photography.
Tips for Insect Photography
Start Small to Shoot Small
Macro photography is all about magnification. Specialty macro lenses are the best. Although, there are other effective and accessible options to get you started. If you already own a macro lens — awesome! These other tools can help bring even more magnification to your macro photos.
The first method for increasing magnification is creating distance between your camera’s lens and sensor. Extension tubes act as spacers between the camera body and lens mount. The additional distance results in a larger projection onto the sensor. If you do choose to use extension tubes, understand that autofocus may be adversely impacted and a bit of light loss can occur. Even so, I consider extension tubes to be a great first purchase and a valuable addition to any photographer’s gear bag.
You can also add a close-up conversion lens between your regular lens glass and your subject. The Raynox DCR-250 Super Macro Conversion Lens can be clipped or screwed onto any lens and essentially works like a fancy magnifying glass. In fact, I prefer it over extension tubes for how quickly and easily I can add it to my 60mm macro lens while in the field. As with tubes, a close-up converter can inhibit the native focusing ability of your lens and will reduce depth of field, but those compromises can be managed with practice.
Get to Know Your Gear
It’s important to familiarize yourself with your gear prior to working with live subjects. Read the manual, watch videos, read articles, or maybe even take a class. The more comfortable you get, the more success you’ll have in the wild. The homework will allow you to capture incredible images without fumbling with dials, troubleshooting on the scene, or missing shots altogether.
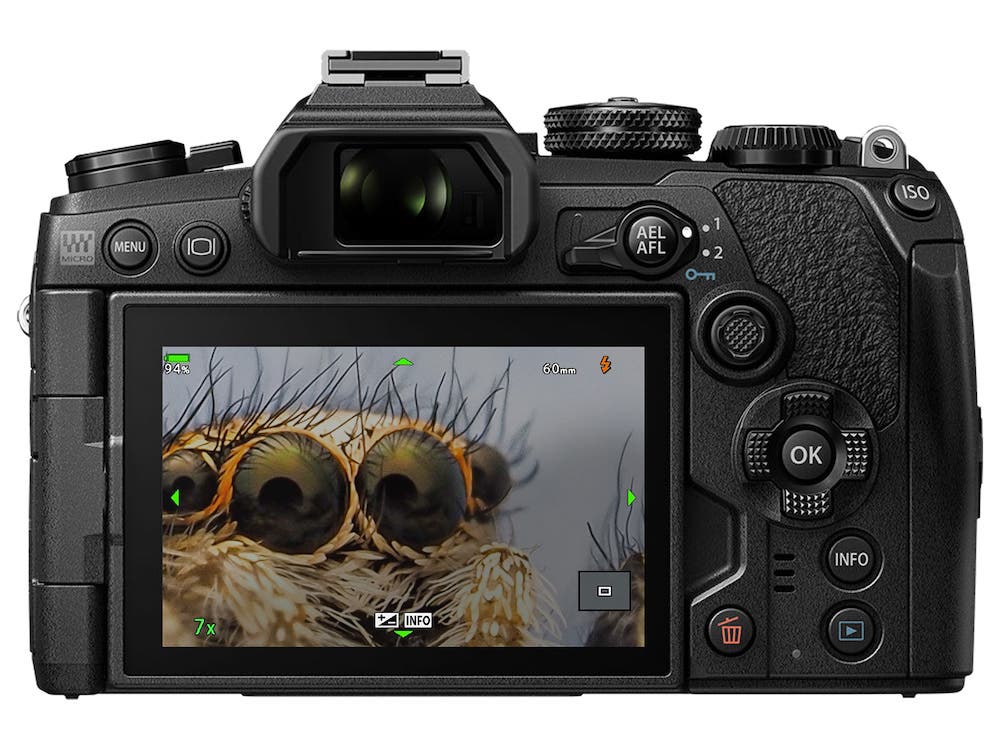
As you explore the features of your equipment, try to hone in on anything that’s particularly relevant for macro photography. For instance, my Olympus OM-D E-M1 Mark II offers in-camera Focus Bracketing and Stacking. It also lets me enable Live View Boost to brighten my LCD and EVF previews — a huge help when shooting with a flash. My Olympus M. Zuiko Digital ED 60mm f2.8 Macro Lens has a focus limiter with 1:1 shortcut. I took the time to identify and master these features (and more) in a controlled environment before I started utilizing them in real-world situations.
If your camera allows for customizations, you can give yourself an even bigger jumpstart. I use the ‘C1’ position on my Mode Dial to store baseline macro settings. I’ve even reassigned my camera’s function buttons to quickly toggle focus modes and instantly access features like Bracketing, Focus Assist Magnification, and Focus Peaking.
Get Serious with Serious Glass
Traditional lenses, conversion lenses, or extension tubes can be useful. Although, a true macro lens is the best option for maximizing detail and sharpness. These specialized lenses are designed to produce high-magnification output and focus at close distances. If you’re serious about macro photography, a dedicated macro lens is a worthwhile investment.
When shopping for a macro lens, a few factors can help narrow the choices. First, you’ll want a lens that is specifically made for your camera system. When photographing live insects or spiders, lens weight and working distance are especially relevant. A lightweight lens is easier to handhold. Greater working distance can be a huge help for skittish subjects. Additionally, look for features like image stabilization, amount of magnification, and maximum aperture. The importance of each feature will depend on your own intentions. Although, they’re all worth consideration.
Bring Some Flash to the Party
The most pivotal moment in my evolution as a macro photographer was when I added flash to the equation. Before shooting with flash, I struggled with motion blur, never had the right light, and made photos that lacked detail. Using flash helped all of these issues. Since flash helps to freeze motion, I can shoot with much slower shutter speeds and still capture crisp details. People are often surprised to learn that many of my handheld field macro images were made with shutter speeds at or below 1/100th of a second. A flash also helps to produce perfectly exposed results — regardless of the ambient light.
While specialty macro flashes can be used to maximize control, almost any shoe-mounted speedlight can do the trick. I prefer the Flashpoint Zoom-Mini (TT350) for its affordable price, simple operability, and small size. You can use TTL (“through the lens”) or Manual mode. If you’re new to flash, start with TTL. As you get more comfortable, you can manually manage flash power to produce results to your liking. Add a diffuser between your light source and subject to create a professional result that’s free of bright hotspots or heavy shadows.
Early Bird Gets the Bugs
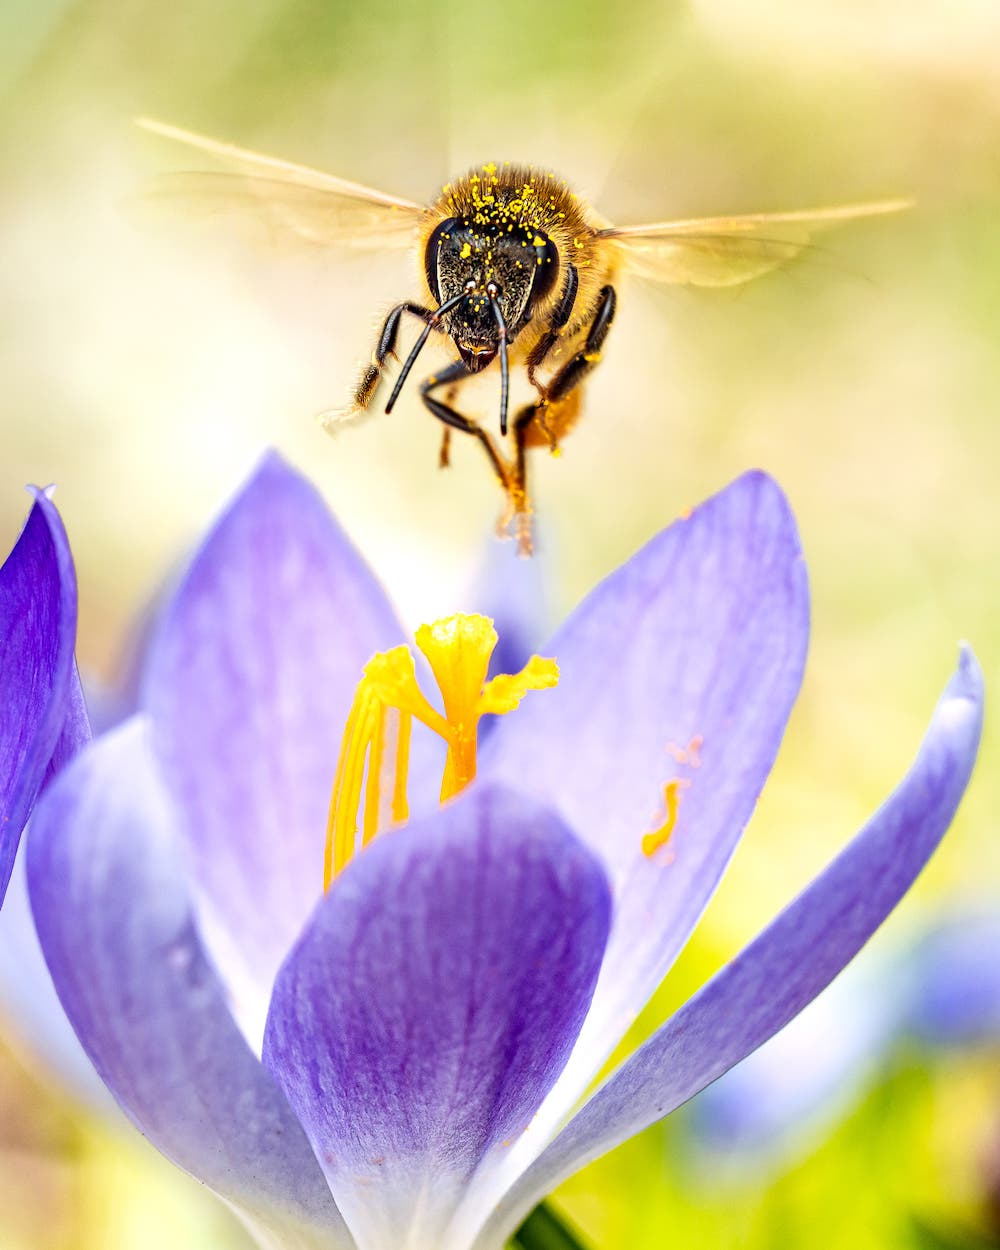
Getting an early start might be the easiest thing you can do to increase chances for a productive day in the field. Since insects and spiders are ectotherms — animals dependent on external sources for body heat — they’re much more cooperative during the morning hours. Temperatures are cool, bugs are sleepy, and there’s morning dew! Dew slows insects as they wait for their wings to dry and adds an interesting, reflective element to your shots.
Patience Is a Virtue
Some novice macro shooters will mistakenly correlate field macro to shooting fish in a barrel. Since bugs are everywhere, it should be easy, right? Not quite. While warm weather can bring plenty of subjects into view, it doesn’t mean capturing stunning close-ups will be easy. Try to mentally relax and physically slow your pace. You’ll find more subjects, hold your camera steadier, and ultimately produce better images.
One of the most common questions I hear is “how do you get bugs to hold still for your photos?” The truth is, I rarely do. I miss a ton of shots. Although some bugs are cooperative, few want anything to do with me or my camera. Even so, with a patient and measured approach, I’ve been able to get very close to many live subjects without disturbing them or their environment — and so can you. When you do miss a shot, don’t let it get you down. Just take a deep breath and look for that next opportunity.
Look Up and Down, Move In and Out
Field macro is about bringing people into a tiny, hidden world. Remember to look up and down as you walk through the field. Some insects live on trees and some live on the ground. Some hide in nooks and crannies while others use camouflage to hide in plain sight. Don’t be afraid to physically lower yourself as you carefully inspect your surroundings.
Upon locating a subject, I carefully move into position and get ready to shoot. I typically use Autofocus to find my subject in the EVF, toggle to Manual Focus, and then acquire focus by gently moving my entire camera rig in and out. This method helps to achieve critical focus needed to produce a compelling macro photo. For an even better view, try enabling special features like Focus Assist Magnification or Focus Peaking. Focus Assist Magnification will increase the size of your image in the EVF or LCD so it’s easier to see what’s in focus. Focus Peaking will actually provide visual confirmation of focus by highlighting the in-focus areas.
Get a Shot Before Worrying About the Shot
The urge to immediately go for that high-magnification shot of your dreams can be tempting, but advancing prematurely can blow your opportunity altogether. Start by shooting test shots from a slight distance. This will help you confirm your exposure and build trust with your subject. Once you’ve got a few frames saved safely to your card, inch closer and shoot a few more. Repeat this process until you reach your desired working distance and magnification. Oftentimes, I end up preferring one of the on-the-way-in shots to the one I’d imagined prior to shooting.
If you’re really lucky, your subject might tolerate an extended session. That’s the perfect time to work some angles. I like to drop just below eye level to give my subject even more of a larger-than-life appearance, but there’s no right or wrong vantage point. Experiment, take what your subject gives you, and decide what you like best!