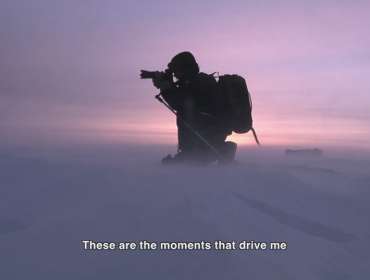
Are you the kind of crazy person who would consider chasing winter from one hemisphere to the other? Do you have a goggle tan more than any other kind of tan? Do you own more snow pants than jeans? You, my friend, are a winter sports addict. It’s okay, I’m here to help you.
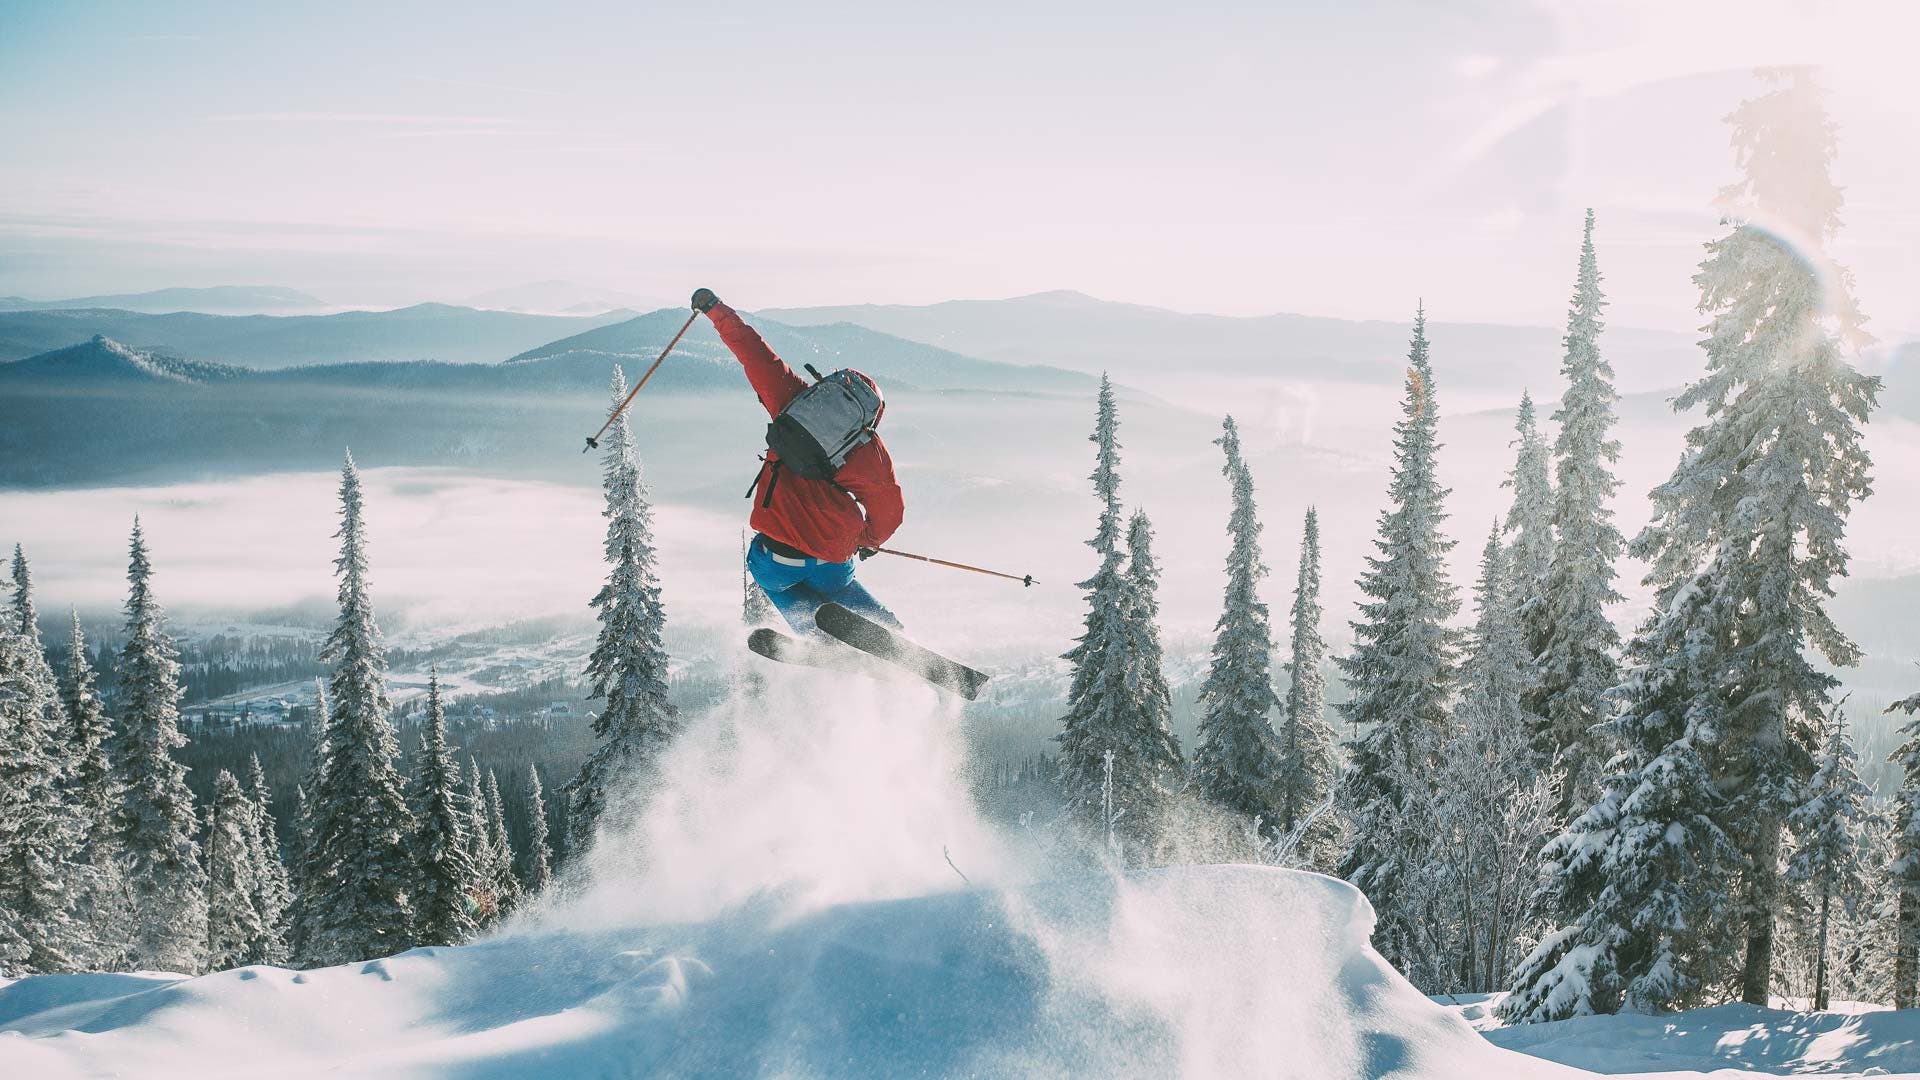
This article will help you capture all your feats of snow-powered awesomeness! You will need some gear to photograph and/or film you and your friends on the slopes. While you can do a lot with a GoPro, this article is for those who aspire to get the kind of images they see in magazines and capture videos. Just like the ones you play on repeat.
Cameras
For winter sports, it’s less about the type of camera you choose and more about the lens. You are almost always working in decent light. Therefore, very sensitive cameras aren’t a requirement. Plus, saving money on the camera body leaves more of your budget for better lenses. Look for a camera that has manual controls over:
- ISO
- Aperture
- Shutter speed
It would also be great if you found a camera with a body and lens that has some sort of weather sealing. All to protect your camera from the harsh winter elements.
GoPro HERO13 Black Camera
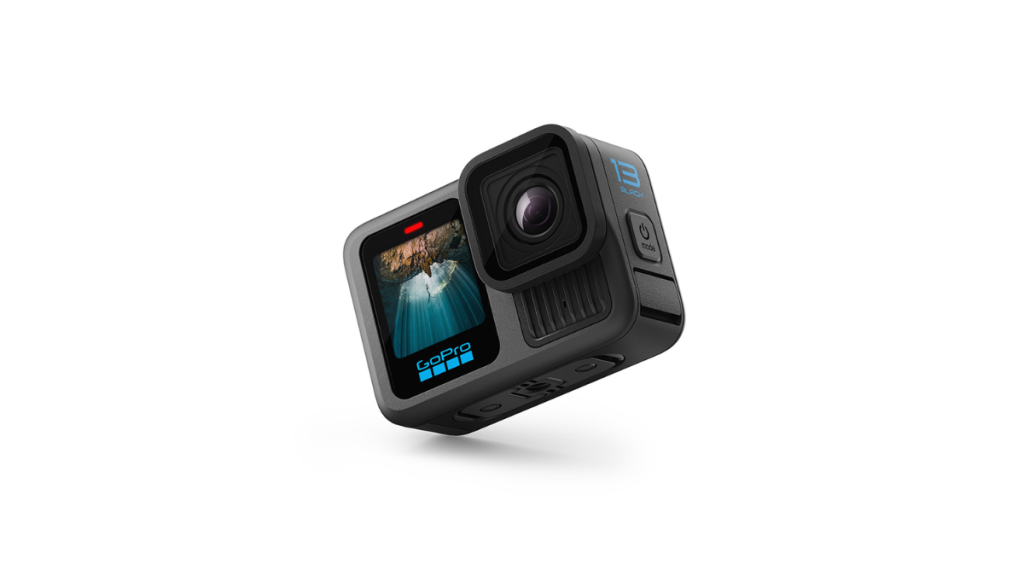
You know it, you love it. GoPros are the standard in rugged and waterproof action cameras, and it’s that way for good reason. The GoPro is an affordable multi-purpose camera that does a hell of a job capturing a wide-angle view of whatever action-based sport you are doing. The GoPro HERO13 Black Camera specifically can shoot up to 5.3K60/50 video and SuperPhoto, HDR + RAW capture capabilities. You’ll be able to capture stunning high-quality footage of all of your adventures whether on land, air, or sea.
Nikon Z50II Mirrorless Camera
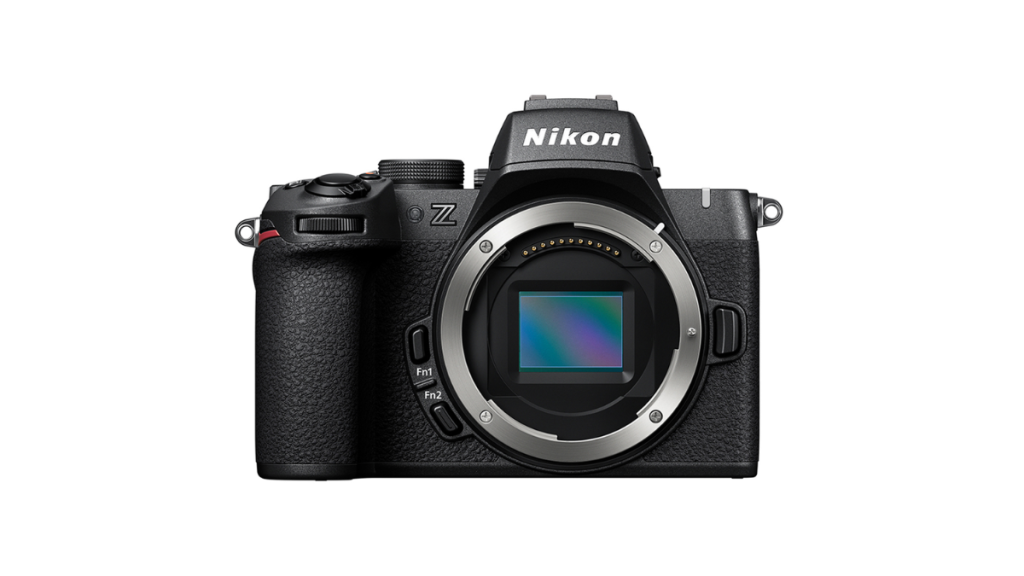
A mirrorless camera with a lot of great features. This type of camera is better for recording others rather than yourself in full winter sports gear and action. It’s because it can be cumbersome to manage while also keeping your eyes on the slopes. The Z50II is a great camera for the budding ski photographer/videographer of your group or if you are going to take turns recording each other. This camera is a great buy because you get a 20.9MP DX-Format CMOS sensor at a very reasonable price with amazing weather sealing.
If you have a decent lens budget, I advise you to start with the NIKKOR Z DX 16-50mm f/3.5-6.3 VR Lens. It is a great lens to capture a wide-angle view without severe distortion. It also zooms in up to 50mm, giving a great focal length range for almost everything.
Insta360 X4 8K 360 Action Camera
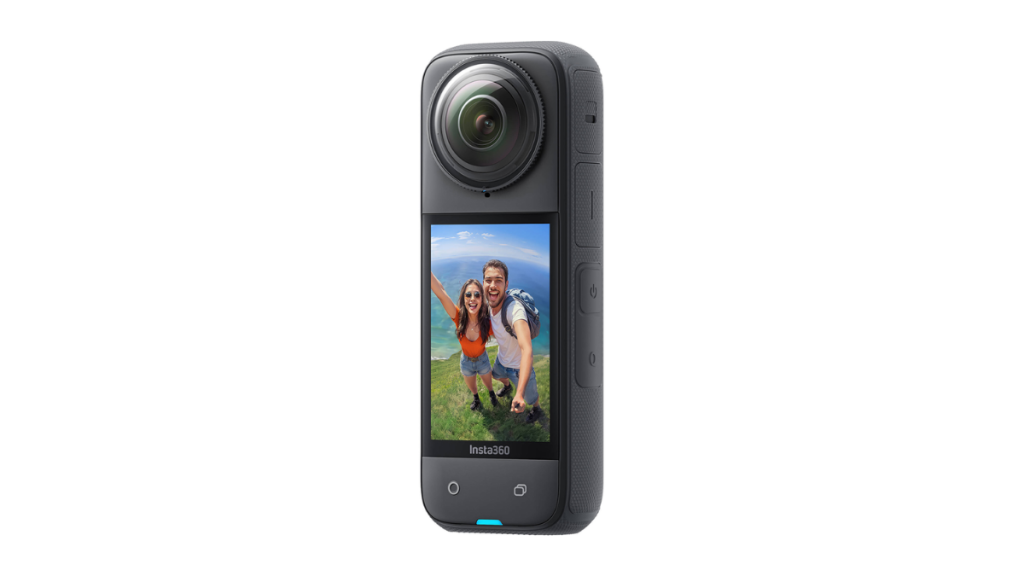
The X4 8K 360 Action Camera is a phenomenal pocket camera for winter sports. It takes amazing 8K 360-degree photos and 5.7K60 fps 360-degree videos. Plus, it fits in your jacket pocket. It has cinematic slow motion for those cool ski tricks, where you can easily drop 60fps video down to 4K 100fps. That will make your tricks look even more impressive as you stretch out the time on your double back flips! (Yeah, I can’t do those either.)
Accessories
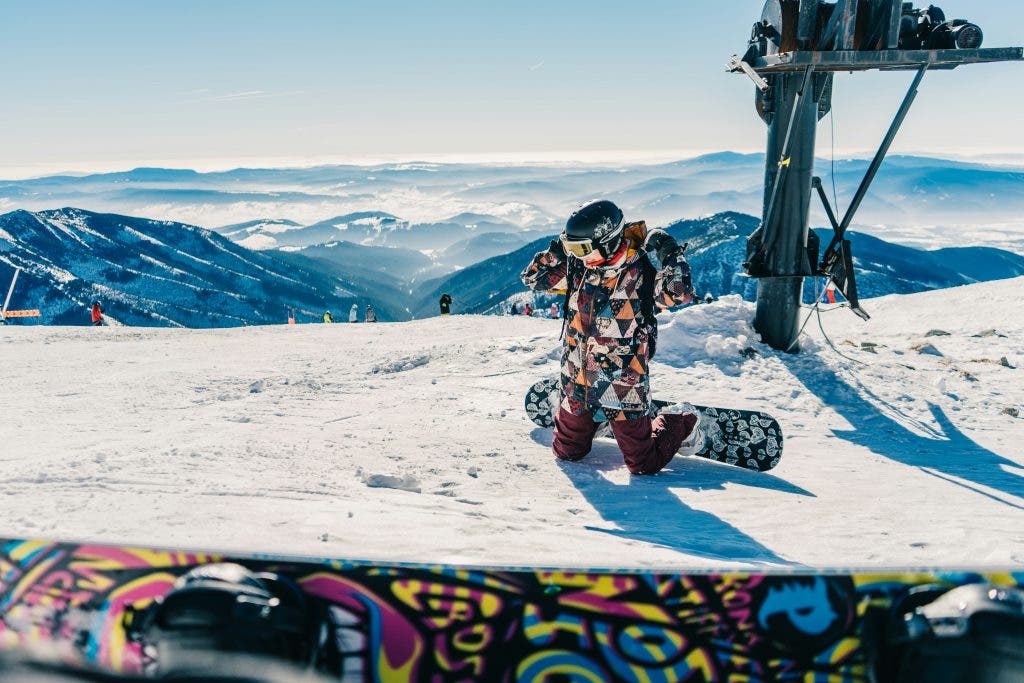
JOBY GripTight GorillaPod PRO 2
The Gorillapod is a great tool for when you want a tripod, but don’t want to carry a large one up the hill. It can attach to rails or you can use it when you want to stay out of the way. It’s also useful for recording timelapses and for getting group shots.
SunwayFoto CQC-02 Camera Quick-Release Clip
This quick release clip is great for attaching your GoPro or other smaller camera to your backpack. It is also just a great way to keep your smaller camera ready for quick access. If you want quick access to a larger camera, like a DSLR, I suggest getting the SunwayFoto CQC-02 Camera Quick-Release Clip. It’s made to handle the extra weight while you’re up and moving during winter sports. Just be careful you don’t fall forward, or at all for that matter, while your camera is strapped to you.
Tips for shooting in the snow
Set your exposure 1-2 stops higher
Many cameras have trouble exposing correctly in winter photography. The extreme brightness of white snow often leads to a darker overall image. This is because the camera is misinterpreting the level of the scene. I would suggest exposing 1-2 stops more if you notice your camera is capturing a darker image than expected. The camera may also have large shifts in exposure if set to auto, so I would try to set your exposure manually when possible.
Set your white balance to daylight or cloudy
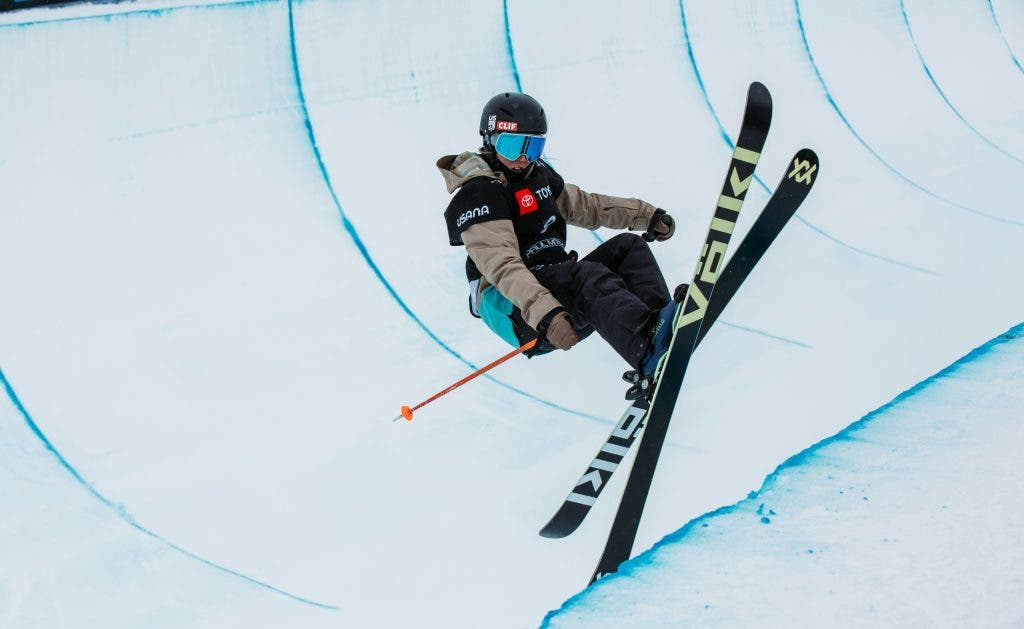
Another issue that sometimes affects images captured in the snow is an incorrect white balance. You may get a blue colorcast on your photos or video. The colors may also be off if you are using auto white balance, so setting your white balance to daylight or cloudy may help with keeping your colors crisp and accurate, as well as keep the colors from shifting when you are filming and changing from bright light to shadow or from the snow to a blue sky. Another tip is to shoot your pictures in RAW to be able to easily change color temperature.
Experiment as much as you can
Try different angles, different compositions, and different camera moves when it comes to winter photography such as ski photography. Instead of panning alongside, maybe try to get them going over you (from a safe position of course! See the next paragraph below.) Always try to think, how can I make this better?
Safety first, wear bright clothing
Keep yourself and your gear safe. I know, getting the shot is thrilling, but it will be much less so if you get a face full of snowboard or a pair of skis busts your camera. Bright colored clothing also helps other people see you better and can help avoid a collision. Make sure you assess each situation thoroughly before positioning yourself.
Shoot for the edit
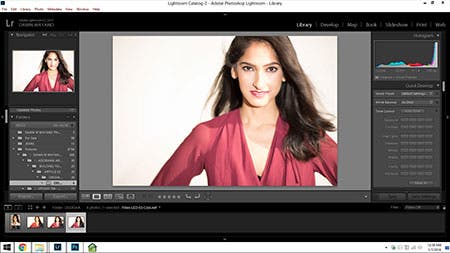
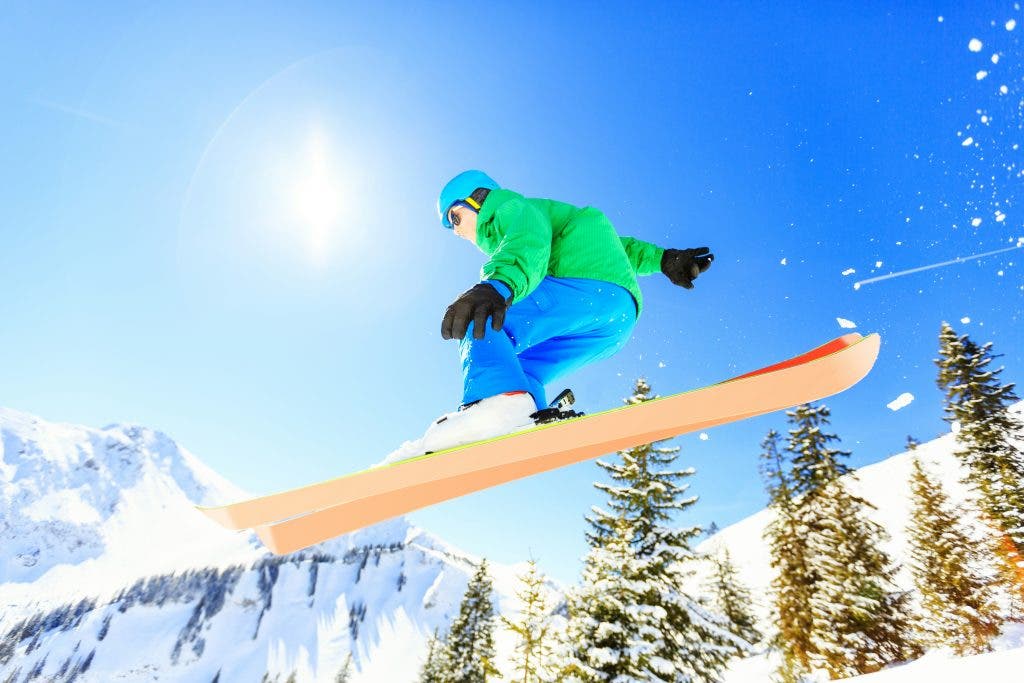
Are you attempting winter sports videography? Then try to shoot for the edit. You are editing right? Your computer likely came with free editing software. Your phone can even do basic edits. Many people shoot just for what’s cool or put up a long video of one continuous shot. Very few people can just strap on a GoPro and bomb down the mountain and have it be interesting.
Shooting for the edit means getting the shots you need to tell a story. Get the details that will tell that story. Don’t just get the approach, jump and landing. Build the tension leading up to it. Here’s a sample shot list for winter sports videos:
- Start out with a wide shot of the mountain.
- Cut to shots of the ramp from multiple angles.
- Get a tight profile shot of the jumper, maybe slow motion of their breath in the cold air.
- Capture their jump several times and you may be able to edit the best of them together to make it even more dynamic.
If you think of what you’ll shoot beforehand, you will be much happier with your results. It takes more work, but it’s worth it.
FAQs: Winter Sports Photography
Popular sports played during the colder months include skiing, snowboarding, ice skating, ice hockey, curling, and even sledding.
The most popular winter sports include skiing (both alpine and cross-country), snowboarding, figure skating, and ice hockey.
The Winter Olympics debuted in 1924 with five original sports: skiing, skating, bobsleigh, ice hockey, and Nordic combined.
1. Start by dressing warmly so you can focus on the shot instead of freezing your fingers off!
2. Use a camera with weather-sealed features or protect it with a cover.
3. Bump your exposure up by 1-2 stops to counter the brightness of snow.
4. Keep your white balance set to daylight or cloudy to avoid blue-tinted images.
5. Don’t forget to experiment with angles.
Bright, bold colors like red, yellow, and cobalt blue pop beautifully against the snowy white backdrop.
1. Use a low ISO (around 100-200) to minimize noise.
2. Set your aperture between f/8 and f/16 to ensure sharpness and detail.
3. For shutter speed, go faster for action shots (1/1000 or faster for skiers or snowboarders) and slower for capturing snowfall or landscapes.
4. Increase exposure (1-2 stops) to account for the brightness of snow.
5. Shoot in RAW. Fine-tune colors and exposure later.
Capturing the Thrill
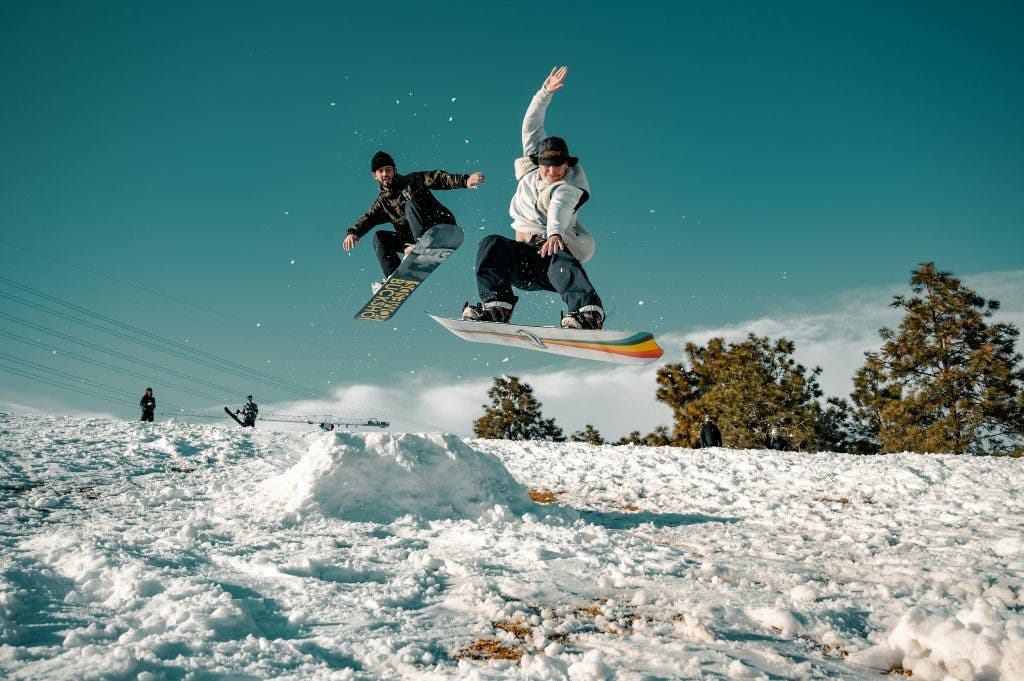
Winter sports captivate the hearts of adventurers and thrill-seekers, inspiring many with the most popular winter activities like skiing and snowboarding. For some, this passion evolves into a dream of documenting feats worthy of the Winter Sports Olympics. This article set out to guide you in mastering the art of winter sports photography and videography.
Before you go, remember: successful winter sports photography is a blend of technical skill and creative daring. The right tools — whether it’s the versatile GoPro HERO13 Black, the professional Nikon Z50II Mirrorless, or the innovative Insta360 X4 8K 360 Action Camera — can bring your vision to life. Combine them with the right accessories, a willingness to experiment with angles and exposure, and a focus on safety, and your winter adventures can transform into unforgettable visual masterpieces.
