You cross the line between being an amateur and a committed photographer when using the camera in manual mode becomes a habit. You know everything there is to know about aperture, shutter speed, and ISO and mix them to get the correct exposure. By now, you’ve probably studied the rules of compositions, and you’re able to use them to your advantage. You’ve created a solid technical base, and you think you’re ready to photograph any subject matter. Yet, there is still a lot to learn on the road to mastery.
After you’ve gathered the ordinary photography skills, you should spend some time learning to deal with particular situations. For example, you may want to take photos in any lighting conditions or create special creative effects.
While everyone can take a simple photo with good exposure and an interesting subject matter, not many photographers are familiar with all their cameras’ features. Therefore, after you master manual mode, you may want to try mastering the following things to bring your photography skills to a professional level.
Work with Exposure Compensation
Most camera provide exposure compensation as a functionality. It’s available in these semi-automatic modes: Aperture Priority, Shutter Speed Priority, and Program. (In manual mode, it only shifts the exposure meter in the viewfinder that shows you when the exposure is correct).
In the semi-automatic modes, you set one parameter and let the camera decide the other parameters. Then, using its built-in metering system, the camera evaluates the scene’s brightness and sets the remaining parameters for correct exposure.
The camera’s metering system tries to expose the image, so the average tonal value is 18% gray. However, certain situations trick the camera into using the wrong exposure settings, where the white areas end up looking a little gray instead of white. When you capture night photos, you often have the reverse situation, where very dark areas end up being dark gray instead.
Exposure compensation allows you to alter the exposure after the camera sets the parameters and take brighter or darker photos than the camera suggests. Take a look at the example with the oystercatcher on the bright beach below. In this situation, the exposure compensation helped get a better-exposed photo regarding tonality, subject, background details.
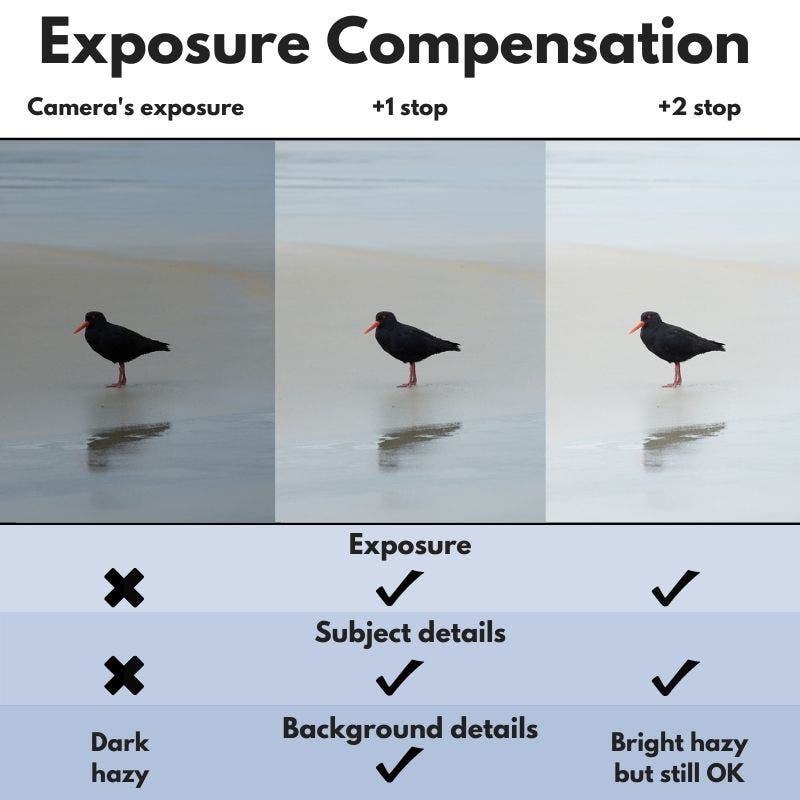
The large areas of white or black confuse the camera’s metering system and produce overexposed or underexposed photos. Another situation where exposure compensation is useful is when you have a high luminosity contrast between subject and background (e.g., photographing the moon). If you let the camera expose the subject, the background will be overexposed or underexposed. Exposure compensation allows you to interfere and choose the proper exposure for your scene. However, you can also play with metering modes to help the camera better evaluate the scene.
Explore Focus Modes
A strong focal point is an essential ingredient of a great photo. But it isn’t just about choosing a fantastic subject and making it stand out in the frame. When it comes to moving subjects, knowing which focus mode to use increases your keeper rate considerably.
First, you can choose between manual focus mode (adjust the focus ring until your subject is in focus) and autofocus mode (allow the camera to decide the area in focus). Most times, you will likely shoot in autofocus mode. But there is a great deal extra to autofocus than meets the eye.
Most cameras provide several autofocus modes, including:
- Single mode – The camera will focus on the subject a single time.
- Continuous mode – The camera will focus on the subject and will continue to track the subject if it moves.
- Hybrid mode – The camera decides if it uses single mode or continuous mode based on the subject’s movement.
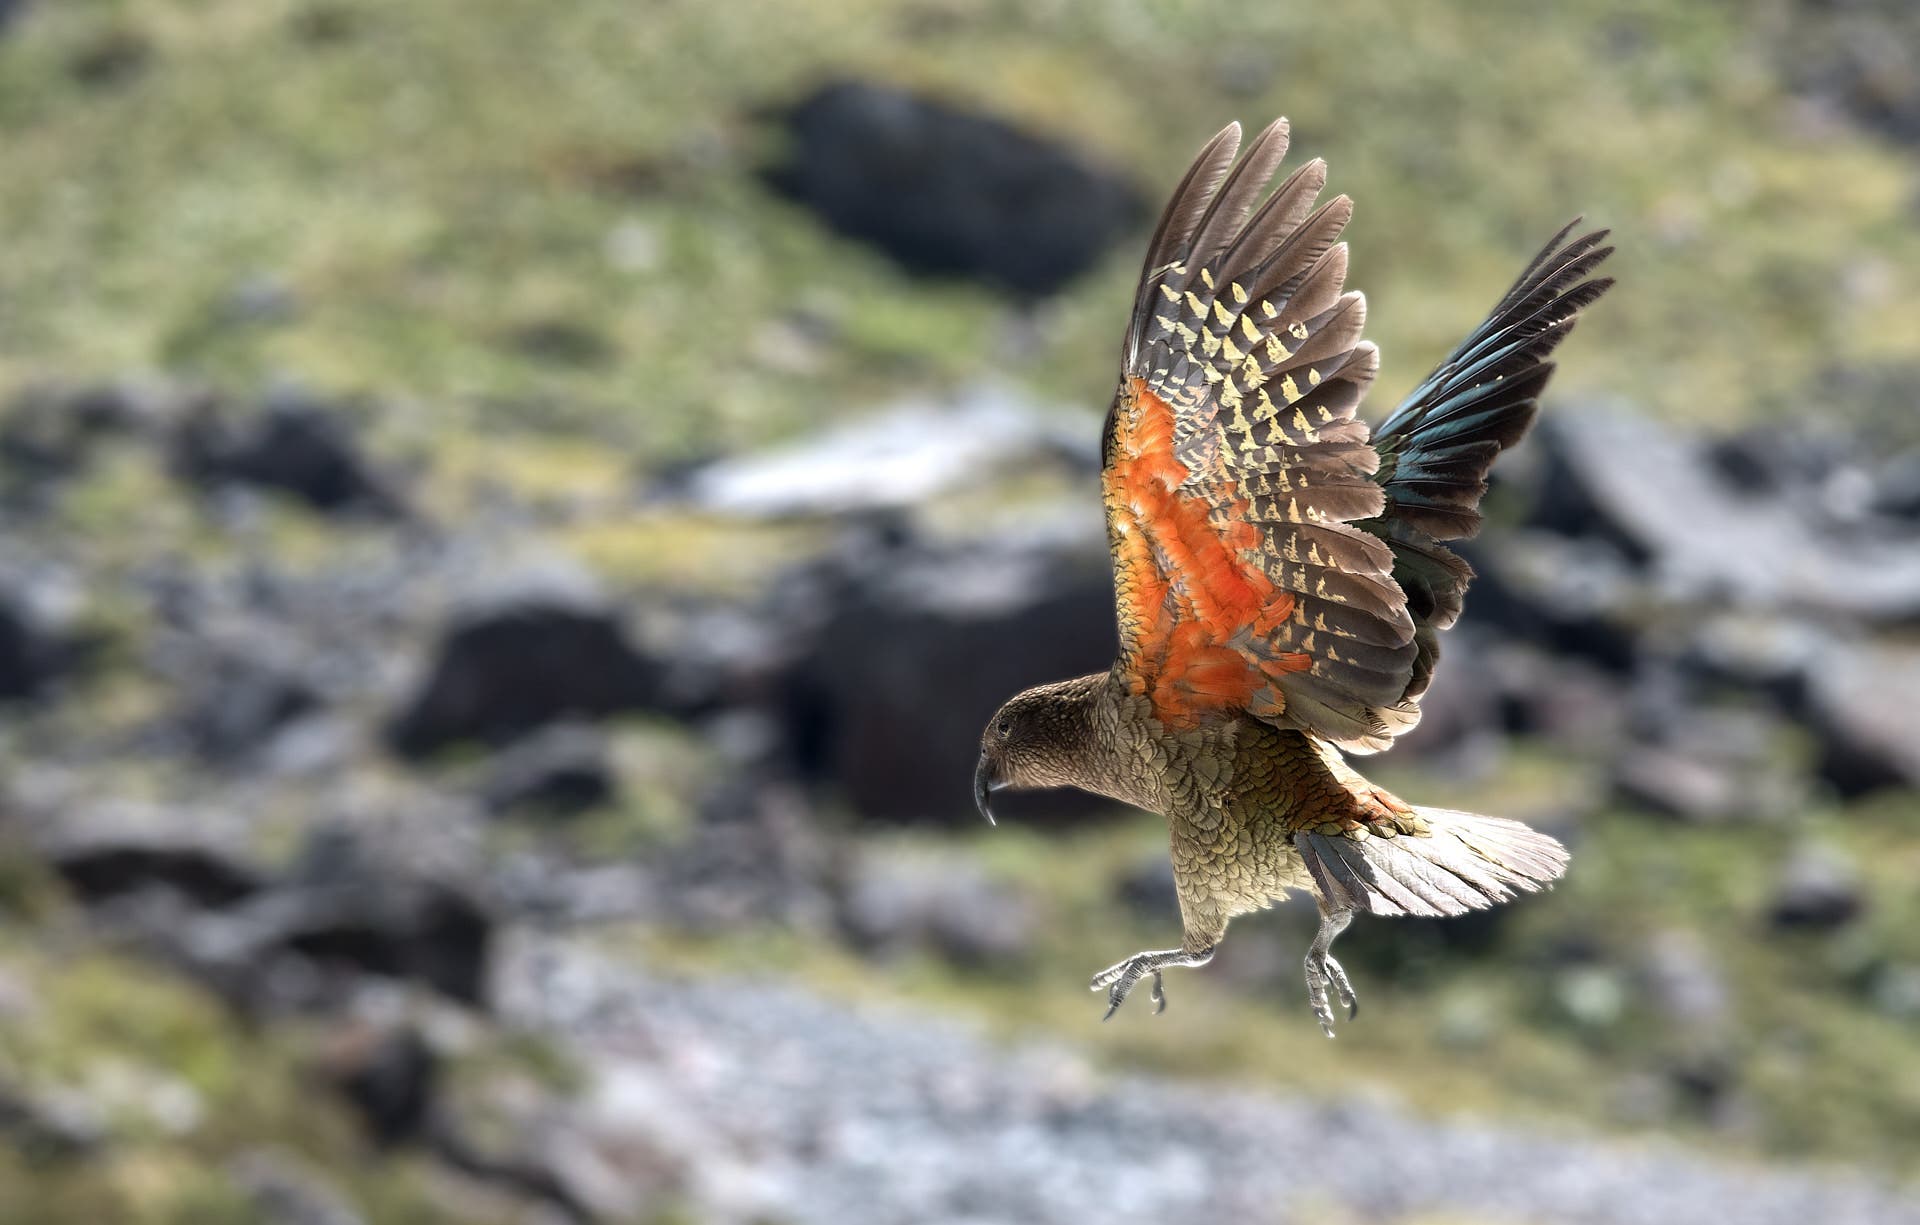
I always use continuous mode for wildlife photography; and for landscape photography, I always use single mode.
When targeting moving subjects in continuous mode, you should also learn to use the autofocus area modes which decide how much of the scene the camera uses to focus.
You can choose between:
- Single-Point mode – The camera uses a single point for focus.
- Dynamic mode – The camera starts by focusing on a single point but then switches to one of the surrounding points when the subject moves. Typically, you can limit the camera to 9, 21, or 51, or even more focus areas.
Focus modes are very helpful when your subject is moving or far away and you find it difficult to acquire precise focus using the single point mode.
Learn to Use Flash
Any camera has a built-in flash that helps you increase the amount of light available in the scene. However, the real benefits of using flash become apparent when you learn to use an external flash and perhaps combine it with a diffuser disc or a softbox. Naturally, you can use the flash to illuminate the subject and get the correct exposure without compromising ISO, shutter speed, or aperture values. However, there are plenty of other reasons to learn to use flash.
If you know how to use flash in manual mode, you can adjust the intensity of the light and use it without overpowering the ambient light. Add a diffuser or softbox to make the light softer. Add gels in front of the flash head to make the light warmer, cooler, or change the color altogether. Adding an external flash works great in both indoor genres like portrait photography and outdoor genres like flower photography. You want to keep the natural ambient and color accuracy. While using external flash units — such as ring flash or dedicated macro flash — you can create complex lighting to suit your taste. You’ll have control over light, including the intensity and direction.

Use the Custom Settings Bank
Once you’ve mastered the manual mode and begin to know which focus modes to use in a particular situation, you don’t want to waste time setting the camera every time. The good news is that camera manufacturers thought of this. Most DSLRs provide the possibility to save a particular combination of frequently-used settings as Custom settings. If you shoot different genres where you must switch many settings, it is great to use the custom settings bank to ensure you remember to change all the settings.
Practice a Technique Till You Cannot Improve Further
Mastering a wide range of technical skills is good, but it’s more efficient to become an expert in an area that interests you. Let’s be honest: you won’t be able to be equally good at everything. Choose your preferred techniques and practice them until you cannot improve further. The best way — in my experience — is to deliberately practice the technique during sessions.
For example, you may want to nail focus on a moving target with a big telephoto lens because you are interested in wildlife or sports photography. Or you may want to become an expert in bokeh because you love night photography. Practice one technique per time, study your photos, and see where there’s room for improvement.
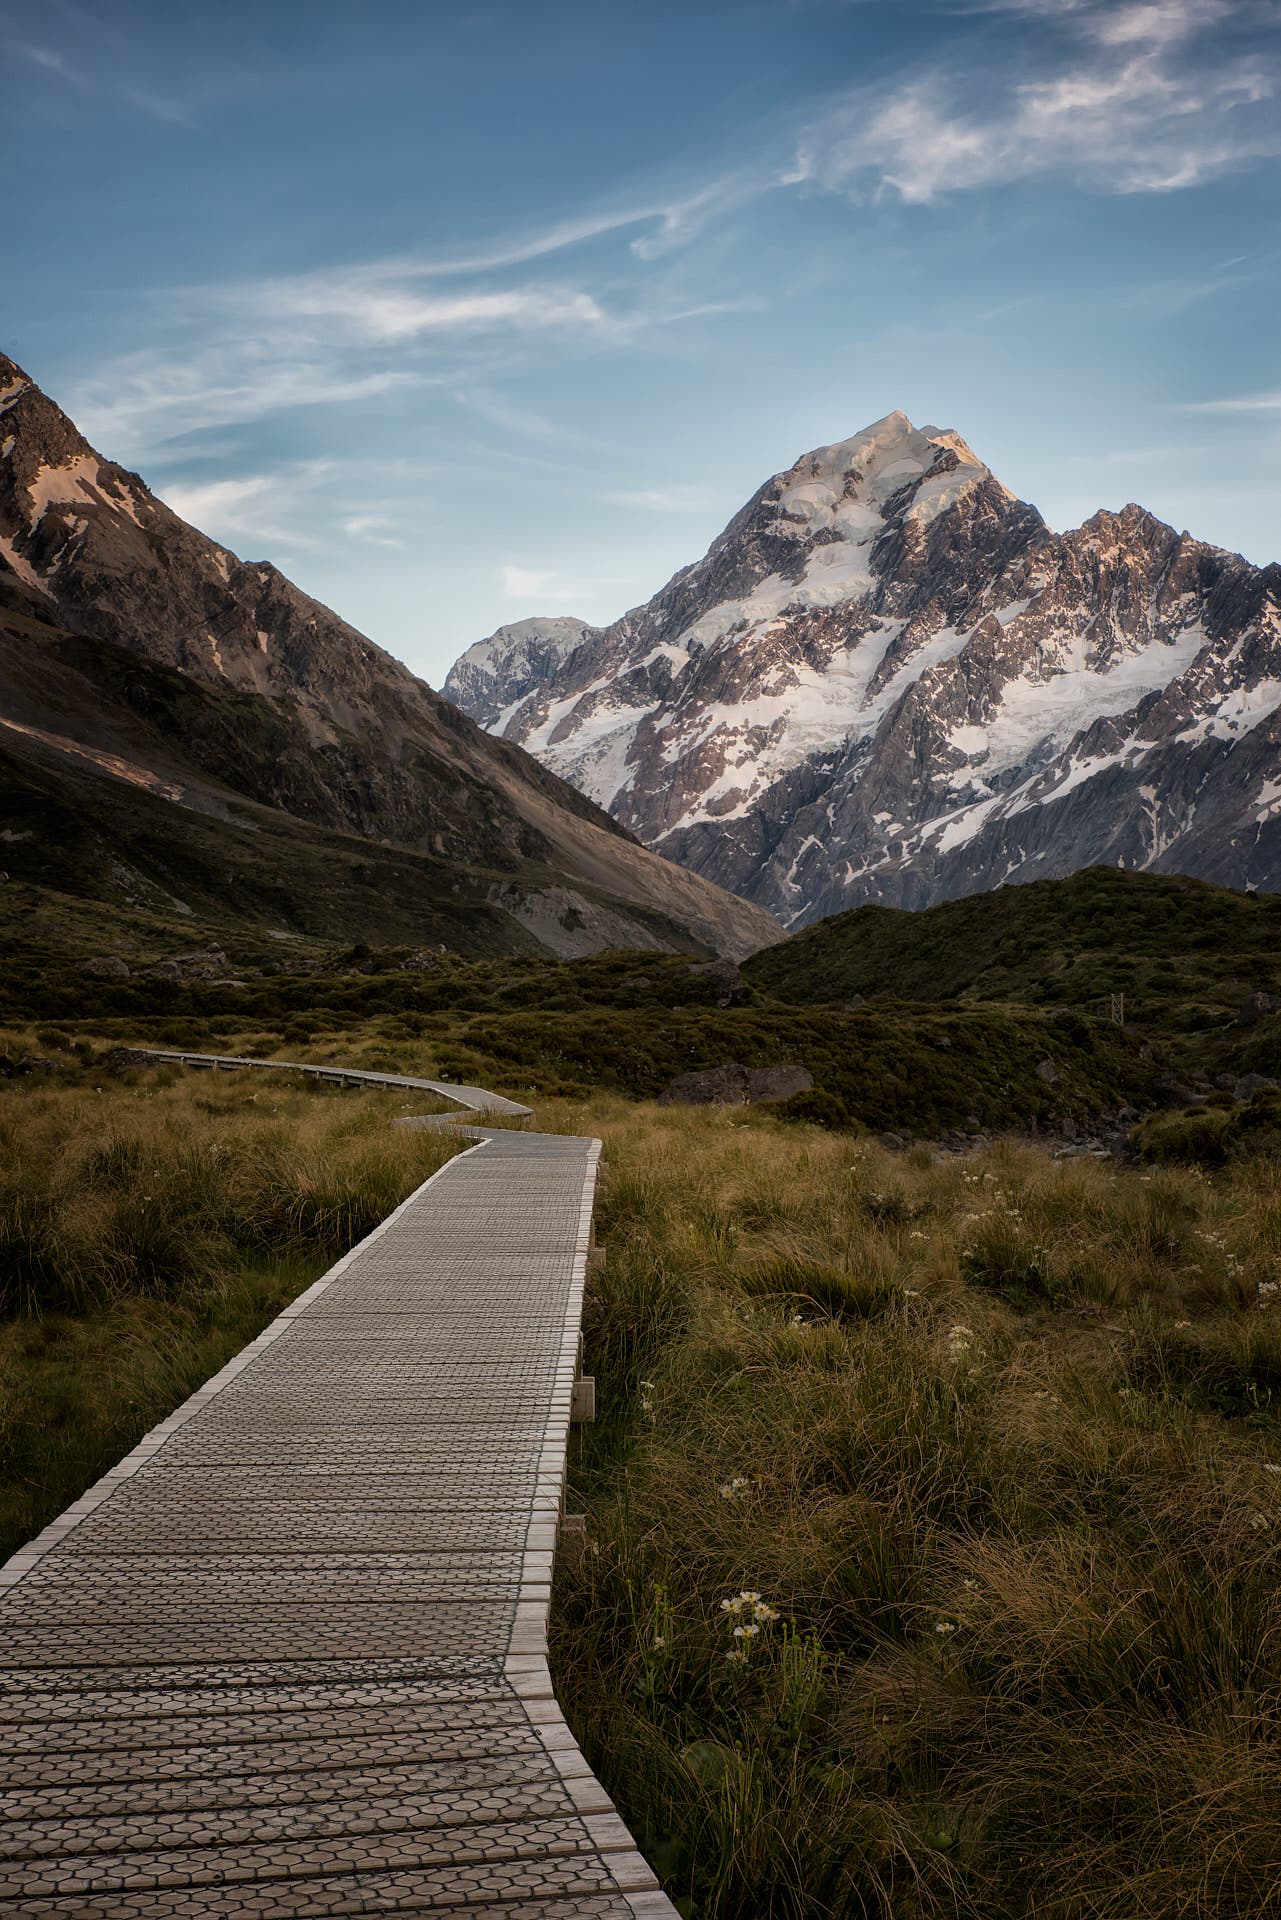
It doesn’t have to be a complex skill that requires speed. It can also be compositional skills. For example, if you don’t pay attention to lines in your landscape photography, set aside time to include lines in your composition. Practice it. Soon, it will become second nature to consider how lines can play a role when composing your images.
Specialize in a Photography Genre
If you don’t know what types of photography you prefer by now, it’s time to stop taking photos and do some thinking. As with the different techniques above, you won’t be able to master all types of photography. However, you’ll have to choose at some point, and it’s better to do it sooner than later. Specialization allows you to become a better photographer and storyteller, focus on what’s important to you, and develop a personal style.
Study the masters of your preferred genre, learn its history, and understand its philosophy. A photographic genre isn’t about technical skills, although you’ll need those too. Instead, it’s about the art of seeing, storytelling, and photographic psychology.
Explore video
Photography is a good starting point for creating moving pictures. You can apply the same rules of composition, work with natural or artificial light, and create visual stories with multiple dimensions. The storytelling abilities acquired as a photographer will serve you well in doing short video stories. Especially if you specialize in photography genres that require research and documentary skills, you can easily transition to film. Many DSLRs have outstanding video capabilities as well.
You should never stop learning. Even after many years of experience, I’m still learning as a photographer. You should always look for ways to grow as a photographer and as a person. The scene in front of you is never the same. Focus on learning one of the above things at a time to include it in your skillset and become a better photographer. Which one will be the first you take on?
