Are you ready to get serious about underwater photography? Then it’s time for you to explore the treasures under the sea, from sunken ships to big sea creatures, with a wide-angle lens.
Camera: Big or small?
If you’re ready to get dramatic images of undersea subject both big and small, it may be time to dive into wide-angle underwater photography. But what’s the best digital camera for underwater photography?
If you have a full digital SLR with dual strobes and you’re small like me, working with this kind of rig underwater can be like moving a mini sub around. For those of you with a point and shoot system, then you’re the ones that will probably come out with some great big creature shots. That’s because your swimming and maneuverability in the water won’t be dragged down by the big equipment. Advantage to you! (The advantage of a DSLR over a compact digital camera is greater control over the light, and overall better image quality, so advantage returned!)
Lighting: Kill the Blue
In a previous lesson about ambient light, you learned about loss of light and color underwater. Now it’s time to add that color back into the scene. We’ll address the use of a single strobe and dual strobes and will repeat some techniques.

This could only been achieved by using dual strobes at full power. Canon 5D with a Canon EF 16 – 35mm f/2.8L II USM Ultra Wide Angle Zoom Lens. Shot at ISO 320 1/60th at f/10 zoomed to 23mm.
Lens Configuration and Digital SLR’s
If you are shooting with a housed system SLR, remember that the size of your chip will determine what the effective focal length of your lens will be. For example, if you have an APS-sensor camera body, the ratio of 1.5 will mean that your 20mm lens covers the same angle of view as a 30mm lens would on a full-frame (35mm) sensor camera; 14mm is actually 21mm, and so on. If you want to realize the full potential of your lens, then you need to have a 35mm-sized sensor camera body such as the Canon 5DMark III or Nikon D800, two recently-introduced DSLRs. Getting as close to the subject as possible is extremely important, so you may want to remember that when you purchase your system. The determination of which to buy is up to you and your pocket book. Full sensor cameras are much more expensive than APS sensor cameras.

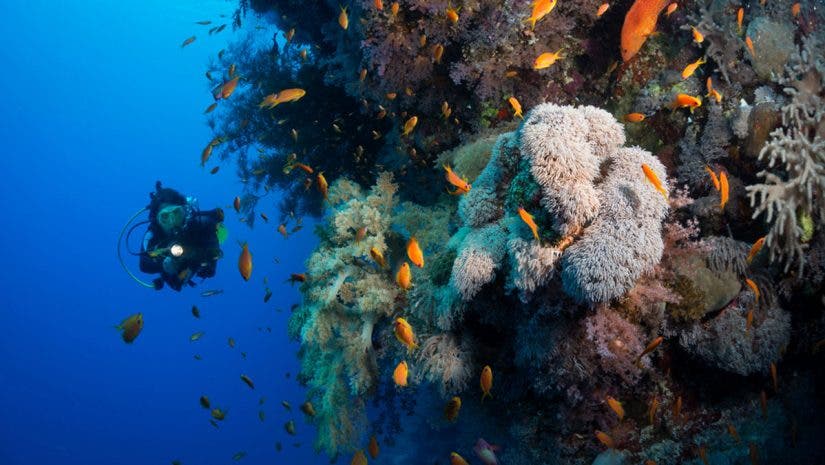
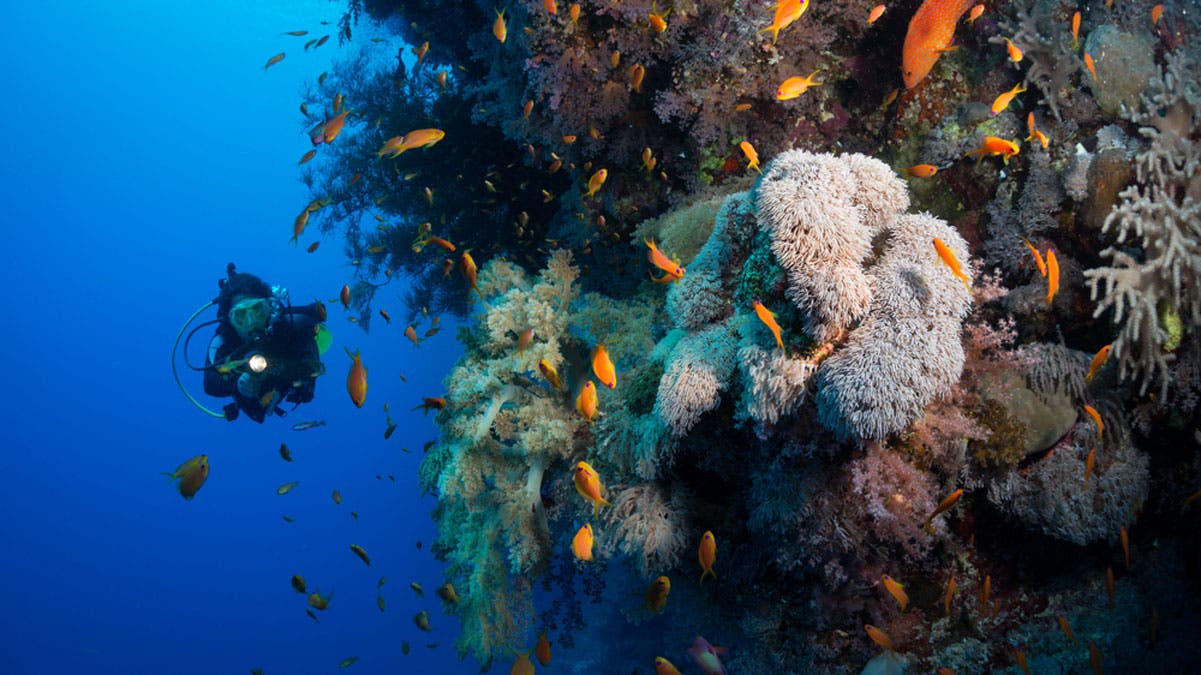
The sponges in Belize are large and colorful. Having a diver in the image helps to show the size of the growth. Canon EF 16 – 35mm f/2.8L II USM Ultra Wide Angle Zoom Lens, ISO 320, 1/60th second at f/9. Dual strobes at full power.
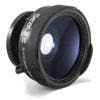
So there are your two options on SLR systems…but wait—there is the third! Most digital point and shoot cameras come with a single permanent zoom lens. Sea and Sea and Sealife cameras that are dedicated waterproof cameras lead the way with their selections. They provide a variety of options of “wet lenses”. These lens adapters slide over the front lens of the compact housing.
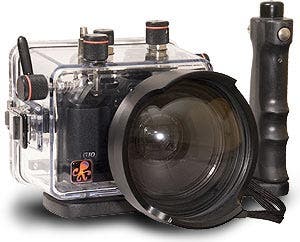
Ikelite provides a variety of housings for point and shoot camera such as Canon Power Shot and Nikon Coolpix. Ikelite has developed their WD-4 Wide Angle Conversion Dome port that helps with wide angle photography on compact housing for the Canon G-10. The conversion dome corrects for the refractive magnification of the flat port underwater to restore the camera’s original angle of coverage. For example, the WD-4 and Canon G10 combination provides 28mm angle of coverage with incredibly crisp corners. In comparison this option is effectively as wide as and sharper overall than a housed Canon G9 underwater with external wide angle lens.
 Sea Life wide-angle wet lens

Ikelite housing and WD-4 dome port for wide angle using Canon G10 point and shoot camera.
Super wides are a great solution for dealing with the reduction of water column between the lens and subject. I now use the Canon 8-15mm fisheye zoom lens on a Canon 5D Mark II in a Seacam housing and will go into more detail about that in a future lesson. It allows me to get close—real close! Just remember that there is barrel distortion with a fisheye lens but the effect is less dramatic underwater.
There are some great zoom lenses out there now. Many times, I will use my Canon 16-35mm f/2.8L II. Wow—the ability to photograph a nice scenic and then move in to get that portrait of a colorful coral trout against the sea fan is just amazing. Manufacturers are improving their lenses every day. Nikon even has one up on Canon – it is the 10.5mm lens. Just remember that your sensor size will determine the effective focal length of the lens. You will also have to check with your housing manufacturer to see if any adapters are required with your dome port. These adapters help with adjusting the distance of the dome to the lens – the nodal point:
“Principal Focal Points/Planes: A pair of the cardinal or Gaussian points/planes used in paraxial optics and calculations. Parallel light from a subject at infinity converges to an image point in the rear principal focal plane, which itself cuts the optical axis at the rear principal focal point. The focal length of the lens is measured from the rear nodal point to the rear principal focal point (focus). There is a corresponding front principal focus and focal length, and normally they are identical to the rear value.”
Now if you understood that quoted paragraph, I commend you. All I know is that when I purchase a new wide angle lens for my system, I have to make sure that the distance from the focus plane to the inside of the dome port are give the appropriate nodal point so that I do not get a lot of softness in the edges/corners of my images.
The Big Scene
My favorite – the grand panoramic reef image. This can be the most challenging of all the photos to capture but also, the most rewarding. I love it when I have the opportunity to photograph a 15-foot gorgonian sea fan and the elaborate reef area surrounding it. You need the widest lens, powerful strobes to light the area and patience to select the best angle to capture it all.

Canon 15mm lens on 35mm sensor camera body allowed me to photograph a large scene including a diver. ISO 320, 1/50th second at f/9.
From All Sides
Dramatic wide angle shots of reef area can only be achieved by experimenting with angles. Don’t just shoot from a mid-reef with a straight-on approach. Experiment from a low angle up, and from a high angle down. Of course, this all depends upon the delicate nature of the reef. You certainly don’t want to damage any of the coral that you are so proud to bring home pictures of. There is also a technique that is one of my favorites – close focus wide angle. Sometimes this will make a smaller subject appear huge and significant in the total environment. In all cases, the depth of field will be extremely important. The smaller the aperture allows for good depth of field and I typically have my fisheye at a minimum of f/8. This will keep most of the important areas in focus.

View looking up through the pier using a 15mm fisheye lens, ISO 320, 1/50th second at f/9. I used one strobe at full power to light the bright color corals and sponges on the pier. The second strobe was set at ½ power to avoid overexposing the school of silversides.

Another view using a 15mm fisheye lens directly over the top of a healthy reef system. ISO 320, 1/60th second at f/9. The dual strobes are only able to light a portion of the reef but because of the close focus capability, I was able to spread the light using diffusers on the strobes from a close range.
Using a digital point and shoot, you can exaggerate the view by setting the camera to close-up mode. However, you will have to remember that the focus point will be directly in the center of the image. A change of format (horizontal to vertical) will require changing the focus menu and setting it to manual, otherwise your foreground subject will be soft. You can then change the focus point so that the bottom part with the subject will be reasonably sharp.
Wide Angle Lighting
The biggest challenge to wide angle underwater photography is lighting. Getting uniform lighting on the entire scene will be next to impossible, so concentrate on lighting the foreground subject. To keep from overexposing the subject, try having your strobe on a long arm. Direct the strobe so that the angle of the light is just “feathering” the subject and not with the strongest effect of the flash. You will have to take several images, review the LCD and decide the best direction of the light. The other adjustments you can make for strobe output is by dialing down the power of the strobe if it is too strong or changing the aperture/shutter speed. Although you want a depth of field that has as much of the scene in focus, if you make the aperture too small, it will render the background dark.

Brightly colored reef scene in Palau using a 15mm fisheye and dual strobes with diffusers to properly light the entire scene. ISO 200 1/80th second at f/9.
Strobe Coverage and Backscatter Issues
Understand what the area of coverage is on your strobe of choice. It’s incredibly difficult to light an entire scene, even with two strobes. The best way to help disburse the light is by placing a diffuser on the front of the strobe. Most strobe manufacturers have these available and can be attached quite easily. Many come with a lanyard or somewhere to put the diffuser should you find that it reduces the light too much on a particular shot. I use fishing leader line and a swivel that can clip on to the strobe. Makes for easy on – easy off. And I don’t lose the darned diffuser!
Ugh! Here we go again: Backscatter. It is nothing more than small sediment or microscopic creatures called plankton. The problem is it lights up and unless you like your images to look like a starry night, then we have to work on eliminating as much in camera as possible. You can, of course, sit in Photoshop and use the healing tool to remove them. But I think you would rather spend most of your time underwater with your camera than sitting at a computer screen going blind from picking out tiny bits of backscatter. Read more about avoiding backscatter here.

Photograph of author Michele Westmorland with wide-angle setup. Strobes set wide apart and with diffusers. Photo by friend, Lois Hatcher.
Large Subjects
I love shipwrecks but it will be impossible to light up an entire wreck. I have found that in most instances, locating something colorful like a propeller, mast area or wheelhouse that is covered in incrusting sponges and corals make the wreck even more dramatic.

Cayman Island wreck dive. I chose to photograph near the propeller with a diver to show a sense of scale and drama. 15mm fisheye, ISO 200, 1/60 second at f/8.

Strobes can only light so far, so I chose to light my diver along with some of the sponge closest to the lens. 15mm fisheye, ISO 200, 1/60th second at f/8.
If you are photographing inside a wreck, do remember that your fins and bubbles can cause a “snow fall” of particulate and will show up in your imagery. So the moral to this story is to keep your buoyancy as neutral as possible and control your breathing.

Another wreck photo example shooting from the inside out. This wreck had lots of color from sponges and corals and made a great “frame” for the diver. 15mm fisheye, ISO 200, 1/125th second at f/8.
It is also ridiculous to try to light a humpback whale. But when it comes to sharks, seals and dolphins, a light pop of a strobe can enhance the image by providing some contrast to the animal and separate the subject from the background water column.

Using strobes at ½ power fill just enough light to separate the large animal from the background. But you have to be careful not to over-expose the white underbellies of the animals. This beautiful animal is a female tiger shark well known in Fiji as Scarface. Canon 16-35mm II zoom lens, ISO 640 (it was a cloudy day) 1/50th second at f/8.

Another example of using the 16 – 35mm zoom lens to get a lovely portrait of this spotted eagle ray. ISO 320, 1/80th second at f/8.
Working with models
Using models is a fabulous way to develop a sense of scale to the overall underwater scene and add the element of “I want to be here”. Maybe you do not want to mention to your significant other that they were classified under the large subject category. Communication is the most important area in working with models. Think of all the things you would have to tell that person – in sign language. Move up, move down, circle again, look here, come closer. Plan ahead on the surface and it will make it a lot easier.
If your model is frustrated with trying to understand your needs then it will show in the image! Don’t overflash the subject or the skin tone will tend to wash out, and make sure that you do not have your strobes directed right at the face or you are likely to have a mask that is reflecting the light. You want the eyes to be clear and sharp. I also find that using a single glass mask to be the best. The double pane masks can make the model look cross-eyed.
Speaking of eyes, have your model look at a marine life subject and not directly into the camera. One thing to remember with models: don’t overwork them! As excited as we are when we have a good scene, the poor model works much harder than you think. Keeping their buoyancy, swimming into position and keeping communication going with you are quite tiring and – they tend to use more air! You certainly don’t want an emergency situation because you’ve exhausted your model!

Models add a sense of scale to image showing the size of the red whip coral. Photographed in Papua New Guinea. Canon 16 – 35mm II lens, ISO 320 1/60th second at f/8.

These immense coral fans were photographed in Papua New Guinea using a 15mm fisheye, ISO 200, 1/20th second because of the low light conditions at f/9.
One of the greatest inventions in lenses is the wide angle zoom. I currently use the Canon 16 – 35mm II because it is sharper behind a dome port than the 17-40mm. The use of this lens requires and extension ring to deal with the nodal point. The advantage? Getting great shots of schools of fish then zooming in to isolate one or a few of the animals.

Using a Canon 16-35mm II lens has great advantages to capture a wide scene. ISO 400 1/50 second at f/8 at 21mm.

That same 16 – 35mm lens allowed me to capture a portrait of a hammerhead on the same dive in Galapagos. ISO 400, 1/80th second at f/8 zoomed to 35mm.
When you’re ready to move into the wide angle world, you will be rewarded. There are many solutions to getting good images and I recommend that you watch for the latest and greatest tools. Manufacturers are always developing new product so do your homework and search Adorama for your equipment purchases.
Related products
- Canon EF 16 – 35mm f/2.8L II USM Ultra Wide Angle Zoom Lens
- Canon EF 14mm f/2.8L II USM Wide Angle Lens
- Ikelite wet lens W-20
- Fisheye Lensses
- Prime Wide Angle Lenses
- Wide Angle Zoom Lenses
- Ikelite Underwater Housings


