In photography, you will often hear the phrase, “light is everything!” But what does this actually mean? What makes for good light or bad light? These creative concepts are very subjective, of course, but here is the secret: it’s actually all about contrast. Contrast in photography is what makes light either good, bad, soft, harsh, or anything in between.
In this article, we are going to study the contrast in your photos, and how it helps (or hinders) an image’s visual impact. What is low contrast? What is high contrast? Do you always need a lot of contrast in your photos? Read on to find out.
What is Good Contrast in a Photo?
First and foremost, I want you to remember that creativity is subjective. When it’s said that rules in photography are meant to be broken, this is one of those areas where you really can experiment with bending or breaking a rule.
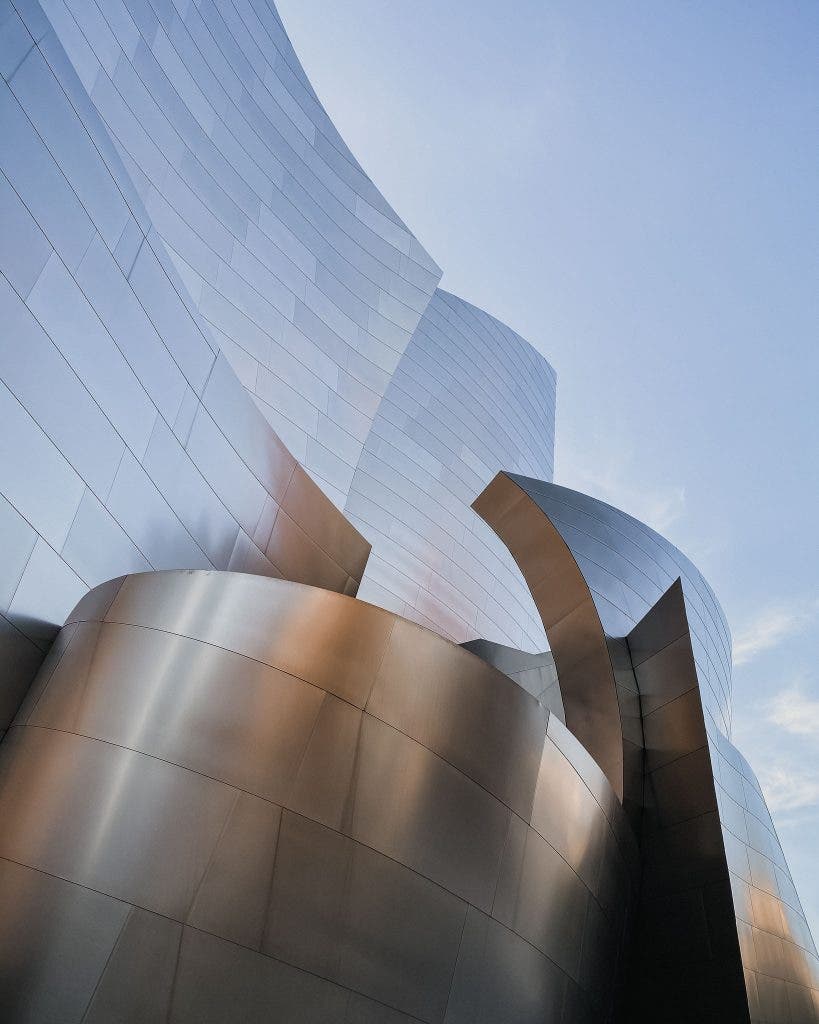
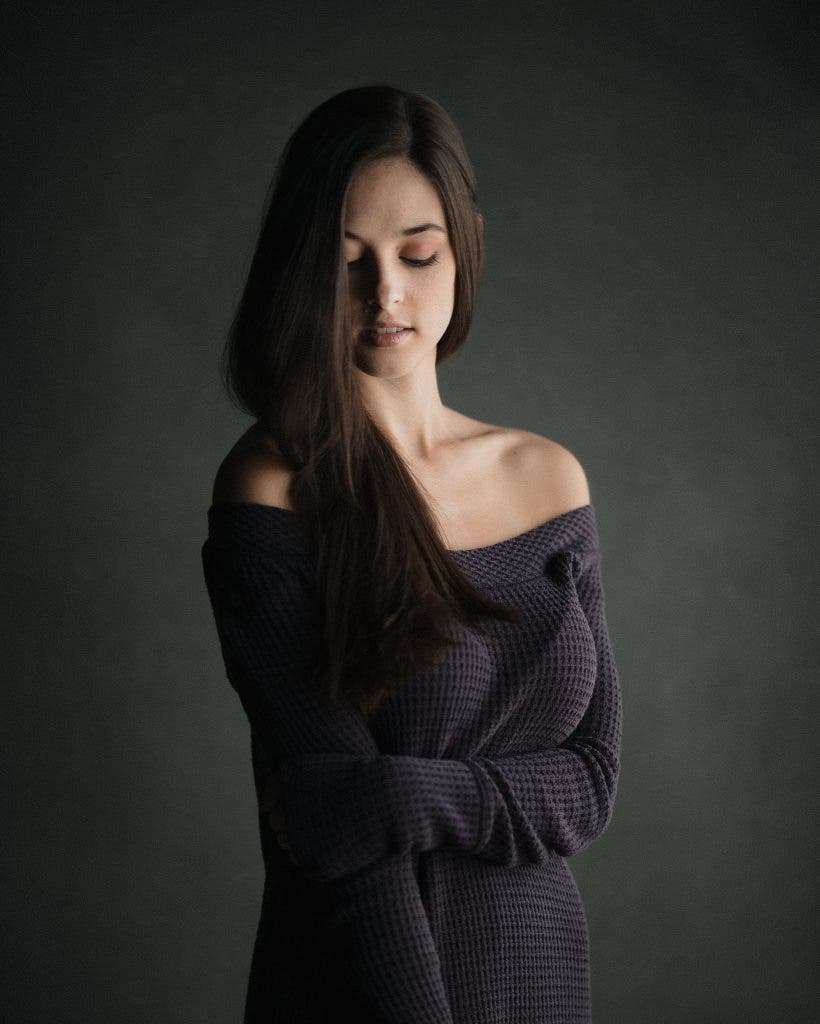
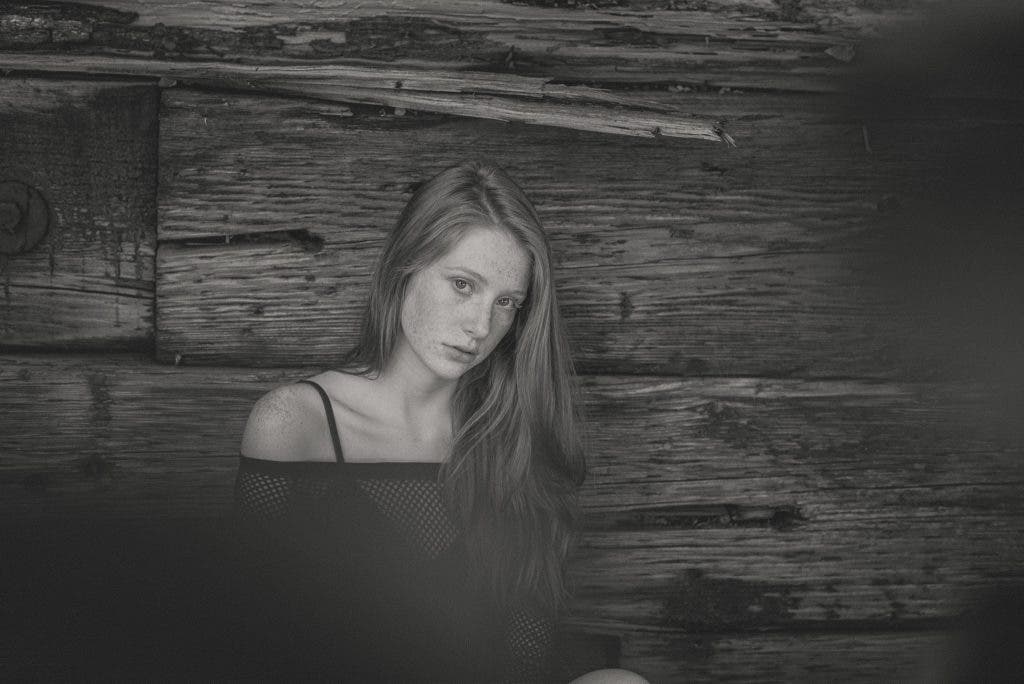
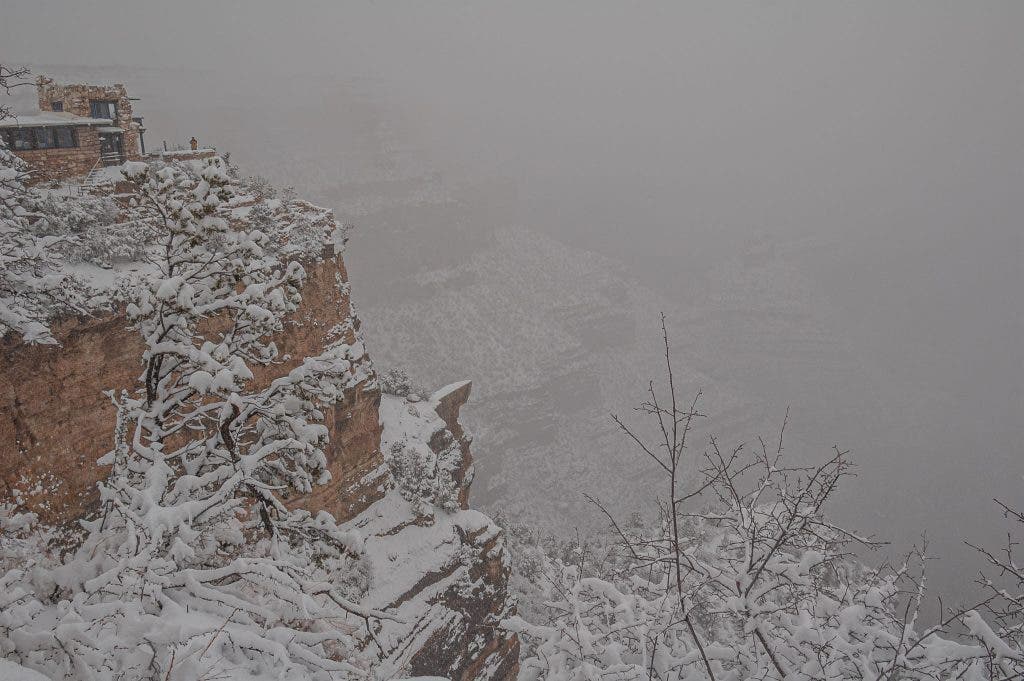
What is contrast? Contrast is the range of brightness, from lightest to darkest, in an image. A high-contrast image will have very bright highlights and very dark shadows. Sometimes an image’s highlights may be almost pure white, or the shadows may be almost pure black: high contrast. Other times, the lightest and darkest points in an image may be far from white or black: a low-contrast image.
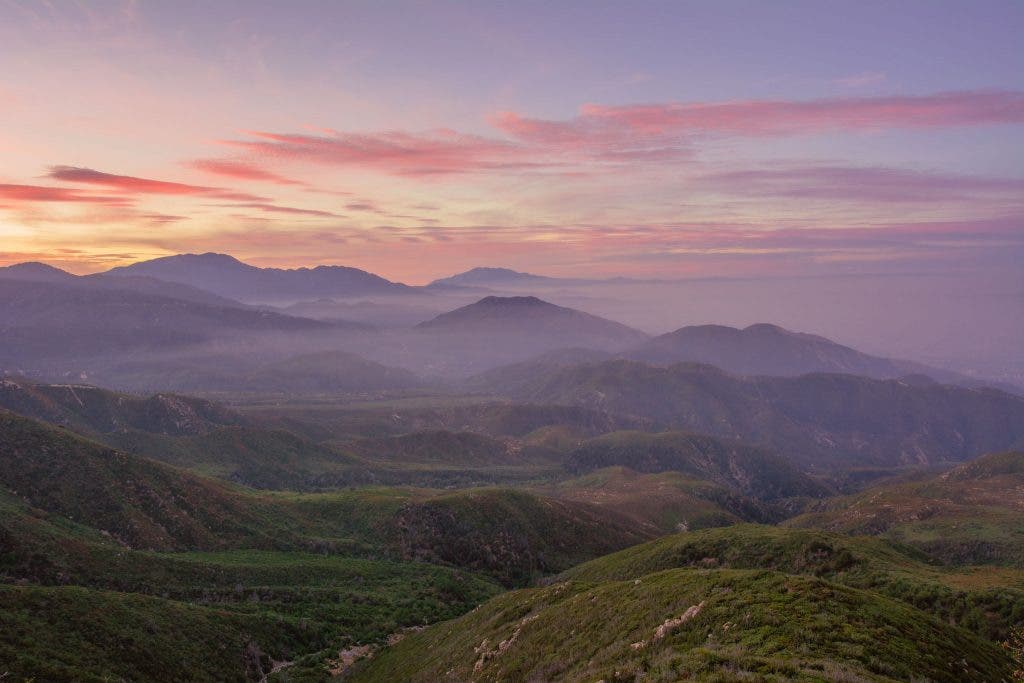
(For those who are wondering, contrast and dynamic range go hand in hand. Dynamic range focuses more on the camera’s ability to capture lots of contrast. For example, a photographer can capture significant dynamic range, yet the final image may not appear to have particularly high contrast.)
So, what is good contrast in a photograph? That is highly subjective — as it should be. However, there are plenty of guidelines (breakable rules) that you can learn as a starting point. For example:
- Softer, low-contrast images are usually flattering to portrait subjects (think ring light in a makeup tutorial video)
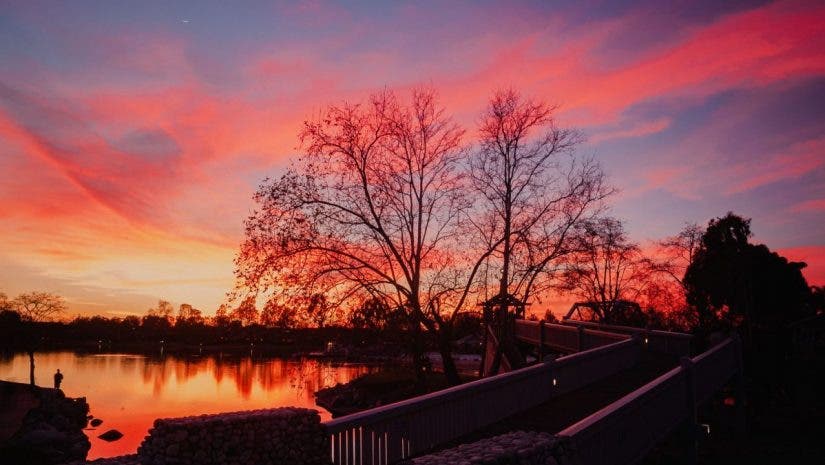
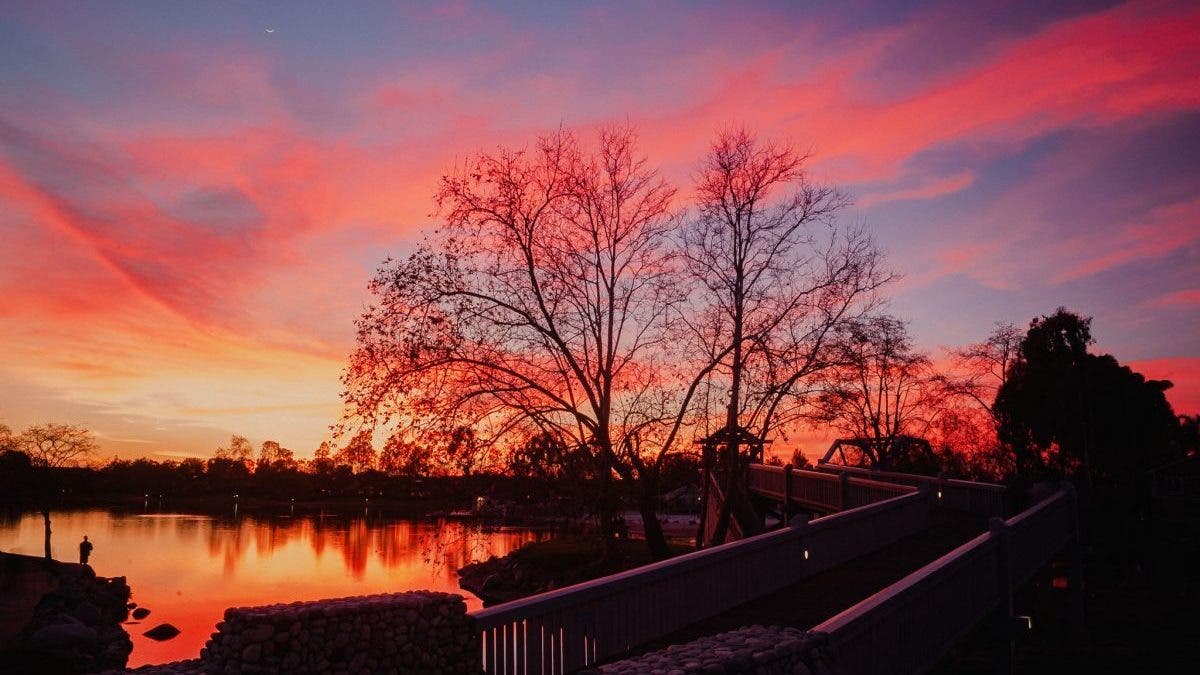
- High-contrast images of naturally dramatic, dynamic scenes, such as a sunset, are often pleasing to the viewer’s eye
- No contrast at all, or “flat light,” could fail to catch a viewer’s attention
- Over-edited images with unnaturally harsh contrast can also be unattractive to a viewer
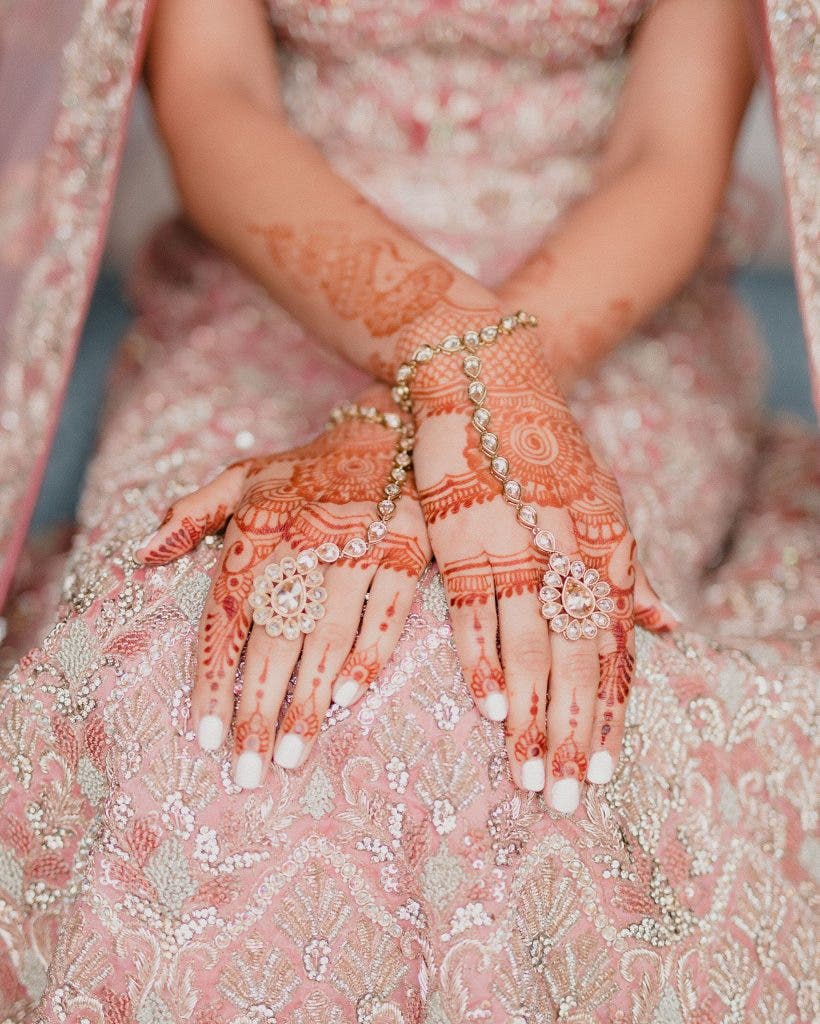
Now that we’ve laid out just a few basic guidelines, let’s talk about them. The advantages of following these rules should be easy to visualize. Practice achieving such results, so that you have a solid understanding and foundation as a photographer.
But breaking the rules where the creative excitement is. There are many instances in which doing the opposite of what is expected can surprise the viewer, and this creates interest in an image.
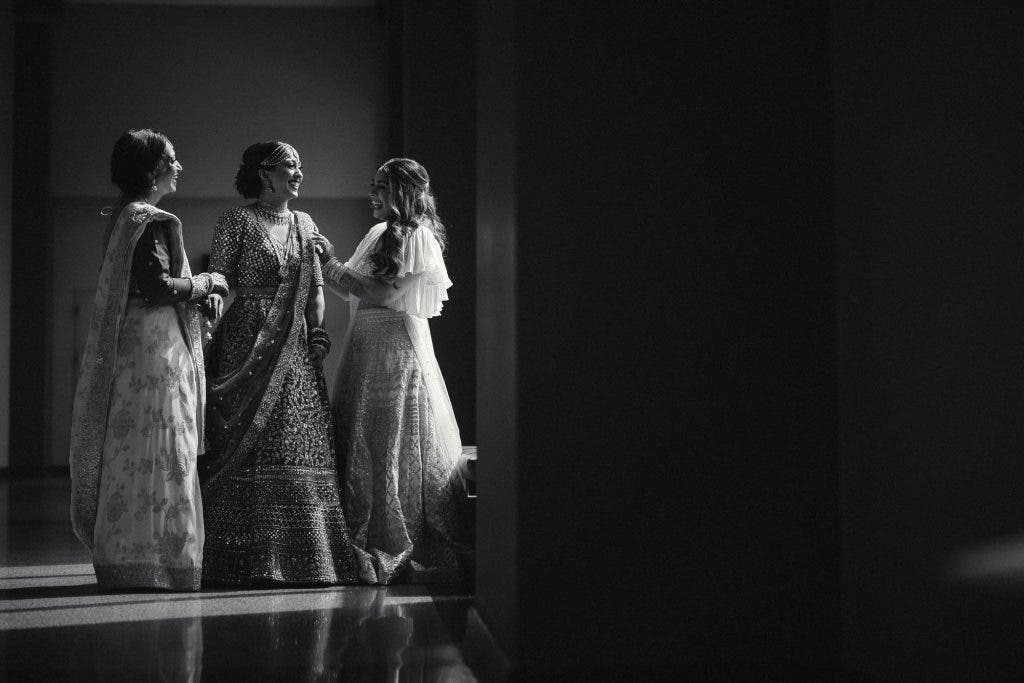
In other words, sometimes soft, subtle contrast makes for a beautiful landscape image. But sometimes high or harsh contrast can create a portrait with very strong impact.
Recognize Contrast as It Is
I want you to focus on simply noticing the contrast in every scene and subject you encounter. Is it strong contrast, or flat light/contrast? More importantly, is your creative instinct telling you this is a good thing or a bad thing? You’ll be surprised how often your creative eye tells you when to follow the rules, and when to break them.
Control or Change Contrast in Photography
Next, ask yourself if you can control and change the contrast in your image or scene. For example, in portraiture, you can move a subject into the shade, or into the sun, or add flash (with or without diffusion). These decisions will either add or subtract contrast from the final result.
For example, in a landscape scene, there might be a distracting highlight or shadow at the edge of the frame. You may want to zoom in or re-frame the shot and exclude it, creating a balance of contrast that gives more attention to your main subject.
In portraiture, contrast is highly subjective. Still, you can ask yourself: do the highlights and shadows work to draw a viewer’s attention to the subject? You may choose soft lighting and low contrast, or harsh lighting and high contrast, based on the subject themself and/or your creative style as an artist.
Simply put, just get in the habit of paying close attention to where your brightest highlights and darkest shadows are in every image you capture. Consider if the contrast is helping the image, or subtracting from it.
Contrasting Colors and Tones in Photography
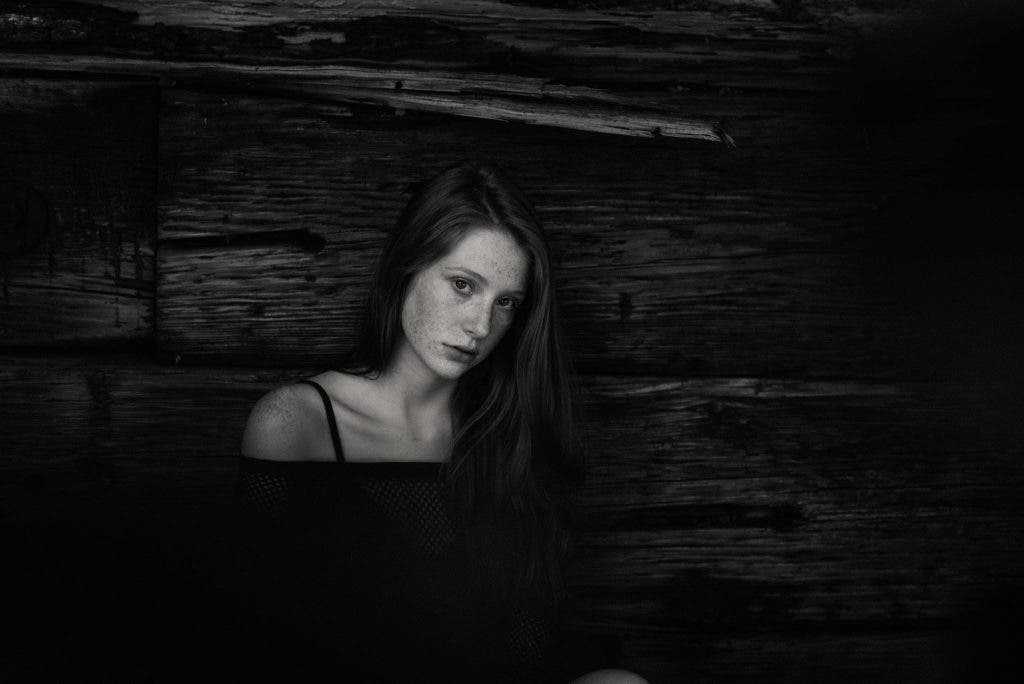
Contrast isn’t always about monotone shades of light. You can have contrasting colors and tones within any lighting condition, too! This gets more into things like the zone system and color theory, which are wholly different subjects. Thankfully, there are plenty of articles about how to use complementary colors, and how to use color to create stunning photos in general.
Here is the key to it all: in any lighting condition, tones and colors can create different levels of contrast. Sometimes, a particular color is distracting. It isn’t in harmony with the rest of the image. You might try cropping it out of the frame, or converting the image to black and white.
Other times, even under the softest light, light and dark-toned subjects create significant contrast. Again, this can be used to your advantage, or it may work against you.
Micro-Contrast vs. Global Contrast
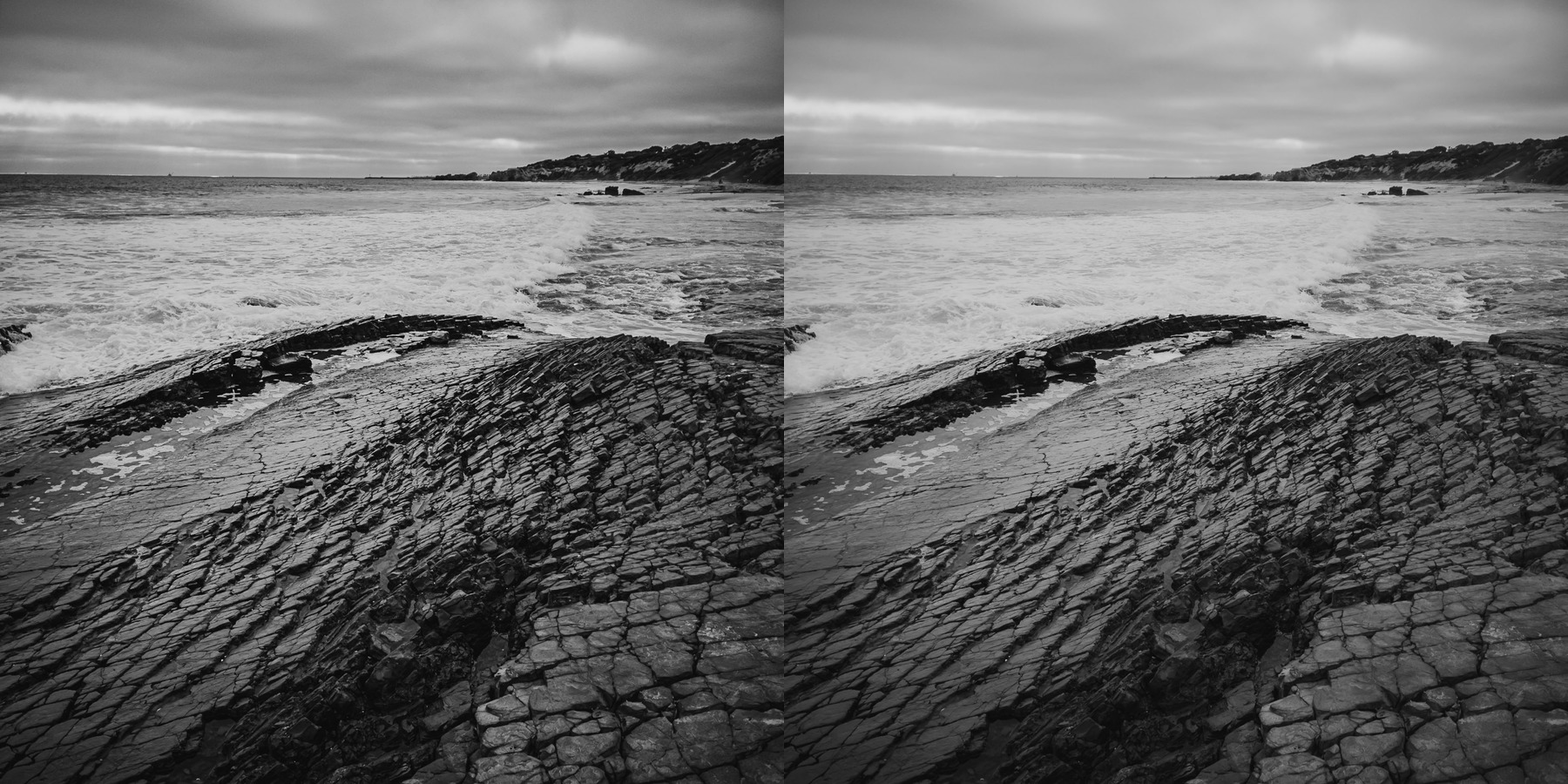
Let’s talk about tone and brightness some more. I want to mention something called micro-contrast which photographers talk about, especially when they’re editing raw photos in Adobe Lightroom.
What is micro-contrast? It is the relative light and dark parts of any specific, smaller, “local” part of an image. In other words, overall, your image may not have any very strong, white highlights or dark, black shadows. However, when raising contrast in post-production, or especially sliders such as clarity, texture, and dehaze, you may create the appearance of strong contrast within all the details of that image.
Some photographers refer to this as a “gritty” looking image because stronger levels of micro-contrast really do highlight all the little details in an image — whether they are blemishes on the skin in a portrait or textured details of rocks or trees in a landscape scene.
My advice? Be careful, but be curious. Experiment with micro-contrast in your images, whether in the field or in post-production, and you can really take your creative style to the next level.
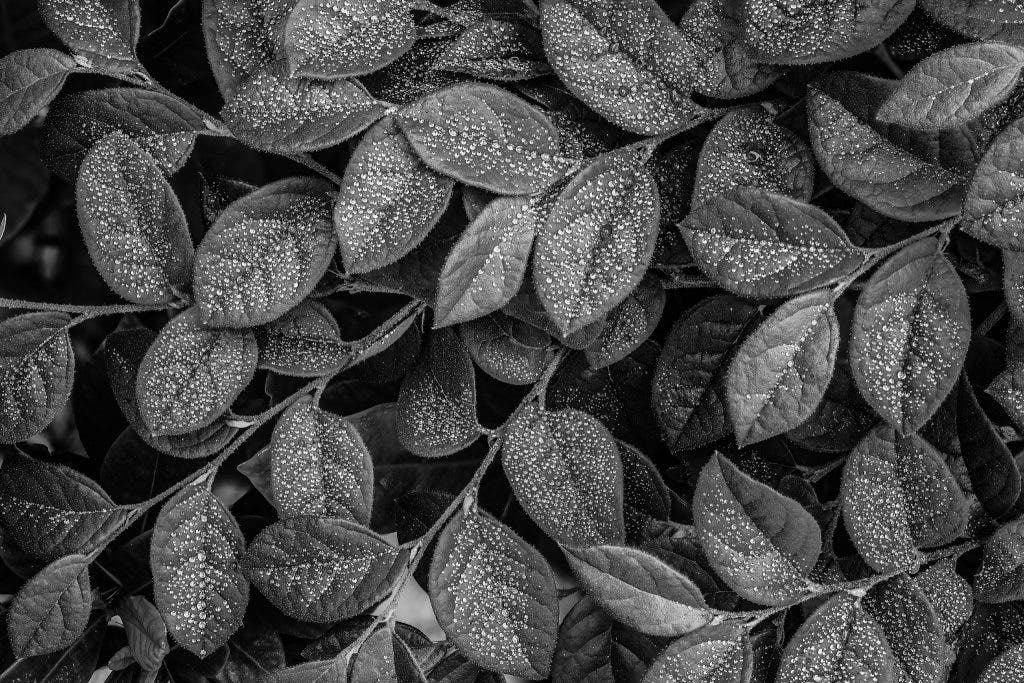
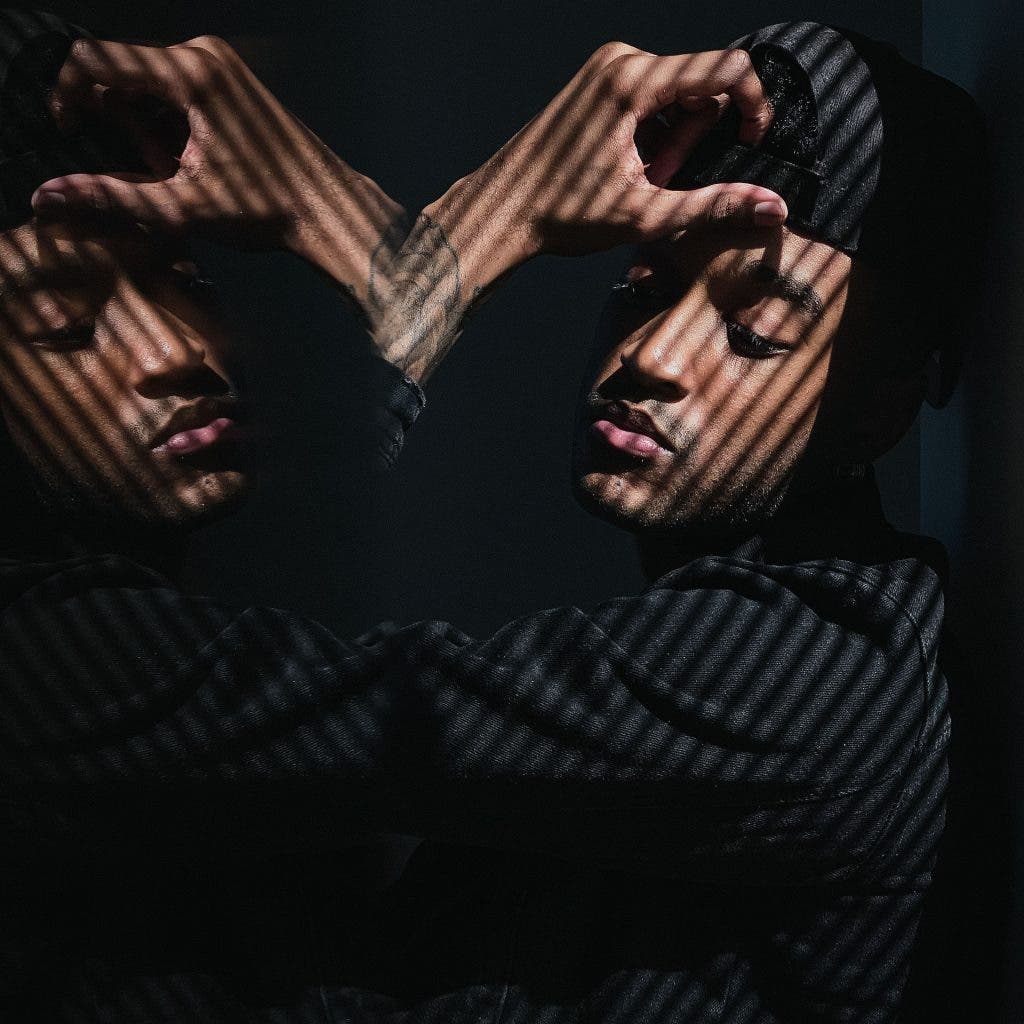
High-Contrast Photo Examples
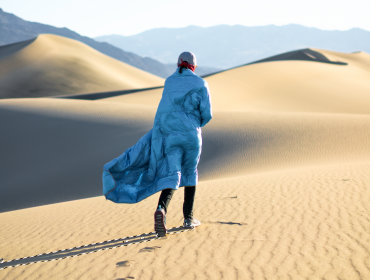
Low-Contrast Photo Examples
High-Key vs. Low-Key Images and Contrast
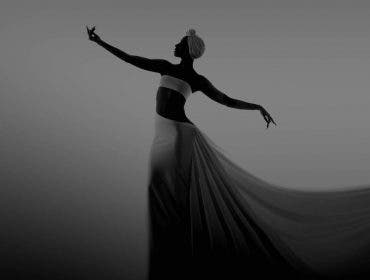
The possibilities are endless when you are aware of light, tone, and color. Try experimenting with images that are mostly light-toned, or mostly dark-toned, but still have at least one dark shadow or one bright highlight, respectively. This is known as high-key and low-key photography. It is a dramatic way to use contrast. Even the same image can be processed in totally different ways to suit your creative inspiration.
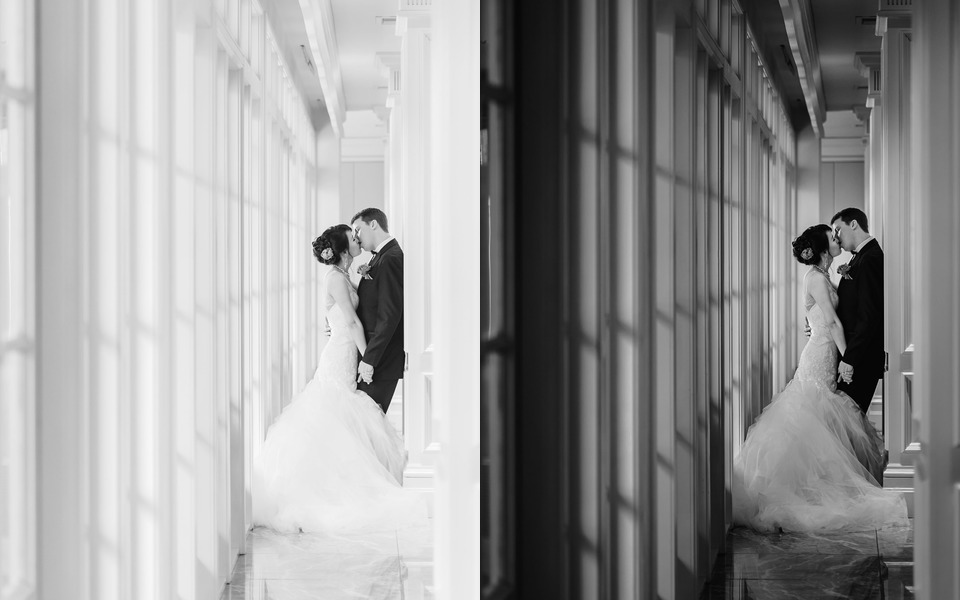
Hopefully, these examples will give you the confidence to play with contrast and develop your style as an artist. Using contrast is one of the most basic, fundamental tools in photography.
Conclusion
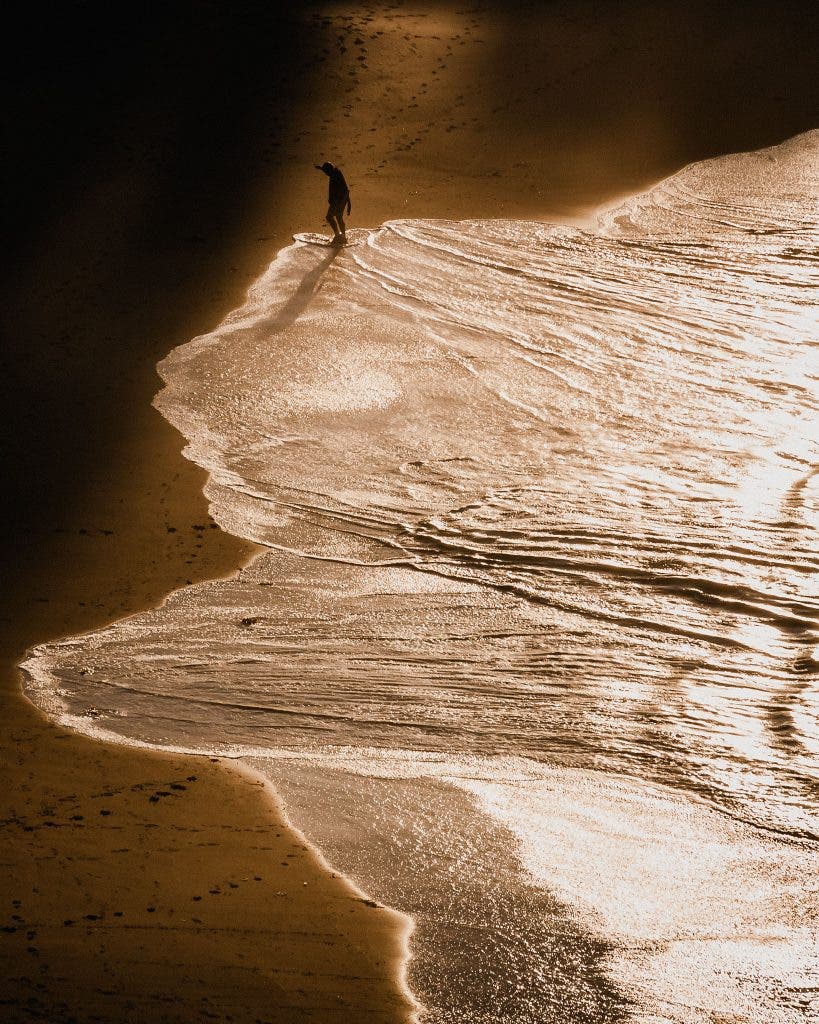
Remember, although it is important to “get it right” with contrast in photographs, it is a tool with immense diversity. Almost everything is subjective and dependent upon your creative vision!
The best thing you can do is, simply notice and understand how contrast affects each photo you capture, and how it grabs the viewer’s attention.
