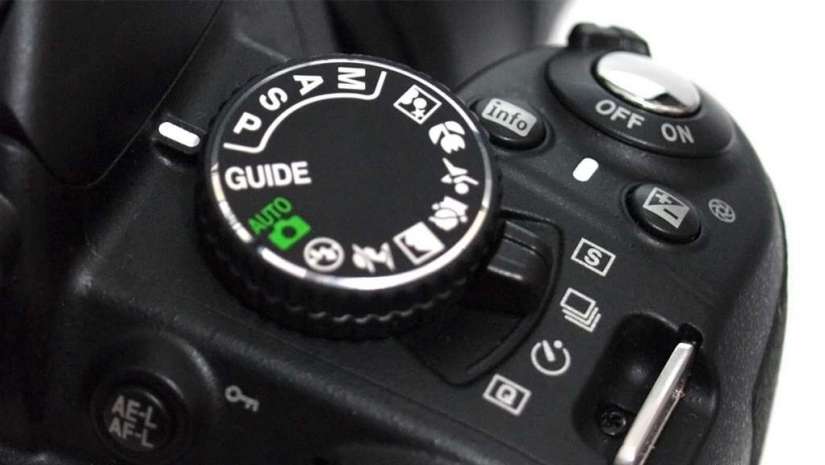
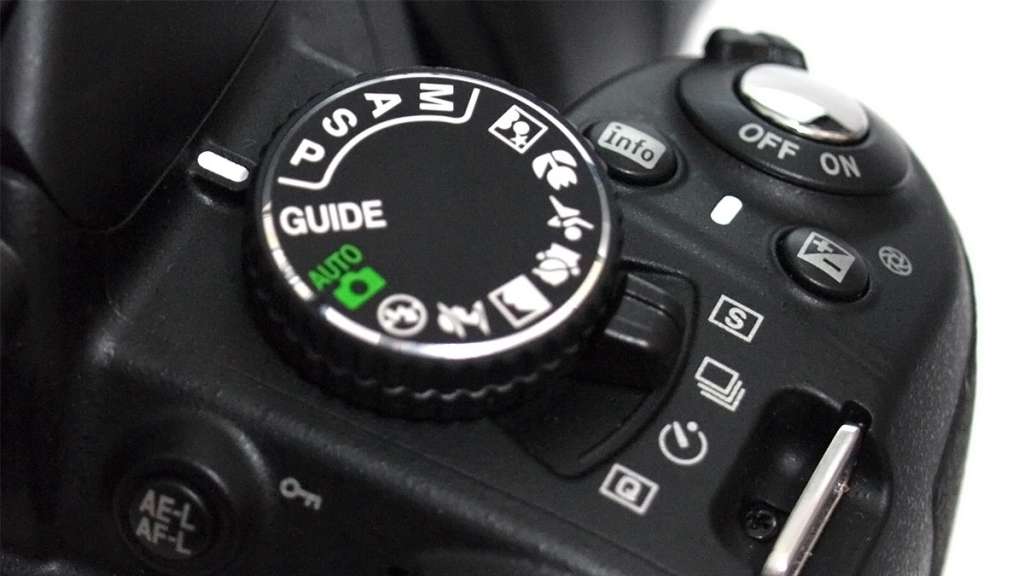
Nikon goes above and beyond in assisting new photographers in creating better images and proper exposures with its Guide Mode. The Guide Mode allows you to easily take, view, delete and to adjust settings to your most frequently used functions of your camera. Geared toward the budding beginner photographer, the Guide Mode is a more intuitive way of creating an image, taking the guesswork out of settings to allow the user to focus more on framing the shot.
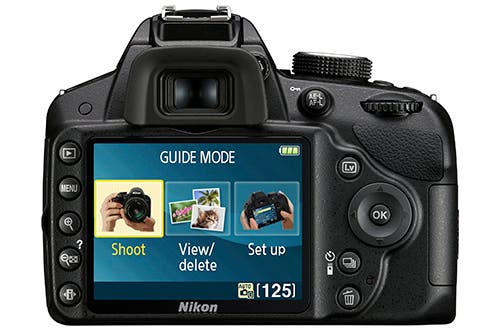
Image courtesy of Imaging Resource.
What’s the difference between Scene Modes on the camera and the Guide Mode? Guide Mode settings allow you to adjust the settings whereas the Scene Mode settings are set for you by the camera making a judgment call on the scene. It’s like shooting in Auto but for a given scene situation.

Guide Mode Operations on the Nikon D3300 to include a Retouch Operation.
Image courtesy of Google.
VIEW/DELETE OPERATION
The View/Delete operation allows you to choose how you view your images during playback and to delete your images when you need to.
SET UP OPERATION
In the Setup menu, you can set up a multitude of things such as image quality, size, auto off timers, print date, display and sound settings, movie settings, playback folder, playback display options, DPOF print order, clock and language, format memory card, output settings, wireless mobile adapter and slot empty release lock.
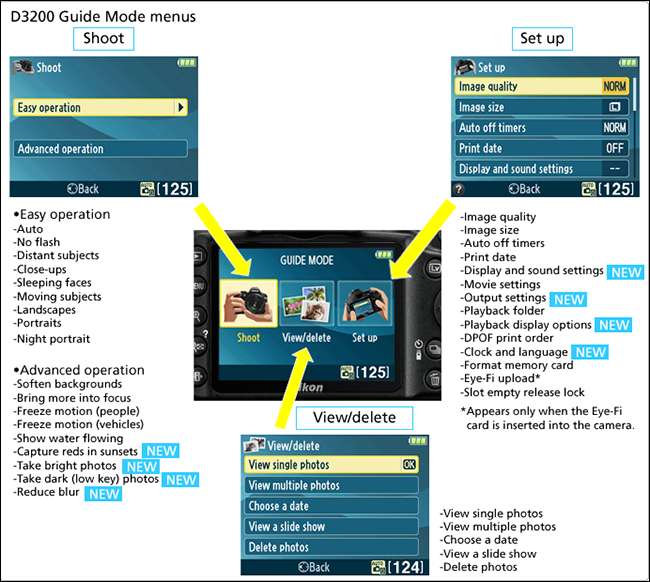
Image courtesy of the Nikon website.
SHOOT OPERATIONS
You can choose between two Shoot operations using the Guide Mode: Easy Operation or Advanced Operation.
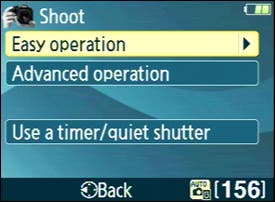
Image courtesy of Google.
Easy Operation
The Easy Operation Mode allows you to easily choose and set some of the following shooting scenarios: Auto, Moving Subjects, Landscapes, Portraits, Night Portraits, Night Landscapes, No Flash, Distant Subjects Closeups and Sleeping Faces.

Images courtesy of Google.
Advanced Operation
Some of the Advanced Operation modes include Soften Backgrounds, Bring More Into Focus, Freeze Motion (People), Freeze Motion (Vehicles), Show Water Flowing, Capture Reds in Sunsets, Take Bright Photos, Take Dark (low-key) Photos and Reduce Blur.
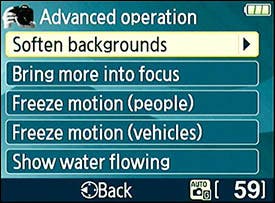
Image courtesy of Google.
Soften Backgrounds. This mode allows you to bring your subject into focus while making your background and foreground out of focus to put more emphasis on your subject.

Images courtesy of Google.
Bring More Into Focus. Opposite of the Soften Backgrounds mode, if you want everything in your image to be sharp, select Bring More Into Focus mode. This will make your subject, as well as your foreground and background sharper.
Freeze Motion (People). This option is perfect for shooting a subject moving at an average pace, such as someone walking or playing an instrument.
Freeze Motion (Vehicles). Select the Freeze Motion (Vehicles) option when you want to freeze the motion of something moving at a fast pace like a runner, a moving car or a high speed boat.
Show Water Flowing. Opposite of freezing motion, the Show Water Flowing mode slows the shutter speed down and allows you to capture movement such as the movement found in flowing water. As with any long exposure captures, its optimal to use a tripod to stabilize the camera otherwise images just turn out blurry instead of soft and flowy.

Images courtesy of Google.
Capture Reds in Sunsets. This setting ensures that you obtain the truest colors found in sunsets by using the White Balance settings to emphasize the red hues of a sunset.
Take Bright Photos. This setting is great for capturing high key images, which are images that are bright, white and pure. Nikon recommends this setting for photographing small objects and food.
Take Dark (low-key) Photos. This setting uses exposure compensation to take an underexposed image and is used for taking photos of darker objects.
Reduce Blur. This mode is best used in low-light situations where you may not have a tripod and you want to reduce camera shake by increasing ISO to allow for a faster shutter speed.
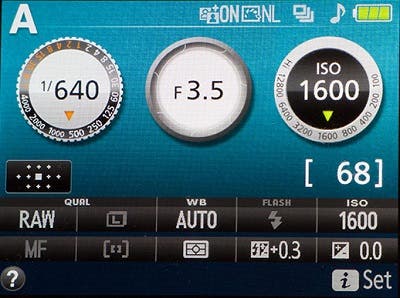
Screen once you make your selections.
Image courtesy of Imaging Resource.
USING THE GUIDE MODE
- Switch your dial to GUIDE.
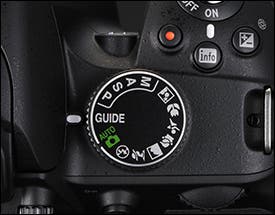
Image courtesy of Google.
- Select an operation such as Shoot, View/Delete or Set up. (We’ll use Shoot for purposes of this tutorial…)
- Select Easy Operation or Advanced Operation. (We’ll go with Advanced Operation for purposes of this tutorial…)
- Select an effect that you want to adjust, such as Soften Backgrounds.
- Read the description of the Mode and click OK.
- For Softening Backgrounds, use the multi-selector to adjust the aperture using the assist image as a guide to determine how much you want to soften the background. How much a mode affects an image is determined by how much you change the values.
- Select whether you want to shoot using the viewfinder, the Live View or to create a movie.
- Select OK and you’re ready to shoot!
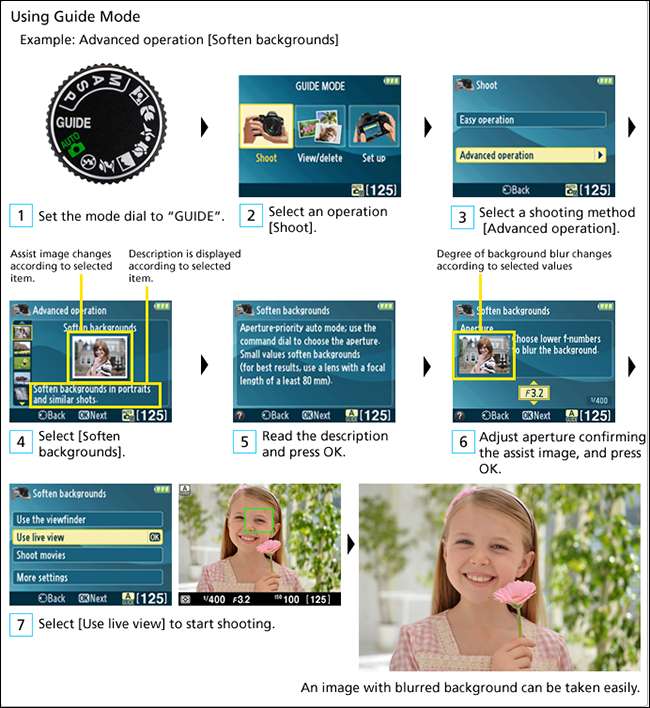
Image courtesy of the Nikon website.
A LITTLE GUIDANCE GOES A LONG WAY
I found the Guide Mode to be a great educational tool for new photographers to learn what settings make good options in particular shooting scenarios. I think it’s a great confidence builder for new photographers as photos come out properly exposed without the photographer needing a bunch of technical knowledge. I wouldn’t use this as a permanent substitute for learning how to operate a DSLR camera as it’s invaluable to be able to fully control your camera, but a great start for budding photographers!
