Studio lighting is crucial for both video and photography. In the absence of natural light, you must rely on artificial light sources to produce high-quality moving or still images. However, the similarities between the two content types end here. Understanding the differences between studio lighting for video vs. photography is crucial. This will aid in purchasing the right lighting gear. Furthermore, it will ease your workflow and allow you to produce artful work.
Studio Lighting in Video Production
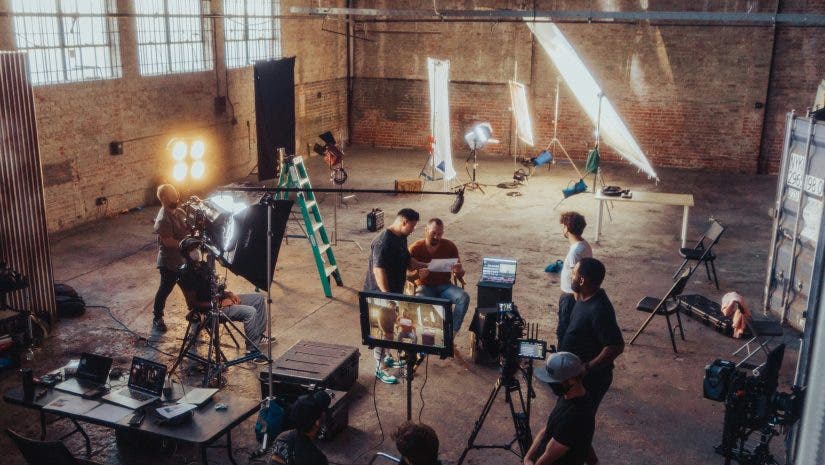
Video production requires studio lighting for practical and aesthetic reasons. First and foremost, studio lighting provides the light intensity your video camera needs to produce high-quality images.
Studio lighting allows you to recreate any time of the day or location conditions, build an atmosphere and mood, and add depth to your footage.
Studio Lighting in Photography
Photo lights, often strobe, are crucial to achieve bright, artistic, high-quality images when shooting in a studio. They help you overcome exposure issues (e.g., shooting at a faster shutter speed), control noise (e.g., keeping the ISO value low), and enhance sharpness and clarity.
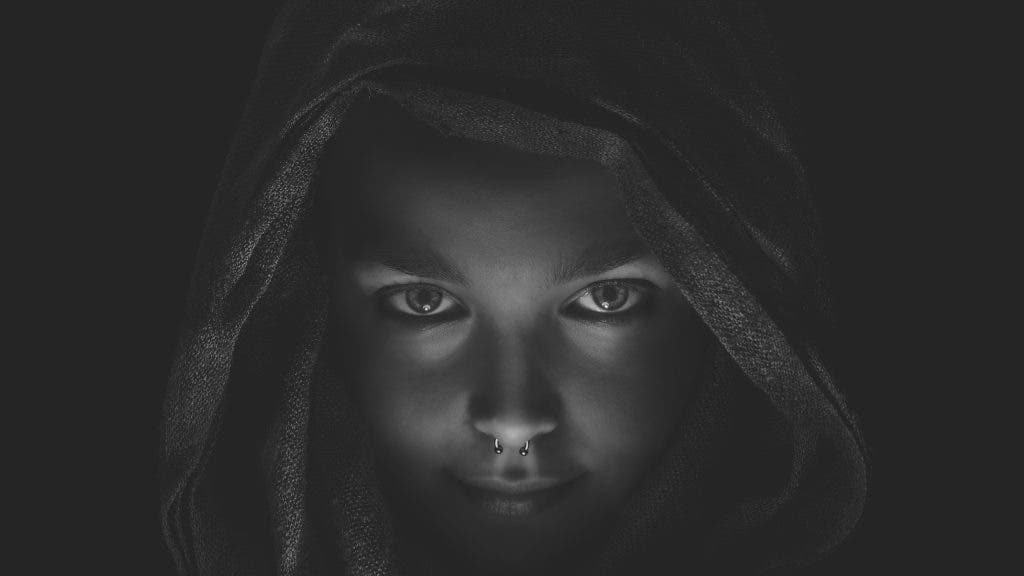
At the same time, studio lighting is responsible for aesthetic effects, such as the Rembrandt, rim light, glowing hair, smooth skin tones, etc. You may want to use them to make the subject stand out from the background, add depth, or infuse the scene with a particular mood or atmosphere (e.g., romantic, pop culture, vintage, etc.).
Key Differences Between Lighting for Video and Photography
Studio lights for both video and photography aim to provide the right amount of brightness and create the atmosphere imagined by the creator. The way they do so is entirely different. The crucial differences between studio lights for photography and video shooting start with the types of studio lights one uses and end with subtle light quality settings.
Continuous vs. Strobe Lighting
Studio lights for video shooting must be continuous light sources. Furthermore, you have to consider the subject’s movements. If you film a YouTube tutorial or interview, you likely have a static subject. Conversely, if you film a movie or commercial, people move in the scene. As a result, you may require a lighting setup that follows a moving subject or multiple light sources covering the entire scene.
Studio lights for photography don’t have to be continuous light sources, and frequently they aren’t. Because you can synchronize a flash to the camera shutter and know precisely where the subject stands, you can use strobes and built-in flash units to produce a burst of light at the instant of shooting.
Color Temperature and White Balance
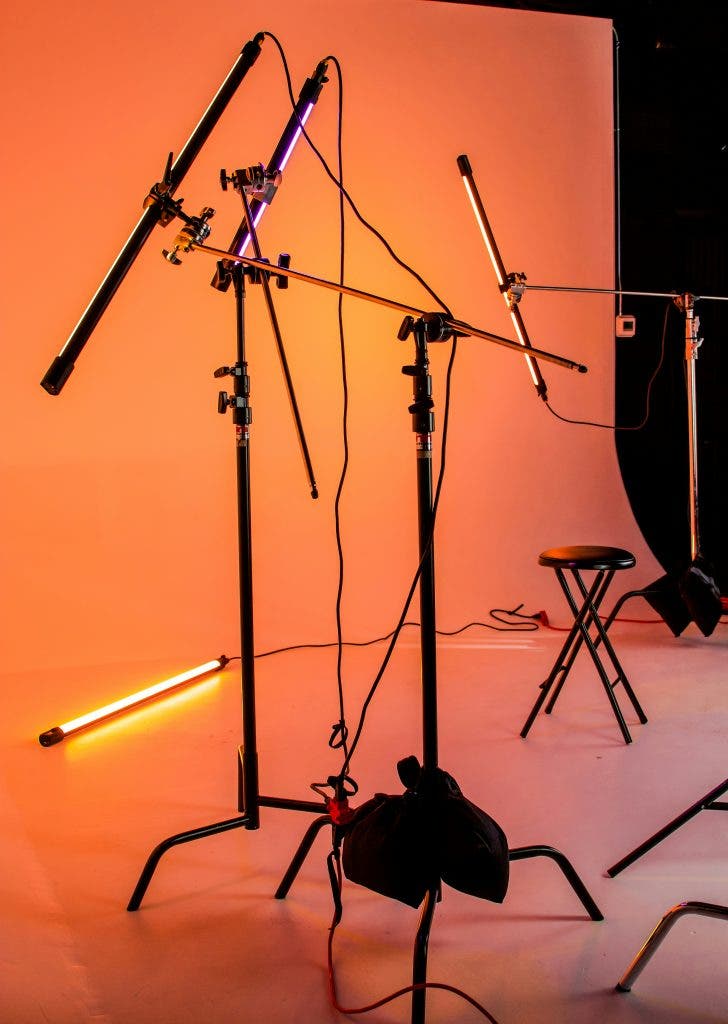
Studio lighting for photography is often stylized and noticeable to the viewer. The aim is more artistic than realistic. As a result, photography frequently requires fixed setups, such as classic three-point lighting, that offer consistency across the photoshoot. Lighting sources used in studio photography are smaller and more manageable than the ones used for shooting videos. Further, you can easily use light modifiers, such as softboxes and umbrellas, to adjust the quality of the light.
Things can be a bit more involved when shooting videos. In video production, you generally light a scene, not characters. For instance, you might create light to resemble natural light coming through a window. For example, a shaft of light with the character moving within that space. For the story to make sense, you must cover varying shooting scenarios (e.g., a short movie may need lighting that resembles sunlight at multiple times of the day or both indoor and outdoor lighting). Therefore, videos require adjustable lighting that allows you to fine-tune color temperature, white balance, light intensity, and light direction. Accurate color representation is crucial, especially if you film people, food, or commercial products with sensitive color schemes.
Lighting Intensity and Control
The requirements for lighting intensity and control also differ in studio lighting for video vs. photography. Because photography has a static subject, it may rely on a quick burst of light with a high intensity to illuminate a subject that’s far away from the camera. If the subject is close to the camera, the photographer may use a diffuser to soften and disperse the light. Controlling light intensity and quality is more straightforward.
You often strive for a rich cinematic look when you shoot a video. Usually, studio lights in video productions are set to match any practical lights, like lamps or windows, in the scene. Chiefly to make it look natural instead of coming from an obvious added source. This means that the lighting intensity should match the practical light very precisely. Often, video lighting is as much about controlling and shaping the light. This includes blocking it from spilling everywhere or adding shadows in the right places.
Studio Lighting for Video vs Photography: Other Differences
The significant differences have been outlined above. In the following section, we will explore additional points of distinction and enter the world of lighting equipment.
Lighting Equipment Comparison – Video Studio vs Photography Studio
Types of Lights
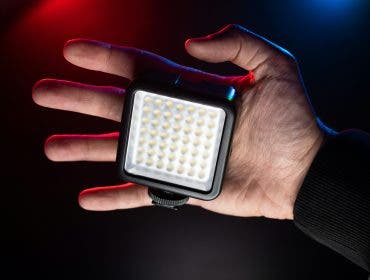
While shooting videos requires exclusively continuous light sources, shooting photos can use continuous and/or discrete light sources. The most common types of lights for videos are LEDs, whether rectangular like the ARRI SkyPanel S60-C LED Softlight or spotlight, like the Zhiyun MOLUS B500 500W Bi-Color LED Monolight. The rectangular ones cover a larger area, while the spotlight ones benefit from a broader range of light modifiers (e.g., softboxes). To control practical light, you can replace the light bulbs with ones where you can control the intensity and color to match the mood and the scene. If your film has a central speaker, as with YouTube tutorials, a ring light may be exactly what you need. For example, the Westcott 18″ Bi-Color LED Ring Light features a wide color temperature range and true-to-life hues.
Studio photographers will appreciate a monolight strobe with an ample flash range, such as the Flashpoint XPLOR 600 SE. Match this with a softbox and a C-stand for an excellent starter studio. Monolights are versatile, easy to set up, and powerful. You can also use them with a reflector and illuminate the subject from two sides with the same light source.
Modifiers and Accessories
Videographers often prefer to shape the light using regular softboxes, barn doors, or reflector kits that allow you to focus or widen the light. In addition, light shapers such as flags are used to craft the perfect cinematic feel.
Photographers who do not need to match the environmental light or account for moving subjects tend to work with different shapers. Softboxes with grids placed close to the subject for dramatic effect are common. In addition, modifiers like snoots and gels help photographers produce creative portraits. Make sure the accessories you purchase fit the light source.
Portability and Setup
You should also consider your workflow when choosing the right lighting equipment. For example, as a videographer and moviemaker, your setups are more stable, and stationary lighting is better for you. That means you can choose heavier equipment that is more time-consuming to install but more versatile and adjustable.
As a photographer, you may not want to shoot in a studio all the time, which means portable lighting equipment is more suited. A Speedlight, a small LED light, and a lightweight diffuser may be all you need.
Studio Lighting for Video vs Photography: Practical Applications and Examples
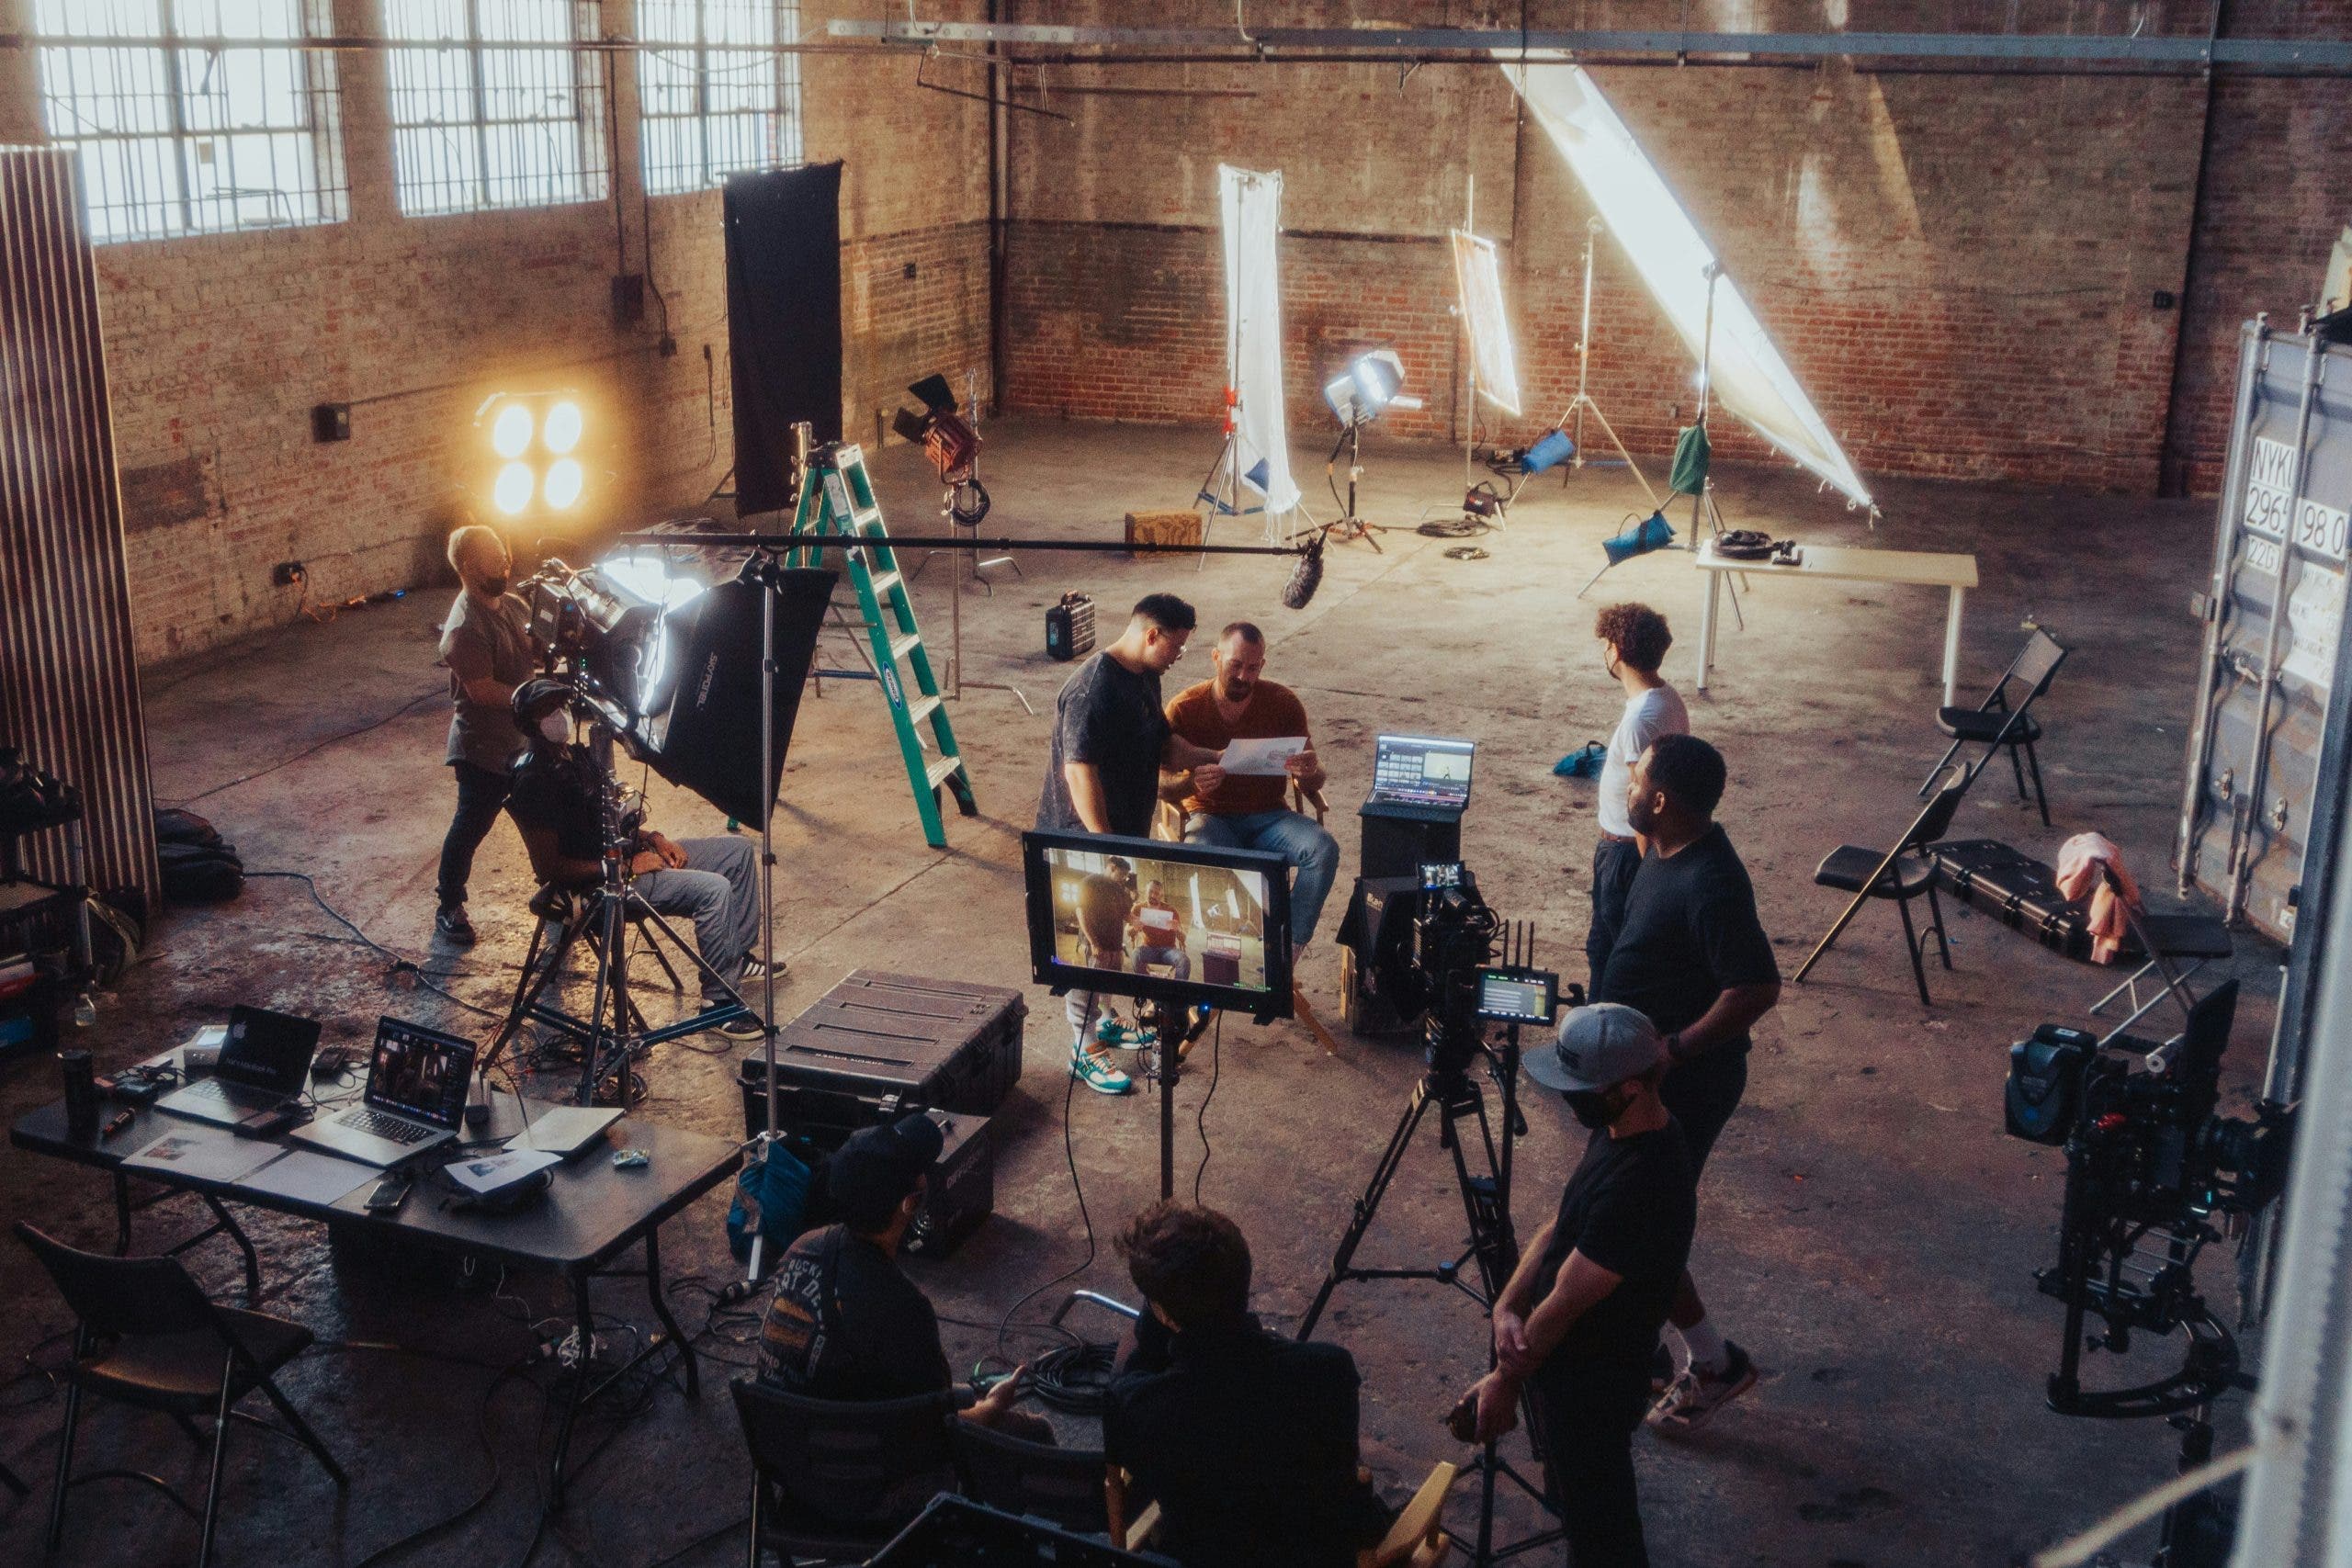
Typical studio lighting used in video production includes a key light (the main light illuminating the subject), a fill light (a secondary light illuminating the subject on an angle and lighting darker areas), and a backlight (a light that illuminates the subject from behind). Together, they form the three-point lighting setup commonly used for filming interviews and live-streaming productions.
If your subject moves or you want a cinematic effect, think of lighting the scene, and make sure to place key lights with visible practical lights where the subject will stand still or speak the dialog part of the scene. It is okay to bring in an additional key light for close-ups. You may also use practical lights to add depth. You need all the light you can get for product demos, so a four-point lighting setup is a better choice. Alongside the key, fill, and backlights, the four-point lighting setup includes an additional light source that illuminates the background. Commonly, light sources will be positioned above the subject because they cover a larger area and provide an even illumination of the scene.
Many photographers use a simple, angled, frontal, key light for portraits, especially for business portraits where you want no shadows and a softer, more artistic three-point lighting setup for artful portraiture. Unlike video production, the photography subject is stationary, making the backlight easier to set up and often used to produce a rim light and subtle glowing. Bright light sources are reserved for product photography. Also, light sources are usually closer to the subject, so continuous lights need lower intensity settings.
Conclusion
To summarize, the main differences and considerations when choosing lighting for video versus photography refer to the type of light (continuous or strobe), the range of light quality settings, and the light modifiers availability. However, workflow and aesthetics also significantly affect the light setup you choose. Therefore, the perfect studio lighting for video and photography is achieved by numerous experiments in which you try to find what works best for your needs. Share the article with your fellow photographers and videographers and discuss the benefits of each studio lighting setup.