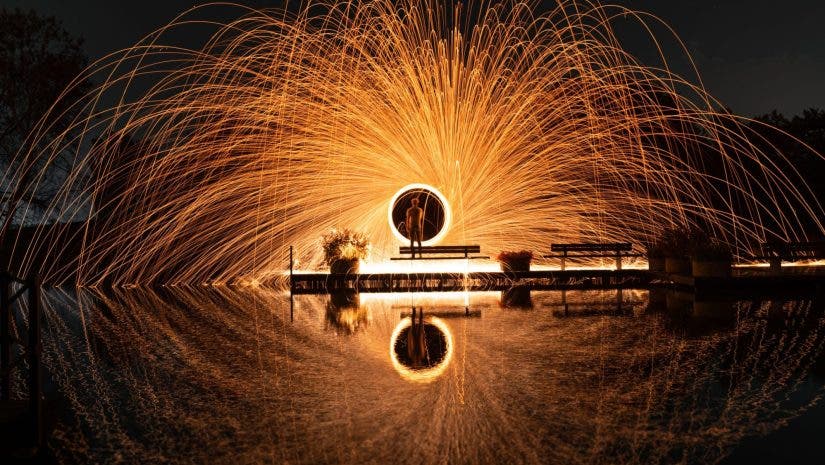
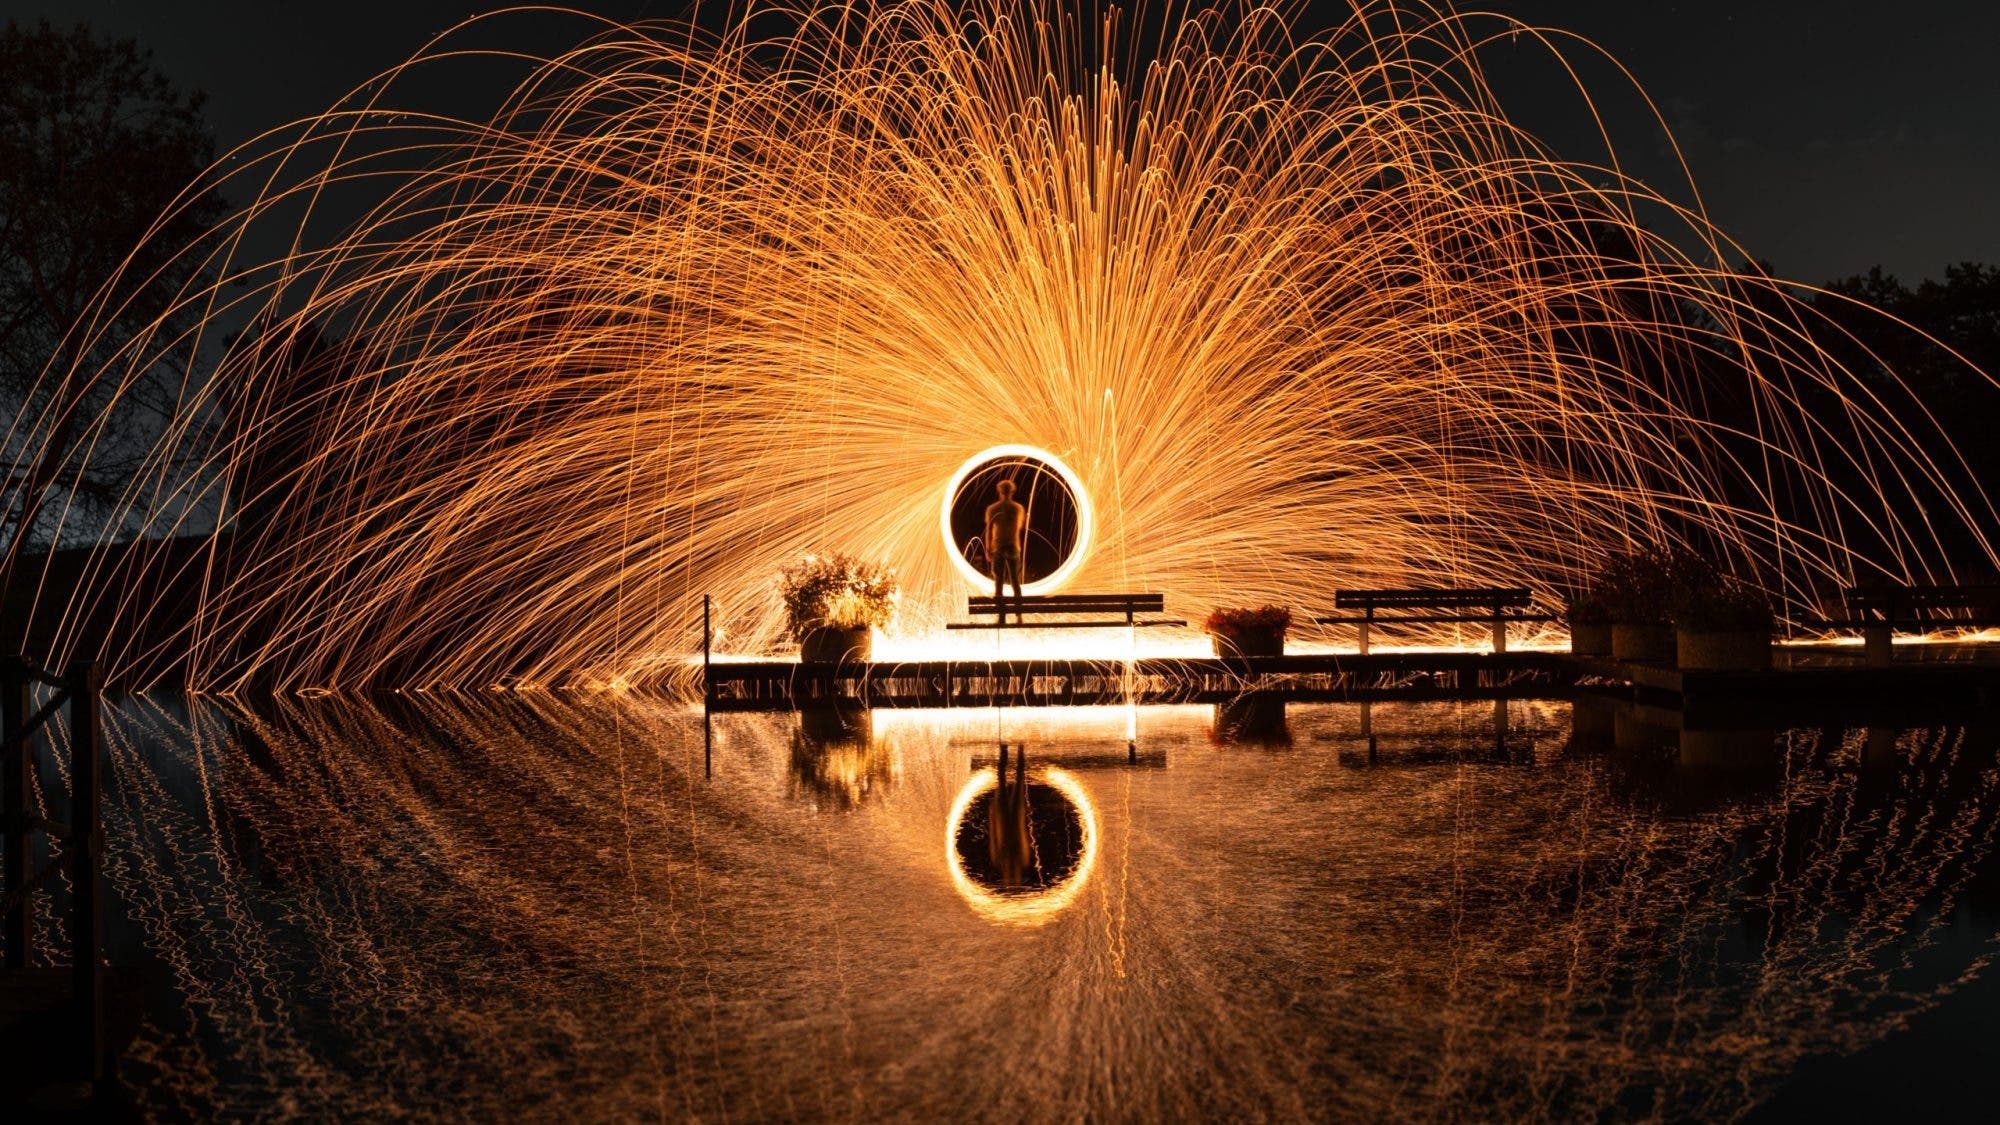
Steel wool photography is a unique and exciting form of long-exposure photography that has gained popularity in recent years. By lighting steel wool on fire and spinning it around in the air, photographers can create mesmerizing and otherworldly images. However, steel wool photography can prove dangerous if we don’t follow proper safety precautions, and getting the perfect shot can be challenging. In this article, we’ll provide some helpful tips and techniques for capturing stunning steel wool photography while keeping yourself and your surroundings safe. Whether you’re new to steel wool photography or looking to improve your skills, these tips will help you achieve impressive and awe-inspiring results.
What You’ll Need for Steel Wool Photos
Steel wool photography will require more than camera gear, but your budget shouldn’t suffer too much as most items are relatively cheap. Here’s a look at what you’ll need to practice this technique.
Supplies
- Steel wool (combine medium and fine-grade steel wool)
- Steel cable, steel whisk, or similar
- Lighter
- Multiple safety protections (multiple fire extinguishers and water, eye protection, heat-resistant gloves, fire-resistant clothing)
Camera Gear
- Any camera with manual control
- Wide-angle prime or zoom
- Sturdy tripod
- Remote/wireless flash setup (if desired) for illuminating either human subjects or the entire landscape
- Assistants to spin wool and for safety
Camera Settings for Steel Wool Photography
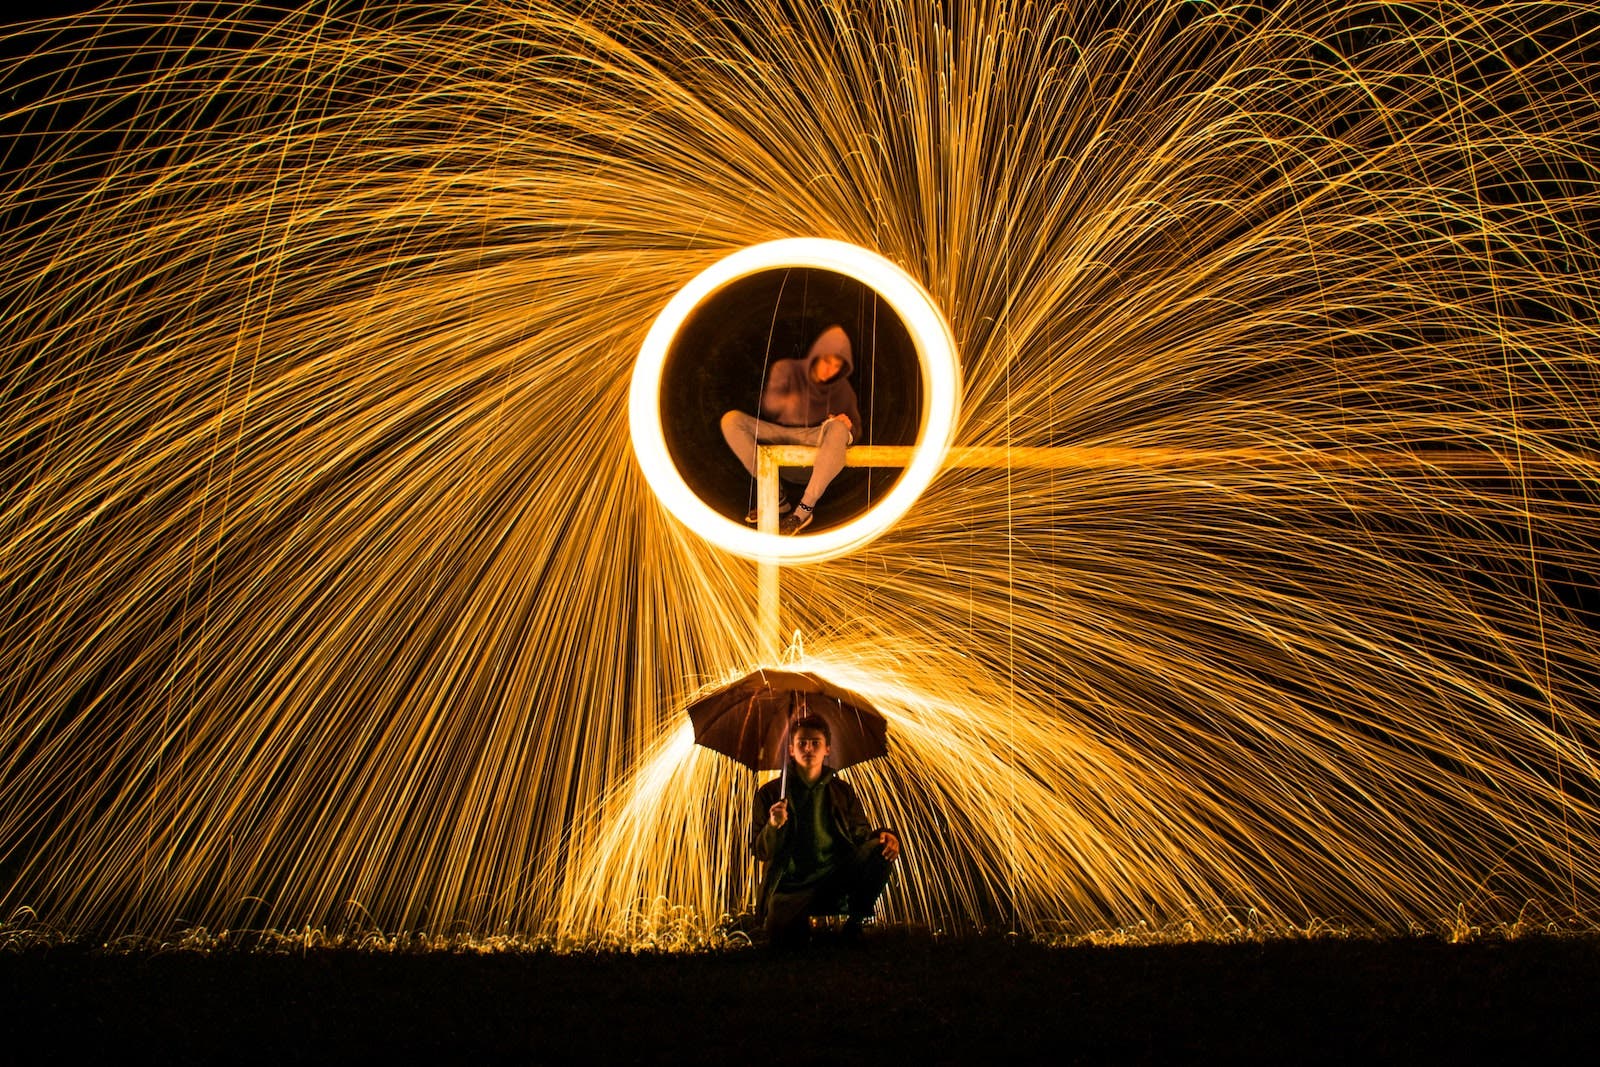
Dialing in these settings will also fall under the step-by-step guide to capturing steel wool photography below. The purpose of including them in this separate block is to provide a quick reference section for your convenience when planning or executing your shots. These are basic settings that should give you a solid starting point for capturing steel wool photography. Make adjustments as needed.
- Shutter Speed (10-30 seconds): Start at 10-15 seconds and then gauge the brightness of the wool with the rest of your camera settings. Afterall, it’s better to only “waste” 10 seconds to find your exposure is too dark, than waste 30 sec to find out your exposure is way too bright!)
- Aperture (f/8-16): Again, start at f/8 or f/11, depending on ambient light, and adjust as needed. If you’re curious how a wider aperture might look, go ahead and give it a shot. Going with a wider depth of field, however, will increase your chances of capturing a sharper image.
- ISO (100-400): Start at ISO 100, and then bump it up if you’re not working with very much wool or if your other camera settings require it.
- White Balance: Keep your white balance set for daylight, or somewhere between 4000-5000 Kelvin. This will render the steel wool a nice fiery warm color, while allowing any background ambient light to be a beautiful contrasting blue, and any ambient city lights to stay warm. Starlight or moonlight will yield similar results.
How to Capture Steel Wool Photos
Now that we’ve covered the basics for getting set up for a steel wool photography shoot, let’s jump into the specific steps we need to follow to create incredible steel wool photos.
Step 1: Put Your Camera on a Tripod
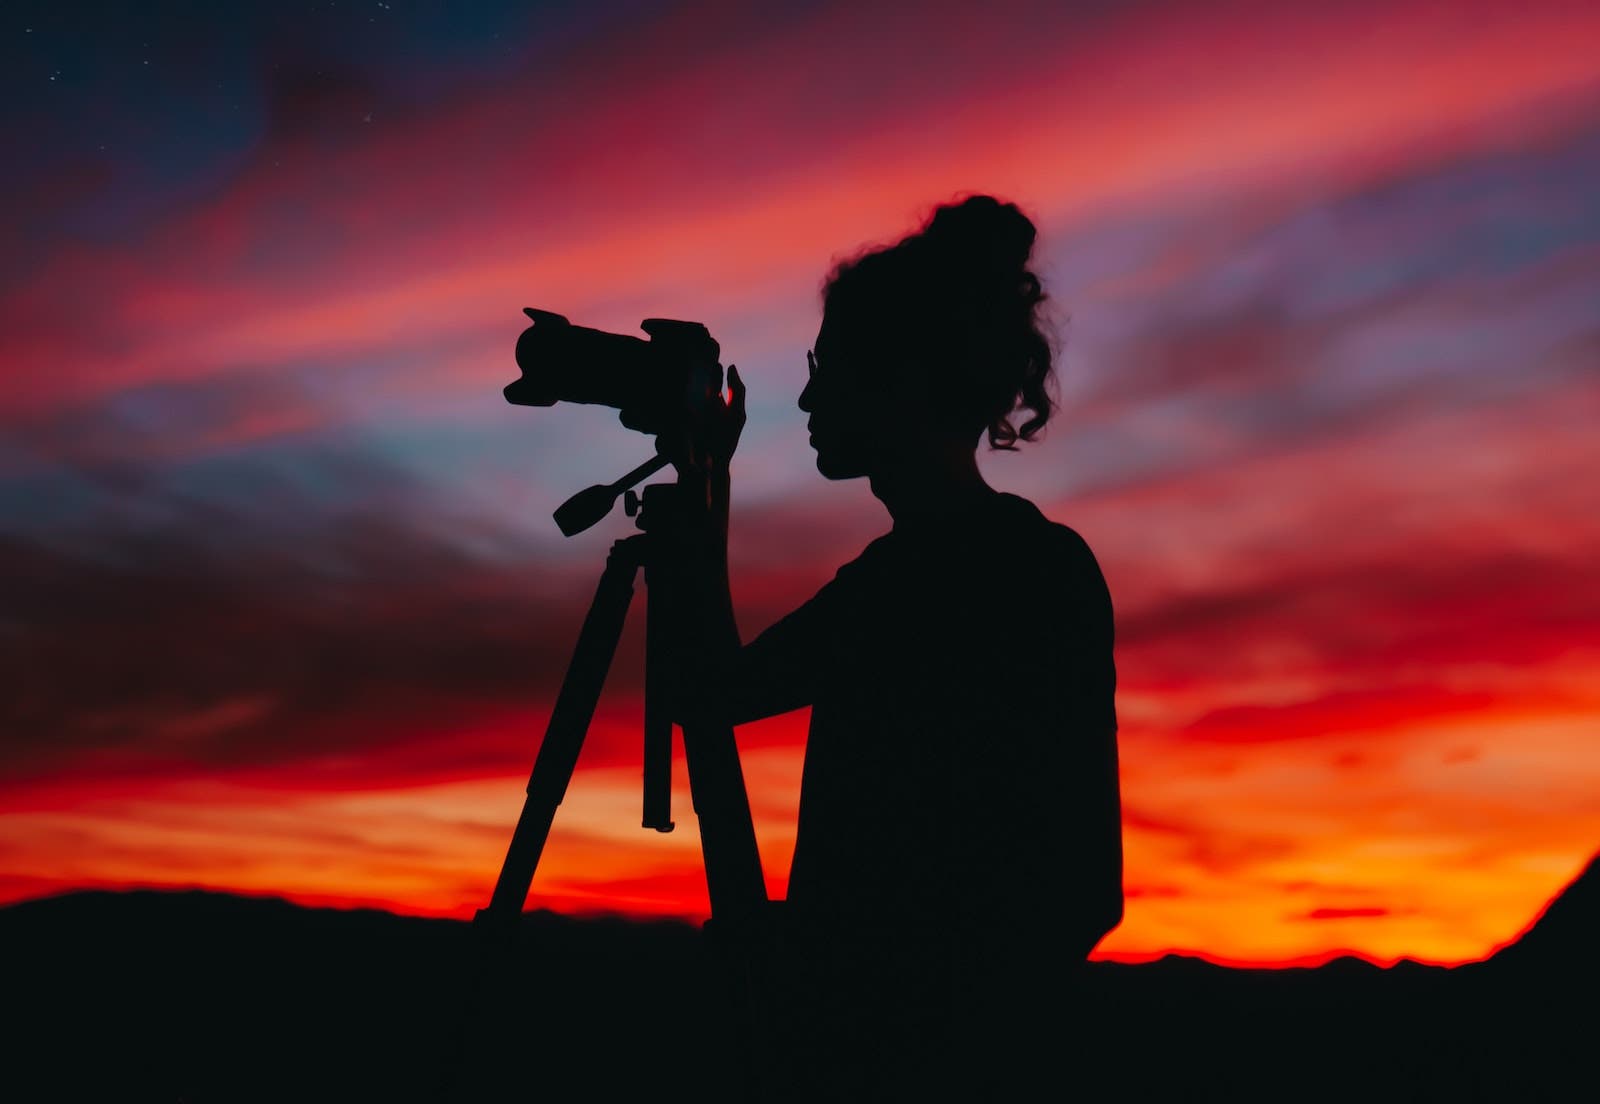
While there’s plenty of motion happening in steel wool photos, the motion should not happen on the camera side. To minimize camera shake, lock down your camera with a sturdy tripod. The heavier and more rock-solid the tripod, the better. Even if you have a fancy lightweight carbon fiber tripod for hiking or travel, you can buy a heavy, “indestructible” aluminum tripod for cheap, especially if you can find one used.
Step 2: Dial in Your Ambient Exposure Settings and Lock in Focus
Before you get ahead of yourself and light the steel wool on fire, check your ambient exposure settings. One great way to do this is to use the live view magnifier (if your camera has this feature) to focus on the person who will spin the steel wool. Use manual focus so that the lens doesn’t accidentally shift focus and miss the shot. Have your assistant hold up their phone and use that to focus on if the ambient light is already too dark. You can find our suggested settings above, but I’ll list them again here for your convenience:
- Shutter Speed: Between 10-30 seconds
- Aperture: Between f/8-f/11
- ISO: Between ISO 100-400
Step 3: Test Your Flash if Applicable
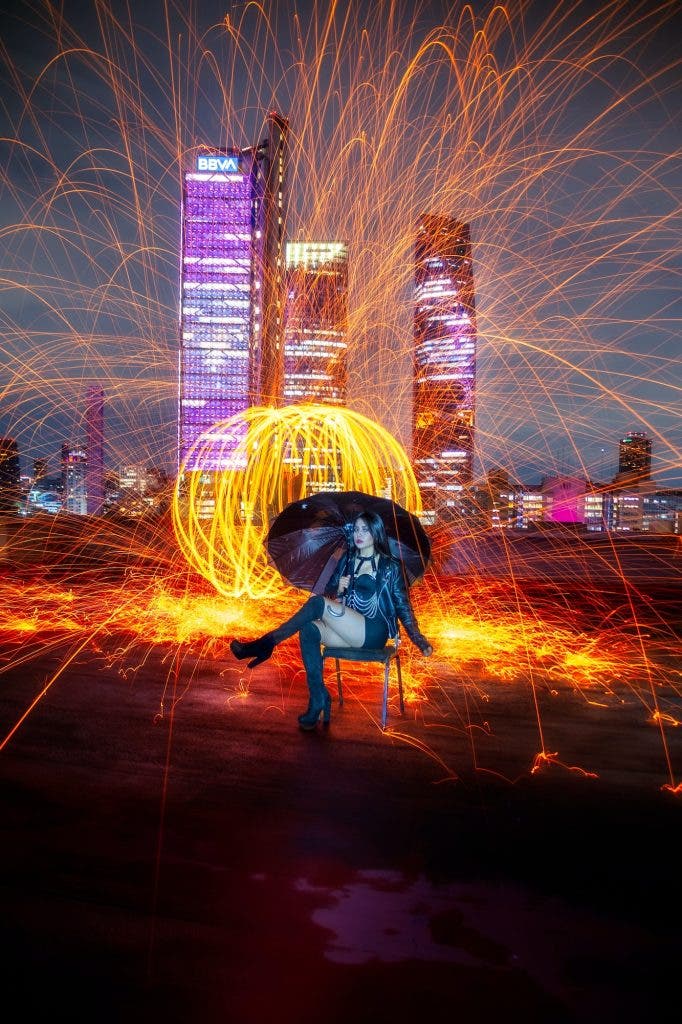
If you intend to use flash to light any subjects or other foreground elements, test the flash power before lighting the steel wool. You don’t want to make the mistake of burning through a steel wool session only to find out that the photos are overexposed due to the added flash.
Step 4: Pack the Steel Wool
Now, it’s time to prep the steel wool for the main event. Securely pack steel wool into a steel whisk (the same you’d use in a kitchen while making pudding, etc.). Use medium-grade steel wool to fill most of the whisk, and place a bit of fine grade steel wool in one end to use for starting the fire. It ignites more easily. Next, attach the whisk to a steel cable/chain. Some people use metal dog leashes. Whatever you choose, this cable will provide the means for swinging the steel wool in a circular pattern for your long-exposure photo. Once the steel wool is ready to go, you’ll still need to put on your safety goggles. This goes for everybody on set. Ideally, you should also wear heat-resistant gloves.
Step 5: Light and Spin the Steel Wool
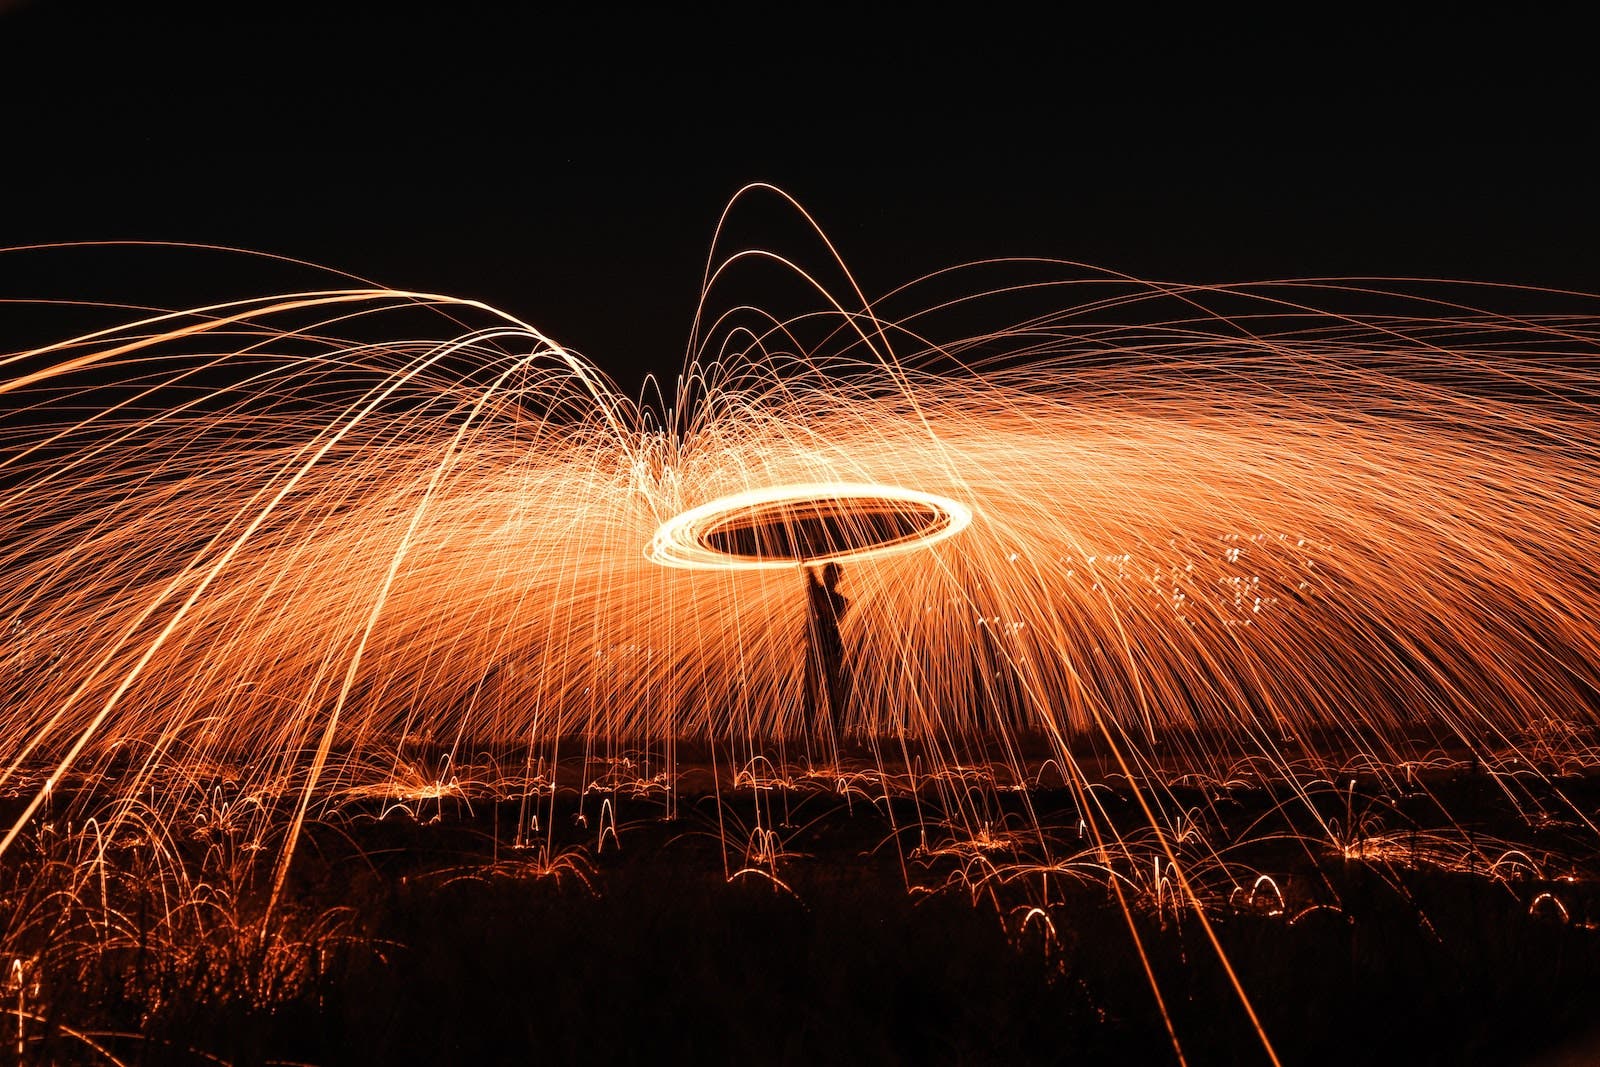
After the steel wool is packed and everyone is wearing the proper gear, it’s time to light up the steel wool. Start spinning steel wool until the sparks become substantial. Then, begin your exposure. Have your assistant continue to spin the steel wool until after the exposure is complete.
Step 6: Re-Check Your Settings
After you’ve completed your first round of shots, re-check your exposure settings. If the ambient light looks good but the steel wool is either too bright or dark, make the following adjustments:
- If the steel wool is too bright, close down the aperture and/or lower the ISO, and slow down the shutter speed.
- On the other hand, if the steel wool appears too dark, open up the aperture and/or boost the ISO, and dial in a faster shutter speed.
Step 7: Trust Your Camera, Not Your Eyes
In the dark, the playback image we see on the back of the camera might deceive you. Your LCD can fool you into thinking an image is too dark or too bright. Instead, to ensure you get a proper exposure, enable your highlight alert and check your histogram. At the end of the day, these tools will help yield better results than trusting the LCD.
Step 8: Have Fun
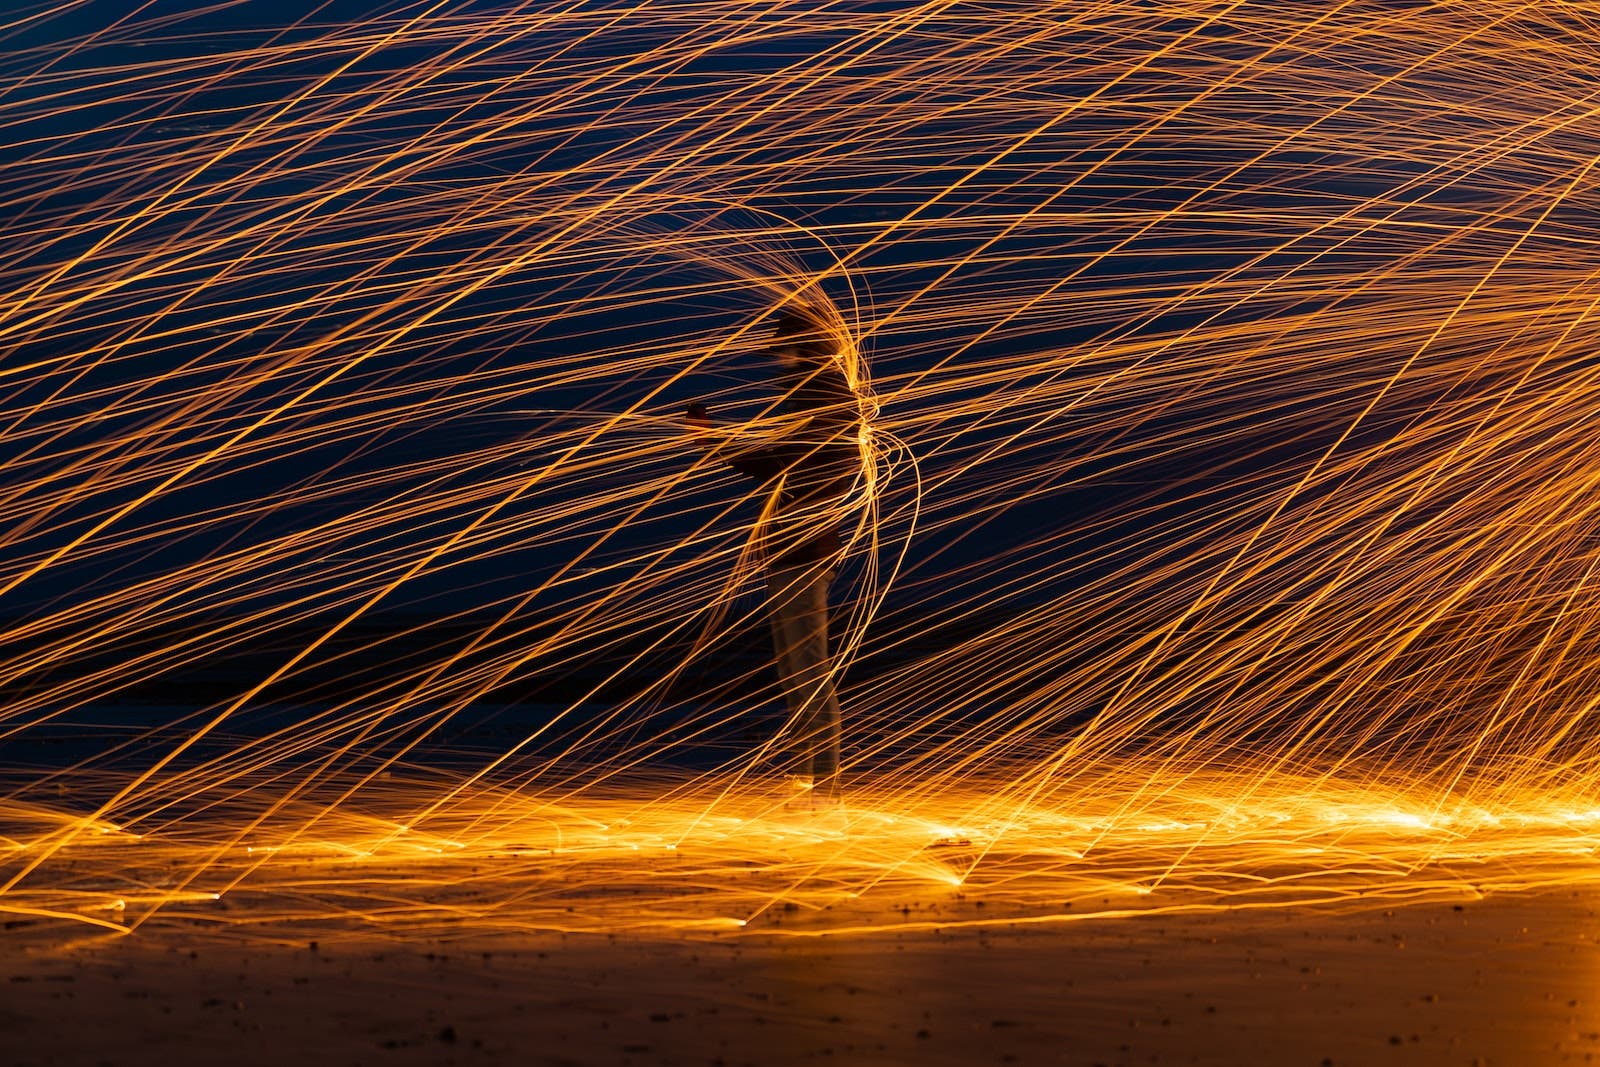
This is not a technical tip, but it’s important to try and remember to have fun. While working through the tips above, you’ll have an opportunity to flex your creativity. As you gain more experience shooting these types of images, the easier it’ll be to get creative and also stay safe.
Steel Wool Photography Safety Tips
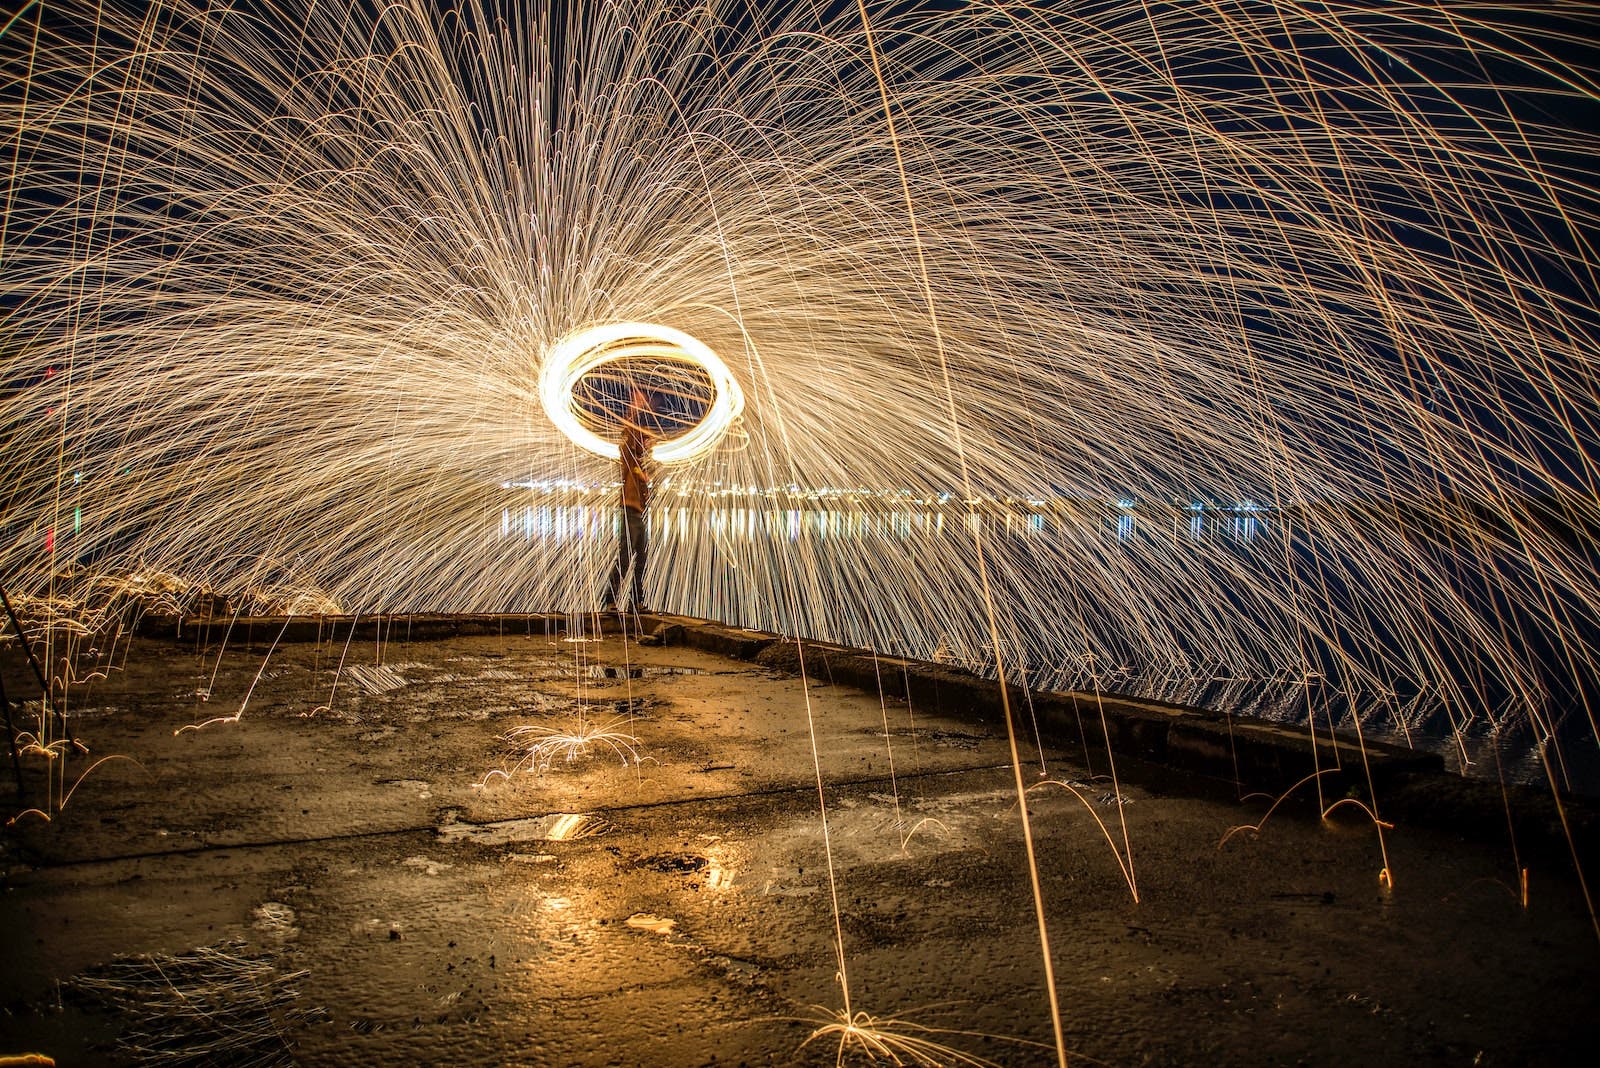
I don’t want to scare you out of trying steel wool photography, but no discussion on this topic would be complete without an overview of safety tips. While we like to think that common sense is in fact common, the truth is it isn’t. When practicing this technique, there’s plenty that can go wrong if we only consider things like composition, camera settings, and so on. Here are a few safety tips to keep in mind for steel wool photography.
Safety Tip #1: Make Sure It’s Legal
The legality of steel wool photography can vary depending on the specific location and its local laws and regulations. Be sure to look up your city or county’s website to see if they have any regulations on the use of steel wool for photography or other purposes. Some areas may require permits or have restrictions on where and when steel wool photography can be done. If you’re unsure about the regulations, you can also reach out to local authorities such as the fire department, police department, or park rangers to ask if there are any restrictions or safety concerns. It might also help to look up any recent incidents or accidents related to steel wool photography in your area to see if there are any specific safety concerns that have led to regulations or restrictions.
By taking these steps, you should be able to determine whether steel wool photography is legal in your location and any regulations or safety guidelines that you need to follow to ensure a safe and legal shoot.
Safety Tip #2: Don’t Shoot Alone
You’ve no doubt heard the term “safety in numbers.” While the context here is slightly different, it’s still useful. Having more eyes on the set will help ensure that chaos doesn’t unfold while you’re focusing on the technical aspects of capturing the shot. The more people you have around who are ready to stamp out any unexpected mishaps, the better.
Safety Tip #3: Dress for the Occasion
Some job zones require hard helmets while others necessitate nothing more than a hairnet. For steel wool photography, you’ll want to ensure you’re wearing appropriate clothing (non-flammable or not easily lit on fire), heat-resistant gloves, and safety goggles.
Safety Tip #4: Have Safety Equipment Ready to Go
Lastly, be sure to have things like fire extinguishers, buckets of water, and other anti-fire tools on hand. You should also discuss a plan for fire safety ahead of time and keep first aid elements on the set in case anything unfortunate does happen. It’s also worth sticking around a while after concluding the shoot to ensure that undetected elements don’t suddenly start a blaze.
Conclusion
I hope you found these steel wool photography tips helpful and that you’ll be able to put them to good use. Whenever the opportunity arises, be mindful of your surroundings and follow safety protocols to avoid damaging property or causing bodily harm. If you follow these tips and prioritize safety, you can end up with a collection of incredible shots. Steel wool photography offers a unique take on long-exposure photography, and the results are worth the effort.
Feature image by Pascal Küffer.
