In the last few years, star tracking has gained a lot of momentum with photographers all across the globe. Before using a star tracker for astrophotography, we were limited to shorter shutter speeds when shooting the stars because of the way the earth turns. Longer exposures meant that the stars would be trailing in your photo, which produced an unwanted effect. To compensate for these shorter exposures, you’d have to increase your ISO, making the photo lose details and contain a high amount of noise.
To overcome these problems, the star tracker was brought to the market. A star tracker allows you to take exposures of the stars or Milky Way longer than ever before. I generally shoot four to eight-minute exposures, which allows me to turn my ISO all the way down to 400, meaning that my pictures of the stars will be crisp with detail without trailing stars.
Many people have gained interest in star tracking recently, but there are a few things you should know about using a star tracker for photography.
What does a star tracker do?
With astrophotography growing in popularity over the years, you might have heard about a star tracker. So what is a star tracker and what does it do?
A photography star tracker is a motorized, equatorial mount that fits on top of a tripod beneath your camera. It allows your camera to follow the stars, planets, or any object you’re photographing in the night sky, as they move with rotation of Earth.
Star tracking is important because a camera and tripod by themselves can only take an image with an exposure of around 30 seconds before star trails begin to appear. And while star trails can sometimes be an objective, most astrophotographers want to sharp, detailed astro images.
Star tracker photography allows photographers to take images with exposures that are minutes long, without star trails, since the star tracker allows the camera to move with the stars. Multiple, longer exposures mean greater details like clouds, constellations, and dust lanes, not visible in short exposure images. This also means the photographer has multiple images of the same subject, which can be used for image stacking in post.
Using a Star Tracker for Astrophotography
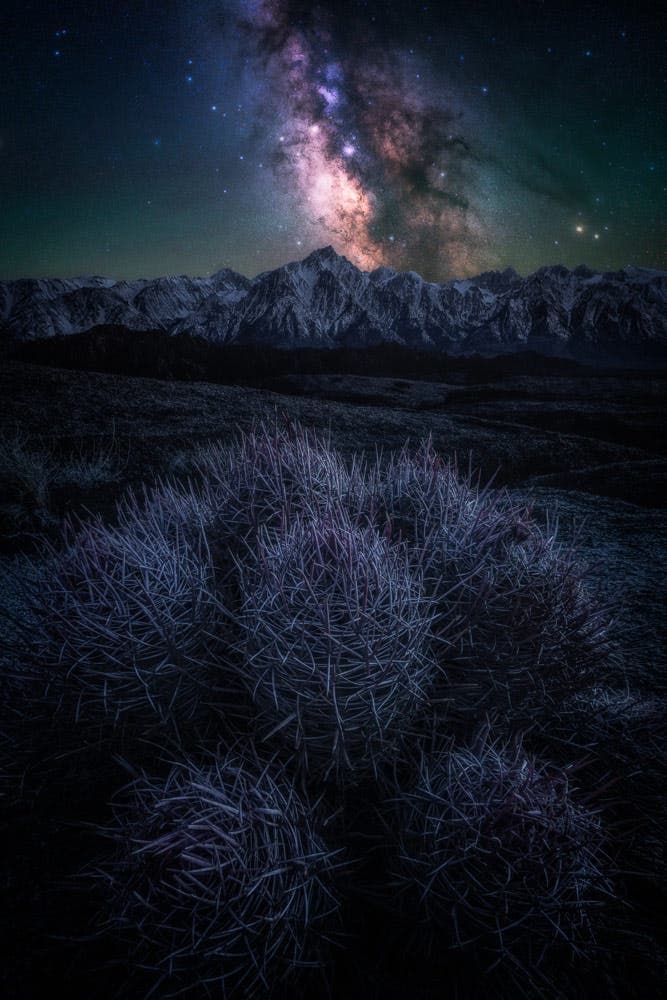
1. You will need to work in Photoshop in order to combine a star tracked image with a still foreground.
You’ll need to take two exposures in order to pull off a shot with a star tracker (unless your picture is of the stars only). The tracker is slowly turning to match the speed of the stars, so the foreground in your photo will be blurry since the camera is turning on the tracker.
Usually, I’ll take my foreground exposure about an hour after sunset in the blue hour and then wait for the Milky Way to come out to track the stars. Since you’ll have two photos that need to be combined, you must know how to mask and use layers in Photoshop.
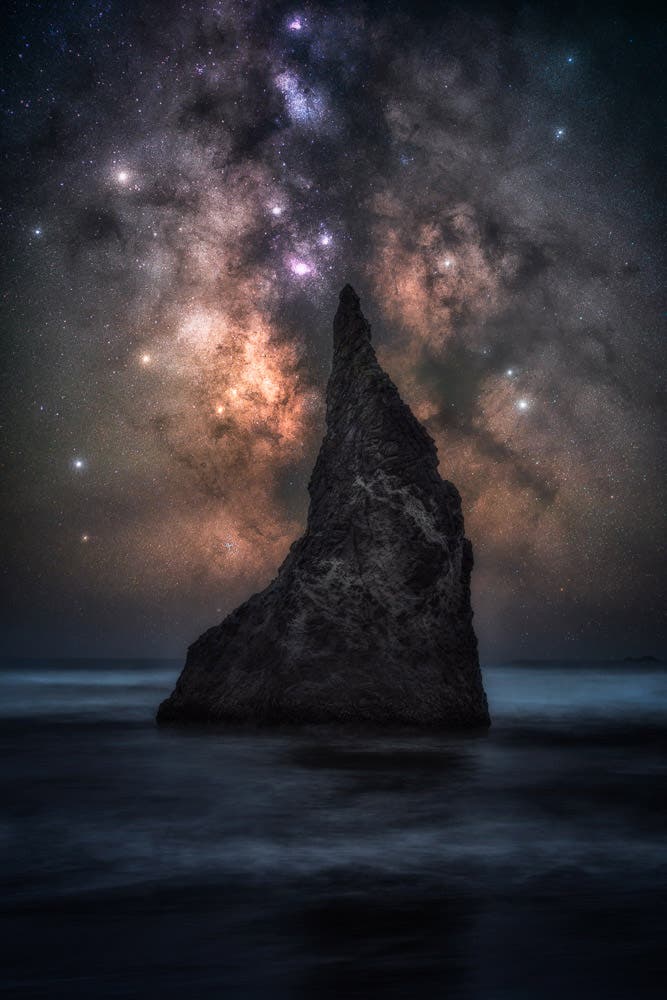
2. Star trackers must align correctly for optimal results.
In order to make the star tracker turn at the correct angle and speed, you must align it with Polaris (North Star) in the Northern Hemisphere, or Sigma Octantis (South Star) in the Southern Hemisphere.
Most star trackers allow you to align by either looking through a scope and finding the star, or simply shining a laser through a hole in order to hit the north star. Trackers with the option of shining a laser through a hole are certainly much easier to use, but if you want to shoot deep space with a telescope, you’ll want the option of looking through a scope for more precision.
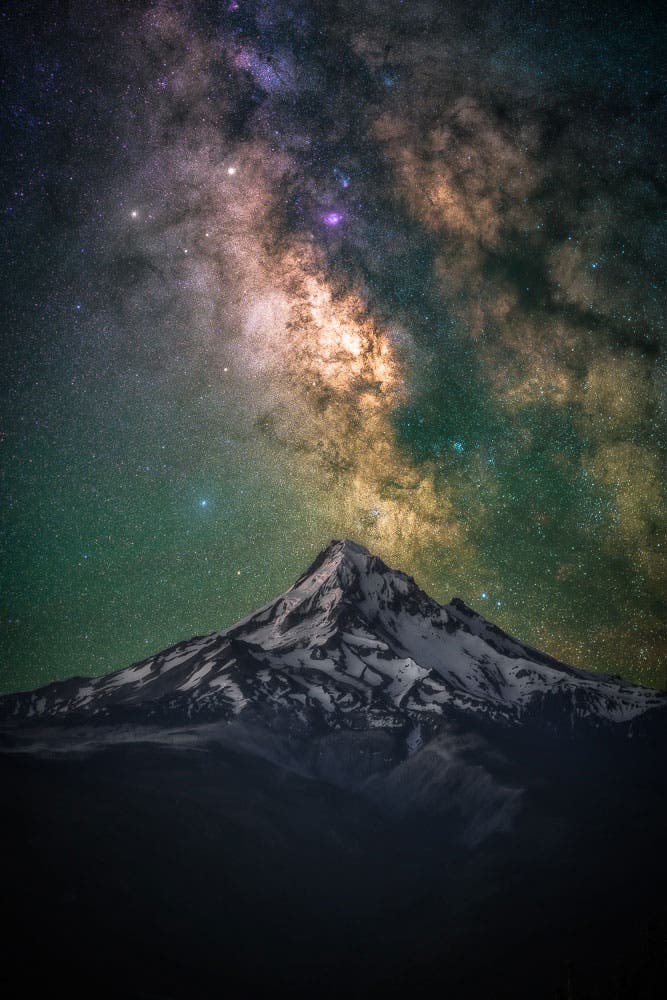
3. A sturdy tripod is necessary when star tracking.
You’ll be shooting exposures that are multiple minutes long, so a sturdy astrophotography tripod is a must. Any slight movement will ruin your exposure. If your tripod has the option, use the hook under the center column to hang your backpack on. This helps weigh the tripod down in the center, meaning that the tripod won’t budge if the wind picks up.
Regardless of your experience with night photography and astrophotography, star tracking is definitely something worth giving a try. The amount of detail that you’re able to retain when shooting star tracked photos is amazing. Using a star tracker simply helps you overcome limitations of the camera to create a compelling image.
Star tracking takes practice. Over time however, you’ll get better and be able to achieve amazing results.
So with that said, do you need a star tracker for astrophotography?
The answer is no, you don’t always need a star tracker for photography. For photographers just starting out and learning the basics of astrophotography, a star tracker is certainly not needed. You’ll be able to take beautiful, sharp images of the Milky Way, especially if the night conditions are dark and clear.
However, if photographers are serious about taking their astrophotography to the next level, star tracker photography is a must. A star tracker is a game changer for creating sharper and more detailed images, with the ability to shoot at much longer exposures.
The best part about star tracking is you there are several fantastic options with varying price points for any budget. So if you’re passionate about astrophotography, it might be a good idea to invest in one.

