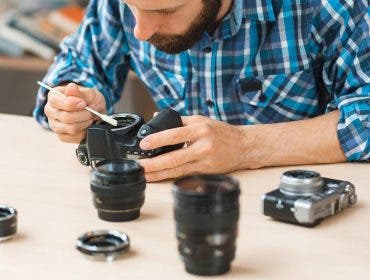
If you’ve been photographing for long, you’ve undoubtedly come across a time where your photo had unwanted spots, distractions, or blemishes. Enter Spot Healing Brush Tool. This incredibly powerful tool helps with all of the cleanup work that your photo may need. The Spot Healing Brush is the perfect solution to fix almost any imperfections or distracting elements in your photo.
What is the Spot Healing Brush Tool?
The Spot Healing Brush in Photoshop has gotten significantly better over the years in replacing undesired objects. You can use the Spot Heal for things as simple as dust or water spots that you didn’t clean off your lens, or as complicated as removing a whole person from the background. In this guide, you’ll learn everything you need to know to effectively use the Spot Healing Brush Tool to clean up your images.
First, let’s set some expectations. The Spot Healing Brush corrects minor imperfections and blemishes, as well as dust spots. You can also use it to remove small objects from your photo. The smaller the object you remove, the better the likelihood that the Spot Healing Brush does it in a seamless way. Removing things from your photo also works better on parts of the image with a low amount of detail — such as the sky or ocean. Luckily, it is very easy to try the Spot Healing Brush, then remove your adjustment if it doesn’t work effectively. After all, we are looking for a seamless fix so that our viewer can’t tell that you’ve made an adjustment.
How to Use the Spot Healing Brush
The Spot Healing Brush is located in Photoshop. You’ll need to open up your image in the software.
It is best to use the Spot Healing Brush at the beginning or end of your editing process. This is because, even though you can create a new layer for the changes, the Spot Healing Brush tool is somewhat destructive on the layers of the image.
Since you’ll be replacing actual pixels, you’ll have to re-do all of the spot healing if you wish to change a layer below the spot heal. For this reason, it is usually ideal to do the healing first. Although, you may also do it at the end if you don’t see all of the blemishes you’d like to remove at the beginning.
Create a New Layer
First, create a new layer. You can do this by selecting the button to Create a New Layer on the bottom right side of the screen (next to the trash can). Once you’ve created a new blank layer, select the Spot Healing Brush. It should be somewhere in the toolbar (on the left side of the screen, by default). You can also press “J” on the keyboard to instantly bring up the Spot Healing Brush Tool.

Adjust Toolbar Settings
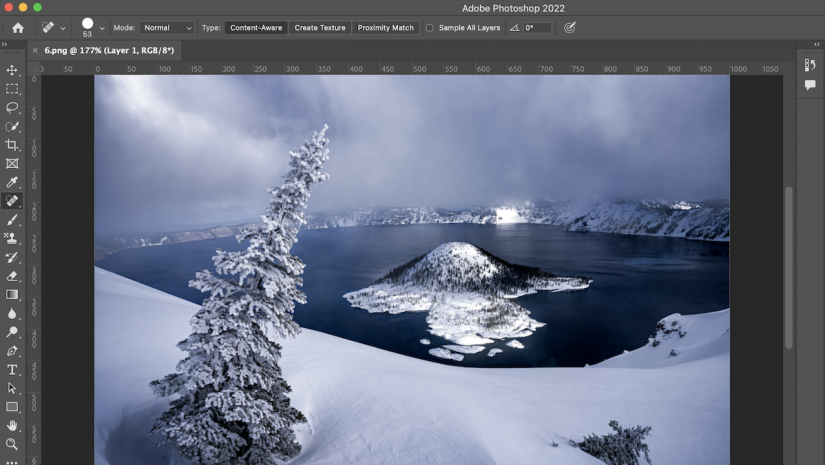
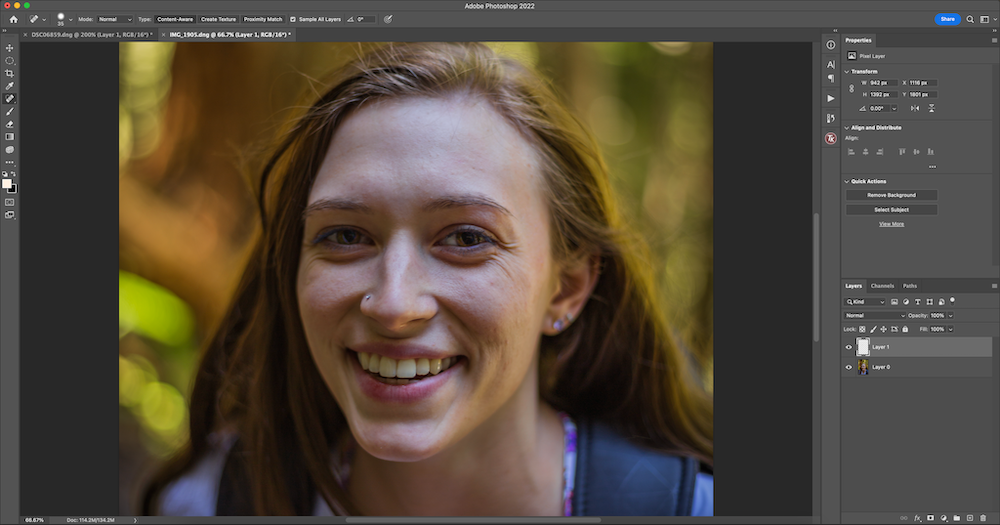
Once selected, you will see these options appear in the toolbar settings menu located on the top of the screen. Be sure that Sample All Layers is checked. For almost any application of the Spot Healing Brush, you’ll want to set the mode to Normal, and the type to Content Aware.
The brush angle does not matter as long as you are using a perfectly round brush (you are, unless you’ve uploaded your own brush shapes for the Healing Brush). Later in this post, I’ll explain when you’d want to use some of the other options but, for now, let’s keep going with these settings.
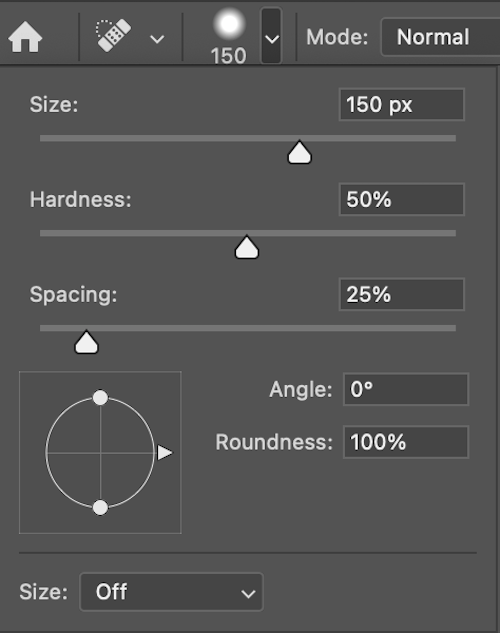
Adjust the Size of the Brush
Open the Spot Healing Brush size settings by clicking the small dropdown arrow. Having a hardness of 50% and a spacing of 25% works great for most images. Make sure the roundness is set to 100% for a perfectly round brush.
You can adjust the size of the brush depending on what you are trying to remove in your photo. It is best to adjust the size so that you are just large enough to remove the imperfection, but not any larger. If you’re curious about when you would want to use a different hardness or spacing, I’ll detail that later in this post. Most of the time, these are going to be the settings you will use.
Start to Retouch
With the Spot Healing Brush selected, you can now start to retouch your image. In this example, I’ll be retouching a couple dust spots, and a few distracting elements that I don’t want in my final edit. If you are removing a large area, you can click and drag to retouch your photo. If you are removing something small like a dust spot, usually a single click will get the job done.
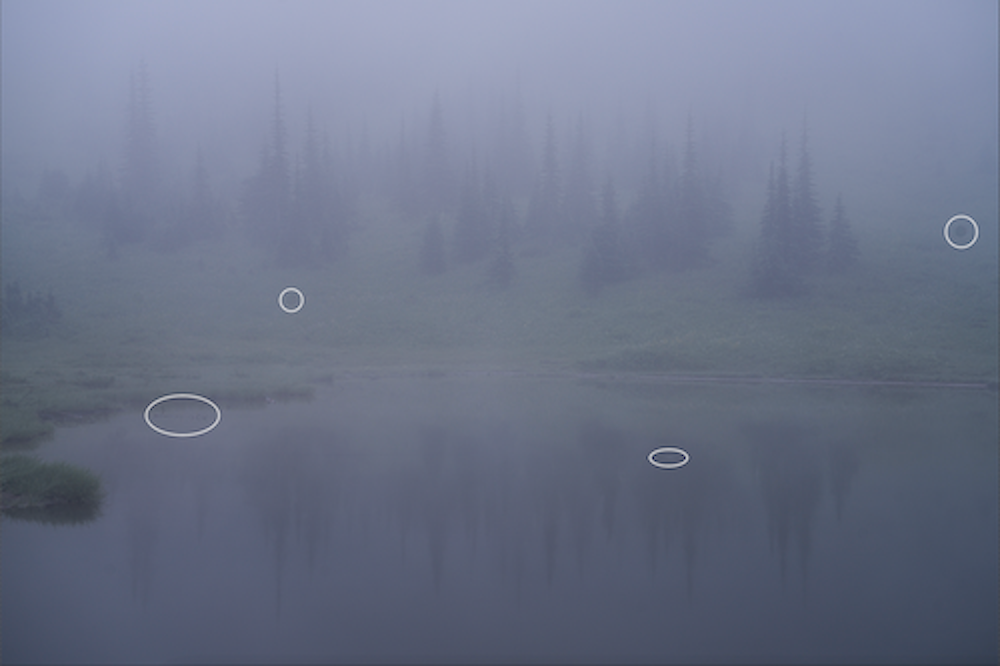
Check Your Work
If you want to zoom in before making any adjustments, you can do so by hitting Command/+ on Mac, or Control/+ on PC.
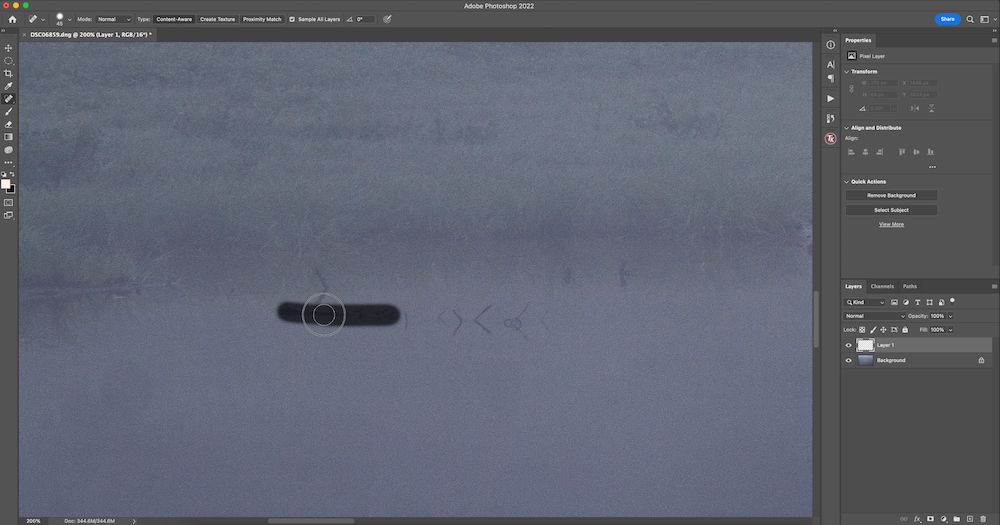
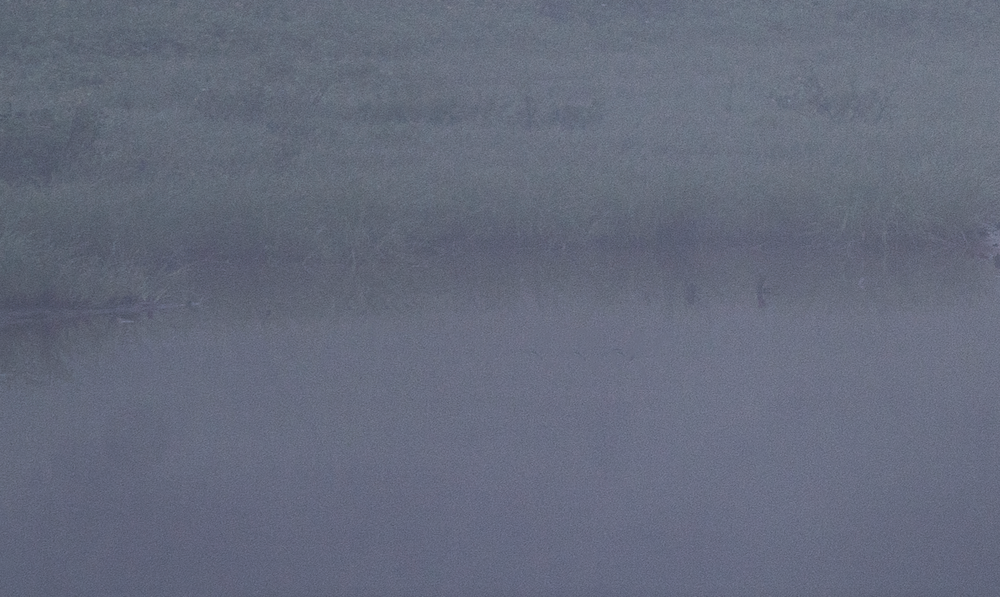
That’s it! Adjusting the size of the Spot Healing Brush can help you to remove many different shapes and sizes of objects.
More Tips for Using the Spot Healing Brush
Try Again
The spot healing brush doesn’t always work well on the first try. You can try clicking on the part of the photo that you wish to remove again to see if it does a better job. Oftentimes, I’ll click on a spot many times to see a different result from the Spot Healing Brush until I find my desired result. However, sometimes you will not be able to remove objects with the Spot Healing Brush. As you practice using this tool, you’ll learn its limitations.
Before Spot Healing Brush (see bottom right corner)

After Spot Healing Brush

Use in Moderation
Too much use of the Spot Healing Brush can ruin your photo. Be careful with how much you are using it. Always be sure to keep checking your image for seamless adjustments. Remember, you don’t want your viewer to be able to tell that you removed something from your photo.
Use the Smallest Brush Possible
The smaller the brush, the less of your photo you are actually going to be retouching. The more precise you are with selecting the spots to be retouched, the better the image will look in the end.
When Should I Adjust the Settings of the Spot Healing Brush?
While we have just been using one version of the Spot Healing Brush, there are a few other options that you can use. The settings outlined above will work for almost any adjustment you need to make. Although, for those photographers who wish to know more about some of the other settings, read on…
Mode
The Spot Healing Brush comes with different modes ranging from Normal, to things like Multiply, Screen, Color, or Luminosity. All of these modes do slightly different things. Essentially, they tell Photoshop how to have the new pixels blend with the existing pixels. However, it is unlikely that you’ll ever need to use any of these modes to retouch your images.
Type
Content Aware
Usually, Content Aware will be the best option for your spot healing needs. This version of the Spot Healing Brush automatically looks at your photo and allows Photoshop to decide what pixels should replace the ones you wish to heal.
You can learn more at How to Use the Content Aware Scale in Photoshop.
Create Texture
When you use the Create Texture Spot Healing Brush, Photoshop will create a pattern of the pixels in the same proximity of the photo that you want to replace. This can work really well for textured patterns that need to realign perfectly.
Proximity Match
Proximity Match looks at the pixels just outside of the area you are healing to find matching pixels to replace. This version of the Spot Healing Brush works well when you are spot healing a smaller area that looks perfectly similar to the areas around it.
Other Settings
Spacing
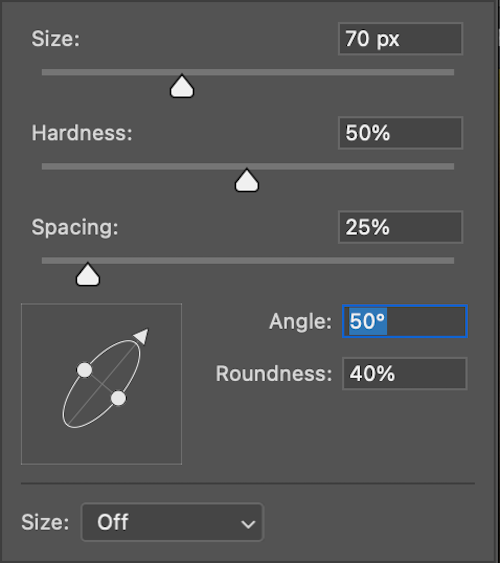
Adjusting the spacing option allows you to control how smooth the brush appears when you click and drag. At 25% it will work perfectly for most images. At 0%, the brush will be as smooth as possible. At 1,000% spacing, the Spot Healing Brush will have spread out spots, even when you click and drag.
Angle/Roundness
The angle and roundness settings allow you to reshape the brush. At 100% roundness, the brush is a perfect circle. However, reducing the roundness will change the shape of the brush, and then adjusting the angle will change the way the oval will be rotated. This can be useful for certain spot removals. For the most part, you won’t use these settings very often.
Conclusion
Spot Healing is a very important step that you should be doing in your post-processing. Check from corner to corner on your photos that they don’t contain dust spots, blemishes, or other distracting elements. One of the easiest ways to create better photos is to simply finish off every photo by cleaning up distracting and unwanted elements.
Using the Spot Healing Brush Tool is very easy, and shouldn’t take very much time at all. Give it a try today and practice using this tool to help bring your photography to another level.
