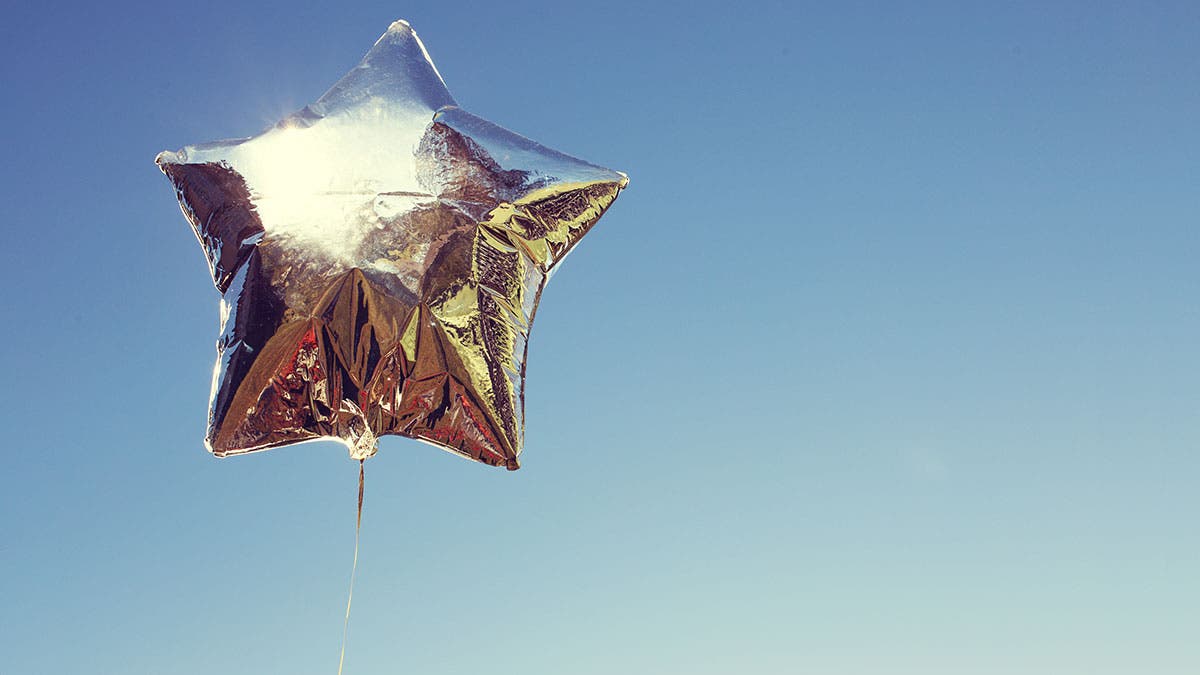
Mylar is the trademarked name for a specific type of polyester film. It’s used in packaging for a wide variety of products and comes in a host of colors, finishes, thicknesses, and sizes. But what’s good for potato-chip bags is not good for creative photography.
What you want is the thin silver Mylar available in many craft and art-supply stores. Buy a roll of it and get ready to have fun photographing distorted and abstract images.
 This smooth, glossy material can be draped, rippled, pinched, or laid flat. Spread it flat on a table and it’s an almost perfect mirror. Let it drape softly, and it will reflect things with varying degrees of distortion. But handle it carefully. It creases and scratches easily, and is prone to showing fingerprints.
What you’ll need
Mylar photography is usually close-up work, so you’ll need a macro lens or a close-up supplementary lens, as well as a tripod to keep your camera steady. Depending on the effect you want, the surface to rest the Mylar on could be a table, a chair with a back, or even the floor. A length of black or colored velvet (or other non-shiny fabric) often comes in handy as a background.
For lighting your subject, you can use either hot lights (continuously burning lights) or window light. Off-camera flash, unless it has a modeling light, is not a good idea because you can’t tell what the image will look like until after you’ve had the image processed–or see the image on your digital camera’s LCD screen. Make sure that stray light doesn’t hit the Mylar. The illumination should be on the subject, not on the Mylar; otherwise you’ll get unattractive and distracting bright spots.
What to reflect? Almost any small object, the more colorful, the better. Flowers are lovely. Glass bottles, nicknacks, jewelry, fruit, and even photographs all work well. “Colorful” is definitely the operant word, so you may want to gather pieces of colored paper and patterned fabric.
Mylar brainstorming
Here are a few ideas to spark your creativity. For all of them, take care that your own reflection doesn’t sneak in–unless you want it to. Try bracketing your exposures to get different intensities of color. Sometimes you’ll want to include the object and its reflection in the photograph; other times, just the reflection.
![]()
![]()

Orange you glad? I draped Mylar over a chair and placed the oranges on the seat to get this image.
![]()
![]()
Spread the Mylar on a table, keeping it as flat and smooth as possible. Place your object(s) on it and photograph both the object and its reflection. Place your subject in front of a plain background (here’s where a length of velvet becomes useful). Adhere the Mylar to a piece of cardboard and place it in front of the subject, tilting it so it reflects the subject. Photograph just the reflection.
Instead of reflecting the subject onto mirror-smooth Mylar, let the Mylar fall into soft folds. The more ripples and folds in the Mylar, the more abstract and distorted the images will be. Try draping the Mylar over the back of a chair and putting the subject on the seat. I used Mylar this way to create the unusual setting for the still life of oranges. You’ll also get interesting distortions if you glue the Mylar onto a textured surface.
Don’t restrict yourself to three-dimensional objects. Tape several pieces of colored paper in different sizes and shapes to cardboard and tilt it so it reflects in the Mylar. Then play with changing the camera angle, the position of reflected papers, the shape of the Mylar, even the point of focus. By bending, twisting, pinching, or creasing the Mylar, you can make vibrant abstractions.
For more pastel images, tape pieces of various colored acetates to a window and let the light come through and shine on ripply Mylar.

Place a bean or small pebble on a piece of cardboard. Then, take about a 12-inch square of Mylar and tape it over the bean so the bump is prominent. Place colorful papers at an angle to the Mylar. Pinch and pull the Mylar into different configurations, and move your papers, the Mylar, or the camera around as you look for interesting images in the distorted reflections. You’ll get a different picture with each adjustment–this can keep you going for hours!
If you have a slide projector and an assortment of colorful slides, place your Mylar on a table or on the floor just below the projection screen. Turn the room lights off and photograph the reflected image. Or put a small object under the Mylar, as described above, to alter the image.
 Totally tubular
A Mylar tube (sometimes called a “tunnel”) will enable you to surround a subject with swirling reflections. Cut a piece of Mylar so it’s about six inches long and wide enough to wrap around your lens. Roll it into a tube and secure it to the outside of your lens with tape or a rubber band. A six-inch tube will work well with lenses of focal lengths anywhere from 35mm to 50mm, but by all means feel free to experiment with tubes of different lengths. Focus on the subject, pushing and molding the tube as you watch the reflections that form. A large aperture will make the edge of the tube less obvious. Or, instead of focusing on the subject, focus on one area of the reflection.
![]()
![]()

Does Photoshop have a Mylar mode? Almost! Photoshop offers several filters to distort your images, but the best one to replicate the waves and ripples of Mylar is Liquify. Use your mouse to push and pull the image in whatever shape and direction your instincts lead you.
![]()
![]()
