I have photographed many different sports over my career. This past season, I had the opportunity to shoot Major League Soccer. While I had covered high school and college soccer in the past, the higher level of play in the MLS inspired me to raise my own game when it comes to soccer photography.
I got my start as a professional photographer in Northern California, where I worked for a group of area newspapers covering youth, scholastic, and college athletics. From there, I transitioned to the big leagues and Bay Area pro teams like the Oakland Athletics, the San Francisco Giants and the San Francisco 49ers. But, today, I’ll be sharing my best tips for improving your soccer photography.
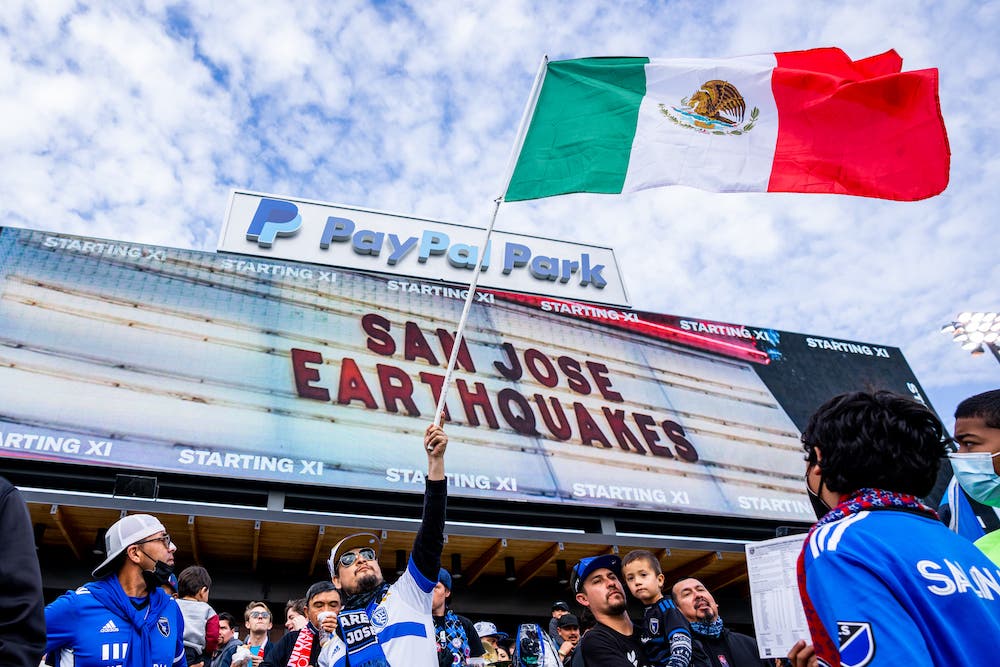
Angles and Positions for Soccer Photography
But soccer photography presents its own special set of challenges — and opportunities. Photo positions in MLS stadiums are primarily behind the endlines. Depending where you set up, you can have a variety of angles from which to shoot.
Since I cover both the visiting and home teams, I tend to choose the side with the best light and backgrounds. Photographers covering one specific team often move to the opposite endline at halftime. This is because the team switch sides at halftime, and photographers always want “their team” running towards them.
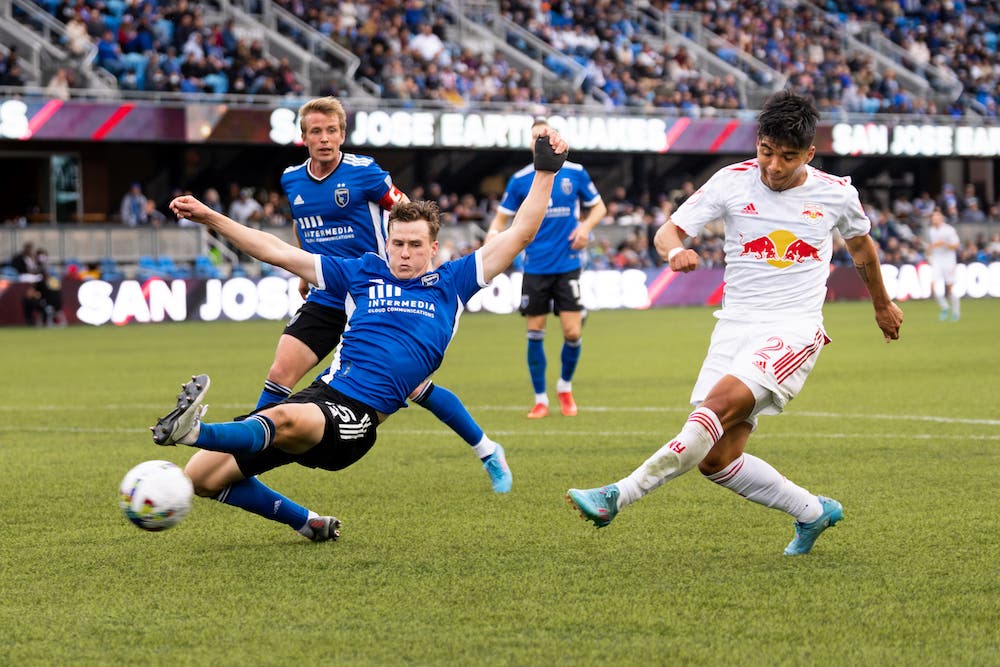
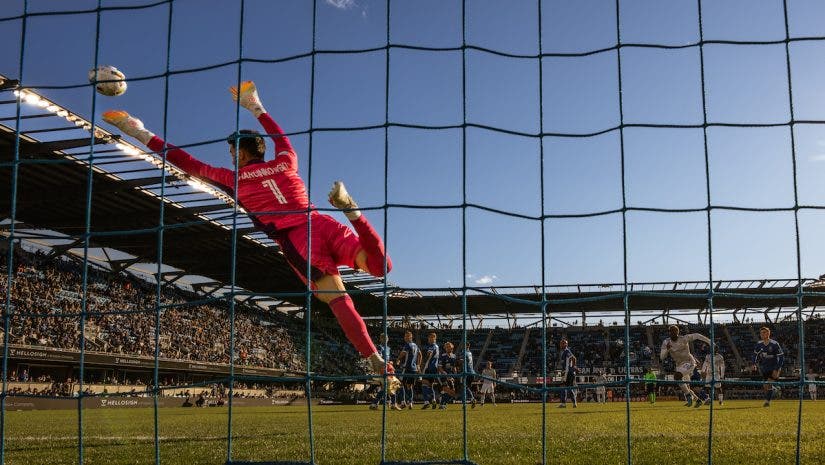
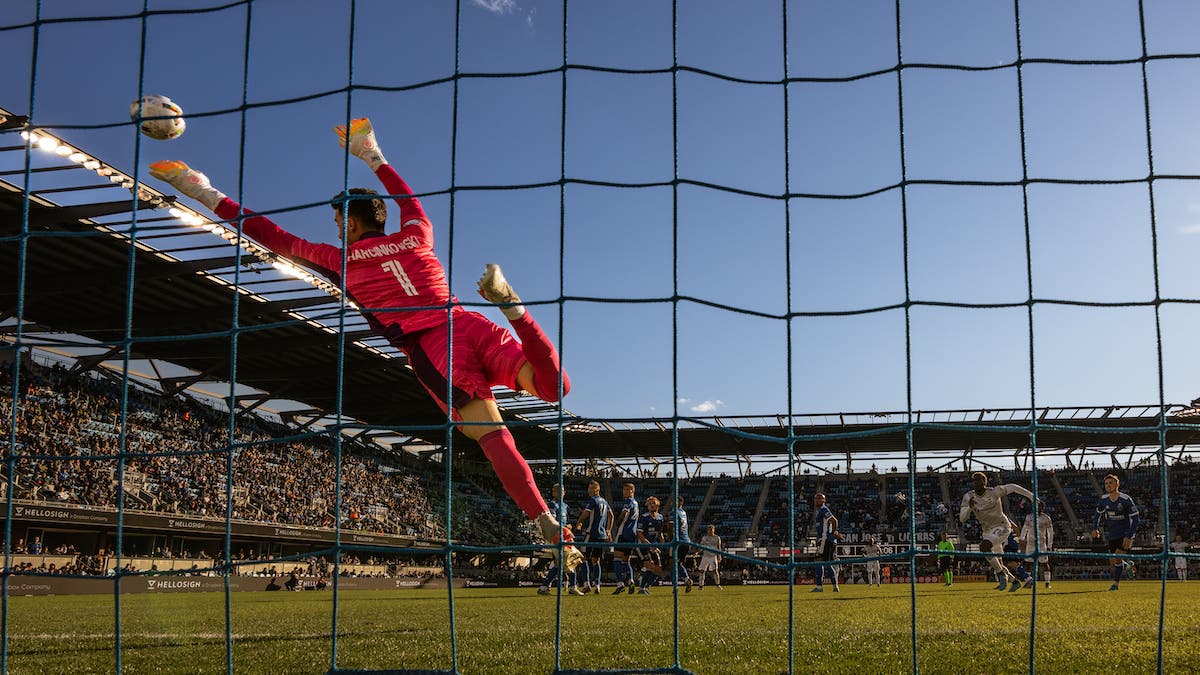
Another angle to consider when shooting soccer would be an “up position” if there is a place in the stadium that allows for this. This could be somewhere on an upper concourse where you are not blocking fans. Experiment with different levels and different parts of the stadium. If there is a spot behind the goal that works, it can make for an interesting angle if there is not problematic netting. If you stay low enough, you can possibly still see the faces of the players instead of just the tops of their heads. You might take this approach to have another angle, especially if your backgrounds are not attractive. Use this if you don’t want to show empty seats, or if you want to capture the shadows during a late afternoon game.
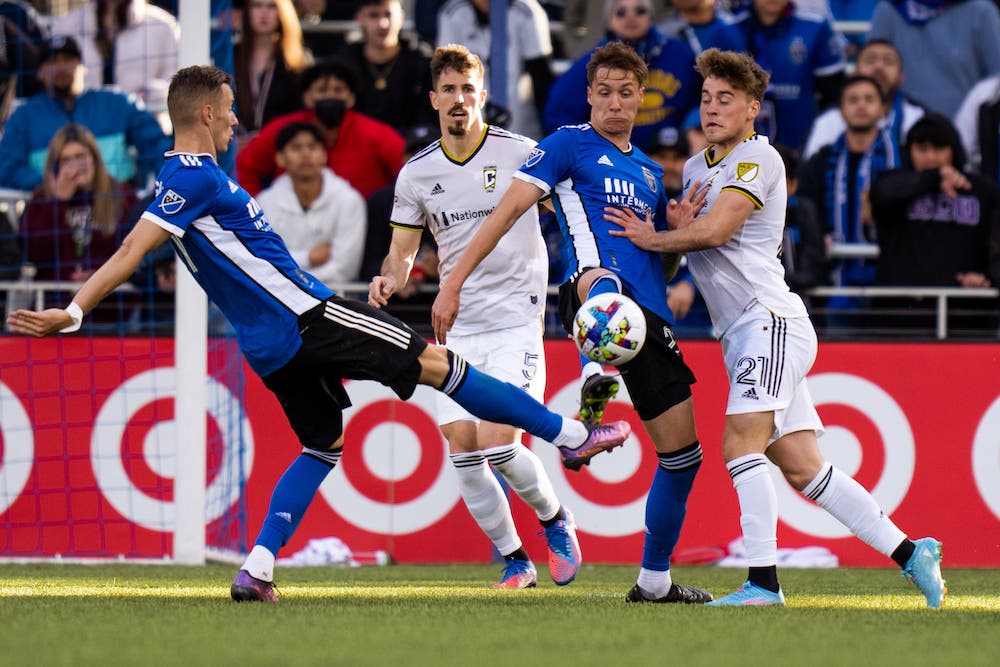
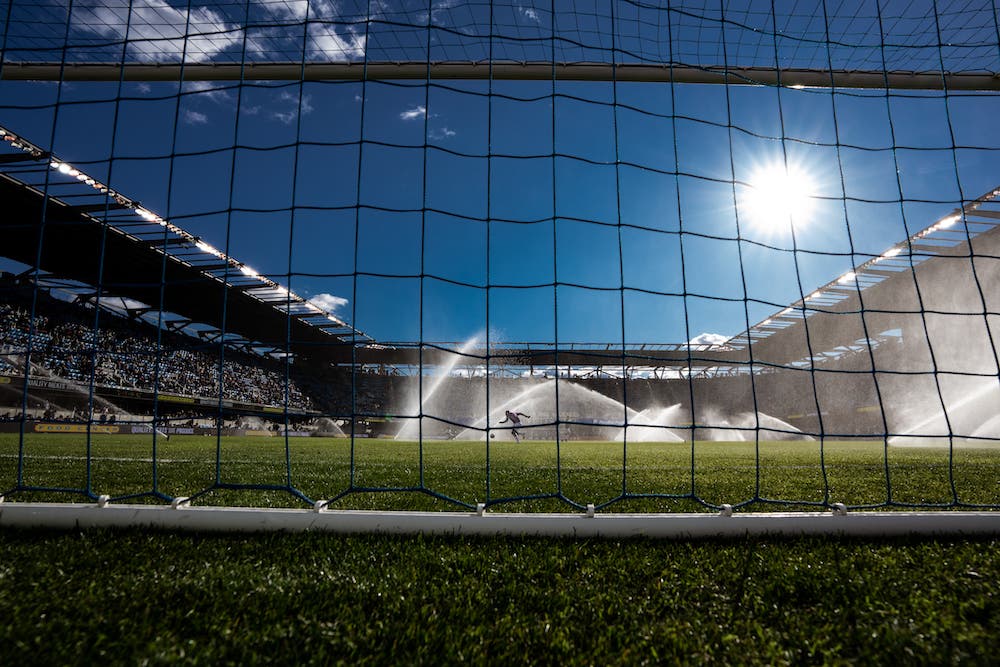
When I am shooting at field level, I like to move around to have a variety of angles. I capture some near the field’s corners and others as close to the goal as possible. I never stand at these positions. Instead, I get as low to the ground as possible with the objective of making my subjects look heroic. Most of the time, I am sitting on the ground or kneeling. Other times, I am either laying on the ground or pulling my screen out and putting the camera on the ground. Also, I like to have a remote setup right behind the goal — most of the time, low to the ground.
Best Gear for Soccer Photography
I shoot soccer with three camera bodies and primarily three lenses…
Sony Alpha 1 Mirrorless Digital Camera
The Sony A1 is terrific for all sports. The real-time tracking autofocus does its job, allowing me to create, frame, and compose my shots. When I am trying to capture peak action, 30 fps certainly comes in handy. Having different focal lengths is key to capturing what I am looking for.
Sony FE 16-35mm f/2.8 GM (G Master) E-Mount Lens
I mostly use my Sony 16-35mm for remote shooting behind the goal. The remote setup I have is simple: a pair of PocketWizards, PocketWizard Trigger release button, and a Manfrotto PIXI mini tabletop tripod.
Sony FE 70-200mm f/2.8 GM OSS II G Full-Frame FE-Mount Lens
Sony FE 400mm F2.8 GM (G Master) OSS E-Mount Lens
I also switch back and forth between hand-holding my Sony 70-200mm f/2.8 and a Sony 400mm f/2.8 on a monopod. When the action is close by, I am using the 70-200mm. When I want to capture the action across the field, or in front of the opposing goal, I use the 400mm.
Camera Settings for Soccer Photography
My camera settings vary depending on the game’s start time and — of course — I am always adjusting as the light changes. For the wide angle remote behind the goal, I am shooting somewhere around 1/1000 to 1/2000, F/5.6, adjusting the ISO depending on the light. This allows me to freeze the action and have a wide range to keep my subject in focus.
For my other two lenses, I shoot at 1/1000 or higher, with f/2.8, and adjusting the ISO depending on the light. I am always shooting in manual mode to assure I have the most control of what I want to create. When blurring my background, making my subject pop, or when there is pretty light, I will lower my exposure to make my images more dramatic.
Tips for Shooting Soccer Photography
Prep for Your Shoot
Preparation begins with formulating your plan. What is the message you are trying to convey with the picture you are trying to make? Research your venue before you arrive. Look at pictures online that were made at the venue. Maybe there is a particular player you want to focus on, or there is a angle you want to create that you haven’t before. What is your plan? Get to the venue early so you can scout positions before fans arrive. Give yourself plenty of time to set up a remote before players are out for warm-ups. See what backgrounds you may have available to you. Researching and formulating a plan before your shoot will help ensure that you will make the pictures you want.
Change Up Your Scale
Soccer images can all start to look the same. Changing the scale makes it more visually pleasing to your viewers. Go tight on the action. Go loose to show a sense of place.
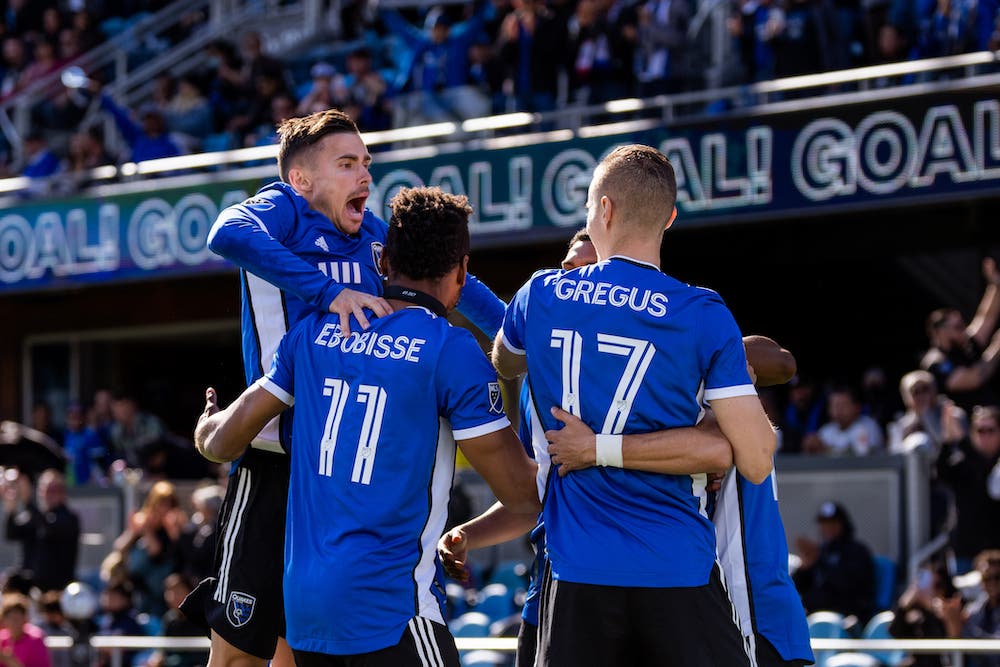
Shoot More Than the Action
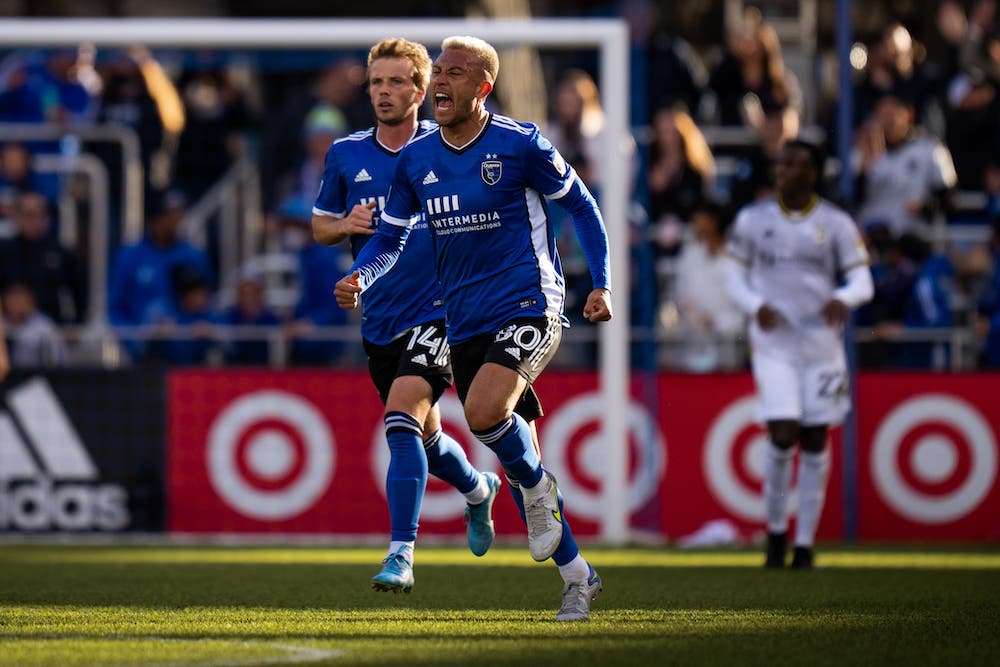
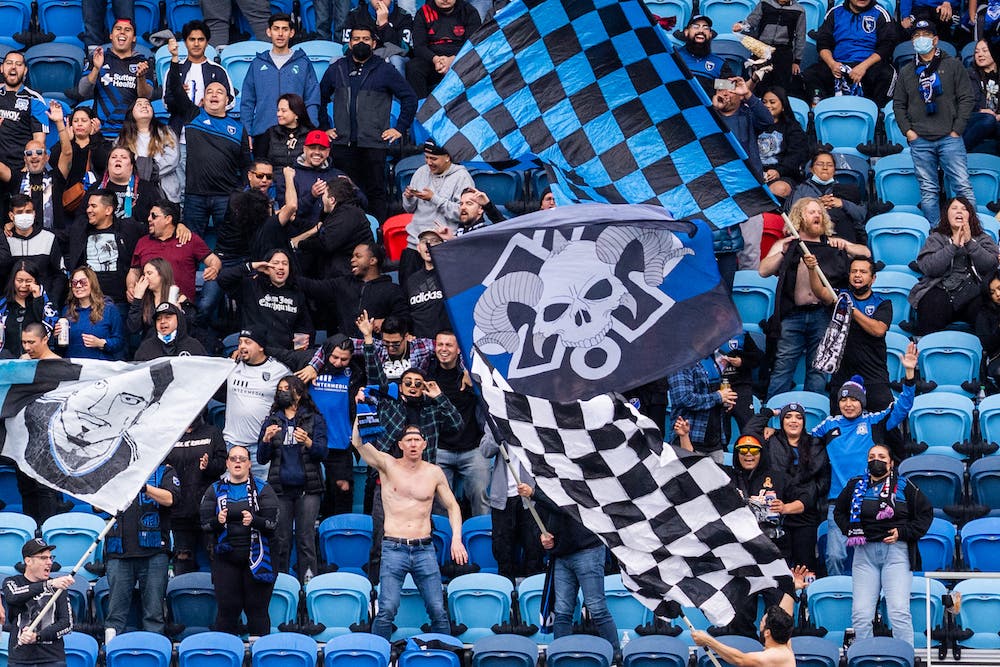
When you shoot action, look for the “reaction” and try to capture the players reacting — whether its tears or cheers. A leap? A roar? Fans in the stands? Maybe add a pregame shot, a portrait, prepping the field, or a detail.
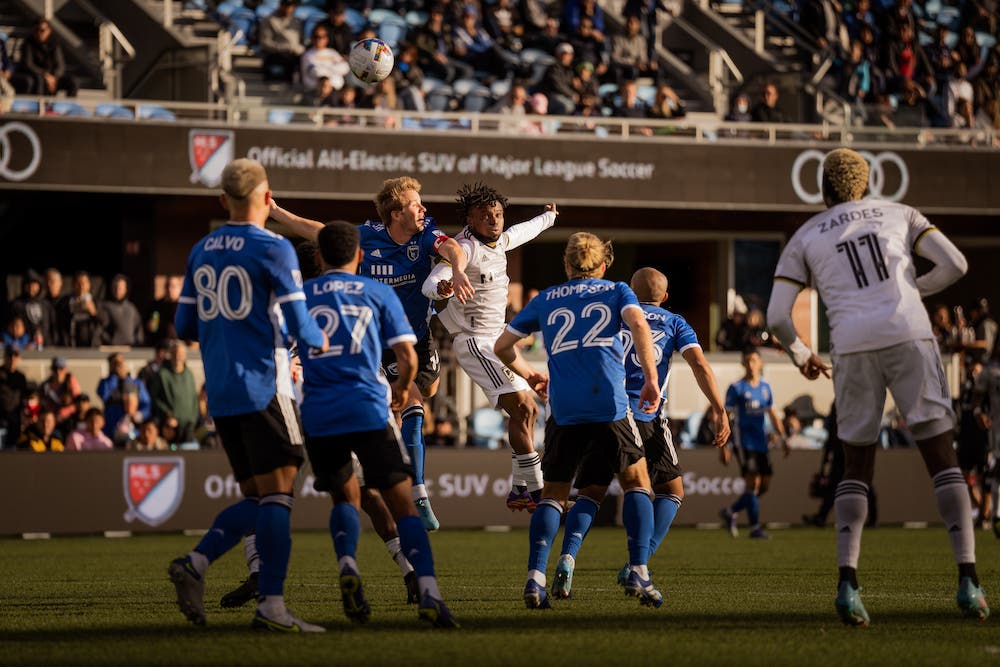
Chase the Light
I am fond of saying I live for games that have 4:00 p.m. start times. Why? Because there is nothing that makes more of an impact on sports pictures than nice light and shadows. Chase it! Lower your exposure. Capturing a header with beautiful light and shadows can turn an ordinary image into an extraordinary one.
Edit Your Work
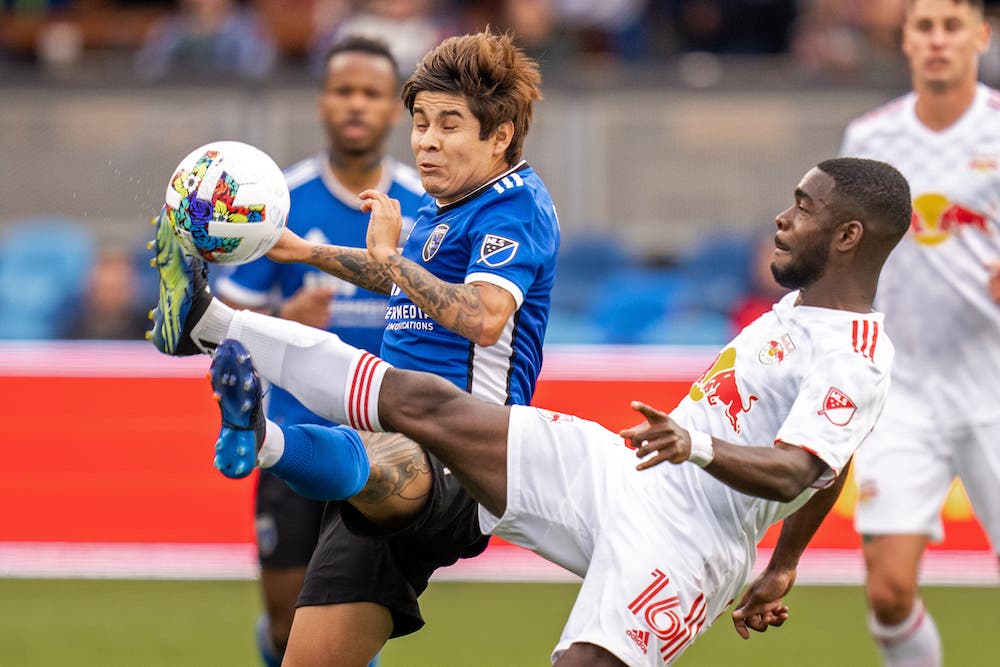
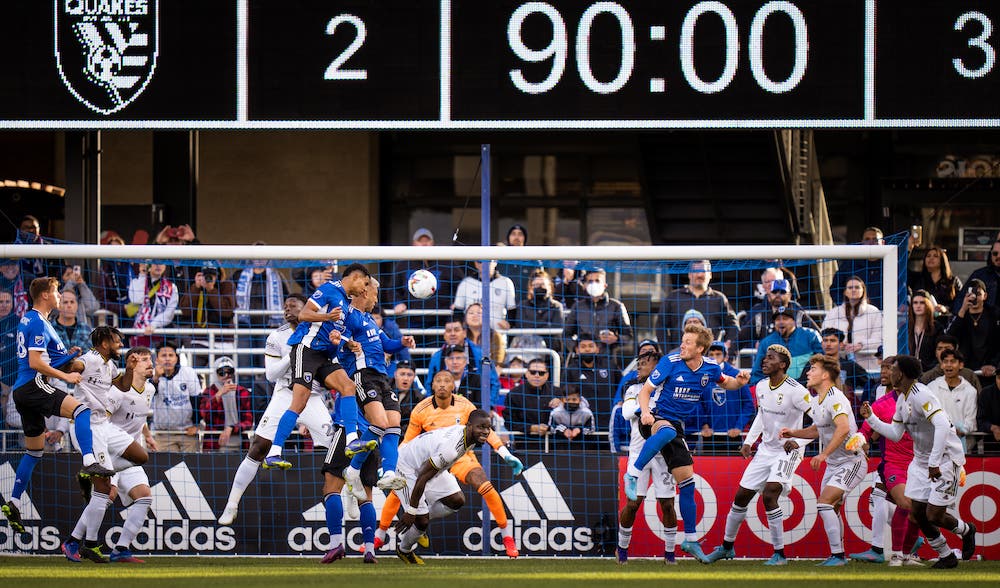
When editing your shoot, your athlete should be at peak action — legs in the air, intensity in the action, and the ball in motion. Soccer is messy, but there are a lot of chances for action. Some examples of action images to look for are: shots on goal with a leg and the ball flying, header, goalkeeper saves, and tackles.
Edit out the bad images. For example, this could be players’ heads growing out of other heads and players growing out of other players. Setting high standards for yourself will make you a better photographer.
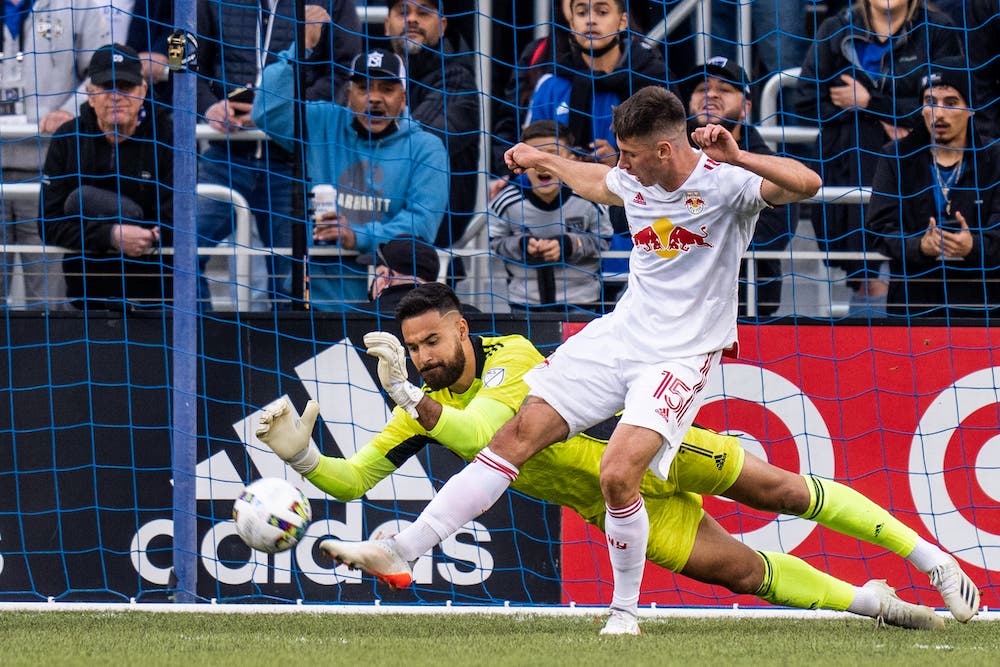
Learn more about this process by visiting the Photo Editing page on 42West.
Pick One Great One
Have a goal of making one great picture instead of 200 mediocre ones. Trying to capture everything, chasing the ball for two hours and overshooting is not the answer. Slow down and go back to your plan.
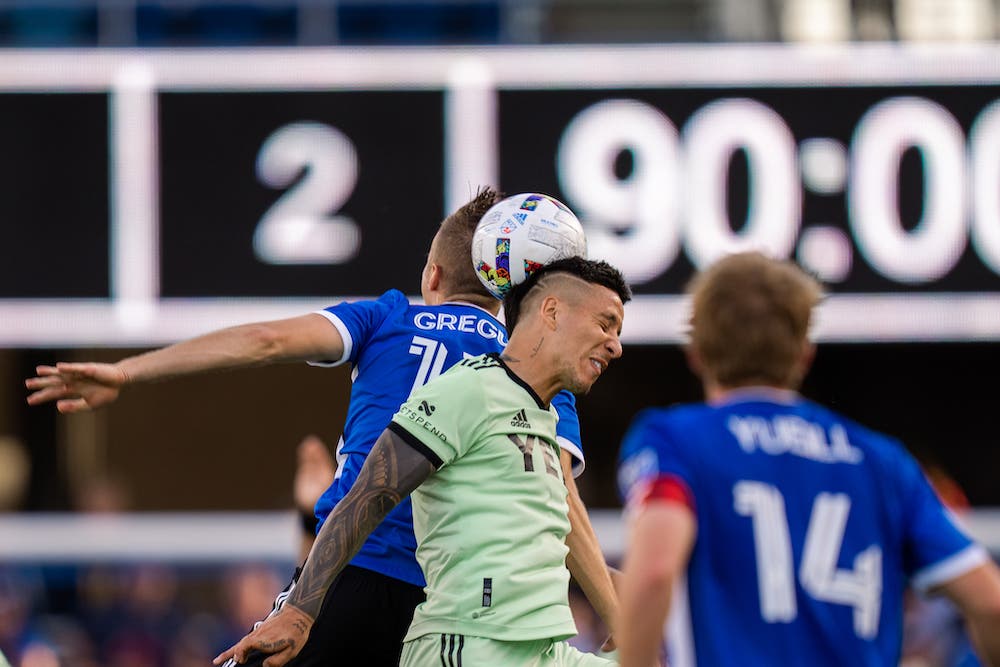
Pelé called it “the beautiful game” for a reason. To do it justice, you must think like a player. Have a plan, do your homework, arrive early, and scout the venue. The more knowledge you have about the game, the better your chance for success. The more you shoot the same team and the same players, the more consistent the results because athletes repeat themselves. Finally, like the best players, you should be creative. Don’t be afraid to experiment and stay in motion. No risk means no reward. That’s how to score goals, and that’s how to make memorable pictures.
For more from author Jean Fruth, check out Capturing the MLB Playoffs: My Experience in Baseball Photography.
