Photographs and videos are strongly related, and it’s only natural for photographers to try videography. Modern DSLR cameras are perfectly able to record good-quality videos and help you move forward with your career. And because you already know how to use a DSLR camera, how to shoot video on a DSLR is an easier transition than you probably imagine. But is taking great photographs enough for you to have the same results with videos? And is your photography gear enough for recording videos?
It definitely helps to master composition first. You should know how to frame a scene, create a strong focal point, make the subject stand out, and add a sense of depth. In this way, photography skills come in very handy when making videos. However, moving pictures have two additional dimensions you have to consider: motion and sound. And because your DSLR is not designed with these two in mind, this is where extra gear will make a difference.
Gear to Shoot Video on a DSLR Camera
Your DSLR is perfectly capable of capturing high-quality static images. You probably use multiple lenses for more creative freedom, a solid tripod for stabilizing the camera, and a broad variety of filters for special effects. You might even have some lighting equipment that you can also use for videography for certain types of shots. Try to make use of the gear you already have when it makes sense. However, there are areas where you will likely have to upgrade your gear to get better results. If you are not satisfied with the quality of your videos, consider the following types of gear to level up the production value.
External Microphones
Even though your camera also has a built-in microphone that helps you record audio footage, it is likely not good enough.
There are two main benefits of having an external microphone: exceptional sound quality and long recording distance. DSLR cameras, especially older models, have built-in mono microphones, which can work well for recording someone speaking next to the camera but not for more than that. However, you need a stereo microphone for high-quality music or ambient sound recording.
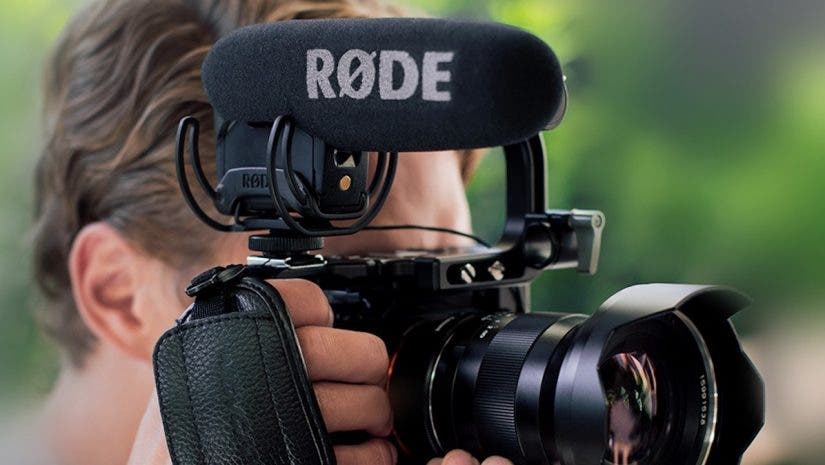
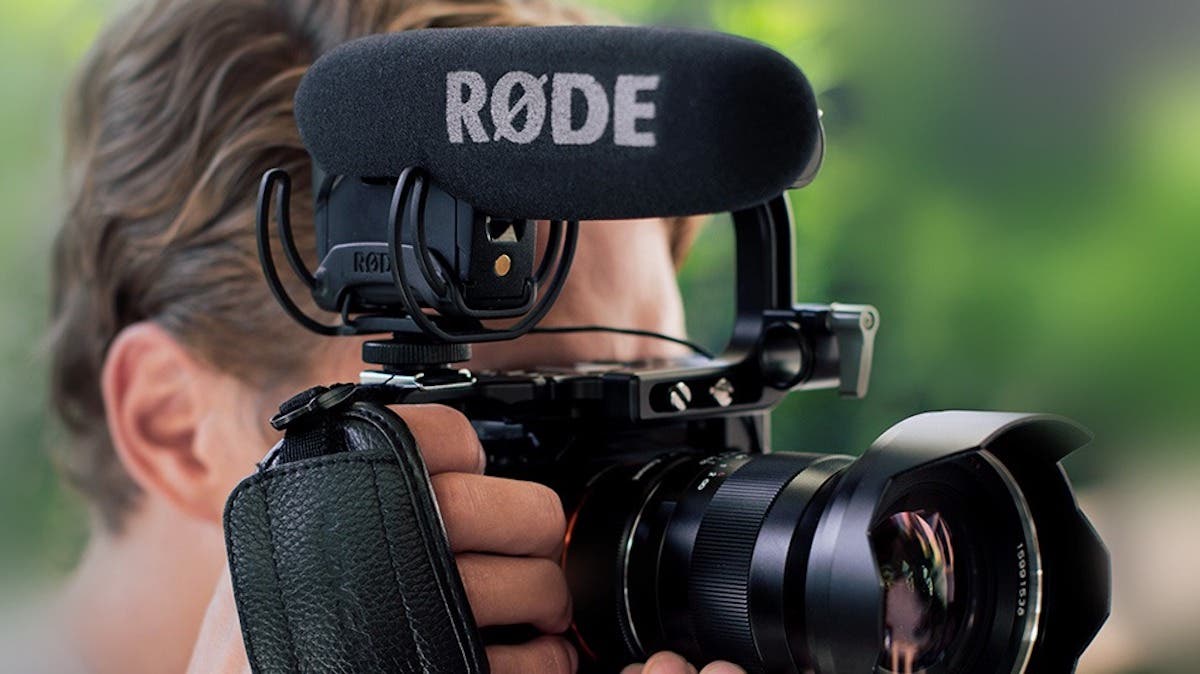
Another problem with the built-in microphone is its fixed position on the camera’s body. You can’t direct it towards the source of sound and, if you are not careful enough, you can block it with your hands. If you want to record sound coming from the front of the camera, a directional, external microphone such as Rode VideoMic Pro is a better choice. It provides higher sensitivity and quality, and reduces ambient noise. To get it even closer to the subject, you can consider putting it on a boom pole and holding it above the person. Aim the microphone towards the chest of the talking person.
If the source of sound is far away from the camera, you may need an external microphone with a long recording distance such as DJI Dual-Channel Wireless Microphone System. It has a recording distance of up to 200m in a scenario where there is a direct line of sight. And because it includes two microphone transmitters that support omnidirectional audio, you can record more than one sound source.
Note: Make sure your DSLR camera has an input for external microphones or can connect to one via Bluetooth.
External Monitors
It is impossible to watch the scene through the viewfinder when recording a video with a DSLR. Using the camera’s LCD is somehow better, but it still doesn’t provide the clarity and flexibility you need. An external monitor lets you see what you are filming and control focus. It also saves recordings directly on external storage and upgrades recorded file formats.
Some of them, such as Blackmagic Design Video Assist 5″ 12G-SDI HDMI HDR Recording Monitor, include touch screen controls and 3D LUTS for quick editing. In addition, because you can preview the finished product, you can make informed directing decisions such as adjusting lighting or décor, changing framing, or redoing a scene.
Motorized Sliders
Although you can handhold your camera while filming a scene, some camera movements require dedicated gear. A motorized slider provides a smooth and slow camera movement along a straight rail. As a result, your footage will be sharp, steady, and professional quality. You cannot do this with handheld movements, as every slight movement will make your footage wobble or shake. Sliders are frequently used for commercial videos because they provide a predictable movement and standard framing.
You can choose between a short, light, all-purpose motorized slider (e.g., Rhino ROV PRO Everyday) or a long, studio one that provides a wide panning motion (e.g., Came-TV 80cm Motorized Parallax Slider). Always make sure you choose gear that fits the type of video you want to record.
Studio Lighting Systems
Flash won’t help you shoot videos in low-lighting conditions. You need a continuous source of light. The best option for studio filming is a complete lighting system that provides a broad brightness range and daylight color temperature. For example, Godox SL-60 2x LED Video Light Kit is an inexpensive option and includes two SL60 Lights with reflectors, two softboxes, and two light stands. You can arrange them as you wish and use a wireless remote control to adjust them.
If you prefer an artificial source of light that goes wherever your camera goes, consider Lume Cube Panel GO LED Light with DSLR camera mount. It’s a LED light that replaces a flash and illuminates your scene for up to 1.3 hours at its maximum brightness. In addition, it provides a color temperature between 3200 K and 5600K, brightness adjustability, and a frosted lens for soft light. Make sure you have backups if you intend to film for more than one hour.
Teleprompters
If you film people following a script, you will probably need a teleprompter (i.e., a screen that displays and scrolls text). It is frequently used in television-like videos, advertising, commercial videos, interviews, and video tutorials. You can mount a teleprompter on the camera (to face the person in front of the camera) or on a light stand (to make it available to anyone on the set).
Choose a small portable teleprompter such as SmallRig TP10 to carry around with you. It mounts on the DSLR and has a remote control for starting, pausing, adjusting font size, etc. And because you will probably use other equipment as well, SmallRig TP10 has two built-in cold shoe mounts to allow you to attach lights or microphones.
Tripod Video Heads
Although you can avoid shaking the camera when taking a photograph while handholding the camera, it is impossible to do it when filming a video. The regular tripod head provides image stabilization but doesn’t allow you to follow a moving subject smoothly while panning or tilting. To do this, you need a dedicated tripod video head that provides 360 degrees of continuous pan and tilt drag of at least 75 degrees forward and backward. In addition, a 90-degree forward tilt is required for tabletop setups, frequently used for food videos.
When you choose a tripod video head, make sure your gear weighs less than the payload of the tripod head. For example, Benro S6PRO supports up to 6 kg. In addition, it has two extra mounts for attaching an external monitor or a microphone, so add their weights to the weight of the camera and lens.
Concluding Words
Choosing your gear wisely allows you to keep your equipment at a minimum and invest time and money upgrading your skills. Base your decisions on your workflow, artistic vision, and purpose. Commercial videos need different gear than art movies. Long videos have other requirements than short ones. Focus on gaining control over camera movements and acquiring high-quality images and sound. And don’t be afraid to experiment.
