Using a DSLR camera for the first time can be pretty overwhelming, and if you’ve never had any formal training in photography, the camera can seem like the most complicated thing ever. Most beginners start with the Auto mode for practicing their composition skills. But as everyone knows, if you want to take amazing photos like a professional photographer, you need to start using the Manual mode settings on your camera.
Before we get into that, remember that there is no magic formula when it comes to Manual settings. You’ll have to tweak them as you go, depending on what you’re shooting and the lighting conditions you’re working with.
What is Manual Mode?
Manual mode is the camera’s mode in which you make all the decisions regarding the aperture, shutter speed, ISO, and white balance, and the camera follows your lead. It is the most basic way of using a camera and, at the same time, the most powerful. You evaluate how much light and motion are in the scene and configure all camera settings before taking the picture.
Why Would You Want to Use Manual Settings on a Camera?
In any of the automatic or semiautomatic modes, the camera makes decisions for you. And the camera doesn’t care about your artistic vision or the composition. It only cares about producing a well-exposed image, which works well if you aim for standard photographs taken in standard conditions. Whenever you get outside your comfort zone, a manual camera is a better choice.
When you switch the mode dial to Manual, camera settings become your responsibility. If you photograph in poor lighting conditions, you get to decide how much you want to slow down the shutter speed to maintain a small aperture and, thus, a deep depth of field. You decide how much you compromise the ISO to maintain a fast shutter speed. And you can ignore all the rules and create overexposed (high-key) or underexposed (low-key) photographs.
How to configure your DSLR camera’s settings in Manual mode:
- Set the dial on your camera to Manual (M) mode.
- Choose your preferred image format (JPEG, RAW, etc).
- Point your camera at desired subject to assess lighting conditions.
- Adjust the white balance to desired color on the camera’s Menu.
- Configure basic manual shooting settings: Aperture, Shutter Speed, and ISO.
- Take a photo, adjust the settings to achieve desired lighting, and repeat.
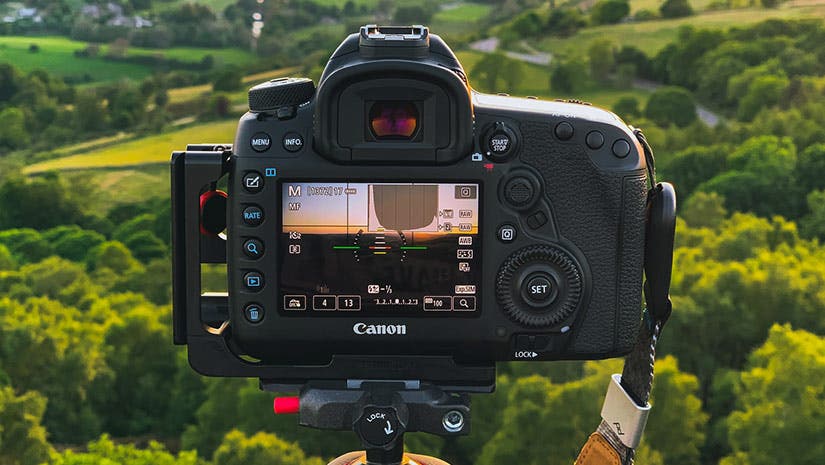
Now let’s discuss these steps further. When switching to Manual mode, you simply have to turn the mode dial on top of your DSLR and make sure the indicator is aligned with the “M” icon.
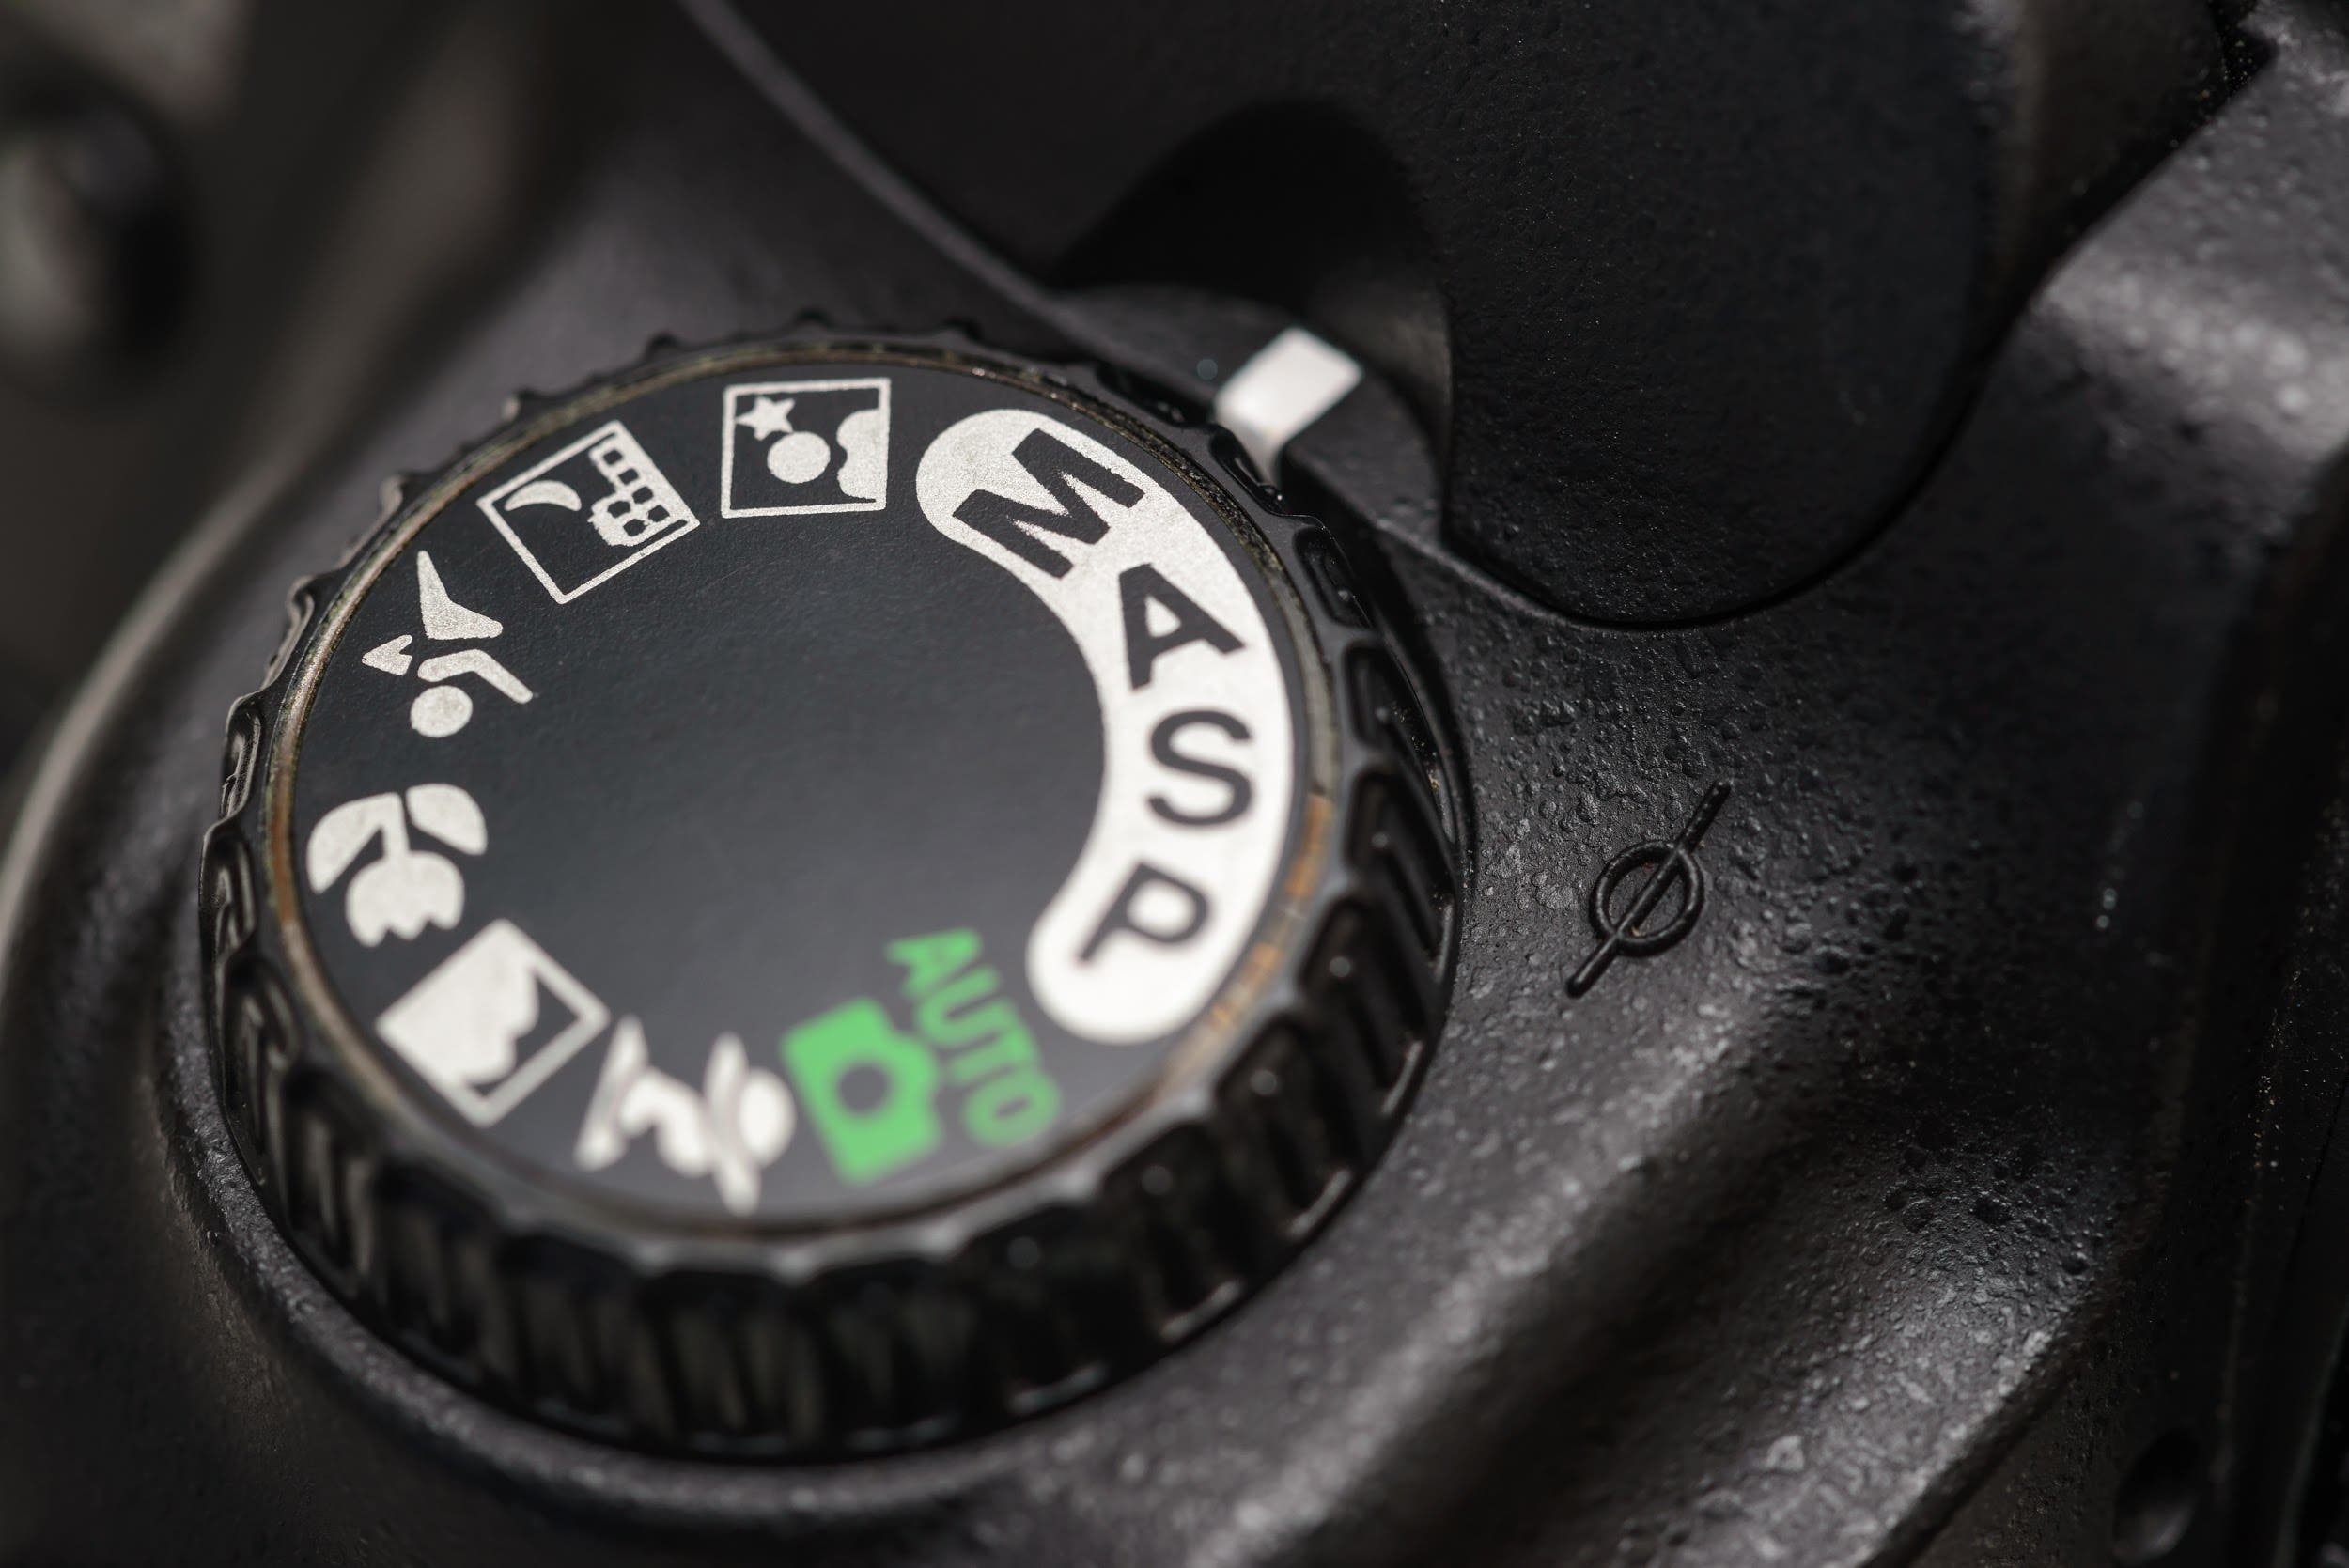
Image Format
Next, choose the image format you’d like your images to be saved in. If you don’t intend on post-processing your images, JPEG will suffice. However, RAW format is usually preferred by photographers since the images will retain maximum detail and more color information.
There are other types of image formats, but JPEG and RAW are the most commonly used. Whichever format you use will depend on what you are shooting, how much detail and image information you require, and your available memory card storage space.
White Balance
You’re almost ready to shoot! The next step is to adjust your white balance. This allows you to control the color of your images in the present lighting. With the proper white balance setting, anything that is white in an image will appear truly white. Meanwhile, other colors within the image will also appear accurate (relative to the lighting the image was taken in). Every camera has a number of preset white balance settings, but it also pays to learn how to adjust it to your own custom setting.
Now, on to the trickiest part! Since you’re now in Manual mode, you’ll have to start manually adjusting the three most important camera settings—the aperture, shutter speed, and ISO—to ensure that you get the desired exposure.
Aperture
This refers to the size of the space or opening of the camera’s lens through which light enters. Adjusting the aperture determines how small or how large this opening will be, which will affect your shot’s exposure. The aperture is measured by numerical values called f-stop values. The smaller the number, the larger the opening—and vice versa.
Shutter Speed
Your camera’s shutter speed refers to the amount of time that the shutter is open and the camera’s sensor is exposed to light. Fast shutter speeds are normally used to freeze action, while slow shutter speeds are used to create motion blur with moving subjects. The latter is also great for night photography or low-light situations.
ISO
The ISO refers to the sensor’s sensitivity to the light that enters the camera’s lens. A higher ISO setting means your sensor is more sensitive to light, allowing you to capture well-exposed images in low-light conditions without needing to use a flash. Conversely, a lower ISO setting means your sensor is less sensitive to light. This is perfectly fine if there is adequate lighting. Professional photographers recommend sticking to a lower ISO setting (or the “Base ISO” setting of your camera) when shooting in well-lit or fair lighting conditions, as higher ISO settings tend to add grain or noise to your images.
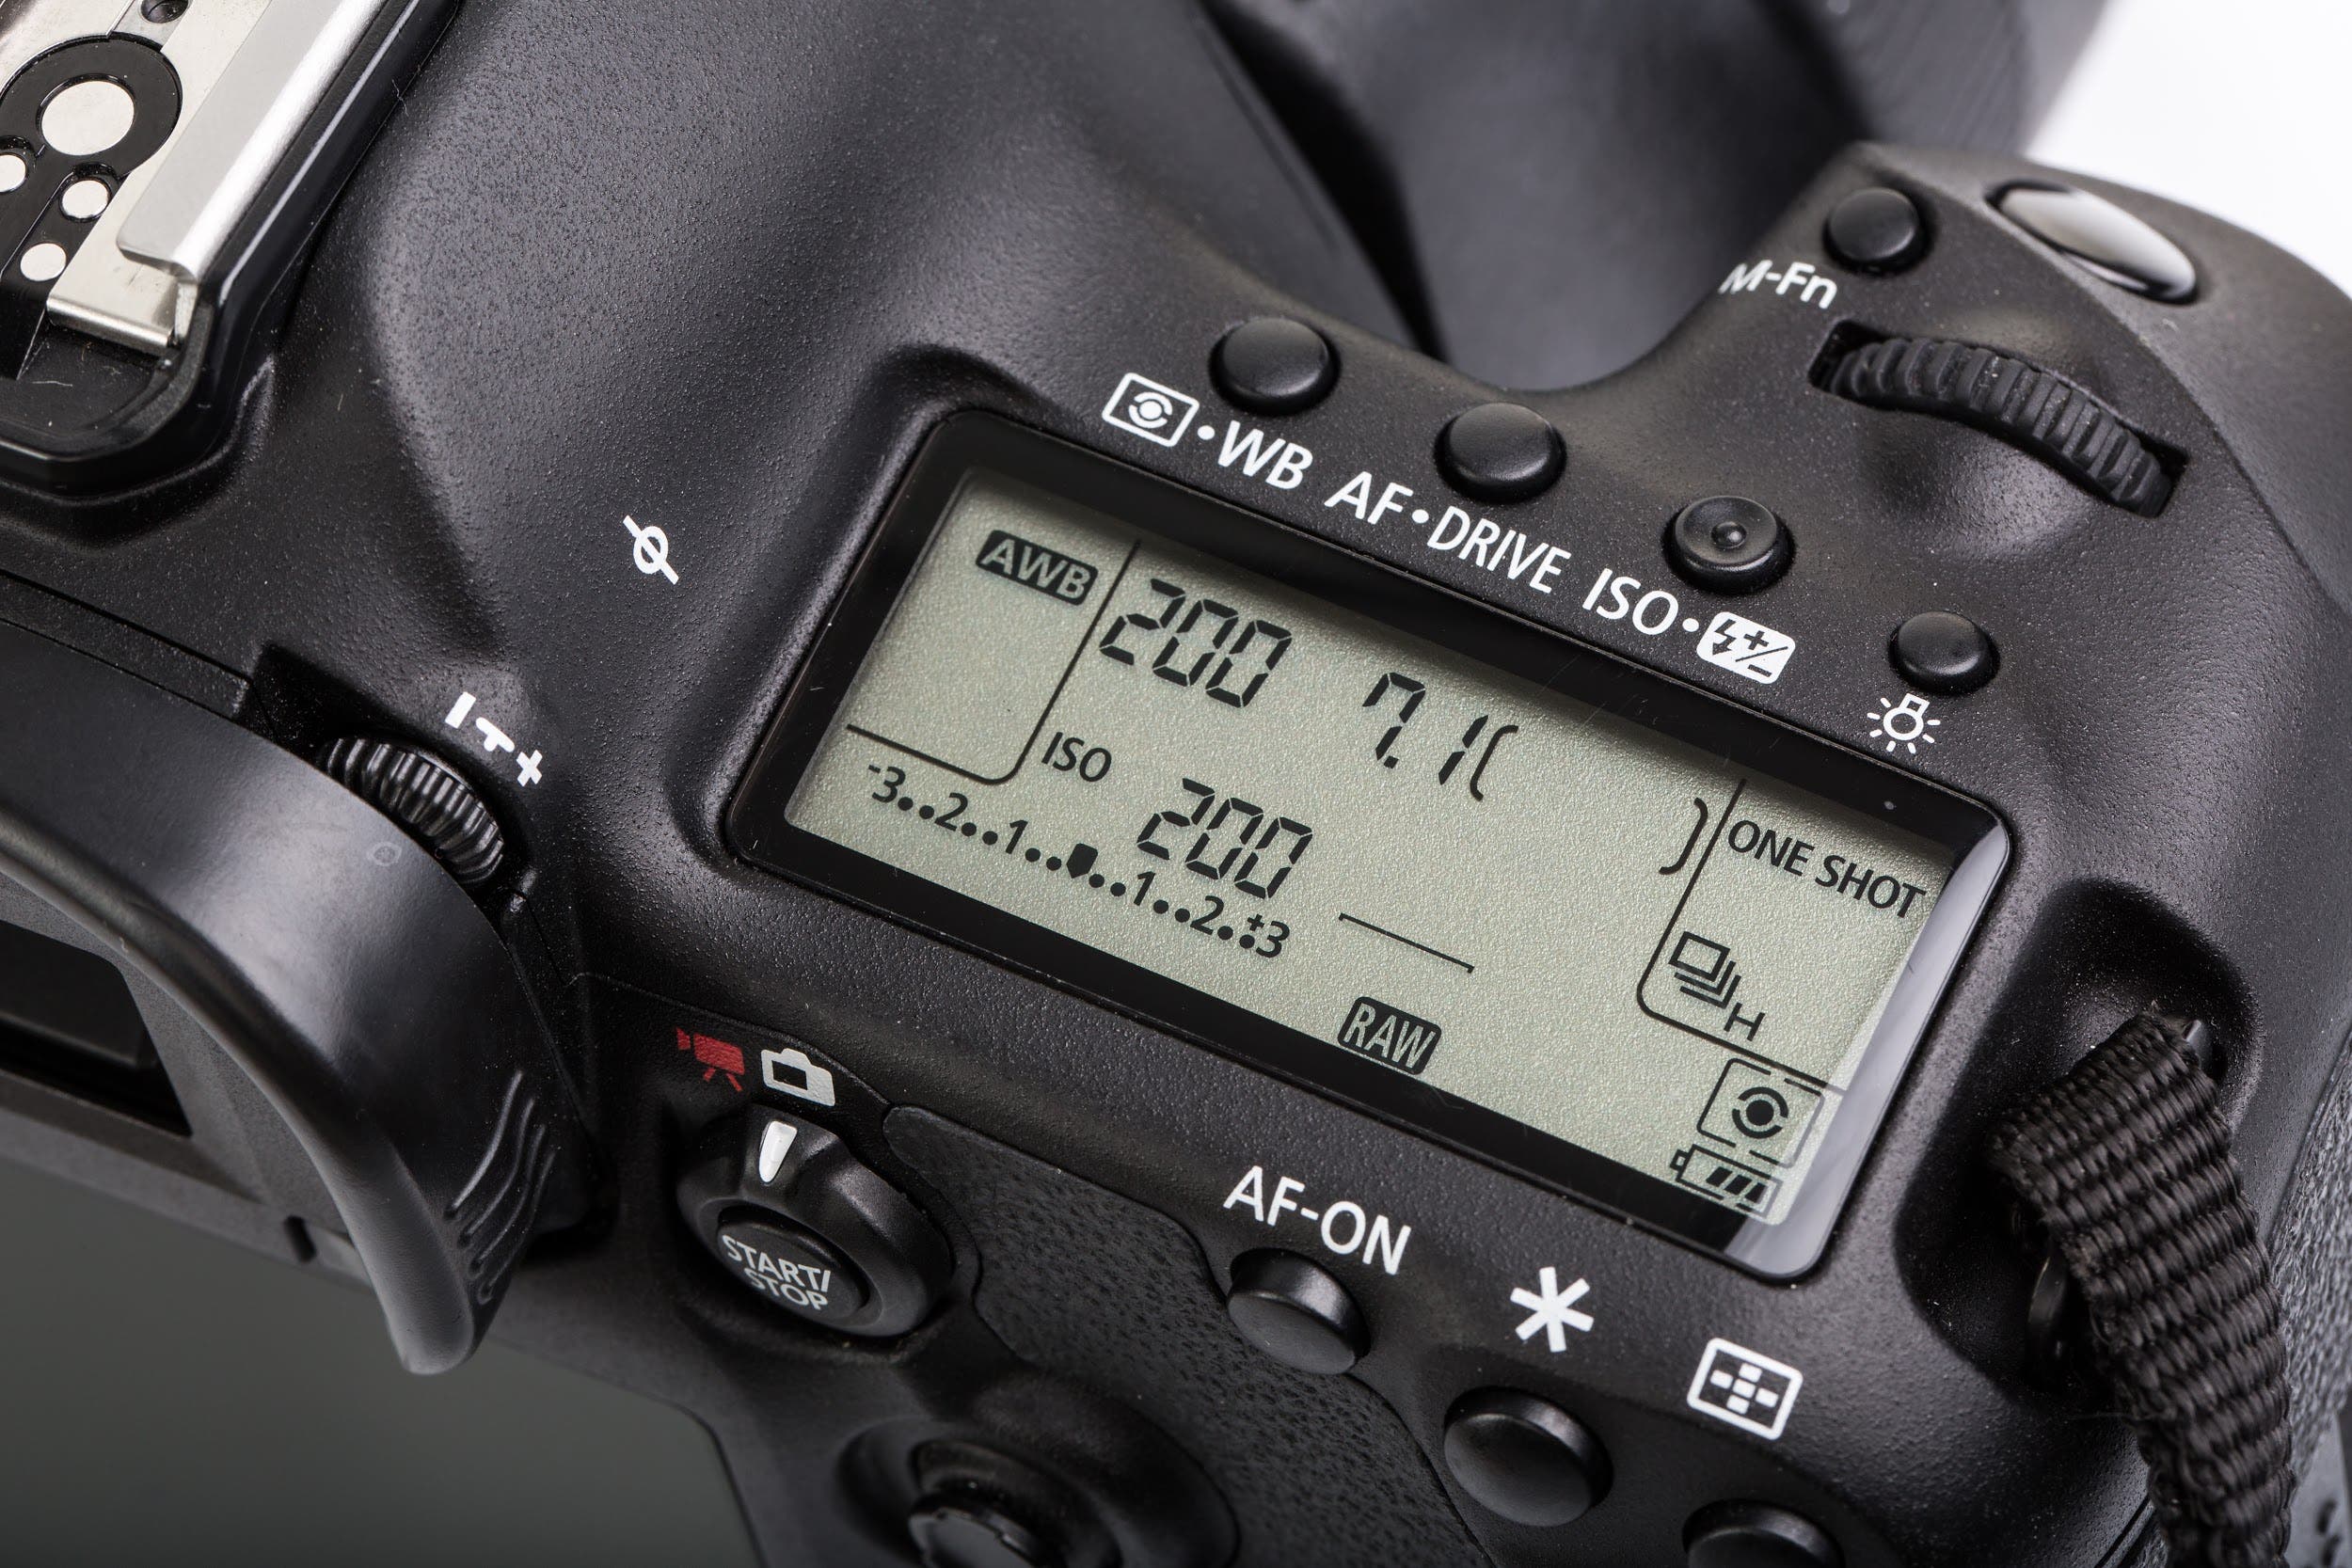
Together, these three settings determine a photo’s level of exposure. They can all be adjusted on the LCD screen menu or by using shortcut knobs or dials on the camera body. The exact steps for adjusting each of these settings can vary depending on your camera model, so it’s always best to read your manual to figure out how to properly adjust each setting.
Should I Always Shoot in Manual?
If photographers just needed manual cameras, automatic cameras wouldn’t have been invented. So, no, you shouldn’t always use the manual camera settings. There are many situations in which an automatic or semiautomatic mode works better.
For example, when the lighting conditions or the scene are changing rapidly, manually adjusting the camera settings may delay you too much. Street photographers want to capture the moment and don’t have time to go through all settings between photographs. Other times, the subject is moving so fast that you only care about keeping it in focus. It’s helpful to have someone else taking care of the exposure. There are also times when you care for just one setting (e.g., a slow shutter speed for a long exposure composition). The camera may take care of the rest, allowing you to focus on what’s important at the moment.
