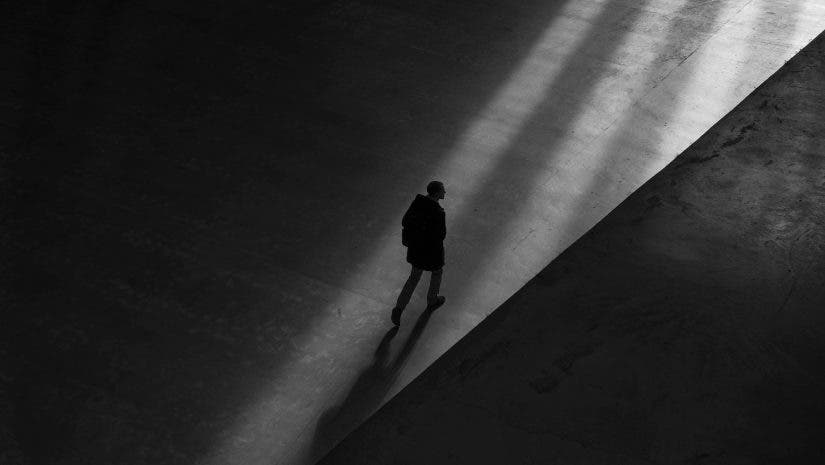
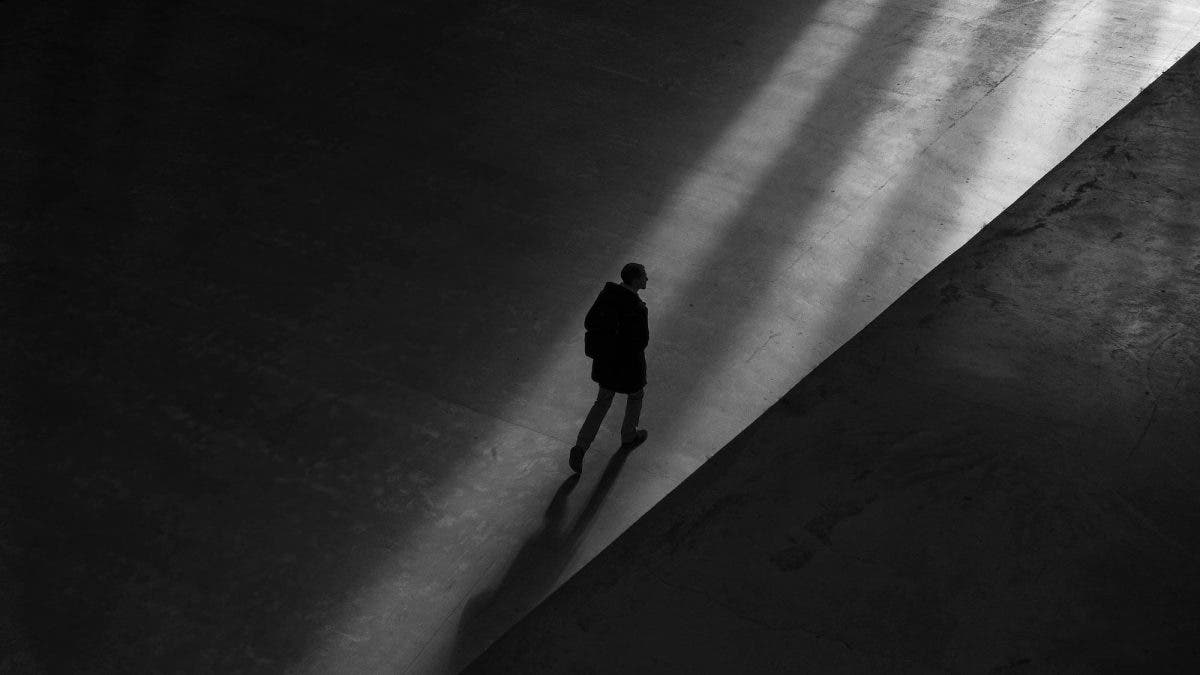
While light may provide the key ingredient for photography, shadows provide the flavor. Shadows add depth, shape, and texture to our imagery — not to mention, contrast and balance. In some instances, shadows can even become the focus or subject of an image. We often talk about studying light in photography but, to do this effectively, we must also study the absence of light. To that end, I’d like to share a collection of shadow photography ideas, tips, and examples to encourage the exploration and use of shadows in your photography.
What is Shadow Photography?
To better understand shadow photography, we must first understand shadows. Simply put, shadows appear when an object blocks the light from reaching a surface. In every photo we create, we capture some combination of light and shadows. Light and airy photos feature more light while dark and moody photos tend to lean more into the shadows.
As the name suggests, shadow photography focuses more on the intentional, creative use of shadows. We can capture the shadows as they exist or manipulate our light source and exposure to create shadow-centric pictures. When we know how shadows are created, we can more easily recreate them as needed.
Light Direction and Light Quality in Shadow Photography
Shadows will change in appearance depending on where an object (that is casting the shadow) is placed in relation to the light source. Knowing this, we can adjust the angle of the light source (high, low, front, side, or behind) and use the light direction to help shape the shadows that appear on or around our subject. We can also adjust the size of the light source (e.g., softbox vs bare bulb) as well as the distance between the light source and are subject to further impact the quality of light and shadows (hard or soft) in our image. We’ll explore a variety of options for controlling light direction and light quality to impact our shadow photography in the tips below.
Shadow Photography Ideas, Tips, and Examples
- Take Advantage of the Inverse Square Law
- Create “Silhouettes”
- Add Patterns
- Frame Your Subject
- Use Hard Light
- Experiment with Light Patterns for Portraits
- Make It Black and White
- Minimize Distractions
- Embrace Negative Space
- Make the Shadow the Subject
- Dodge and Burn in Post
Take Advantage of the Inverse Square Law
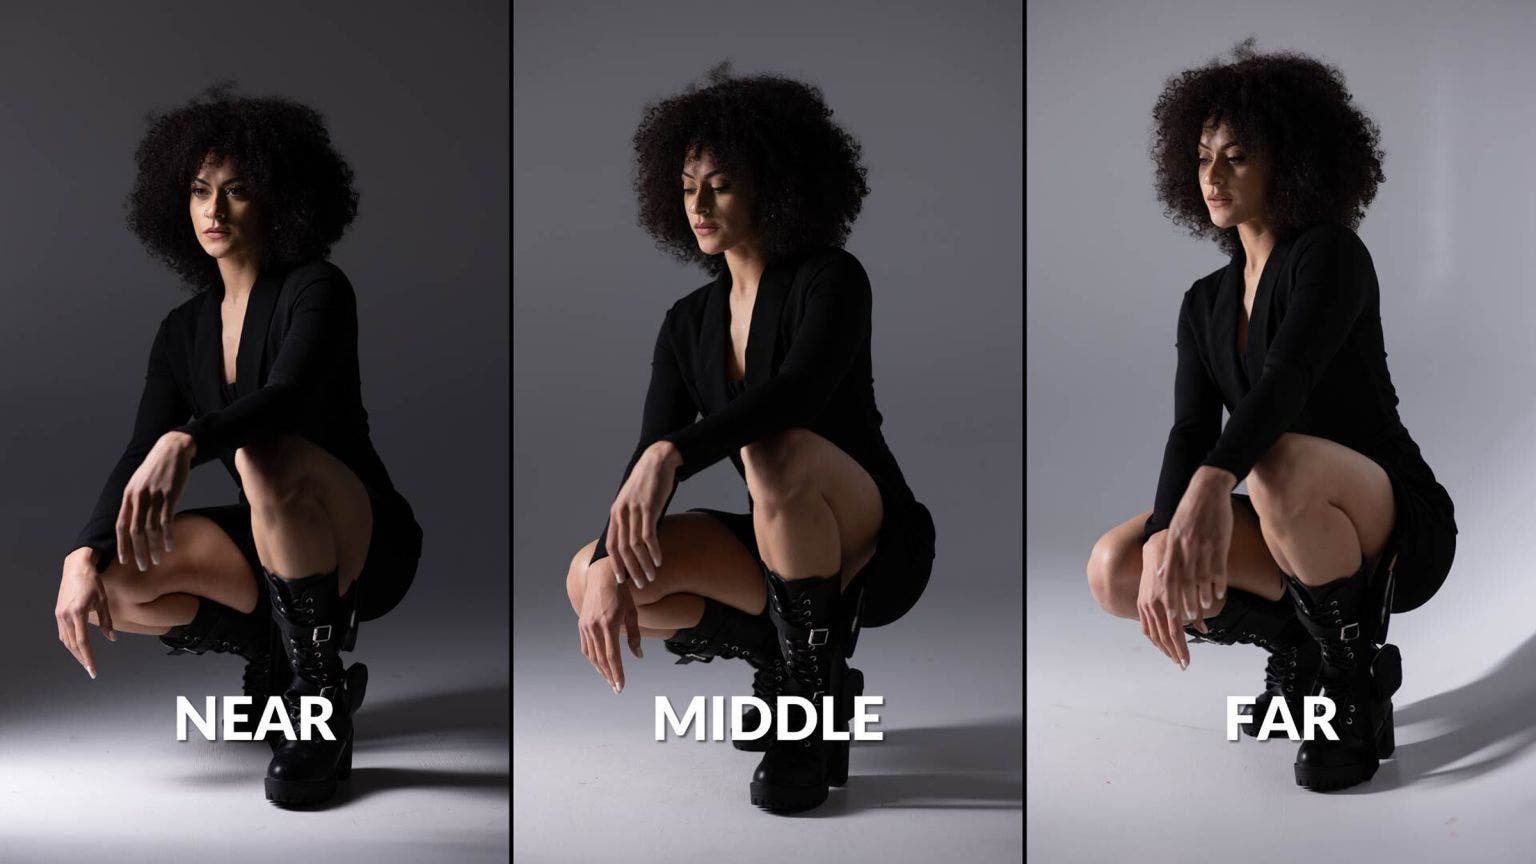
I mentioned earlier that photographers lean more heavily into the shadows for shadow photography. One way to do this is to take advantage of the inverse square law. If you’re unfamiliar with this “law,” it basically means that the intensity of your light source will decrease as the subject moves farther away from it. The trick that makes this an effective tool for working with shadows is that we can place our subject closer to the light and then lower our ISO to properly expose our subject while also deepening the shadows. In order to achieve this same effect while placing your subject farther away from the light source, you would need to boost the power of the light source and maintain a lower ISO. Otherwise, steady power from the light source and a higher ISO would yield a brighter background. See the images above for visual reference.
Create “Silhouettes”
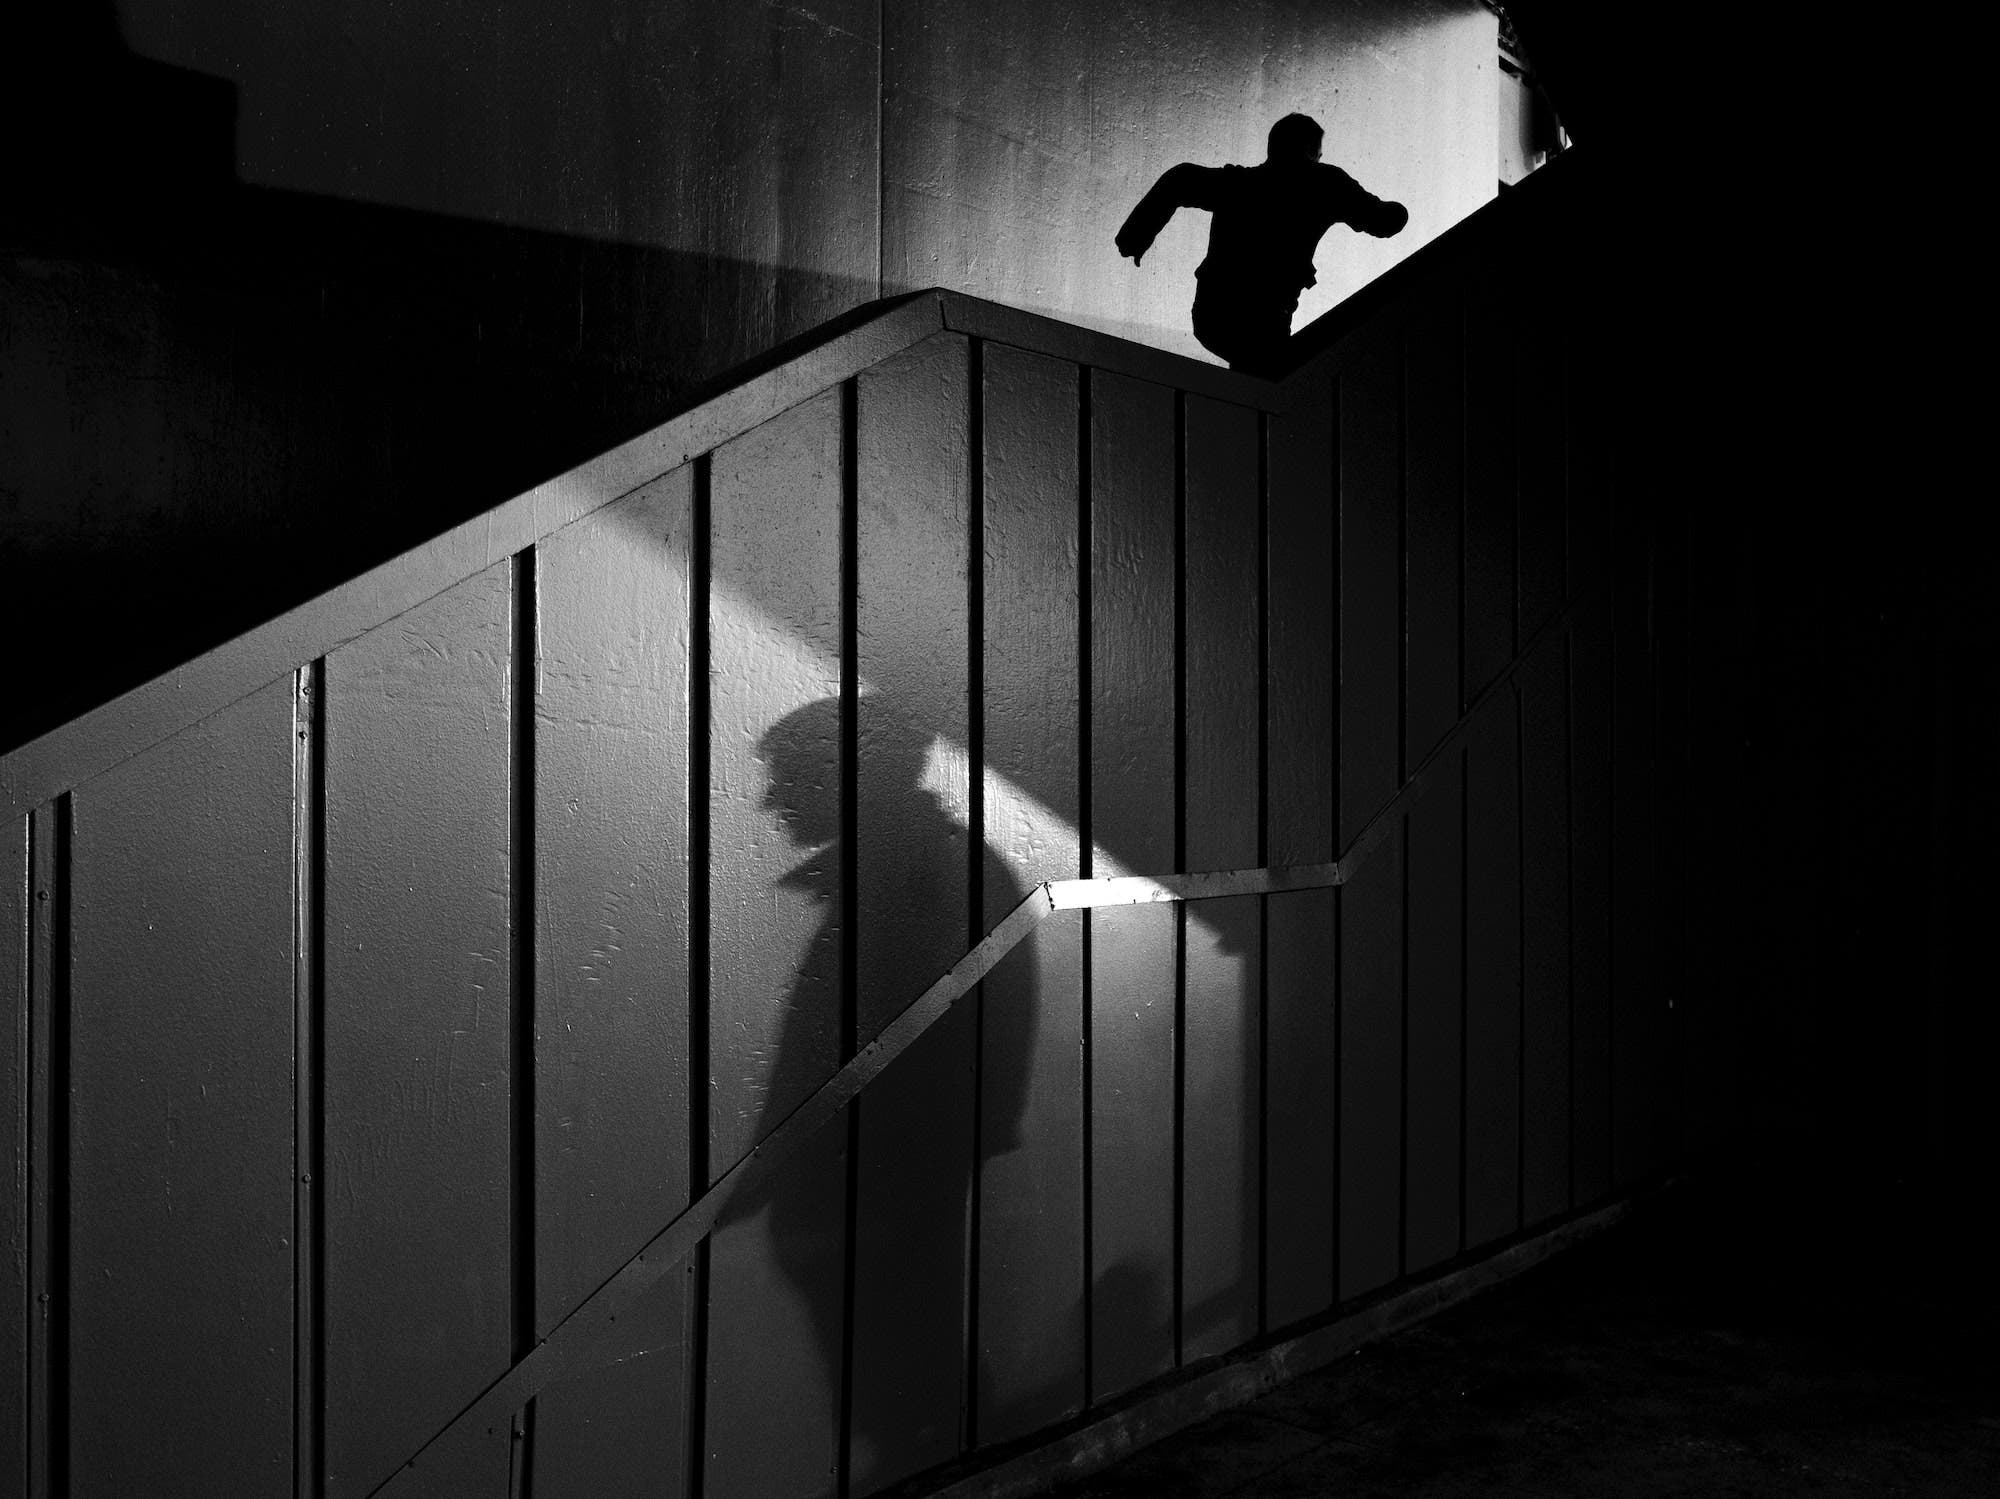
Many of us probably think of silhouettes when we hear the phrase shadow photography. While this makes sense, it’s important to distinguish between silhouettes and shadows. In a silhouette, the subject blocks the light to reveal a dark shape against a lighter background. A shadow, on the other hand, is what we create when we use the subject to block light and create a shadowy “duplicate” of an object in the scene. That said, we can still create and use silhouettes as part of this genre. To do this, make the silhouette part of a larger scene that features a creative use of shadows.
Add Patterns
Bring in the “gobos” (go-between objects)! Gobos use shadows to create patterns or shapes that serve as an effective compositional element and add visual interest to our photos. We can use them either on our subject or in the background.
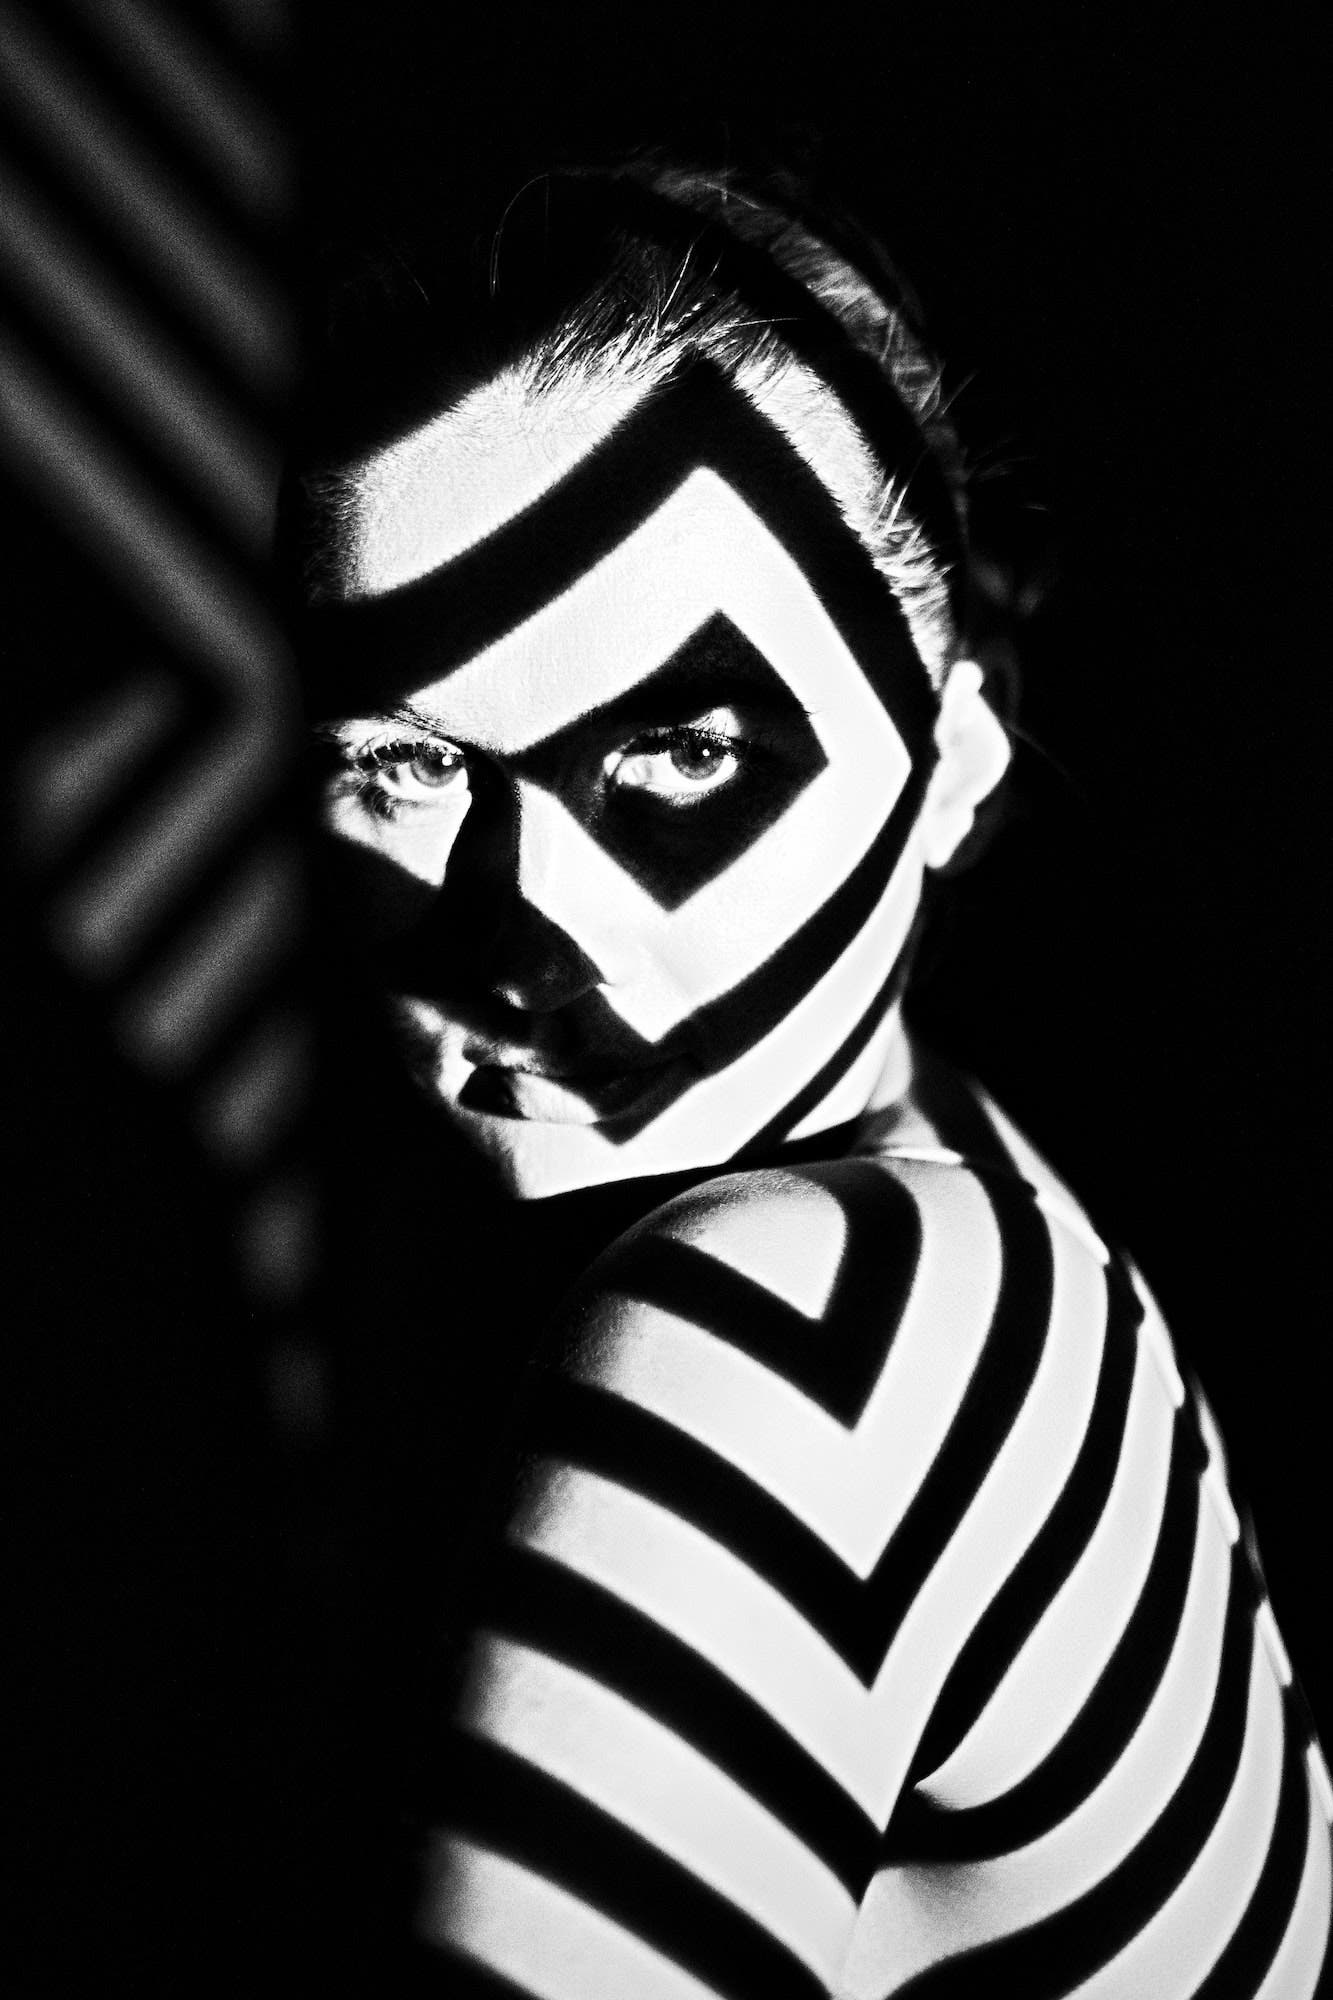
If you’re wondering what, specifically, to use as a gobo, your options are many. Some examples include window blinds, fabrics (like lace), grids, or any number of objects. You can also purchase professionally designed gobos that feature various shapes and patterns and attach them right to your flash unit.
Frame Your Subject
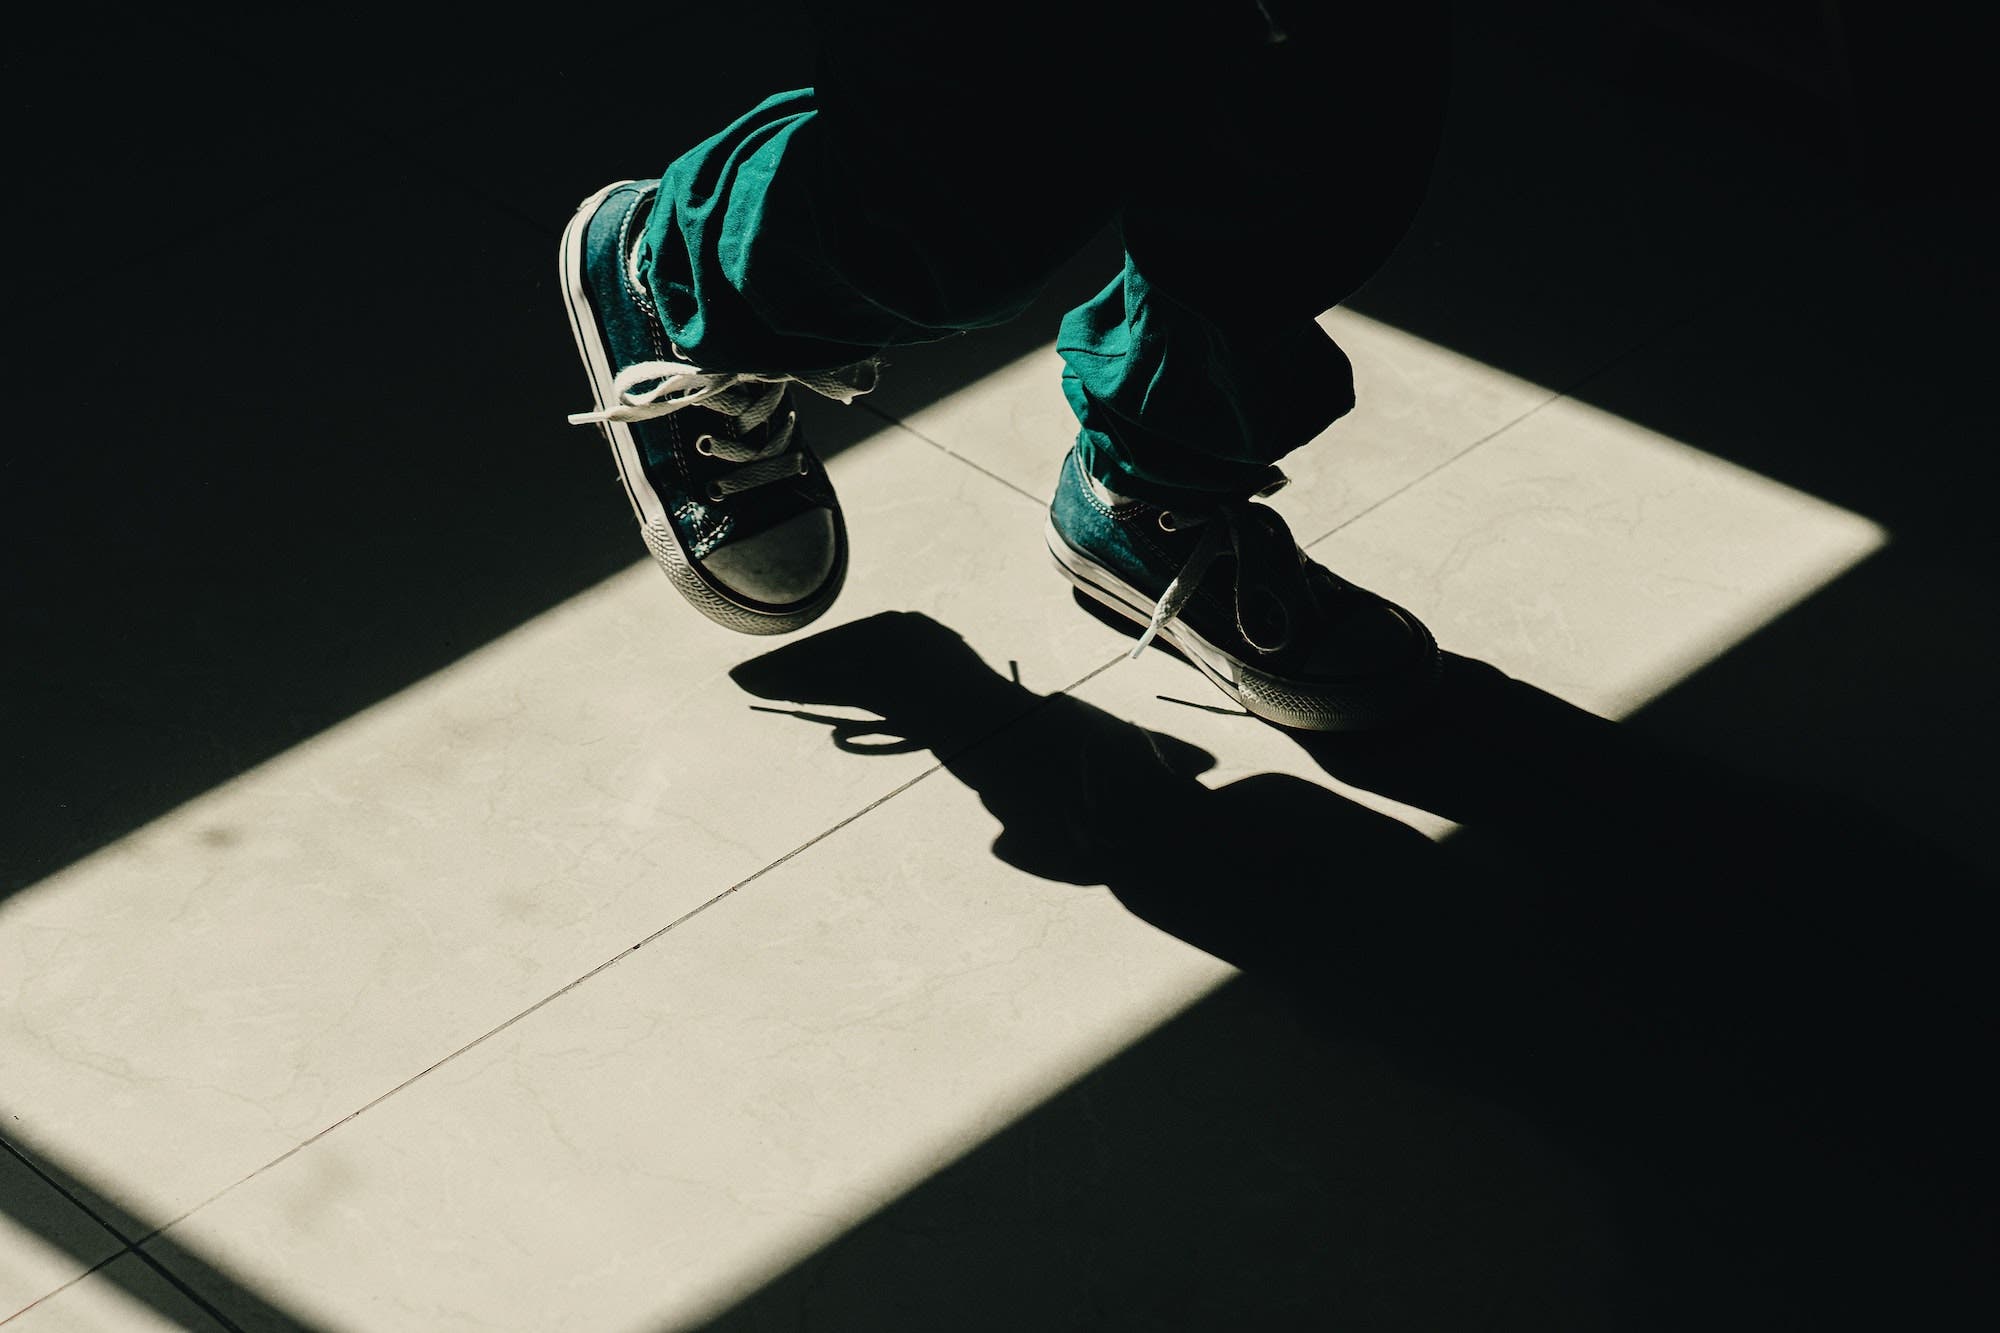
Depending on the size, shape, and placement of the shadow (or the light framed within it), you might be able to use it to frame your subject. The general idea works similarly to using a gobo, as described above. In this instance, however, we’re specifically interested in using shadows as a frame. You’re likely already familiar with the power of framing or sub-framing your subject within the scene. Now, you’re just using shadows to put that power to work for you. You can look for existing pockets of light or create your own, which would in effect be using a gobo.
Use Hard Light
You’ll often hear other photographers warn you against shooting under “harsh” lighting conditions, suggesting instead that you chase after the softer, flattering light of golden hour (if shooting outdoors). Whether or not you should follow that advice, however, depends on the style you’re after. Hard light and the edgy shadows it creates work especially well for shadow photography. Remember, sharp contrast between light and shadows can be an especially good thing in this genre.
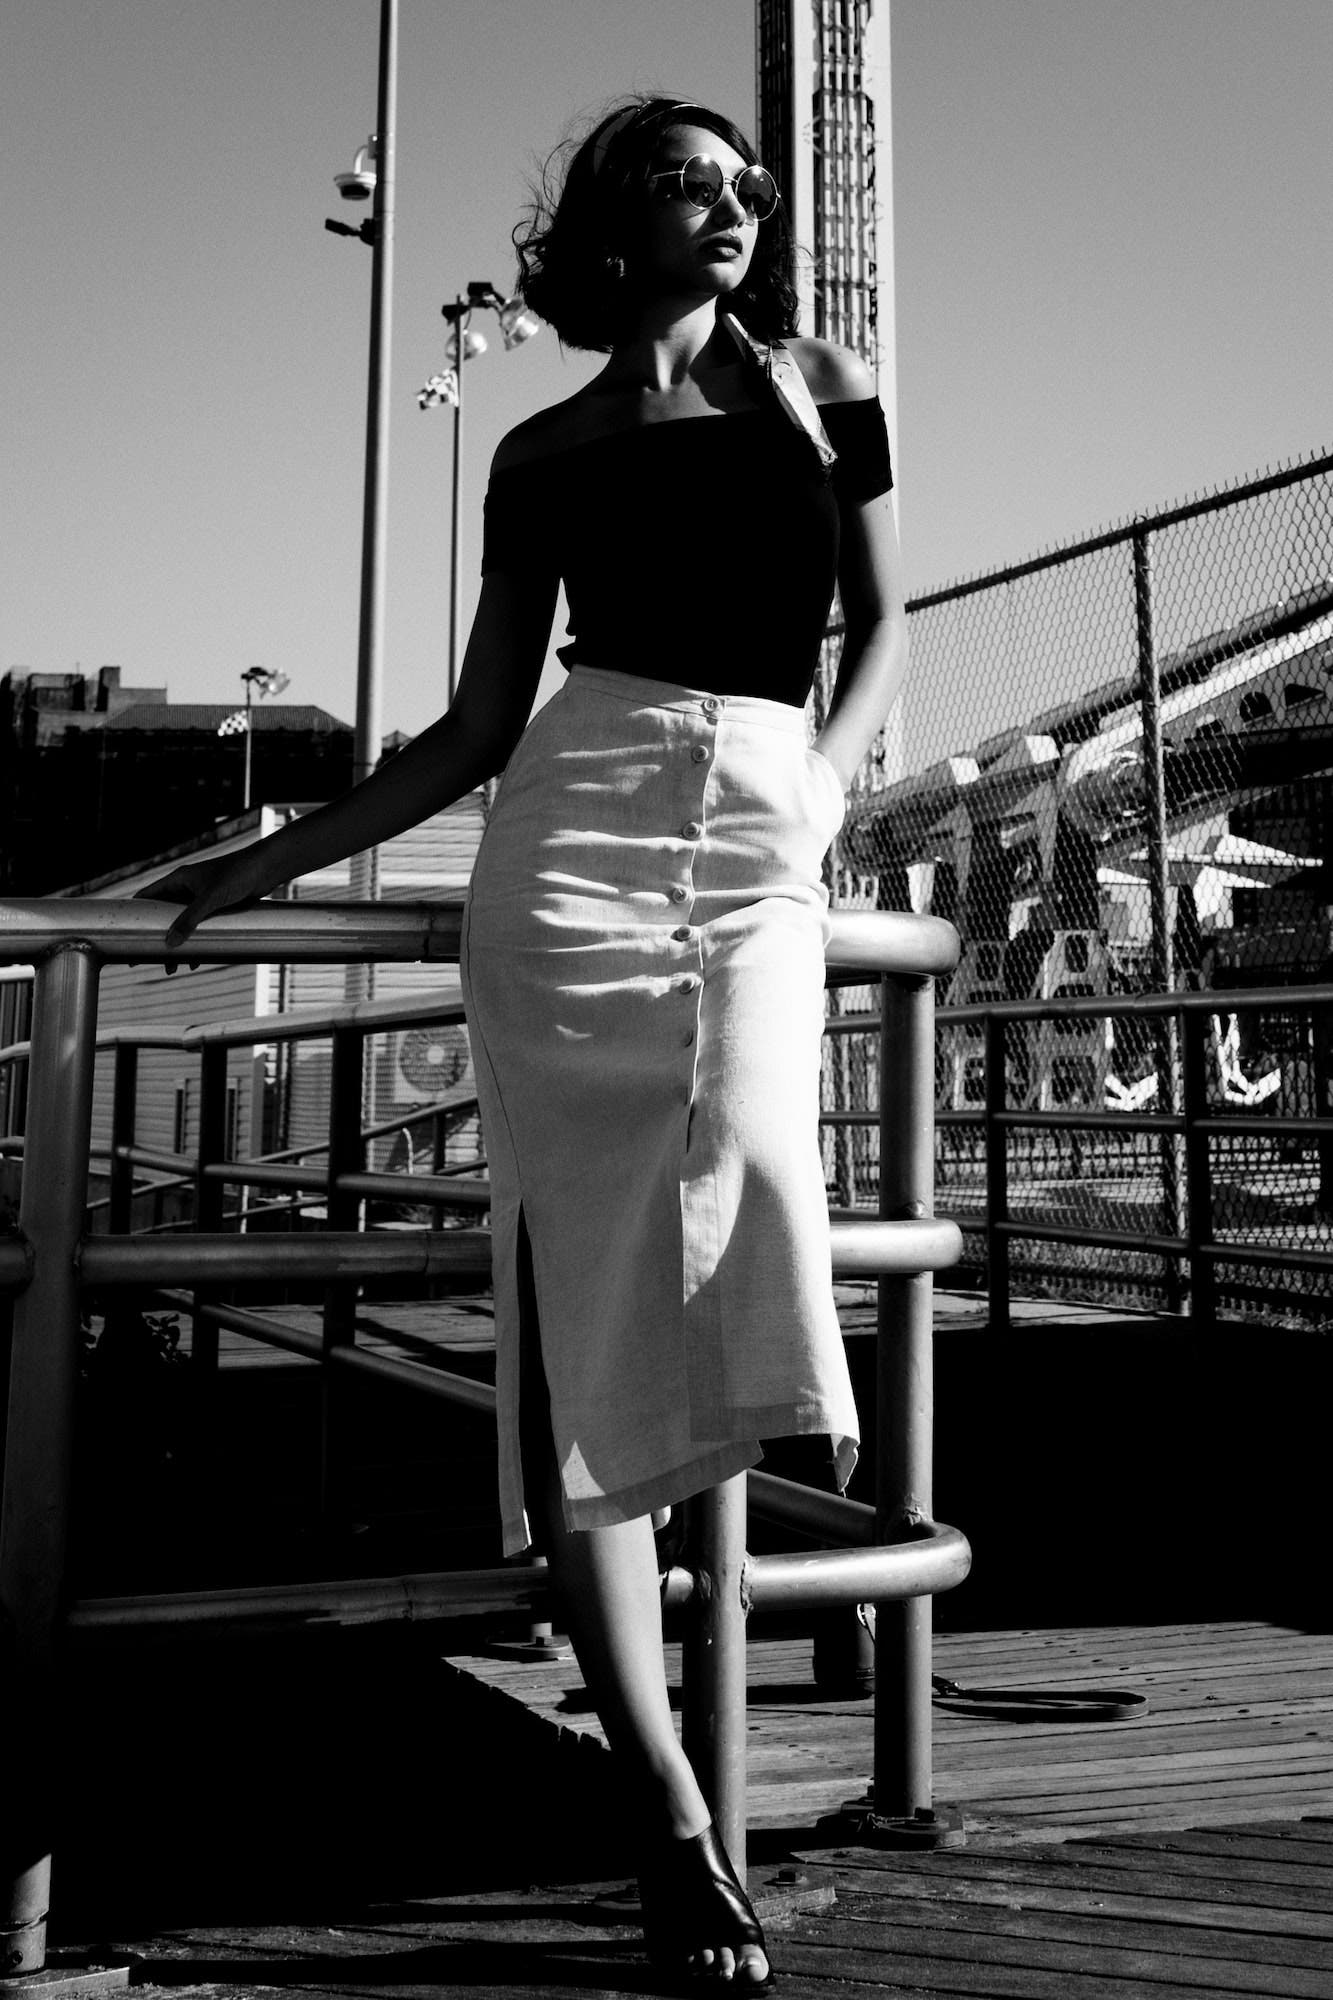
If you plan to use natural light, plan your shoot for a couple of hours before or after 12 noon. One thing I’d recommend against if you’re shooting portraits at this time is asking your subjects to look at the camera. Instead, ask your subjects to engage in some activity (such as walking) or direct them into more fashion-oriented poses.
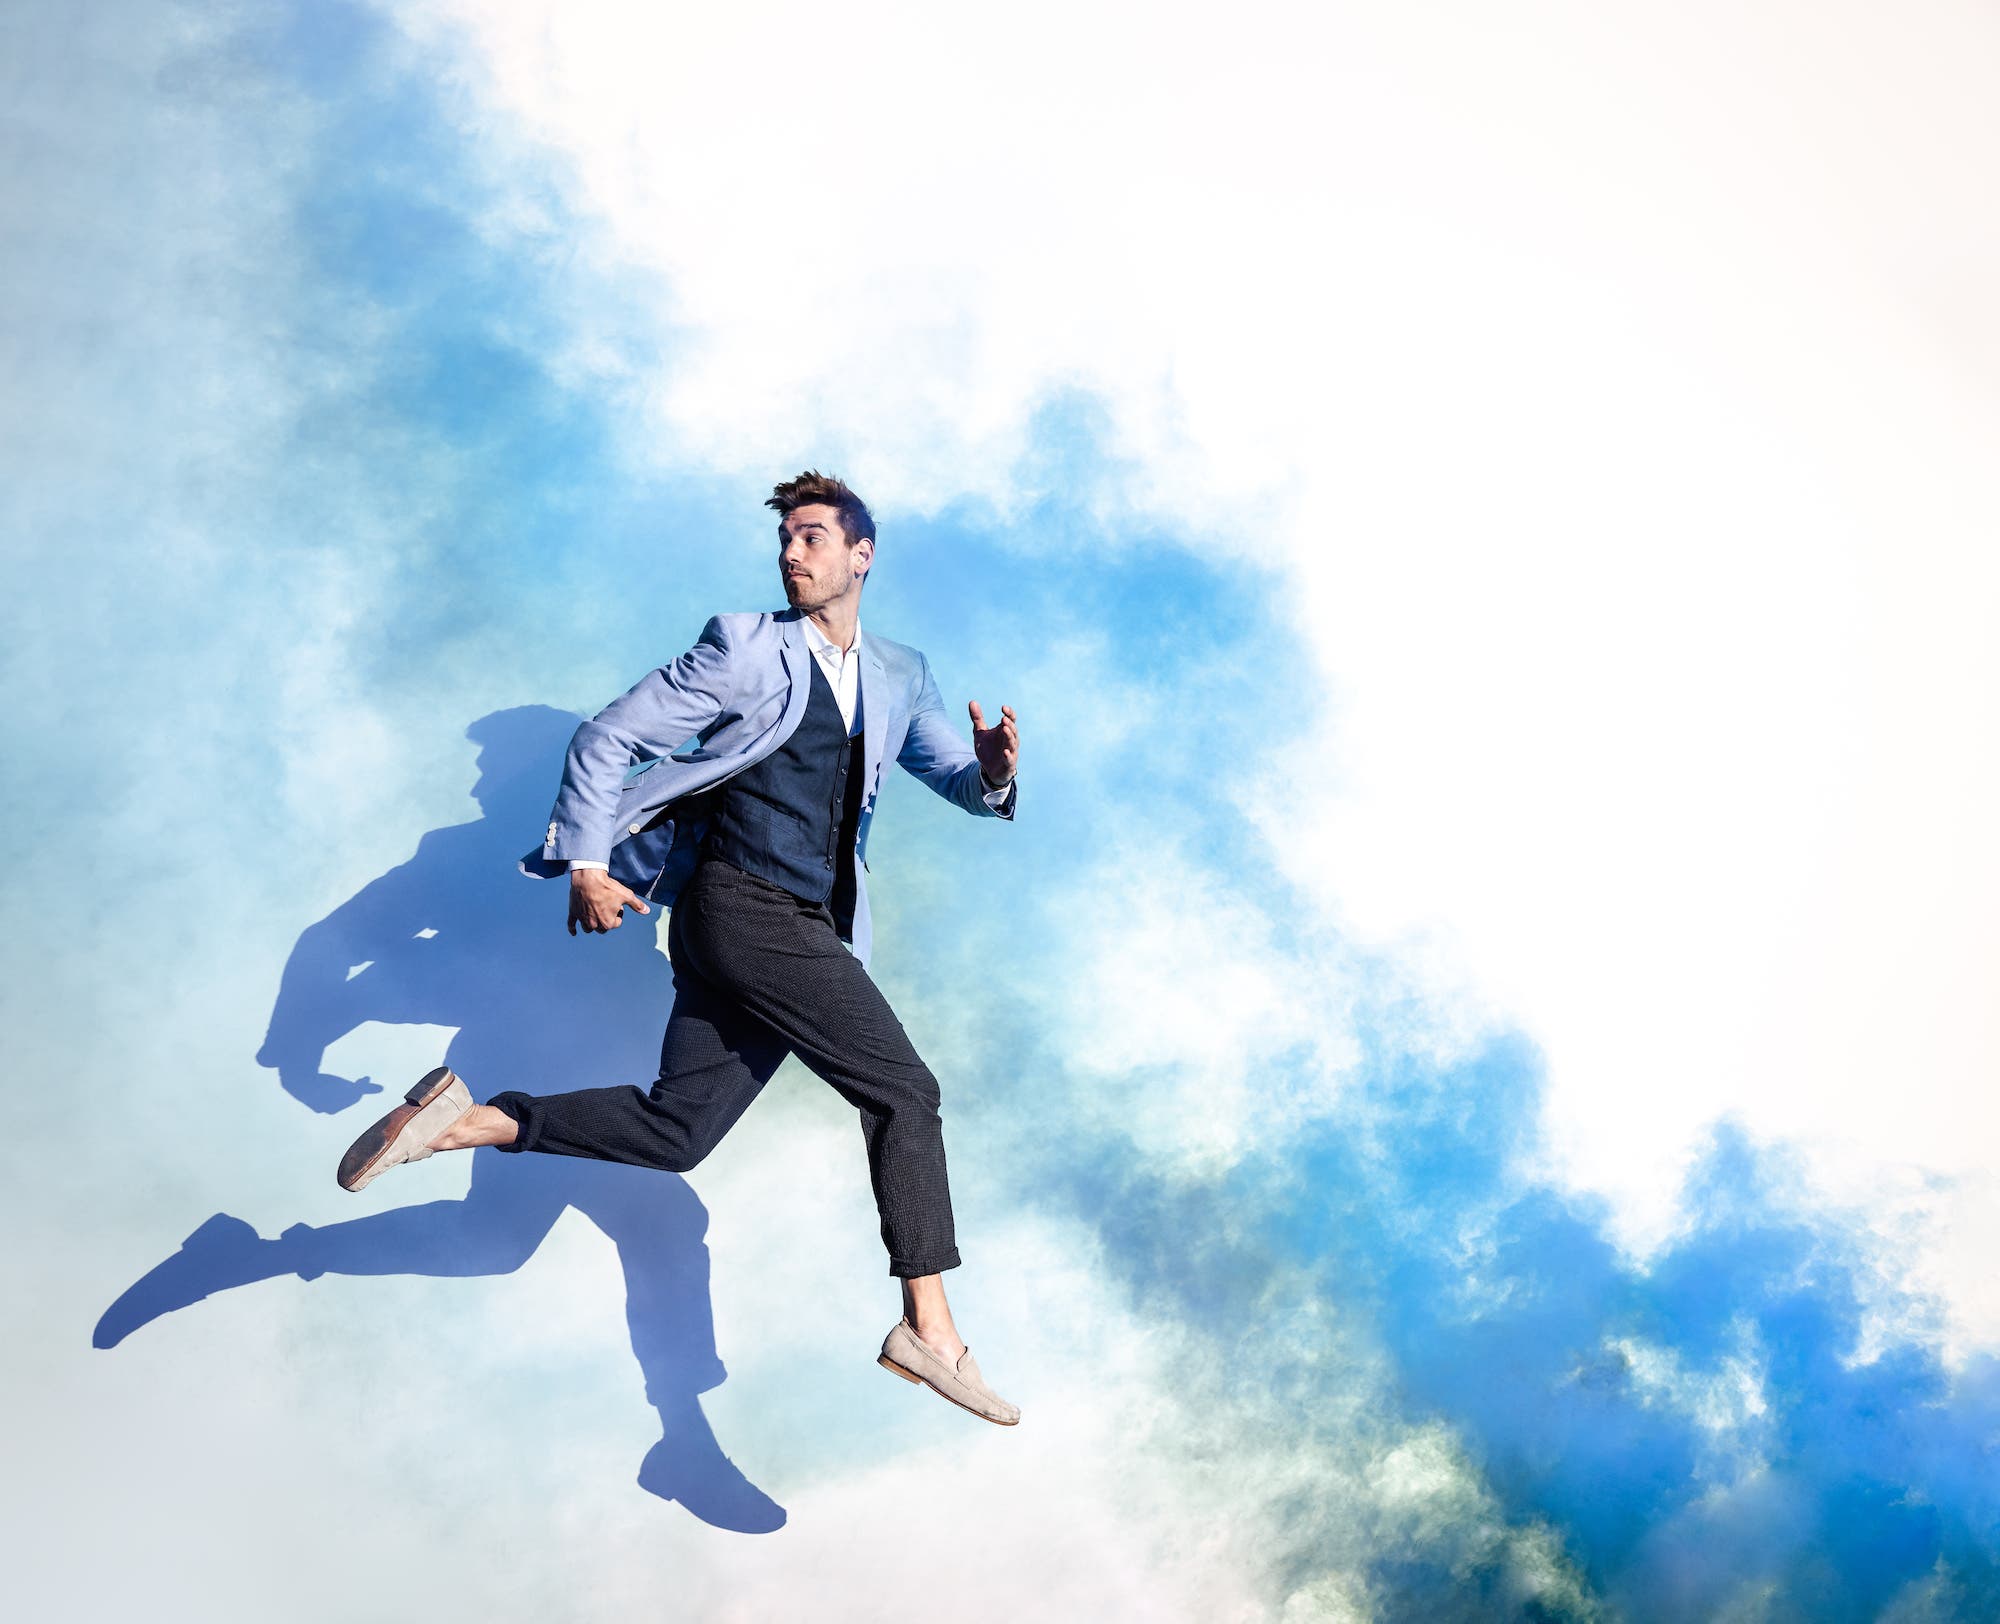
Of course, you can use flash as a hard light source for portraits as well. Just keep enough distance between the light source and your subject to keep the light source small (think about how the sun, despite its brightness, is actually a very small light source up in the sky), skip any diffusion modifiers, and if possible, place your subject near a surface (like a wall) to capture hard shadows for added effect.
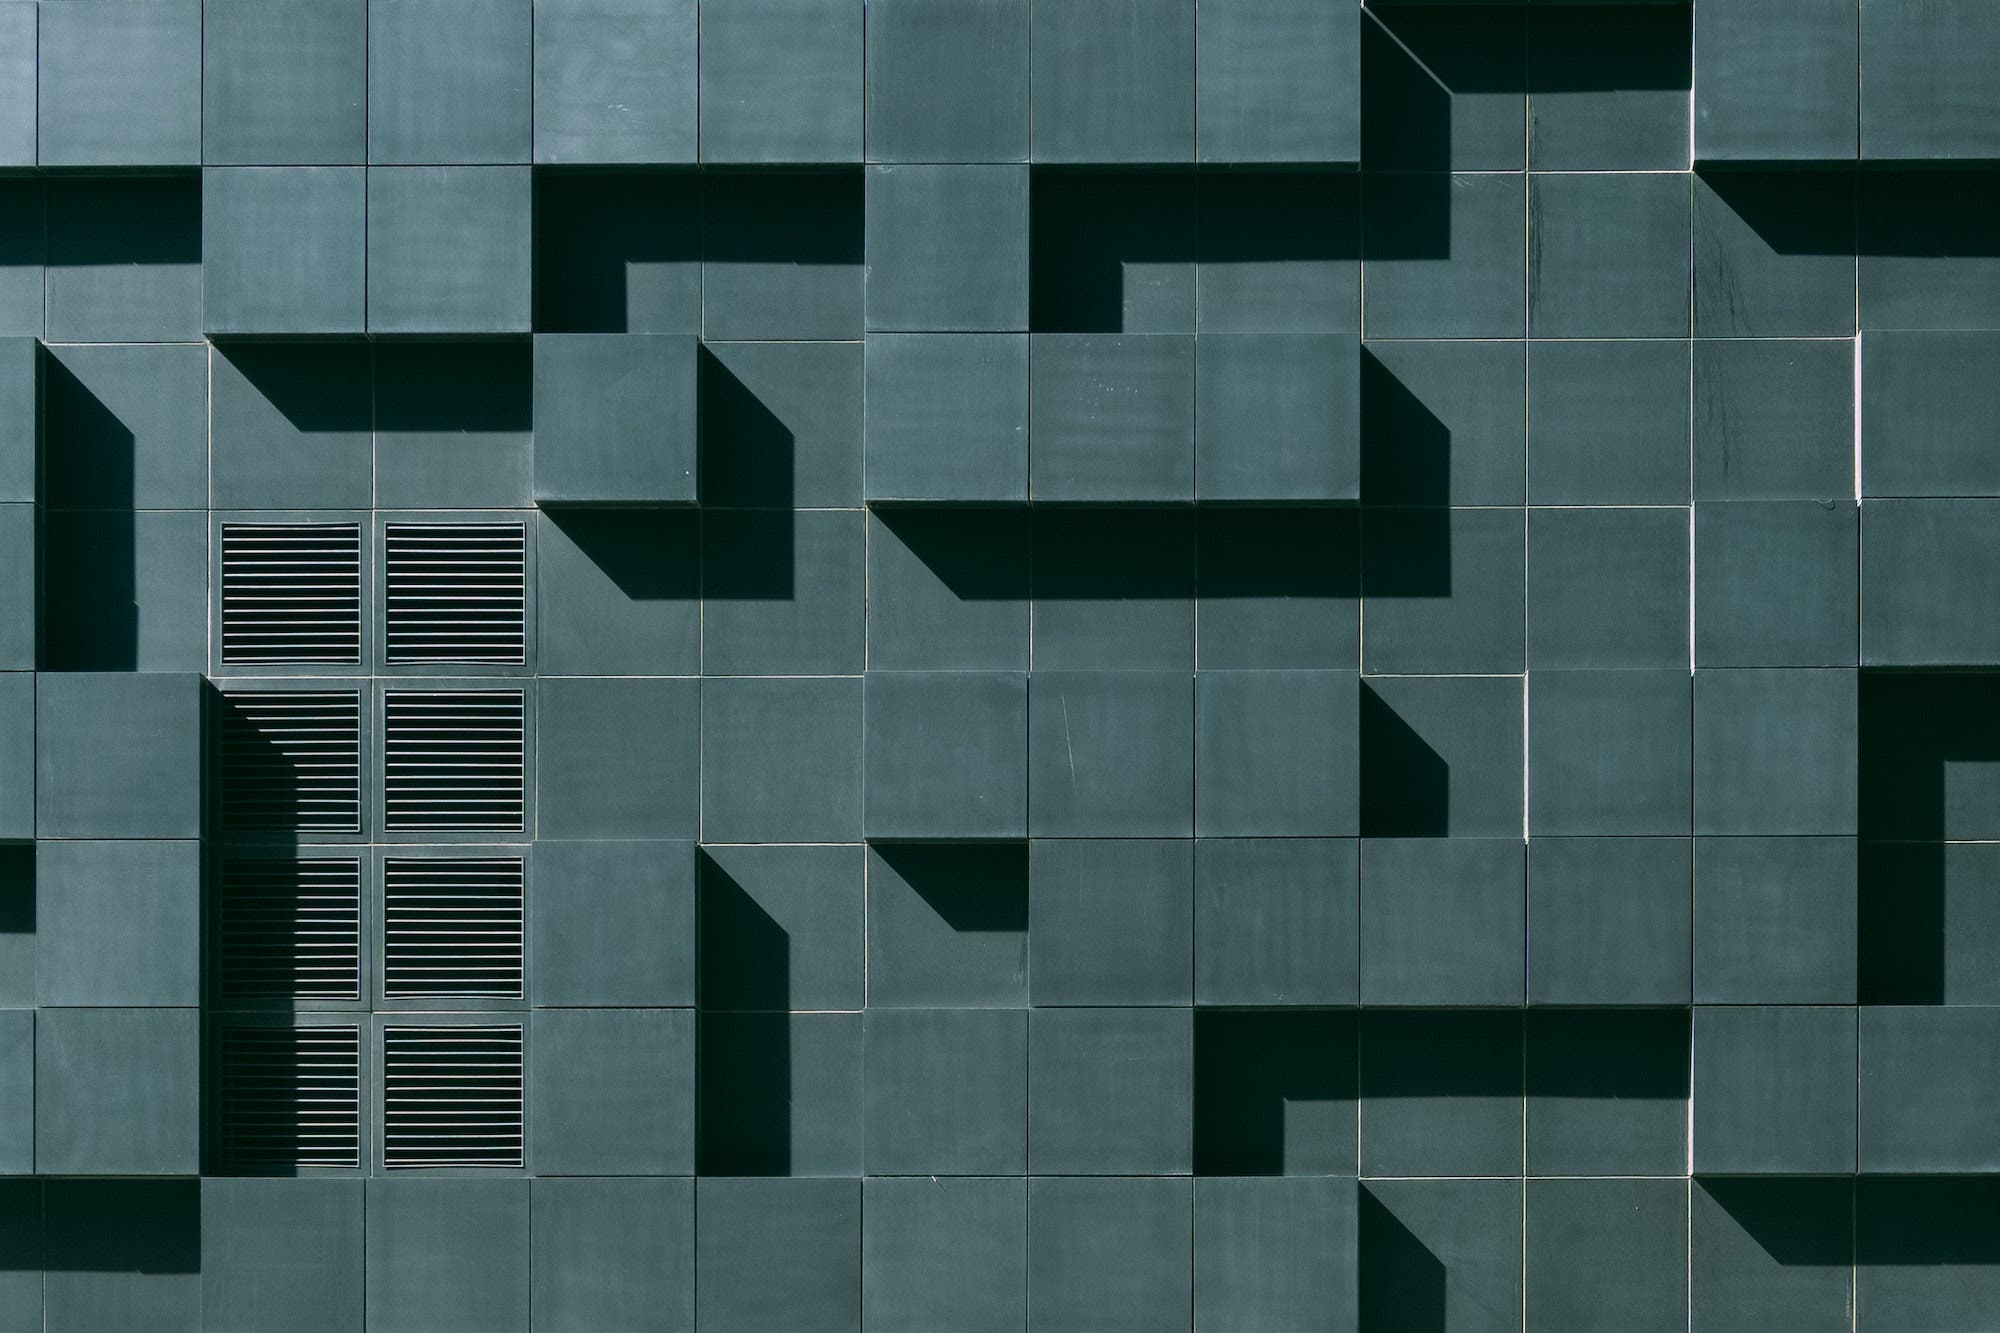
Aside from people portraits, landscape and architecture photography can definitely benefit from the hard light approach. The shadows effectively reveal texture and add another dimension to the scene.
Experiment with Light Patterns (and Resulting Shadows) for Portraits
Not to be confused with the gobo patterns discussed above, there are five basic light patterns used in portraiture that use light position and shadows to create distinctly different looks. In the video above, I go through each of these five primary key light patterns and consider the purpose behind using each of them. These key light positions work for portraiture whether you’re using studio lighting or natural light. You can take the contrast far beyond what we cover in the video by stopping down your exposure and increasing your light power, as mentioned in tip one above.
Make it Black and White
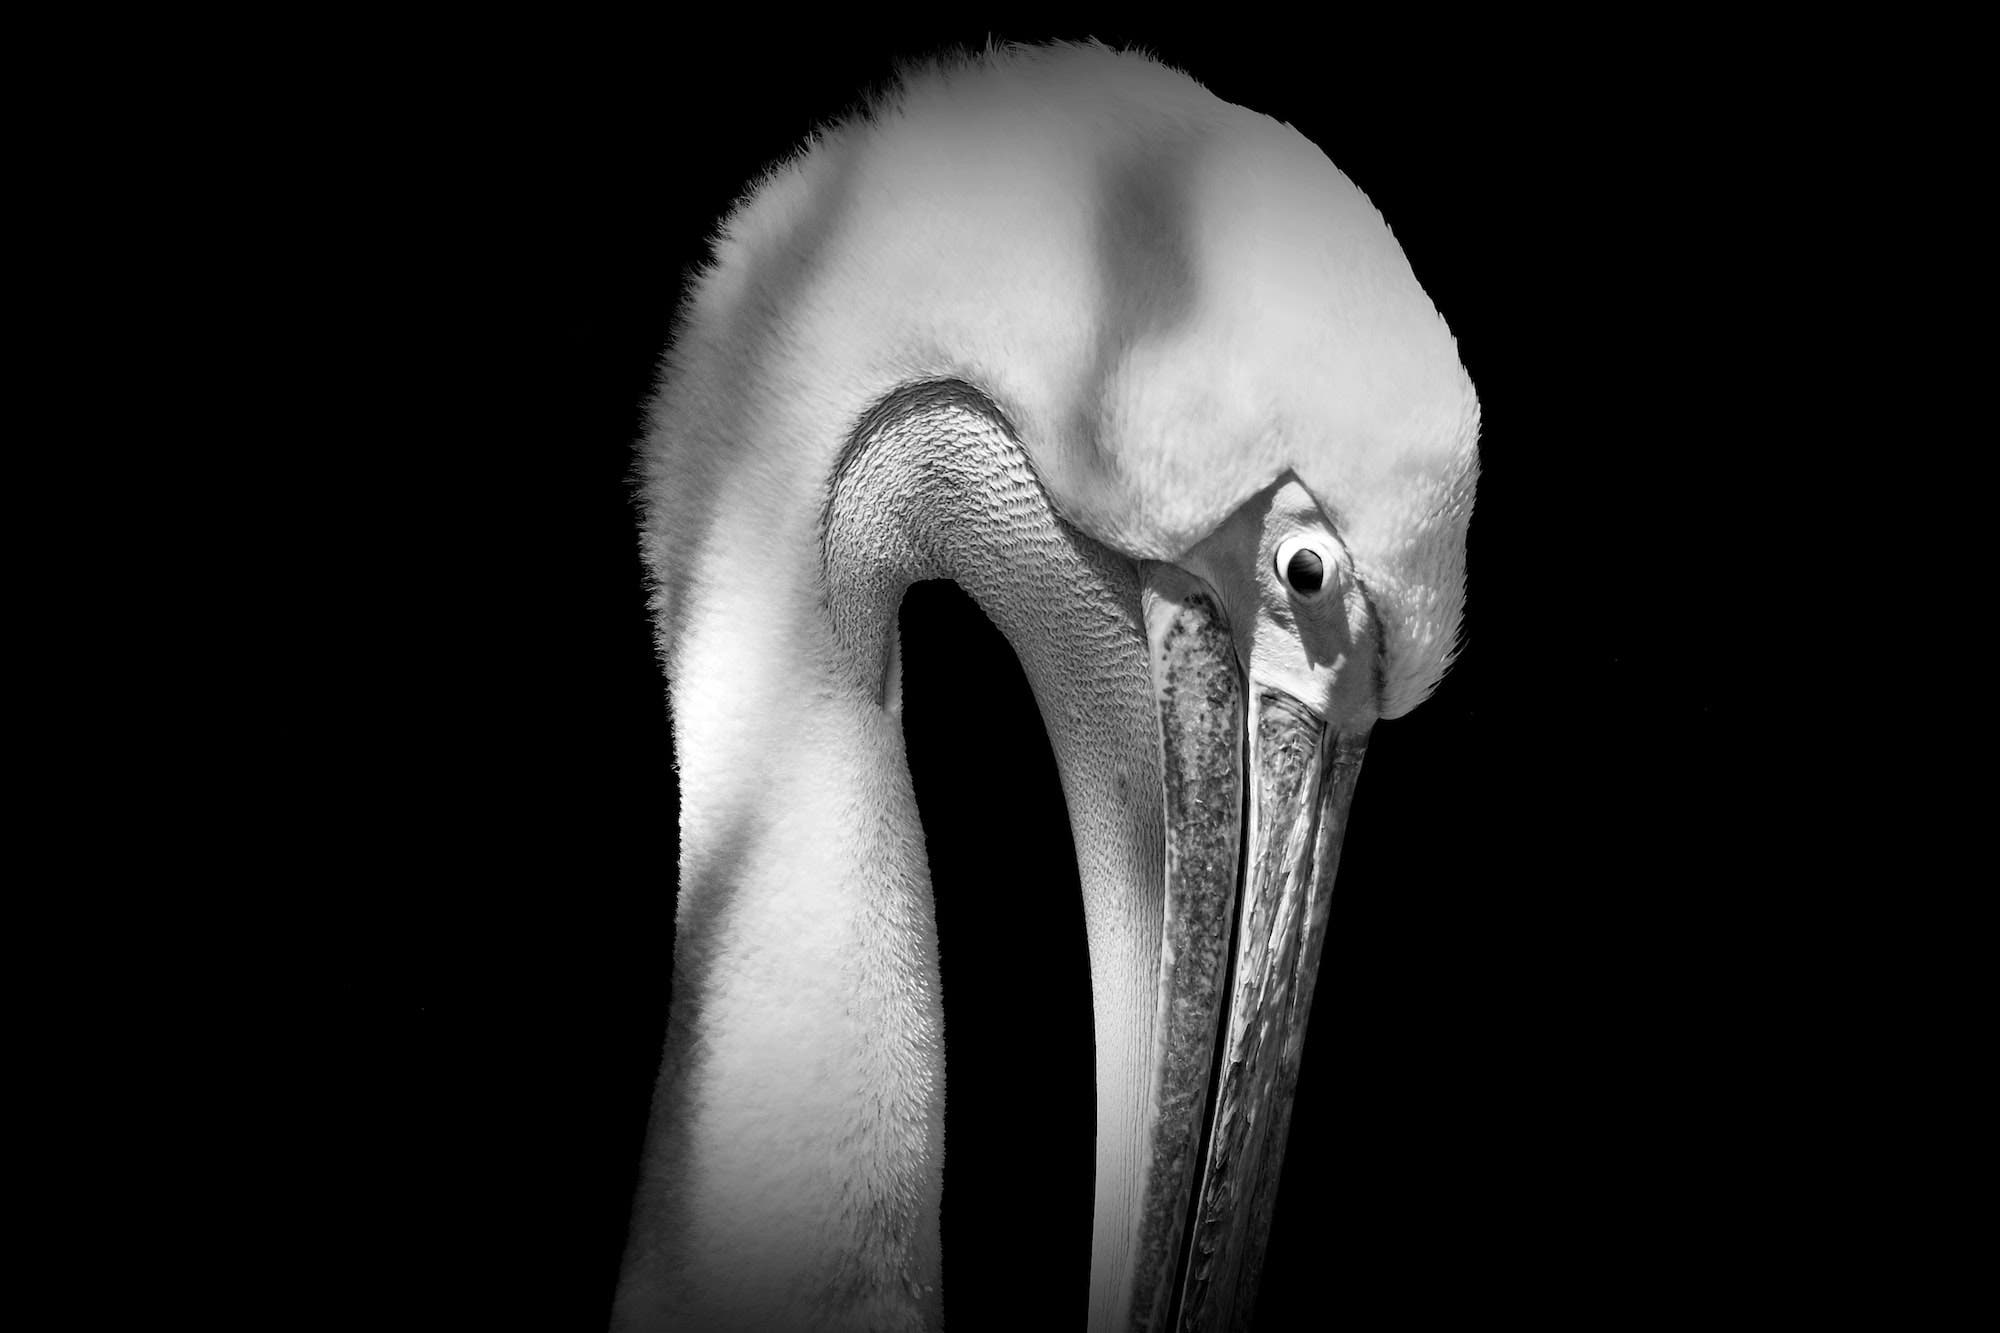
While shadow photography works well in color, it typically works best in black and white. The reason for this is we can focus more on the shadows as compositional elements without the distraction of color. To put it another way, when we remove color, we can focus more on the contrast between light and shadows. I would recommend capturing the image in color and converting it to black and white in post either manually or via presets. This will give you more options, in case you ultimately decide to print or share the image in color.
Minimize Distractions
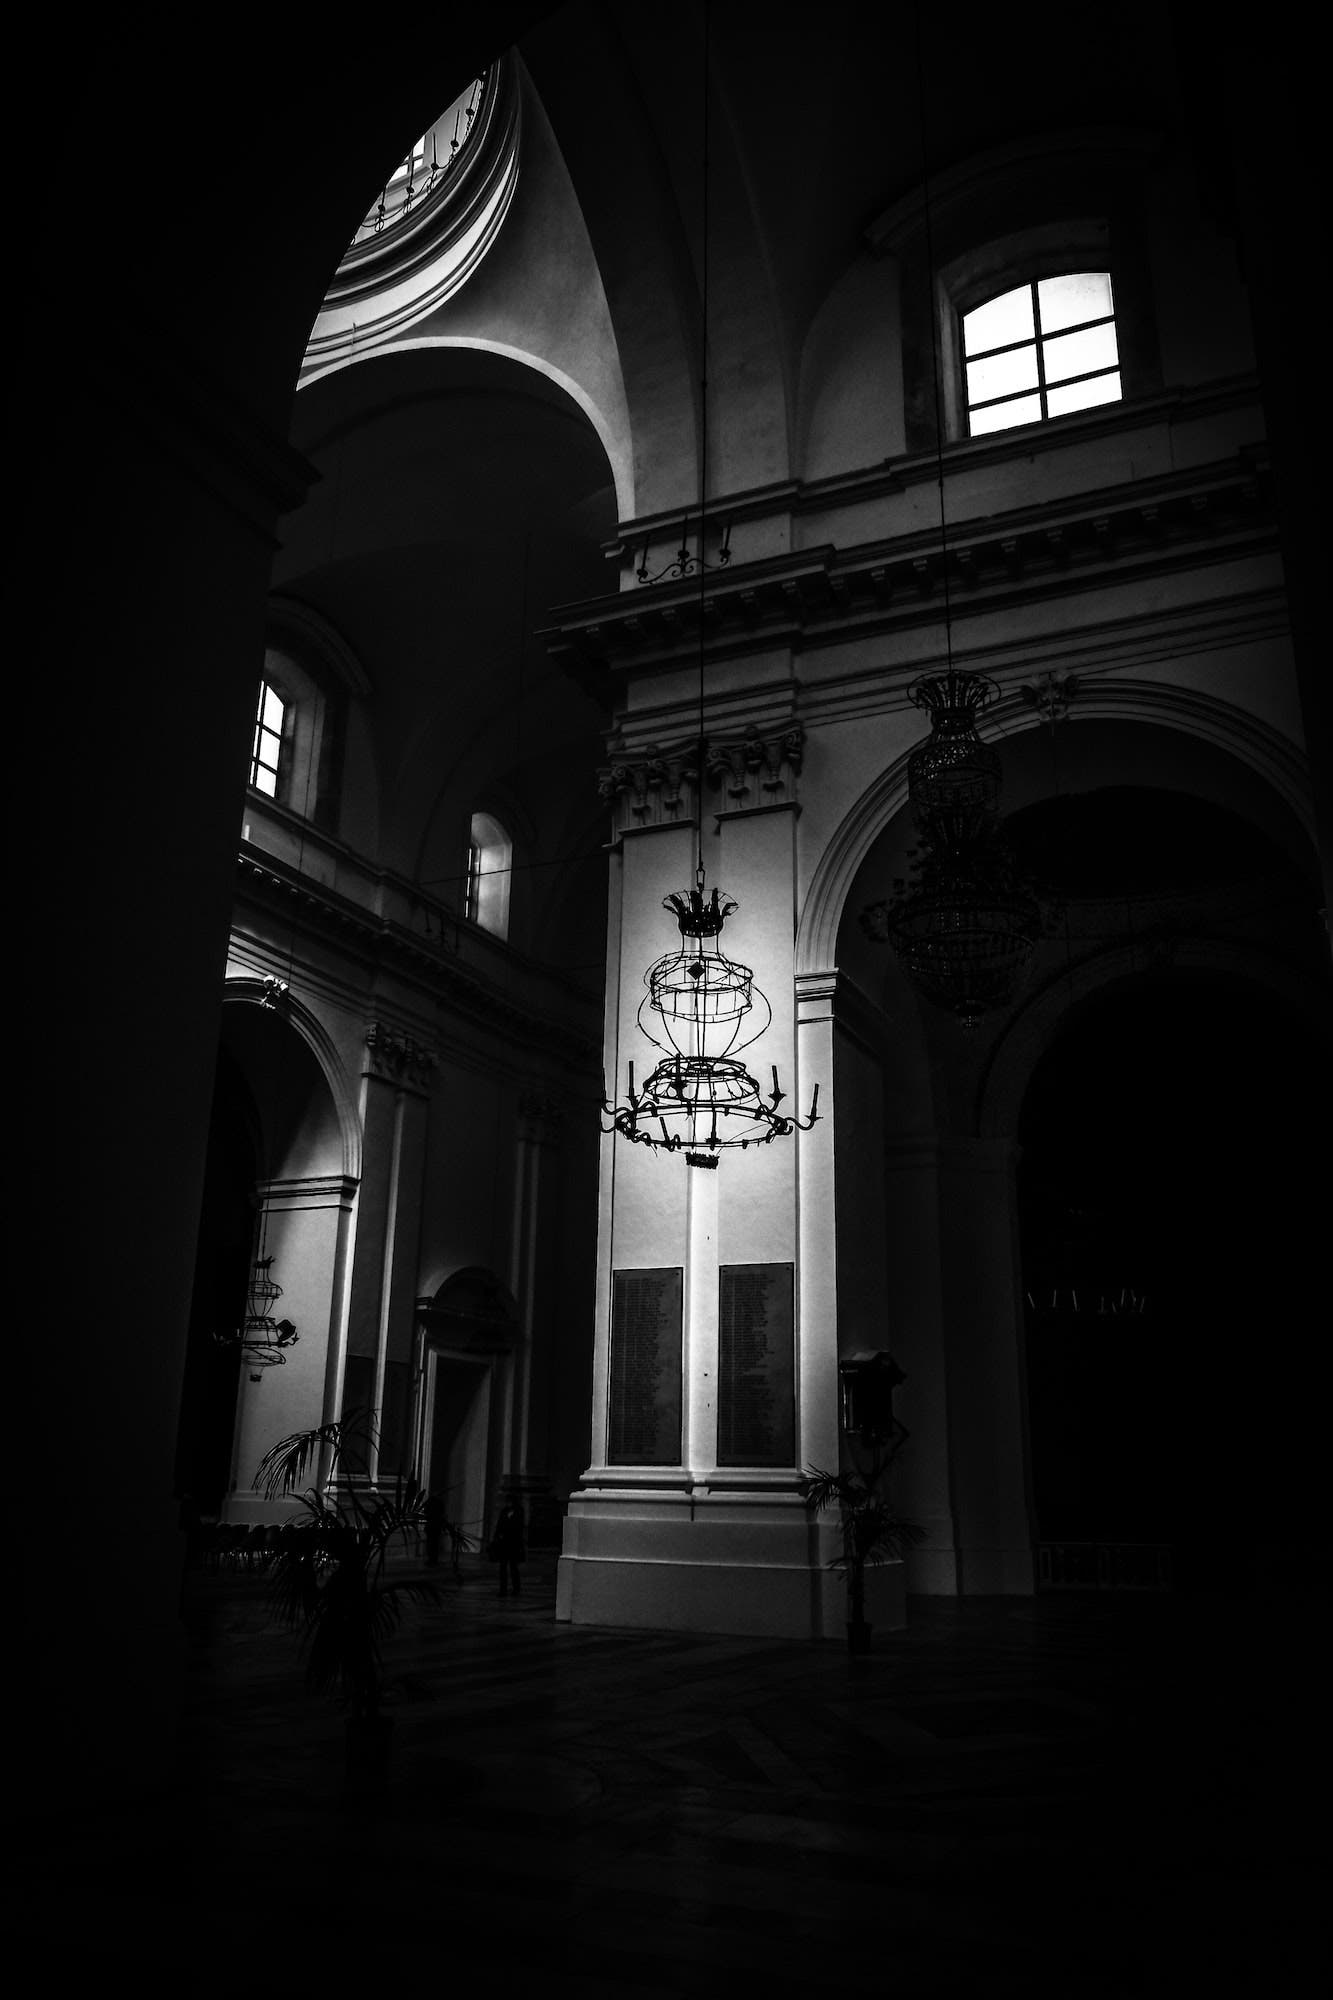
We can use shadow photography to minimize distractions in the scene. To do this, we can simply lower the ambient exposure in-camera and carefully place our subjects in relation to the light (be it natural or flash). You’ll find this method used often in portrait and wedding photography, especially when working in busy locations.
Embrace Negative Space
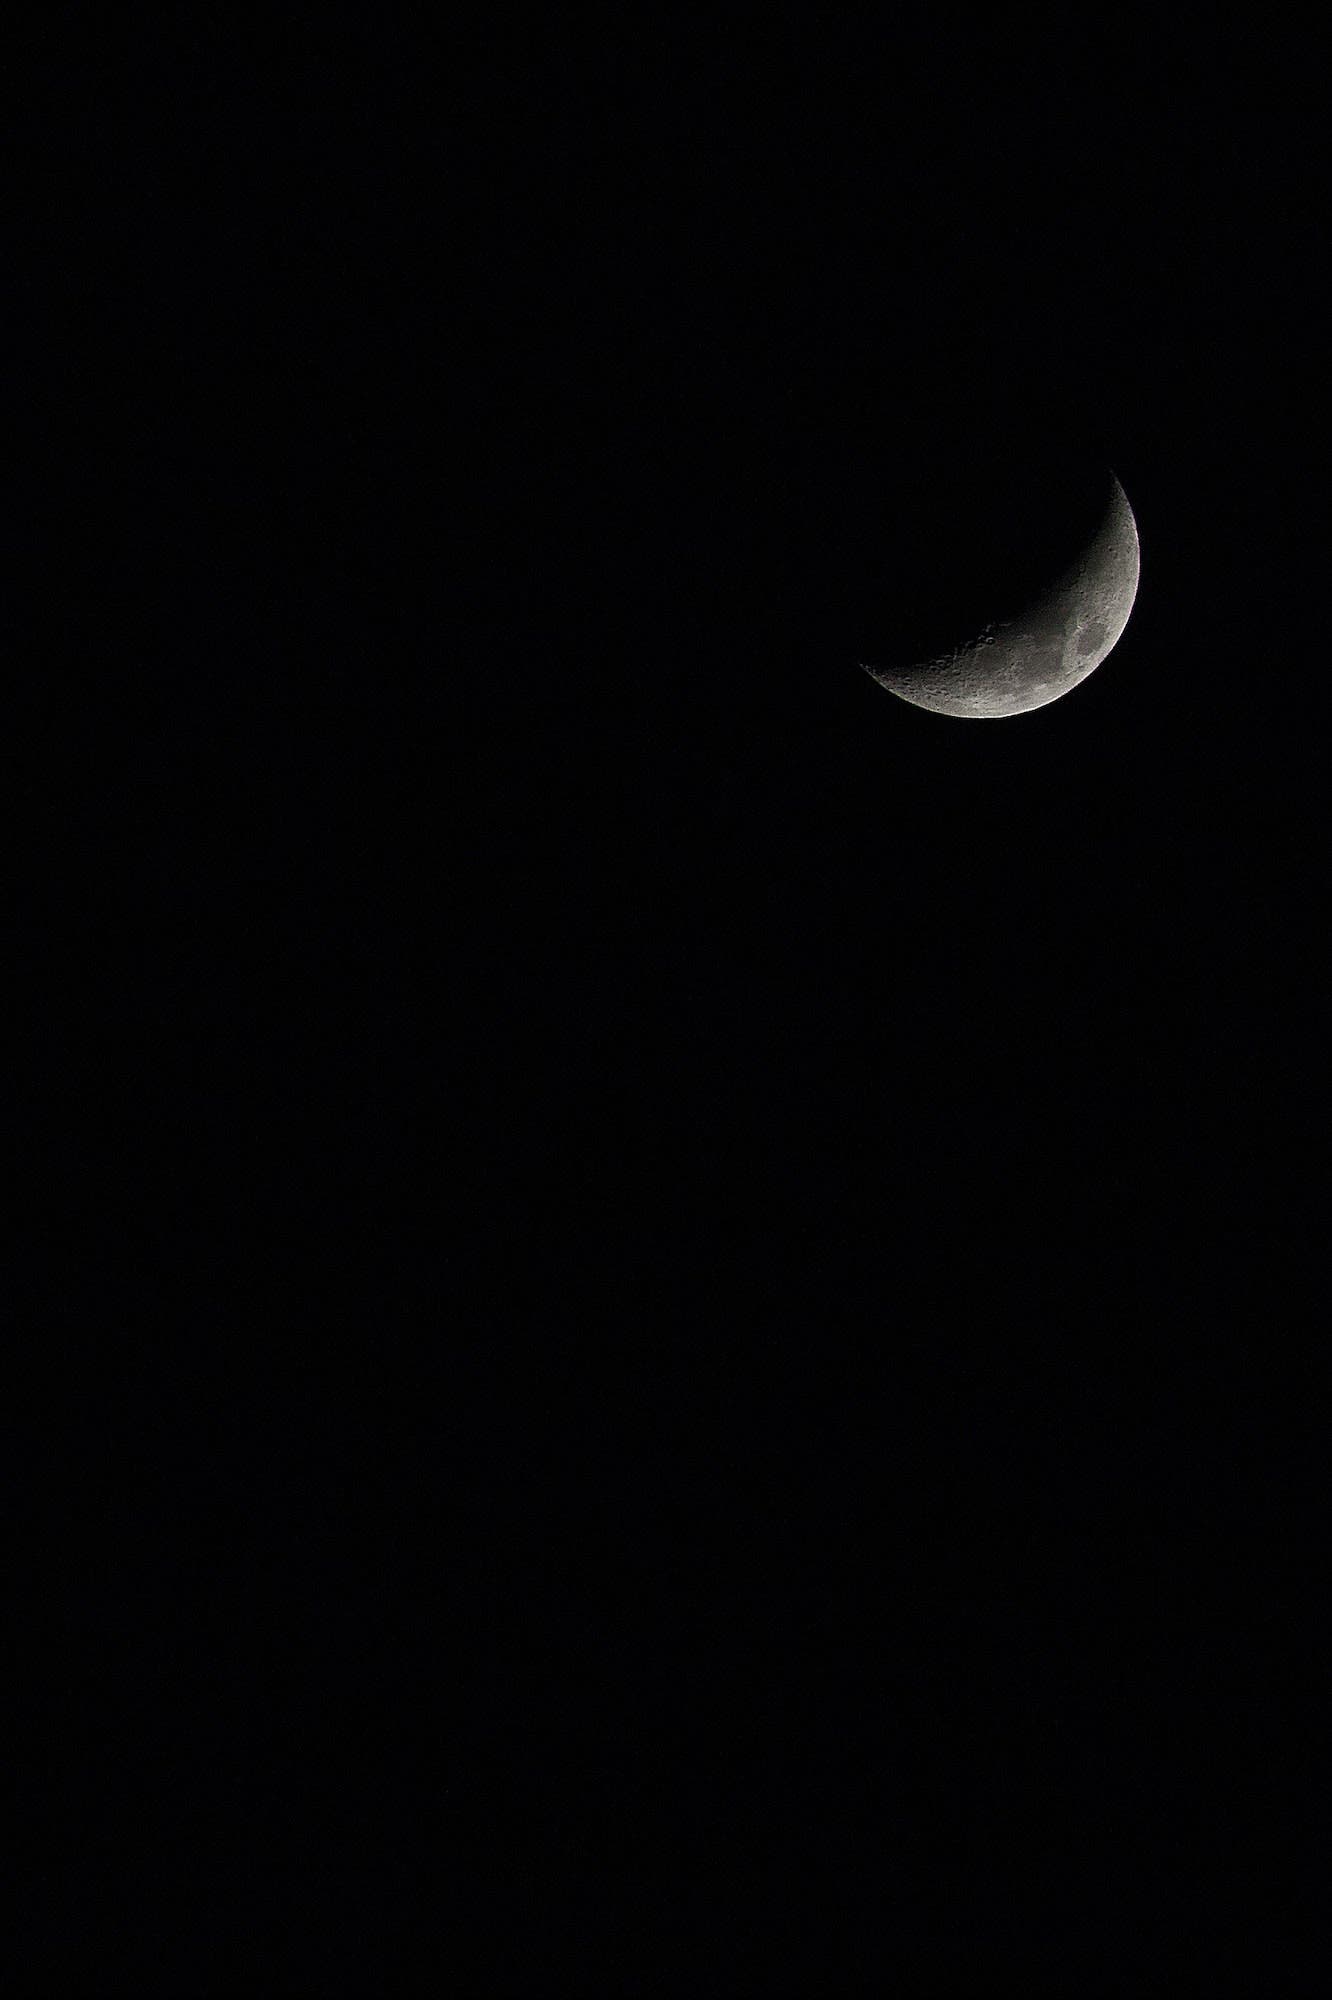
In some ways, this tip piggybacks off the previous tip in that we want to minimize distractions. Negative space is a powerful compositional tool we can use to draw attention to our subject, and it works incredibly in shadow photography.
Make the Shadow the Subject
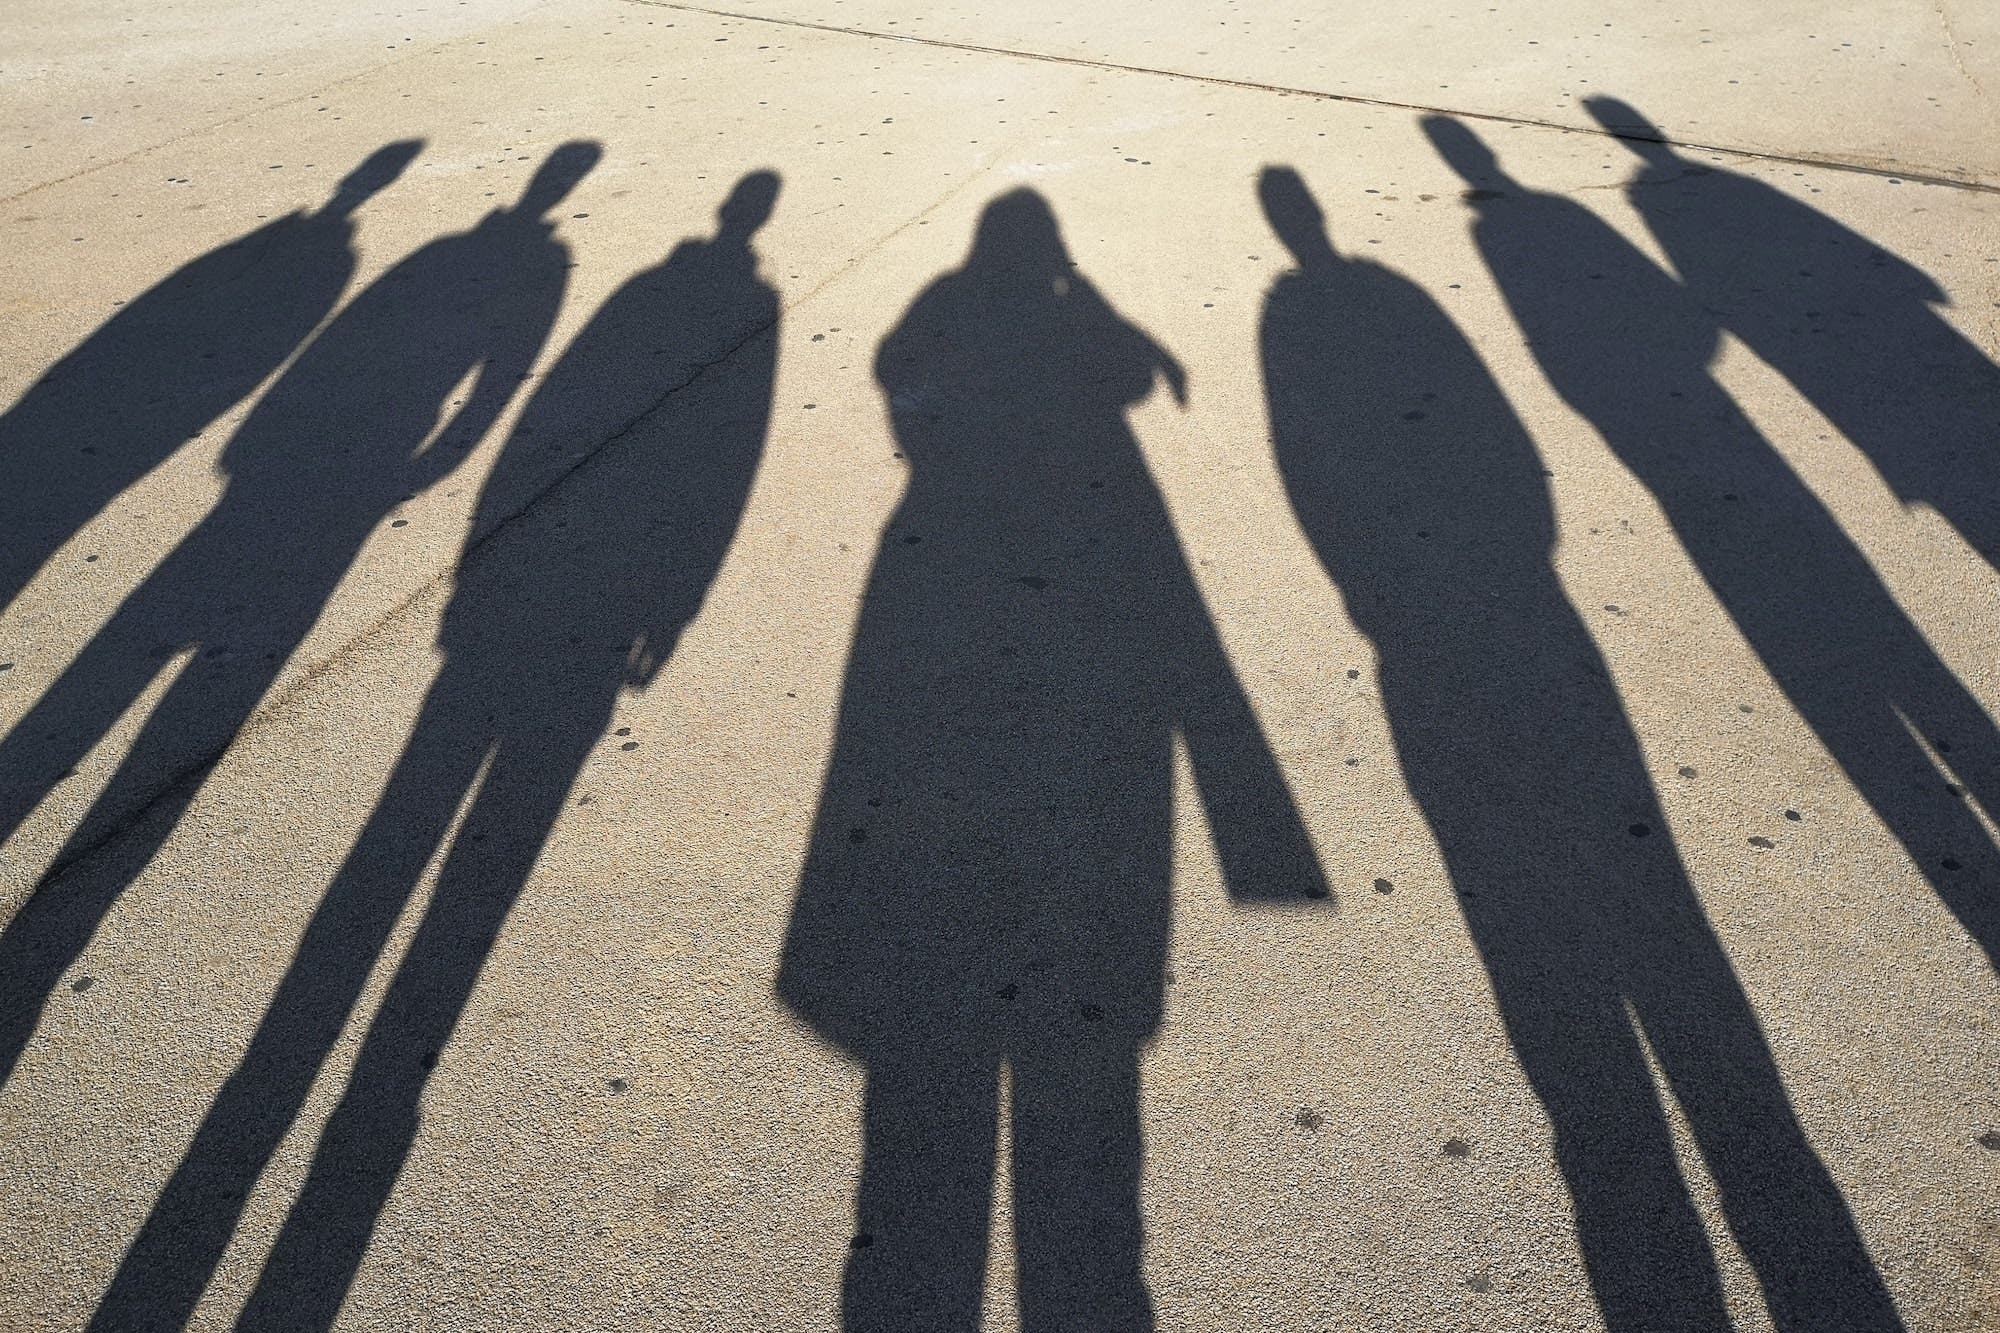
If you’ve ever photographed a reflection before and cropped it to become the focal point of the image, this works in a similar fashion. Wherein that instance the reflection becomes the main subject, this time around the shadow takes center stage. You can capture your own shadow or focus on shadows of people or things around you and photograph them.
Dodge and Burn in Post
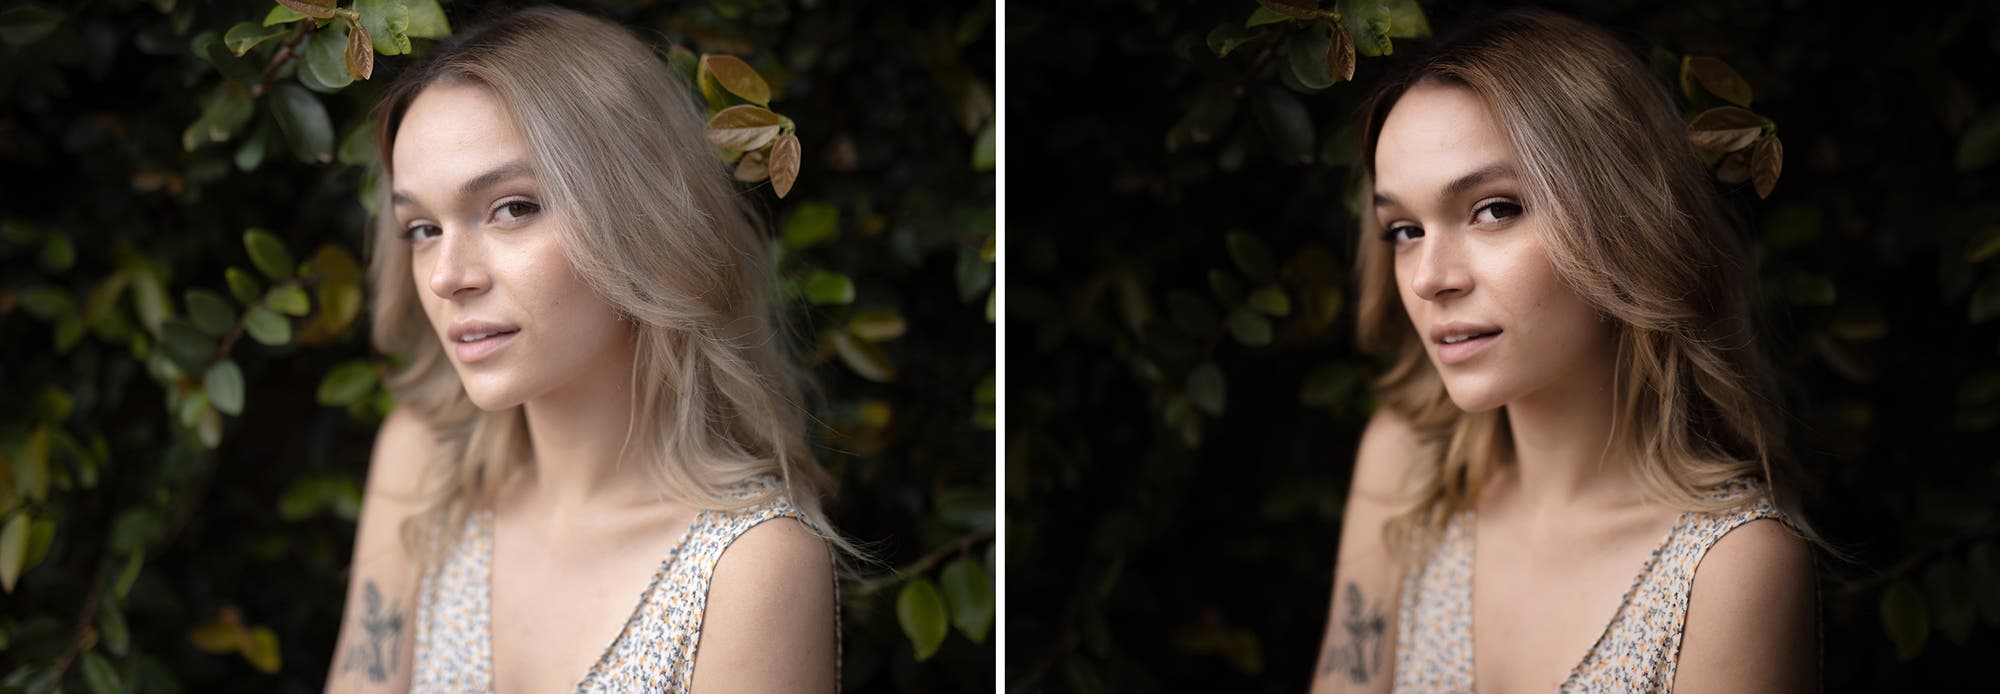
Once we get our photos into post, we can “dodge and burn” our image to adjust the level of contrast in our shadow photograph. Some photographers take a more heavy-handed approach and dramatically alter the image in post, while others dodge and burn in moderation. Do whatever works best for you.
In the video above, I go through my basic approach to editing images before sharing a special “Dark Mode” technique, which works perfectly for shadow photography. Check it out!
Conclusion
I hope you enjoyed this collection of shadow photography ideas, tips, and examples. Shadow photography provides a means for improving our craft via the study of the absence of light. It also offers a unique creative outlet for photographers in all genres. Use the tips above to help master the use of shadows in your photography. Your portfolio (and clients) will thank you.
