Selective focus in photography is exactly what it sounds like — choosing which parts of your image will be in focus, and which parts will not be in focus. This is a very important concept to understand for photographers because every image you take will have some sort of selective focus, whether you choose the spot or let the camera automatically choose the selective focus point. If you truly want full control over your images, you need to understand and utilize selective focus.
How Does It Work?
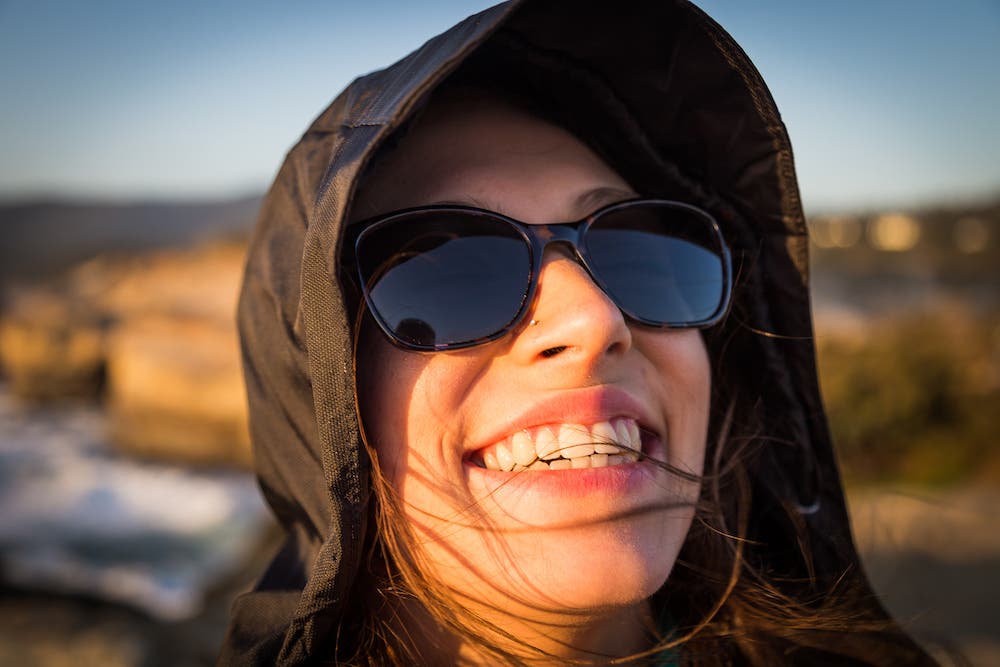
Imagine you’re taking portraits of a single person. Usually, you’ll choose to have their face or eyes be in focus. Whether you let the camera automatically choose their face as the focus point, or you do it a more manual way yourself, this is selective focus. The reason you choose to have their face in focus is because they are the subject, and whatever is in focus, the viewer’s eye will be drawn to.
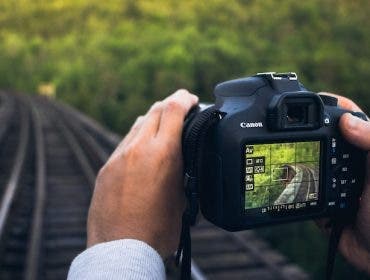
By now, the technology in digital cameras far exceeds previous standards. When in automatic autofocus mode, most cameras will usually select the focus point correctly in your images. When you push the shutter button halfway down on most cameras, notice that the autofocus will produce dots or squares, which are usually green. These spots show you where the camera has chosen to focus. Because of depth of field, the camera simply cannot focus on the whole scene because, oftentimes, one object may be closer to the camera than another. Selective focus is simply the choice of which object to focus on.
Why Do I Want to Use Selective Focus?
Selective focus is how you simplify an image and bring attention to one particular spot on your photo. Whatever is in focus is as important as what is out of focus. You can use selective focus to remove distracting elements in your images.
When you’re out shooting, choosing the right selective focus spot will help you create the photo you envisioned. If you’ve ever returned home to images where the camera didn’t focus on the subject, you’ve been a victim of poor selective focus.
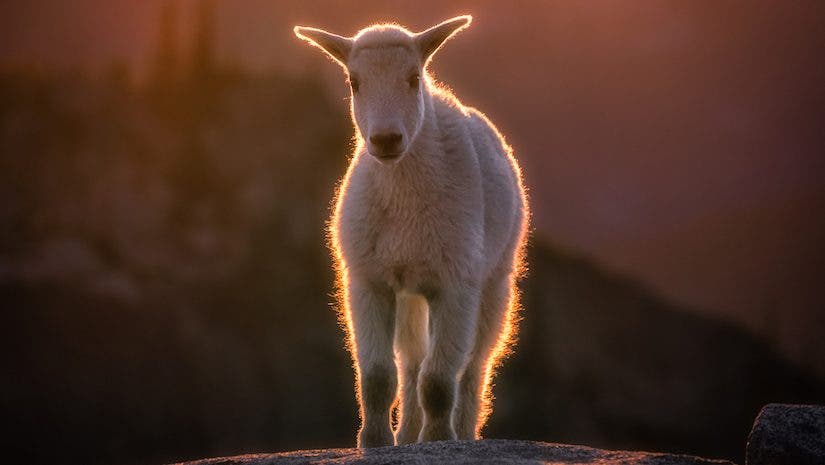
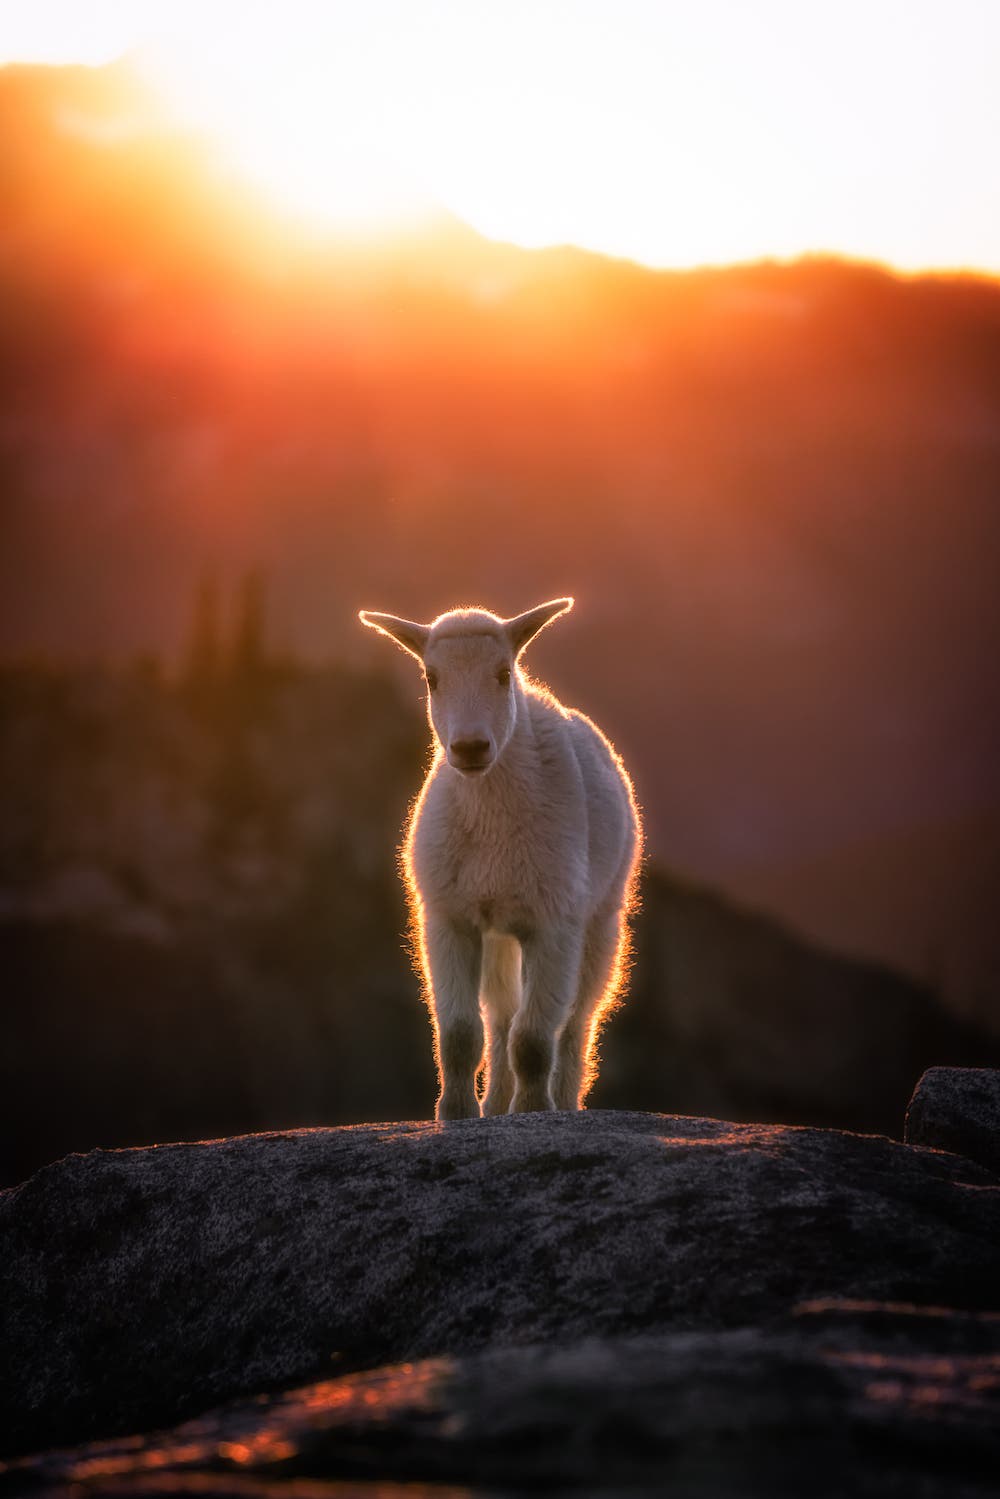
Using selective focus can help to separate the subject from the background. Imagine taking a picture of a flower up close. If you focus on the flower, you’ll see the flower very clearly. Using selective focus, you’ll have a sharp, in-focus flower, and a blurry background. This helps bring attention to the flower and reduce the impact of the distracting, busy background.
How to Choose A Focal Point
To use selective focus, you need to pick your focal point. If you’re shooting portraits, the focal point is usually the subject’s eyes. Having the eyes in focus is the most visually appealing option in most cases. Many cameras now have automatic eye autofocus, meaning that the camera will automatically focus on the subject’s eyes for you. If you don’t have this feature, try using a selective autofocus point that you can move around. Move the focus point to one of the subject’s eyes in the image.
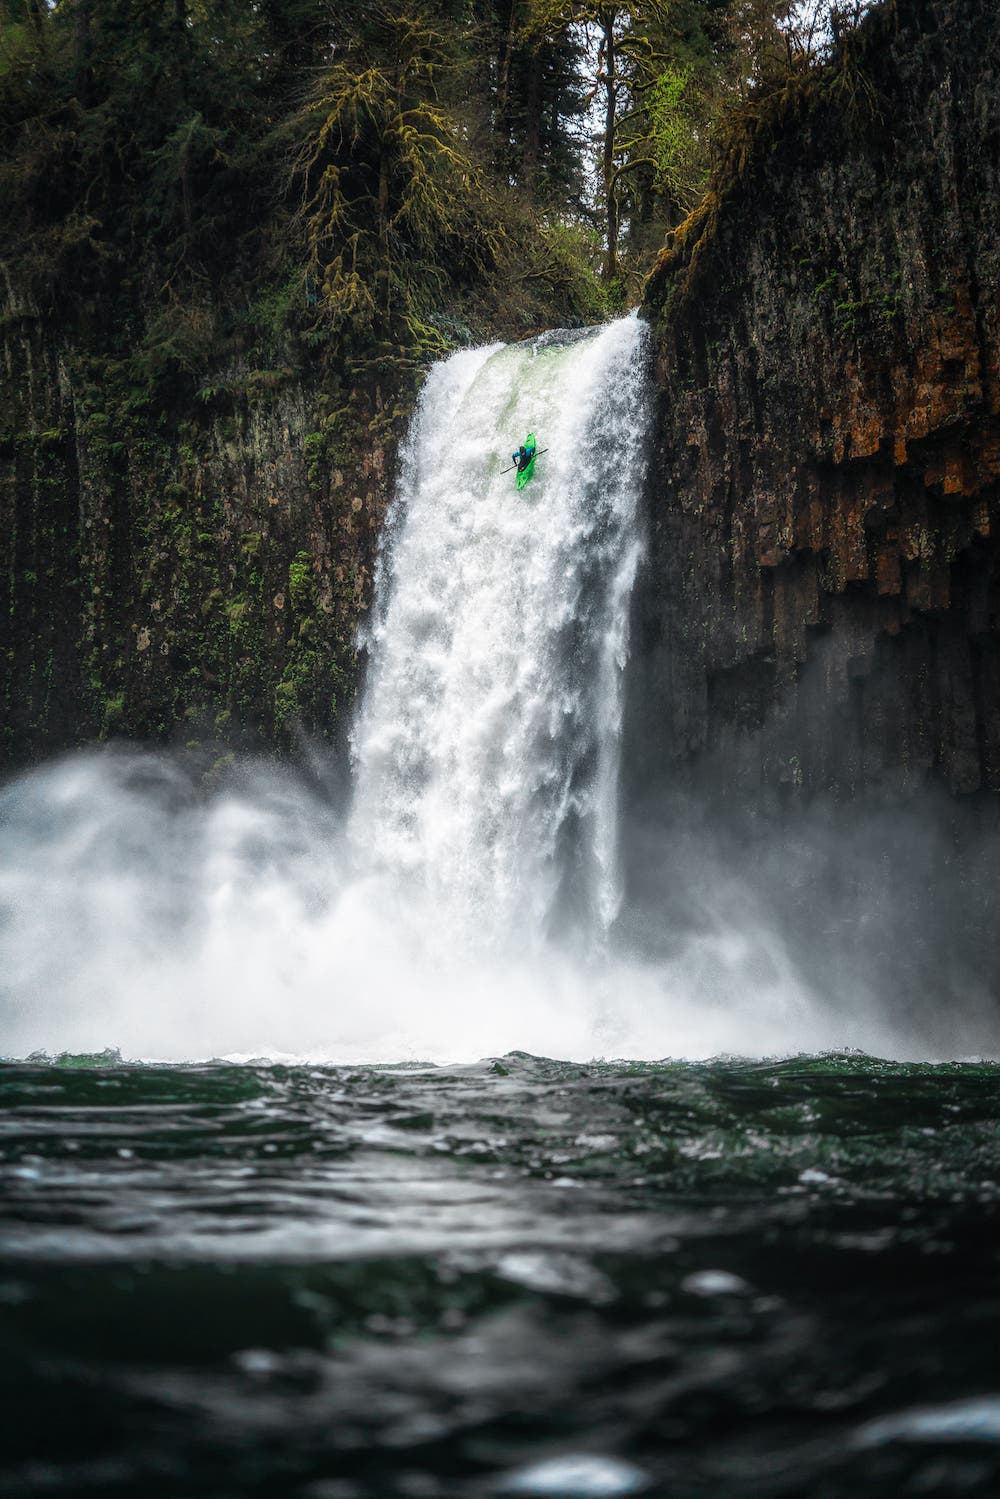
For landscapes, the focal point is a bit more complicated. Oftentimes, you may want to focus on the background to bring out your subject. Other times, your strongest subject may be in the foreground and you’ll want to focus on the foreground instead. In landscapes, it is often ideal to have the whole image in focus, rather than just your subject. If this is the case, you’ll have to focus on the background and manipulate the aperture to create a very long depth of field.
Depth of Field in Selective Focus
Creating depth in a 2D image can prove challenging. This can be done in two different ways. First, you can increase the distance between the foreground, background, and subject. Secondly, you can use aperture to create a bokeh.
One of the easiest ways to add depth of field is to have objects in your frame up close to the camera and have your subject to be much further away. You’ll see this technique done in many portraits. Imagine looking at a model through the branches of a tree, where the tree branches are blurry enough to not be distracting, yet in focus enough that you can tell it’s a tree branch. In this situation, focusing on the model is a way of using selective focus.
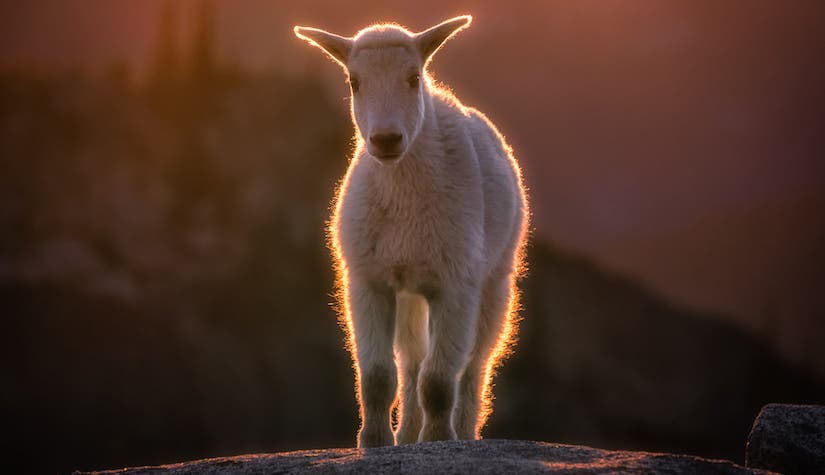
The other way to add depth of field is using aperture. The lower the number of the aperture, the easier it is to create depth of field. This is one of the ways professional portrait photographers create amazing portraits. By using a wide open (low number) aperture, you can selectively focus on the subject, and the background will be blurry, creating a bokeh effect.
What is the Best Focus Mode for Selective Focus?
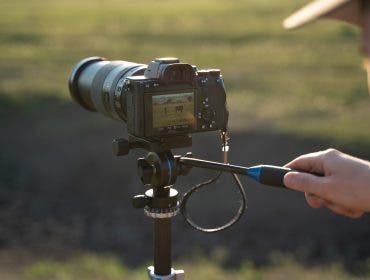
Most cameras have many different focus modes, ranging from manual focus to all different kinds of autofocus modes. For subjects that aren’t changing rapidly — such as a landscape —autofocus single shot is the best bet. For portraits, or other moving subjects, use continuous autofocus so that the camera continues to hunt for focus as your subject moves. You will also want to change the focus area. By default, most cameras use a wide focus area, meaning that the camera decides where the focus point should be. You can usually change your camera to do a flexible spot that you can manually adjust. This way, you can choose exactly where the focus point should be. Most cameras have multiple sizes of flexible spots, meaning that you’ll be able to perfectly nail the focus point exactly where you want to put it.
Nailing selective focus is a technique that takes time to get perfect, and the best way to learn is to get out and try it in the field.