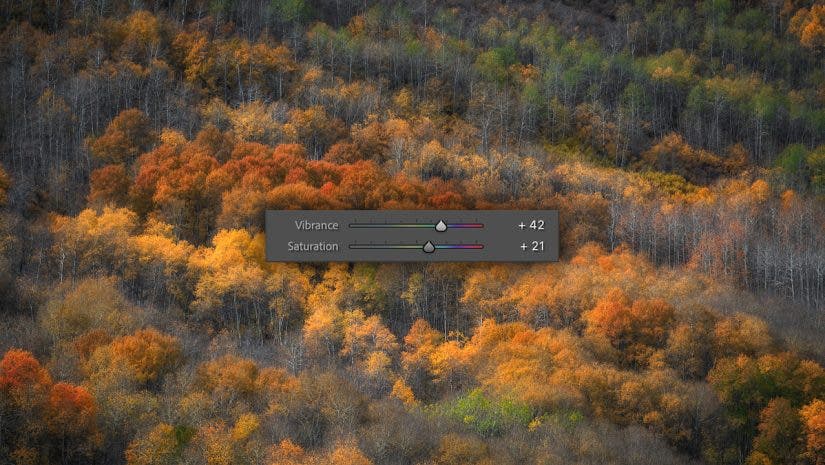
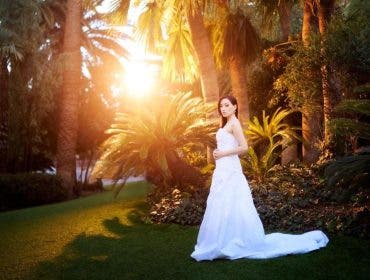
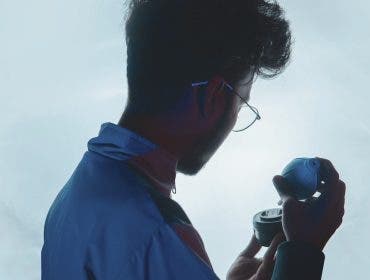
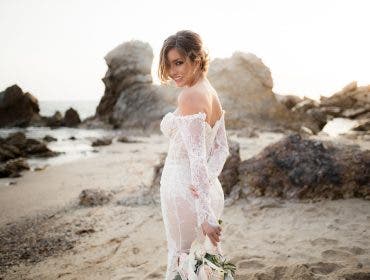
Vibrance and saturation are two of the most commonly misused and misunderstood photography concepts in photo editing. If you’ve used any digital photo editor before, you’ve undoubtedly seen these two sliders. Perhaps you’ve adjusted them and watched as the color in your image changes. If you shoot in color, these two sliders are the foundation of your image. They need to be fine-tuned in order to capture the perfect, portfolio-worthy piece. In this article, you’ll learn everything you need to know about saturation vs vibrance, and how to use them to create beautiful color in your photos.
What is Saturation?
Saturation refers to the intensity of a color. When you increase the saturation on a photo, you make the colors stronger. When you decrease the saturation, the colors become more dull and muted.
In the example photos below, the only change that has been made from the original RAW file and the edited file is a +50 increase to the saturation slider. Notice how the intensity of the colors has significantly increased, resulting in a more interesting photo. However, you need to be careful. Too much saturation can cause your photos to look unrealistic.
Original photo:

Photo with 50+ Saturation:

When to Use Saturation
Photographers shooting in RAW will benefit from increasing the saturation on nearly every photo. When shooting in RAW, your camera will give you a very flat and dull file, capable of receiving major edits. This means you can push and pull on sliders in your editing program of choice much more than you would with a JPEG file. Most of the time, the colors in your image will be very muted. Increasing the saturation will help to bring the colors back to life.
All different types of photographers will adjust saturation differently. My personal recommendation is to bring this slider up just until the colors start to look as they did when you were out shooting the photo in the field. As a general rule of thumb, I usually try not to exceed +20 on the saturation slider.
Portrait, pet, and sports photographers must be careful with this tool. Increasing the saturation slider too much can oversaturate the face of your model or their clothing, making things look very unrealistic.
Landscape photographers may be tempted to really go to town on the saturation slider. Although, this can result in very unrealistic looking landscapes. Common mistakes landscape photographers make by increasing the saturation slider too much include skies that are too blue, foliage that is too green, and rocks that are too red.
The best time to use the saturation slider is after you’ve made basic adjustments on your photos. If using Lightroom, go down the line with the other basic sliders to get your photo to the appropriate tones. Then, begin to adjust the saturation slider until you see fit. It is usually best to adjust the saturation slider after you adjust the vibrance slider, which we will be talking about next.
To learn more, check out How to Adjust Photo Saturation (for a Natural Look).
What is Vibrance?
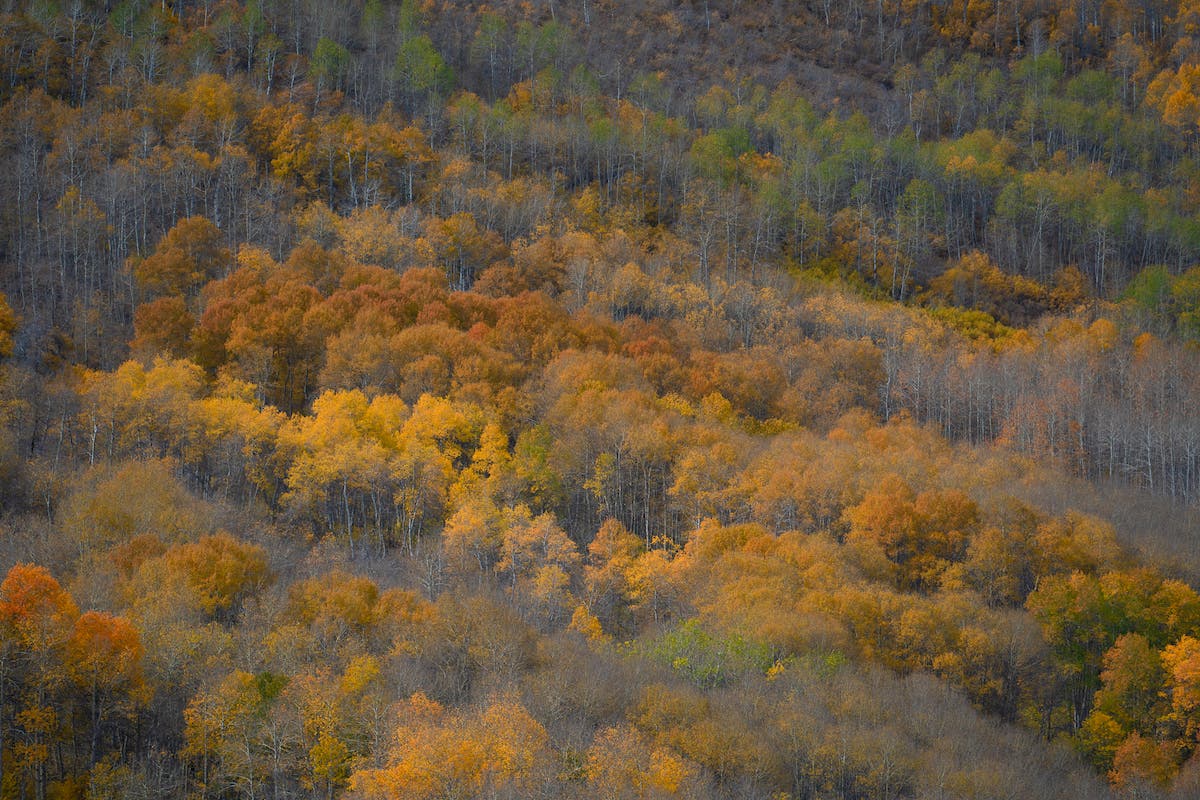
If you browse the web for long, you’ll find tons of different definitions for vibrance in photography. Essentially, vibrance is like a smarter version of saturation. Vibrance specifically targets the more muted colors in your scene, bringing up their saturation values to match the saturation of other colors in your photos.
For this example, we’ll use the same photo as before. Although, instead of adding +50 saturation, we’ll add +50 vibrance. Notice how the photo feels more evenly saturated. Specifically, compare this photo to the photo above, and you’ll see how much stronger the lesser represented colors become (such as the greens).
Original photo:
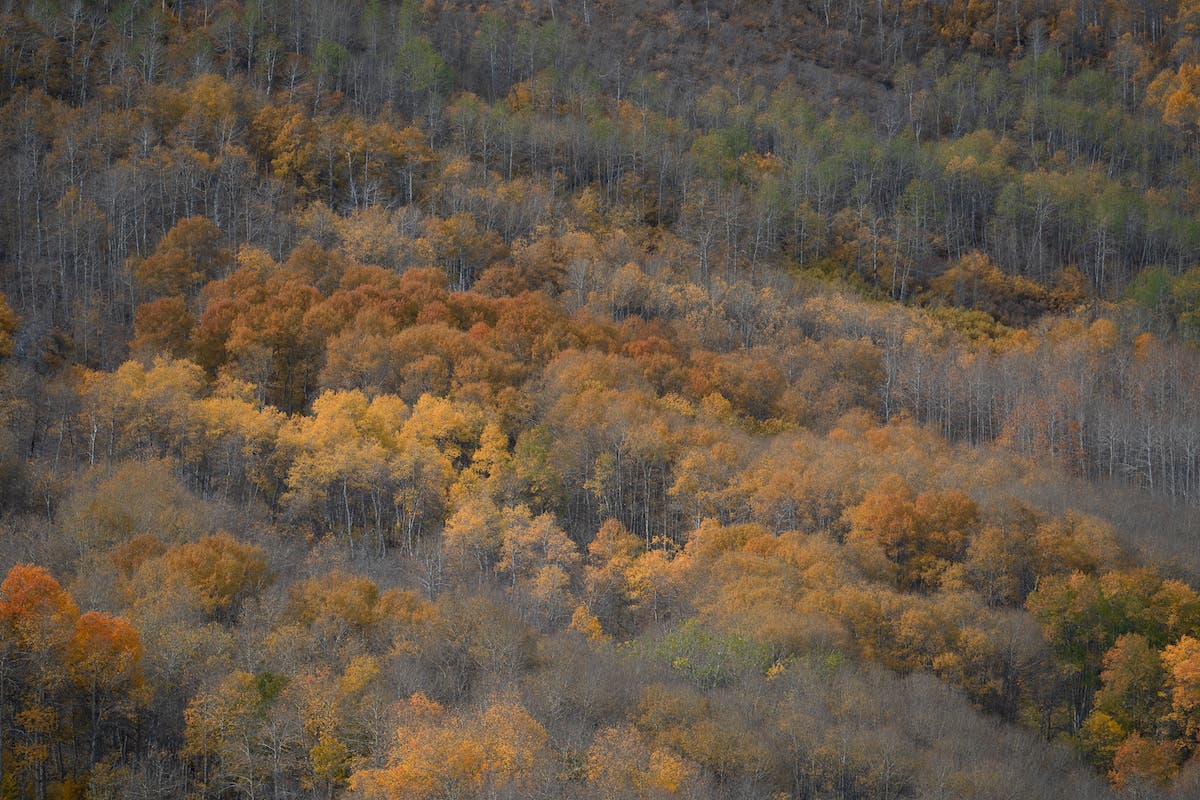
Photo with 50+ Vibrance
When to Use Vibrance
Generally speaking, any time you are going to add saturation to a photo, you should add vibrance as well. Vibrance helps to synergize the saturation levels of the colors in your image together. Just like the saturation slider, the vibrance slider really shines on RAW photos where color is lacking from the start.
Every photographer will have their own recommendation for using the vibrance tool. I personally like to add about double the vibrance as I do saturation. Use the vibrance slider first, and then adjust the saturation afterwards. To start, try adding +20 or +30 vibrance and see how your image looks. Be careful to avoid adding too much vibrance and oversaturating your image before even adding any saturation.
Portrait, pet, and sports photographers will love using the vibrance slider to increase the saturation of the colors that aren’t as well represented in the photo — such as hair, eyes, and background. Again, be very careful not to overdo this slider. If you’re looking to adjust just a single color, try using a more targeted adjustment such as the Hue, Saturation, and Luminance Sliders in Lightroom.
Landscape photographers will also get great use out of the vibrance slider to bring up some of the more muted colors in their scenes. Again, be careful of overusing this tool. Embrace that some objects in your photo should be less saturated than others.
Use the vibrance slider before using the saturation slider, but after making other basic adjustments to things like highlights and shadows. Once you’ve set the vibrance to a place that looks right to you, set the saturation slider to half that of the vibrance. Of course, these adjustments can be adjusted again and again to fine-tune the color in your photo.
For more information, check out Vibrant Photography Tips for Colorful Images that Pop.
Programs to Use
You should be able to adjust the vibrance and saturation in almost any photo editor on the market today. Lightroom is by far the most popular photo editing app. The vibrance and saturation sliders can be found in the develop module within the basic tab. Lightroom is available both as an app you can run on your computer, or on a mobile device for quick and easy edits. Other notable photo editors that allow you to adjust the vibrance and saturation include Luminar, ON1 Photo RAW, DxO PhotoLab, CaptureOne, and more.
Be sure to use a program that allows you to adjust both the vibrance and saturation. Some basic apps and basic photo editors (such as Instagram) only allow you to adjust the saturation. Your photos will look far better if you can adjust both vibrance and saturation.
Saturation vs Vibrance: Conclusion
Knowing the difference between vibrance vs saturation will help you create more accurate color adjustments on your photography. This will ultimately give you more control and creative freedom. Once you try vibrance and saturation on a few of your own photos, the difference will be much easier to understand. No matter what photo editor you use, check and make sure that it offers both vibrance and saturation sliders for the best possible color adjustments.
