
Have you ever been filming only to notice that some vertical lines in the footage appear warped or distorted? Or how about when you pan, there are noticeable changes to the subject in the form of a slight blur or distortion? This is called rolling shutter.
The rolling shutter effect occurs when recording video on a mirrorless camera because it captures frames serially rather than all at once, which can create odd visual artifacts in the scene. It happens when the electronic shutter moves along with most mirrorless cameras as they record frames top-to-bottom or left-to-right.
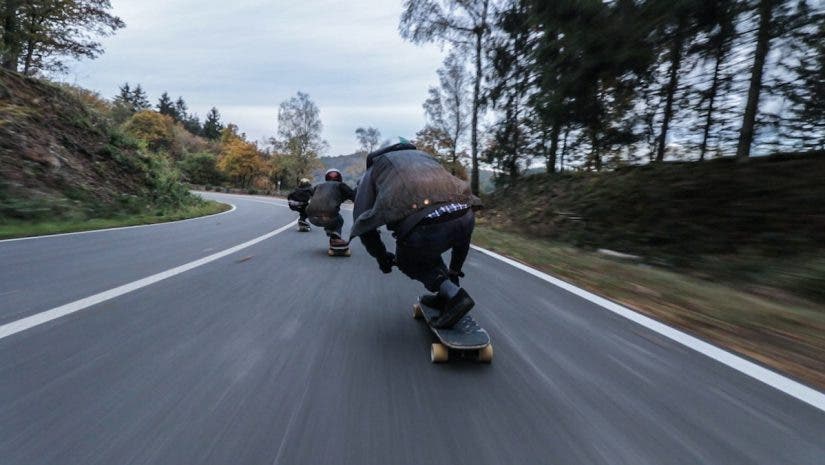
This way of recording causes distortion, particularly in fast-action scenes and when taking pictures of quickly moving objects like people running or cars speeding by. The issue is most noticeable when one person or object moves faster than another within the same frame, causing them to appear skewed or staircase-like. Fortunately, these issues are easy to correct by manually adjusting the camera settings before recording, or by utilizing post-processing software.
What is a Rolling Shutter?
To know how to deal with the rolling shutter, you first need to understand what it is. Rolling shutter typically happens when you capture fast-moving subjects. As you’re capturing a photo or a video of the subject in motion, the subject may appear hazy, distorted, or unclear — precisely what we call the rolling shutter distortion.

Rolling shutter can also affect the imagery you capture when you pan the camera too fast. The resultant distortion may blur out part of the frame or distort other aspects, such as making straight lines appear bent or curved. Now that you know what a rolling shutter is, let’s understand how it works.
How Does a Rolling Shutter Happen?
When you capture a subject with your mirrorless or DSLR camera, the light in the frame enters the lens and hits the entire sensor instantly. There’s no lag, and the whole sensor reacts simultaneously to ensure you have a clear, distortion-free picture of your subject. But try using the same camera to capture a video, and you’d notice a stark difference in the imagery.

Many cameras feature CMOS sensors, which do not react in the same manner for videos as they do for photos. Rather than activating the entire sensor simultaneously, the CMOS sensor uses only one row at a time. The second row of pixels will record from left to right quickly until the last row of pixels in the sensor gets activated. Once the sequence reaches the bottom of the sensor, the whole process starts over again, right from the top.
As this process keeps rolling, the effect caused by this sequential functioning of the sensor is known as a rolling shutter.
How to Avoid the Rolling Shutter Effect
You’ve got the hang of how a rolling shutter works and you’re now wondering if there’s anything you can do to stop the rolling shutter from ruining your photos. The answer is yes.
Change the Shutter Speed
The first thing you need to do is adjust your camera’s shutter speed. To prevent distortion of the footage, all you need to do is set the shutter speed to twice that of the frame rate you’re shooting. Picking the right shutter speed is key.

Use Good Lighting
It’s best to work with a lot of lighting to help minimize the rolling shutter effect. Outdoor shoots would be easier, as natural light floods the frame. You’d need to rely on additional lighting for indoor shoots to keep the rolling shutter effect at bay.
Use Stabilization
Minimizing camera movement can also help with the rolling shutter; if your camera features a built-in stabilization mechanism — that’s perfect! If not, you can always seek assistance from a video head or gimbal to keep all unwanted camera movements at bay.
How to Fix the Rolling Shutter Effect in Post
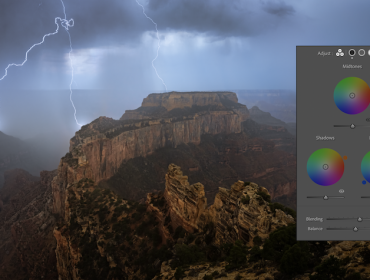
Despite taking all due care while shooting, if you still end up with the infamous rolling shutter distortion in the imagery you capture, you can use Adobe Premiere Pro.
Adobe Premiere Pro has a Rolling Shutter Repair effect that you can use to help remove all the distortions caused by the effect. After you apply the feature, you can adjust the Rolling Shutter Rate and adjust the percentage until all distortions disappear from the video. Scan Direction is another option that specifies the direction in which the rolling shutter scan occurs.
You also have some Advanced features, such as Method and Detailed Analysis, that can help you tackle the effects of rolling shutter in imagery in a better, more efficient manner.
Conclusion
The beauty of photography and videography is that every issue you come across has many solutions. Next time, rather than fretting over the rolling shutter and its effects, adjust your camera’s settings and you should be good to go. And if you still have a rolling shutter distortion, you have Adobe Premiere Pro up your sleeve for minor adjustments.