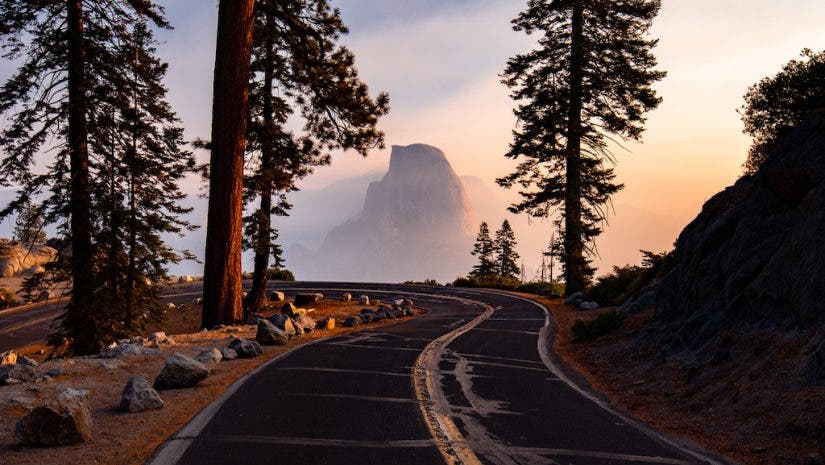
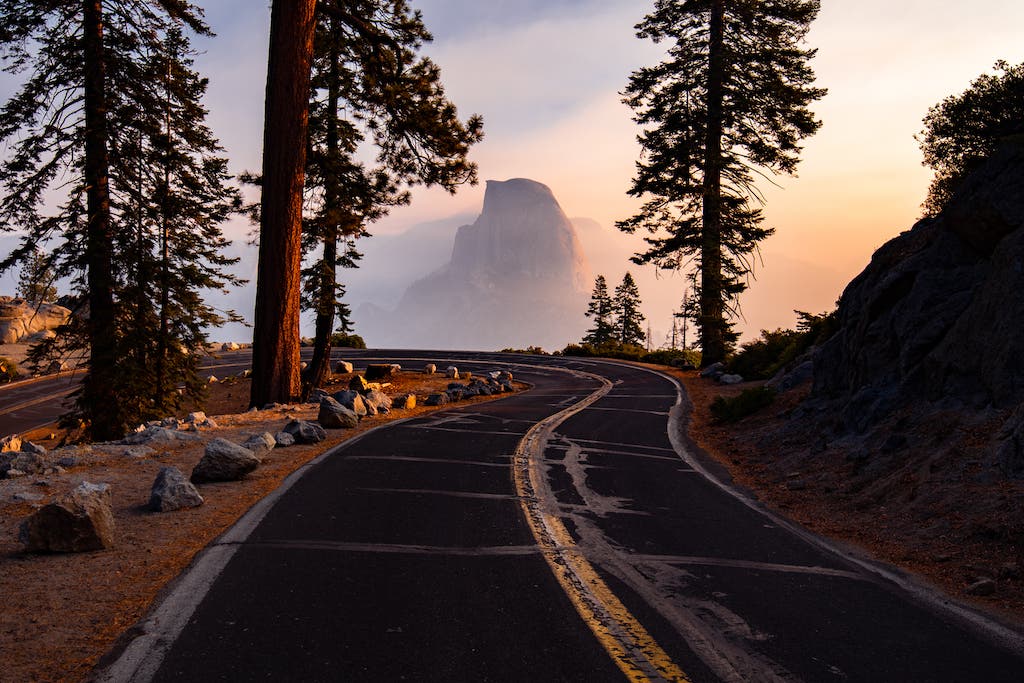
We’ve all seen an image like this on Instagram. It’s the “perfect” road trip photo that captures the essence of the open road and feelings of freedom and nostalgia. You might even be hitting the road this summer and exploring places that are similar. So why not learn how to capture a road trip image just like the ones you see on social media? Here are five tips for shooting the best road trip photo.
Before we start, please remember to be careful when shooting on or near open roads. Never shoot on major highways or interstates, as well as stretches of road with limited visibility of oncoming traffic. Always be looking out for approaching vehicles in front or behind you. If there’s someone with you, ask them to be your eyes and ears while shooting so you’re not in a risky situation.
Now, let’s begin!
Focus on leading lines

Leading lines are incredibly important in a road shot. They are dominant lines that are positioned by a photographer to draw a viewer’s eye to a focal point.
There are four main types of leading lines: horizontal, vertical, diagonal, and converging. Converging lines could be train tracks or an open road that draw the eye closer to the focal point of a beautiful landscape or wide open spaces beyond.
However, contrary to popular belief, they don’t always have to lead to the horizon or center of an image. The focal point can be anywhere in the background where the converging lines are drawing your eye.
Capturing converging lines is key to capturing the ultimate road trip shot. Once you understand how to master using this technique, you’ll have the perfect foundation to build your ultimate road shot.
Determine your focal point or subject

Now that you understand how to utilize leading lines to your advantage, the next step is to determine your focal point or subject in the shot. This could be the beautiful landscape in the background, or a subject like a vehicle or person in the road.

It’s important to determine this before you shoot because it allows you to set your camera settings for optimal results. For example, your aperture will be higher and your shutter speed will be lower if your focal point is a background landscape. However, if you’re shooting a moving subject that’s a slightly closer focal point, your aperture will be lower and your shutter speed will be higher.
Not only does determining your focal point and subject ahead of time allow for purposeful shots, but it also allows you to optimally set your camera to the correct settings to capture a successful shot.
Get lower and go longer
After you’ve determined your focal point and subject, now it’s time to start experimenting with different perspectives that maximize your converging leading lines. There are two popular perspectives that are typically shown in beautiful road shots.

The first is from a lower perspective, typically shot with a wide angle lens like a 16-35mm. The dividing, center road line is used as a vertical leading line with the outside edges converging to the focal point. You can shoot this line as low and close as you want, but the end result creates a powerful sense of depth that is essential for road shots.
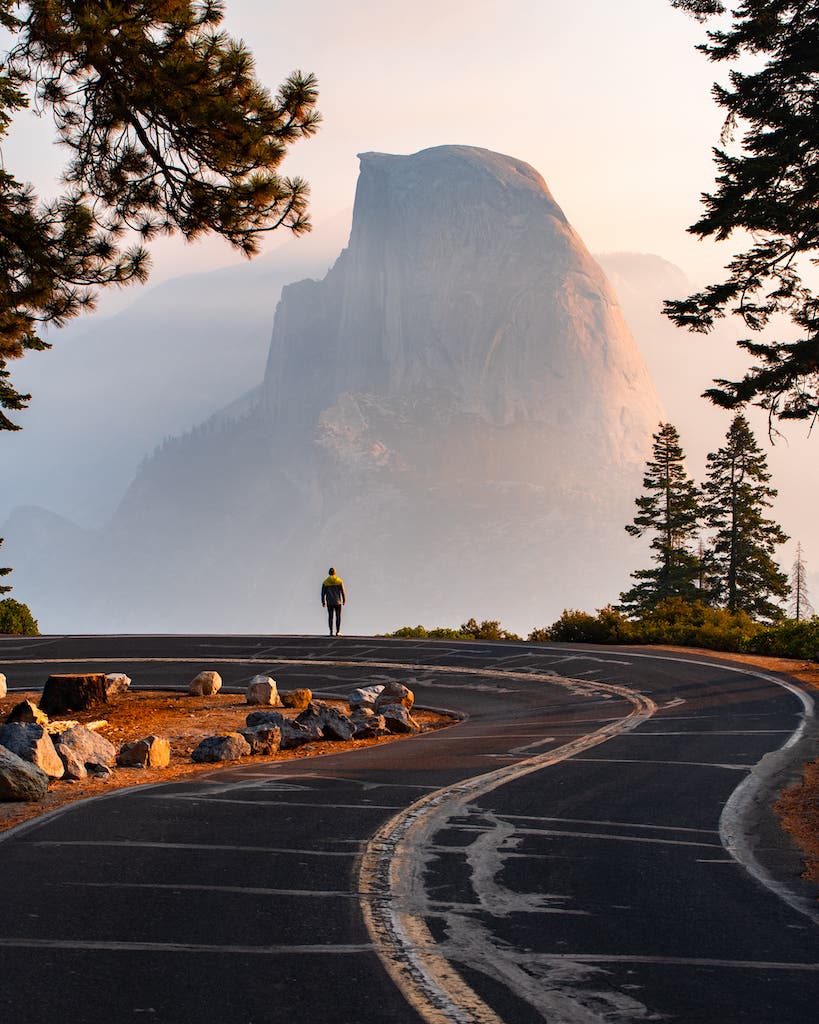
The second is a perspective from a longer focal length, achieved through using a telephoto lens like a 70-200mm or 100-400mm. The photographer stands at a normal height and compresses the background using a small aperture (f/7.1+) and long focal length (100mm+), for unnatural depth that captures the viewer’s eye.
Mastering and utilizing both techniques not only maximize the amount of photos you can take, but also allows you to create unique perspectives from one beautiful road scene.
Know when to photograph
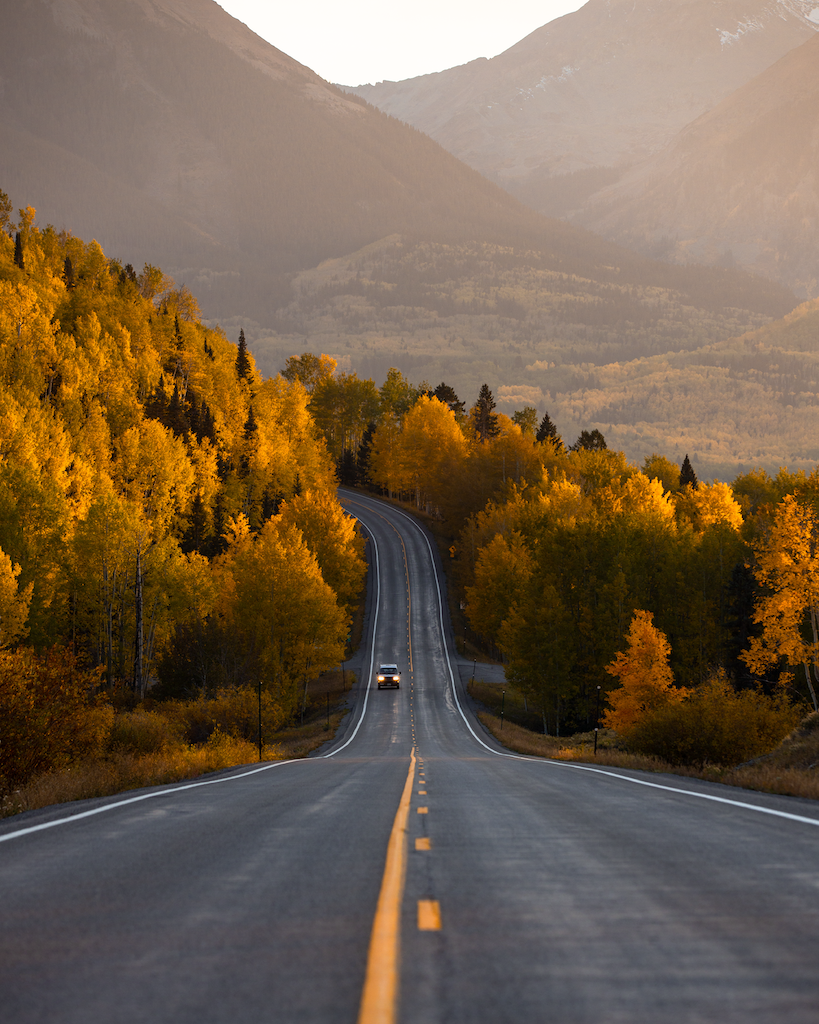
Next, it’s important to know when to photograph road shots for the best results. Typically, the best time to shoot is early morning or late evening before the sun is too high above the landscape.
This time is preferred because there is softer, more favorable light. This means there is a lack of harsh shadows that form on the road that can throw off a composition. You want the road to be clear and free of any distractions when shooting road shots.
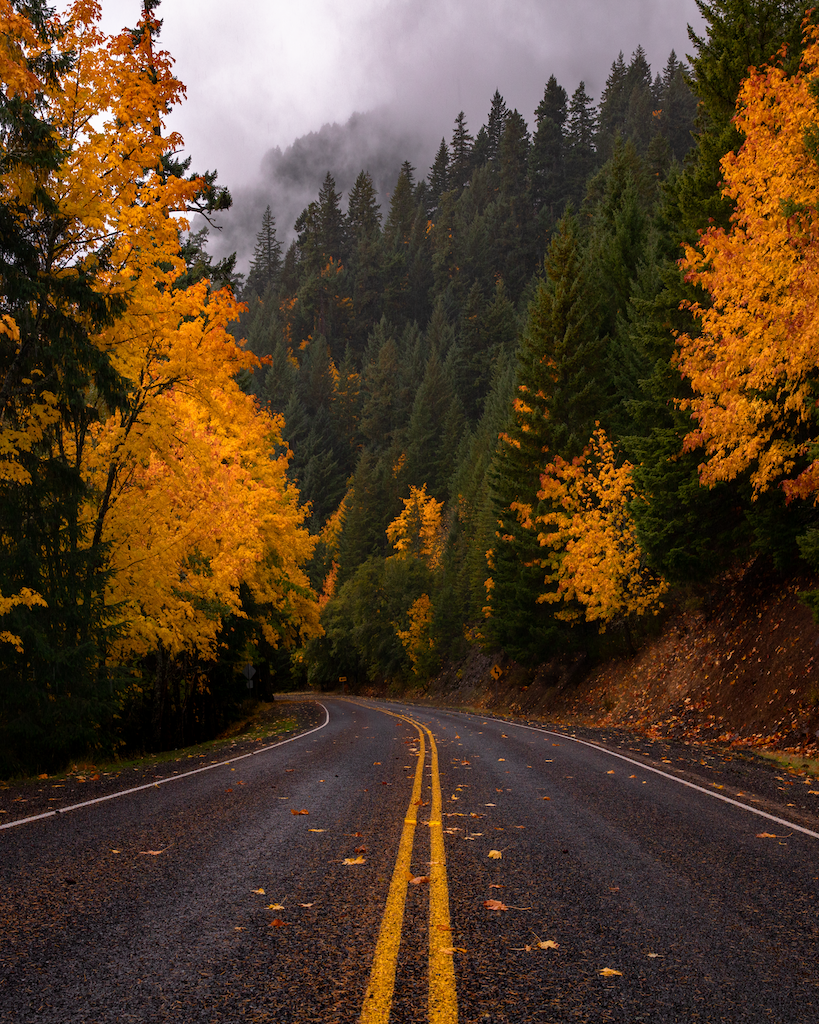
However, an exception to this rule would be if you’re photographing on a cloudy or overcast day. In those conditions, you can shoot longer throughout the day since the sunlight is filtered by the clouds.
Use a circular polarizer filter
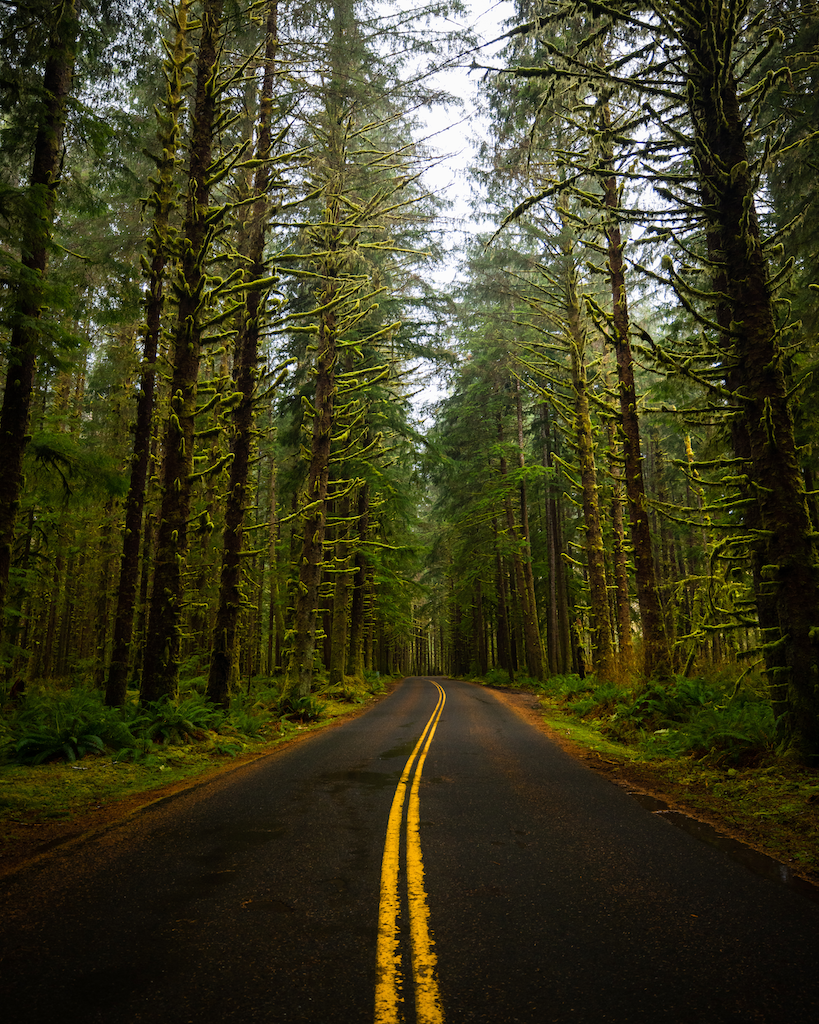
Finally, the fifth and final tip for capturing the ultimate road shot is using a circular polarizer filter. Not only does this filter increase color contrast — which is always a plus — but it can eliminate or accentuate reflective roads depending on the look you are after.
If you’re shooting a newly-paved road and want to focus on the color, give your CP filter a twist and eliminate any unwanted glare. If you’re looking for that soft glow or wet road look, you can twist and adjust the filter to increase that reflection.
In the end, shooting with a CP filter gives you more control over your road trip images — whether it’s related to color, contrast, or light. It’s an essential piece that comes with me on every road trip photo shoot.
