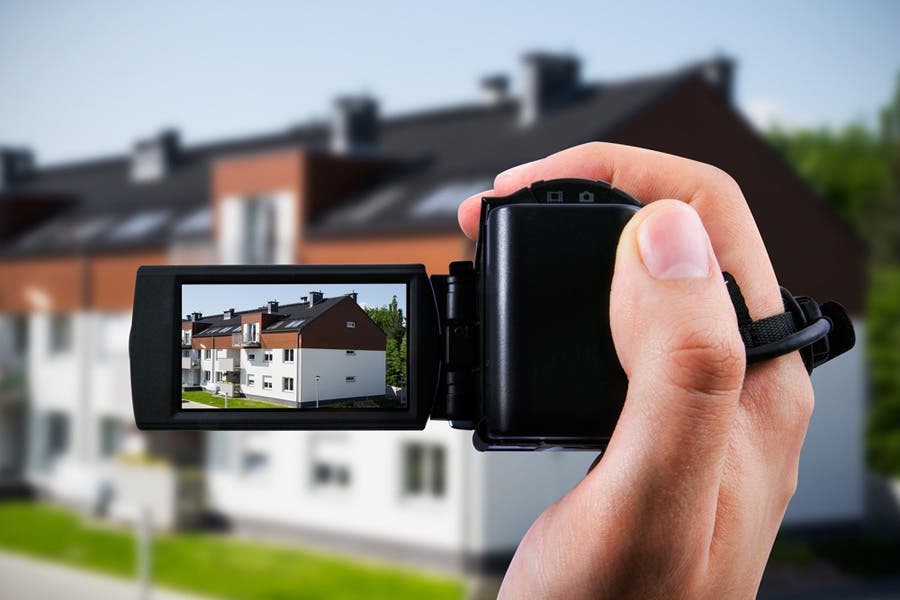
While it’s normal to use photographs to sell real estate, there’s been an increasing demand for videography as well. The reason more and more clients require videos is because it is the only medium that makes potential buyers feel like they’re experiencing a first-hand tour. So if you want to have that property sold in no time, you can provide prospective clients with both photos and videos to create an immersive experience.
This is good news if you’re aspiring to become a videographer, but there sure is a lot of competition in the field. So if you’re thinking of getting into the specific niche of real estate videography, here are a few tips that will help you start on the right path.
What is Real Estate Videography?
Real estate videography is more than just a video of real estate property. It can be as simple as an animated slideshow of photos or a continuous video walkthrough. More compelling content, however, requires knowledge of video production, quality videography gear, familiarity with video composition rules, and expertise in various video editing techniques. The content of the video may be a property film, an agent/company film, or a testimonial video. A property film features the property for sale and can include video tours and walk-throughs. An agent/company film is more “cinematic” and often includes cut scenes (e.g., scenic views), voiceover, and commentary by a listing agent. A testimonial video is typically captured in interview format where former clients discuss their positive experiences regarding the agent or real estate company.
How to Get Into Real Estate Videography
While there are tons of online tutorials that will teach you about real estate videography, not many successful videographers are willing to share their secrets to success. This list of tips will not only help you establish yourself as a good real estate and architecture videographer but will also teach you how you can get clients in order to grow and become more successful in your newfound career.
Get Educated
There is always going to be a group of people who think that real estate videography is as easy as creating an animated slideshow of photos or recording a continuous video walkthrough with their smartphones and uploading them on social media. While these may have been effective several years ago, you’ll need to keep up with the times in terms of output if you want to stand out and produce more effective marketing materials.
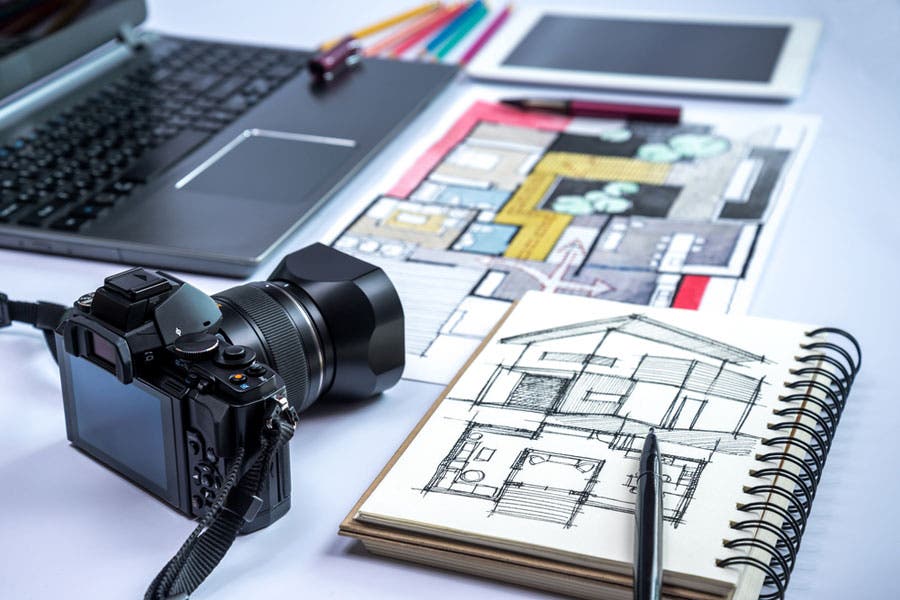
Since the creation of real estate videos is essentially video production, anybody could greatly benefit from enrolling into a videography workshop—whether online or in a physical class. Get ahead by learning how to make the best use of videography gear, understanding video composition rules, and practicing video editing techniques.
After your workshops, take time to check out as many examples of real estate videos as possible. Starting off with a good understanding of the basics of videography and what’s currently being offered to the real estate market will help give you a pretty solid idea about what the job entails.
Gather the Right Equipment
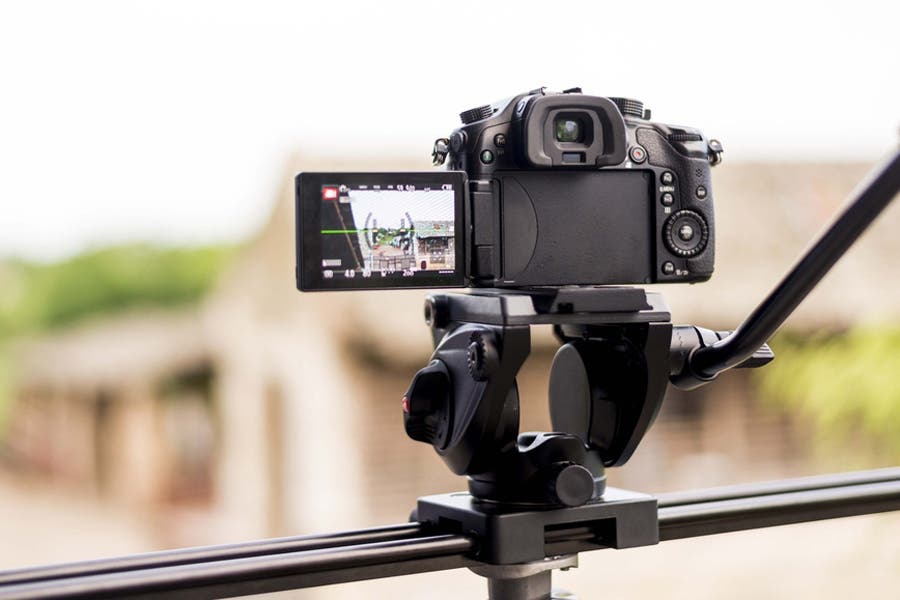
If you’re aiming to be the best of the best, or at least be a very effective up-and-coming real estate videographer, you’ll need to invest in the right equipment. This is not the best time to scrimp on your gear as video quality is of utmost importance.
Aside from a full-frame DSLR or mirrorless camera, you’ll need motion control gear with two tripod heads so you can do both stable and panning as well as more dynamic sliding (side to side) and gliding (forward or backward) shots.
As for your main glass, stick to a wide angle lens. You might be tempted to go for a fisheye lens to make a room look even wider, but focal lengths between 16-70mm will produce less distorted and more realistic presentations of the real estate property.
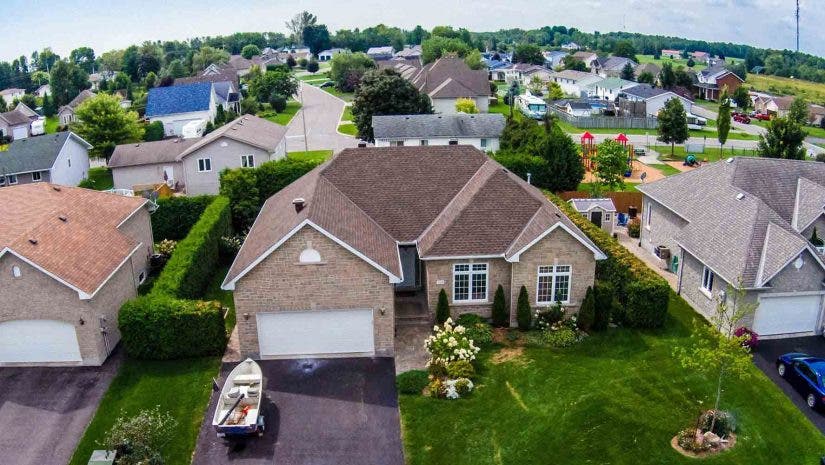
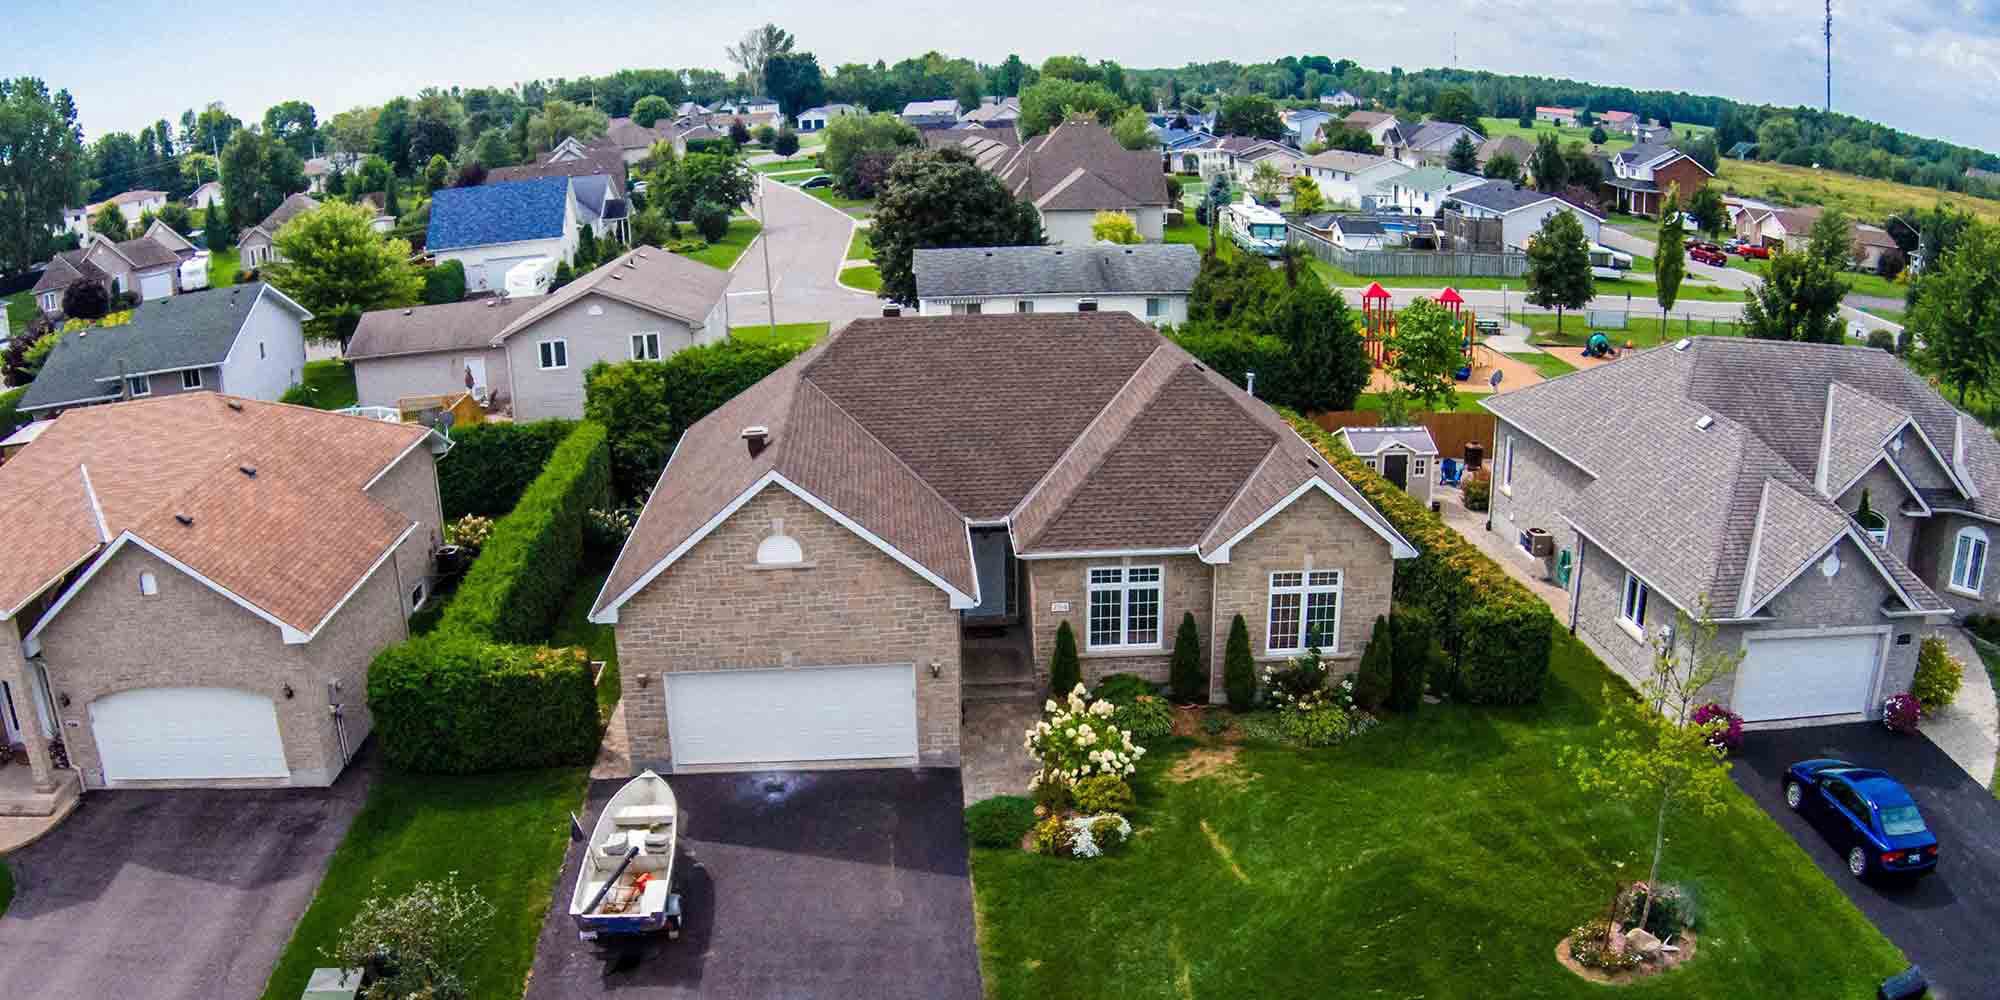
It helps to also have a drone for dramatic aerial shots of the house and the community and to significantly add production value to your videos.
Determine Your Desired Output
Once you’ve obtained your gear, go ahead and practice making real estate video tours in your own home. Check out video samples and try recreating them. Eventually, you’ll figure out exactly what you would like to see in your final product. Consider these questions while practicing your craft:
- Who is your target audience?
- What tone and message do you want to convey?
- Do you want a raw video tour or a cinematic one with a lifestyle vibe?
- Do you want to add music and voiceovers?
- Do you want aerial footage or time-lapse clips?
- Do you want to include interviews about the town?
Your output may have to change depending on the property or your clients’ preferences, but having a signature style will help you establish your creative filmmaking identity to clients.
Create a Timeless Portfolio
As you begin to take on your first clients (starting with friends and family), keep some of your best work for your portfolio. But here’s a tip: Don’t feel overwhelmed and pressured to create highly impressive and original real estate videos. While touches of cinematography are encouraged, real estate listings are filled with simple shots that don’t take the attention away from what should be your main focus: the featured property.
When you film, do so with the intention of including it in your portfolio so you will be more mindful of your output. At the same time, start small with evergreen videos that you will be able to use as part of your marketing tool for many months or even years to come.
Familiarize Yourself with the Properties
Here’s something that you should remember to do before clicking record: talk a walk around the house—if possible, before the day of the shoot. Keep an eye out for key areas that would be great to highlight in your video, as well as those that you might have to call less attention to. The extended time in between will also give you an opportunity to conceptualize how you would want each of your outputs to look like.
Aside from improving your work, taking the time to get to know the property and taking note of the owners’ favorite areas in the house will send a good message.
Bonus Tip: You’ll only need around 2-3 shots for each bedroom and bathroom in the house (usually just from the door if it’s a small space). For the master bedroom, living room, and kitchen, make sure to capture them from different angles.
Plan for Good Lighting
In case you’ve been wondering about your lighting equipment, the good news is you won’t need them. Real estate video is all about capturing the natural look of a property. At the same time, today’s cameras feature enhanced low-light performance for the production of high-quality footage.
What is crucial, however, is that you allow natural light to work with you. Plan your shoot around good weather and choose a bright, partly cloudy day that will give you diffused lighting. Shadows might look nice and dramatic but you don’t want them on all of your shots.
As long as you’re not shooting under dark and gloomy weather, you’ll have a big chance of taking winning shots.
Preparation is Key
Another benefit of checking out the house beforehand is you can take note of what the owners or real estate agents should clean and tidy up in order to prepare the house for the shoot.
Remember, you don’t have to do the preps as it will not only halt your creative process but will also eat a lot of time. The commonly requested preparations include:
- Decluttering tabletops and counters
- Hiding people and pets
- Taking down pictures of homeowners
- Smoothing wrinkles on bed sheets
- Fluffing and adjusting the bed and couch
- Closing closet doors and toilet seats
Commit to Quality Content
Even when faced with a client that seems to have pretty low standards, you’ll want to stick to the level of quality that you normally offer (or even higher). Often times, they don’t know what they want until they see it.
The same goes for strict and picky clients. Remember that even real estate videos are forms of art and you don’t have to give in to requests that compromise the quality of your work. Here are some of the things that you should avoid doing at all costs:
- Mixing up the order of your clips (i.e. not according to how you would walk through the house)
- Being repetitive with your shots
- Overshowing a room
- Overdoing the pan and slide
Build a Team
In the case of larger properties, you may want to make the most out of the allotted time by hiring other filmmakers to work for you. But before you start hiring anybody, make sure they are capable of producing exactly what you are looking for.
Request to see their samples to get a good idea of their filmmaking style and find out if it works well with yours. Once hired, you can assign them to cover specific areas of the house while you focus on others and on the final editing.
It also goes without saying that you should pay your filmmakers well. If it’s easy and short-term work, you may get away with paying the minimum wage per project. Just keep in mind that you get what you pay for.
Value Your Contracts
As with every job, you need to be very mindful of what you put in your contracts. Details that are often overlooked include the need for cleaning before the day of the shoot and possible rescheduling when the weather is not favorable.
Make sure it also has your (and your clients’) contact information in case any of you need to iron out a few more details before the shoot.
Real Estate Videos: Frequently Asked Questions
Whether real estate videography is profitable depends on a lot of factors, just like for any other business. As a start, you’ll need to decide what the cost of doing business will be. For example, consider the cost of your equipment (including camera, lenses, memory cards, computer, tripod) transportation, food, etc.
Ultimately, do videos help sell real estate? The answer is, yes! In fact, more and more agents are requiring videos along with images from a real estate photographer. Just think about the last time you were considering buying or renting a place. Having a well-produced video likely had an impact on if you even decided to visit the property.
Length depends on the property itself and they type of video you’re being asked to produce. The larger and more extensive the property, the longer the video will be. As a general rule, try to keep your videos on the shorter side, usually between 4 and 7 or 8 minutes. Any longer and you risk losing the viewers’ attention.
Now that you have a better idea of what you can do to get started as a real estate or architecture videographer, seek inspiration from other videographers and pros.