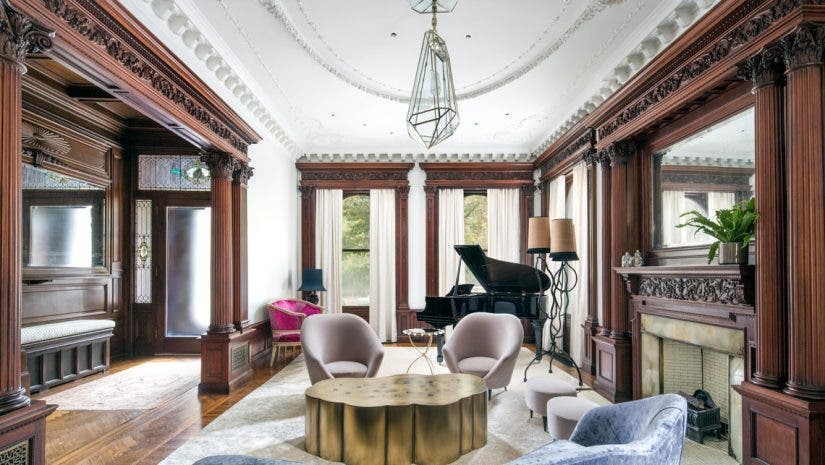
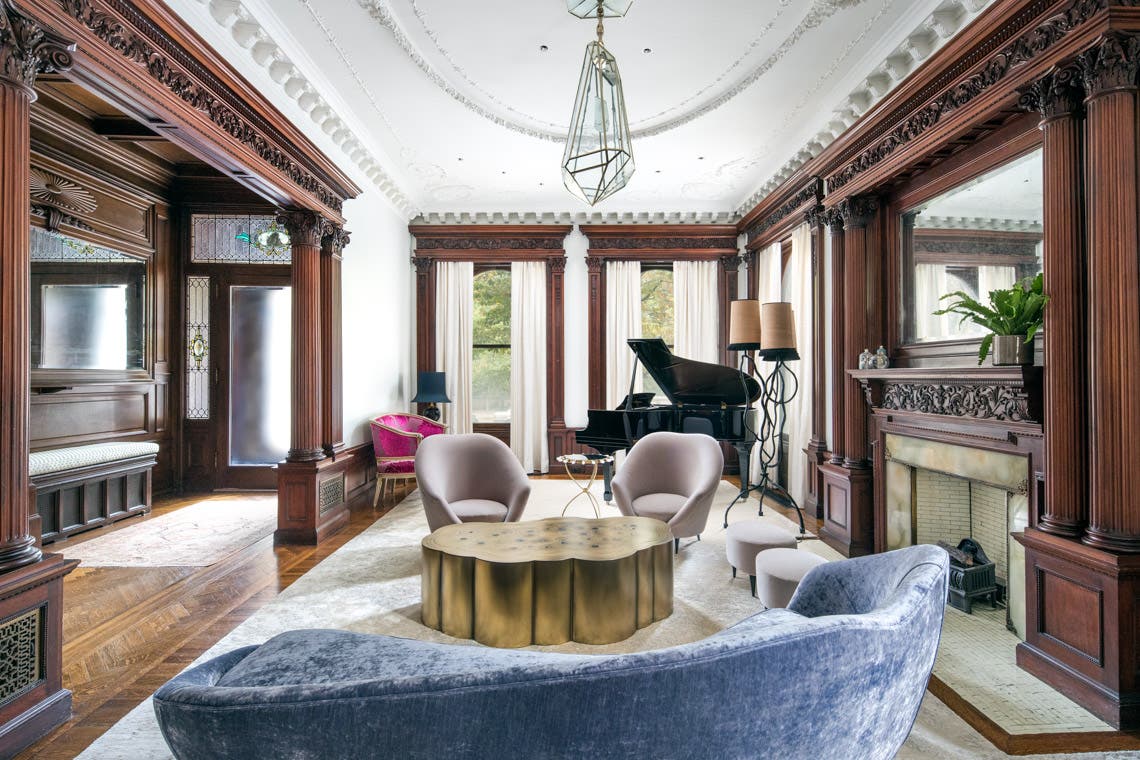
Great real estate photography is just like building a skyscraper—it all starts with a great foundation. I’ve been shooting luxury interiors in New York City for over 15 years and have tried all types of gear to help me shoot. Want to know the secret? You really just need 3 things to get started: a tripod, cable release, and a wide angle lens.
What is real estate photography?
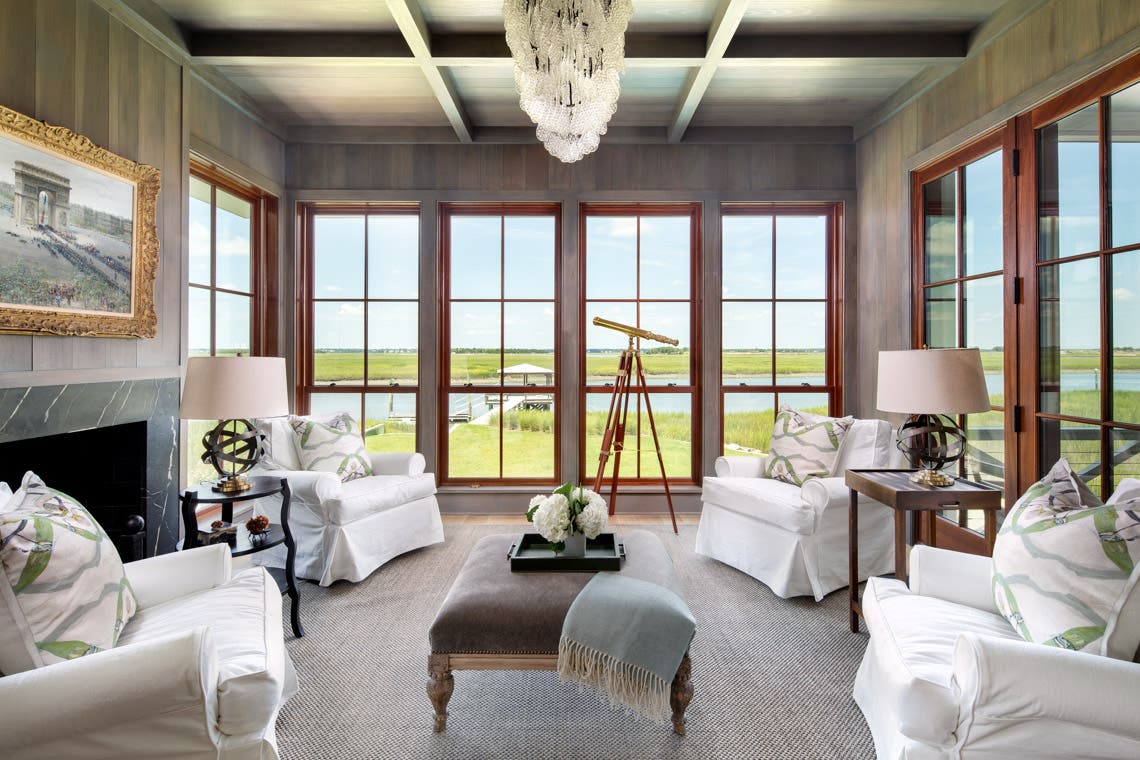
Real estate photography is a type of photography where creators use their photo skills to help real estate agents and realtors market and sell their clients’ homes with images that show the property in the best light. This genre includes exterior, and sometimes drone, photography to showcase the property’s surrounds. It also requires real estate interior photography to allure potential buyers.
How to get started in real estate photography
There are many ways to get started in real estate photography. You can try an internship with a real-estate company (or propose one if they don’t offer it). You could also reach out to an existing real estate photographer and ask if you can shadow them to learn the ropes. Or, take high-quality images of your home and your friends’ homes—both exteriors and real estate interior photography—then create a real estate photography website and social media presence to start attracting clients with your samples.
Real Estate Photography Gear & Tips
Tripods: Avoid Loose Screws
I always shoot on a tripod. Why? Because nearly all of my exposures are longer than what can be handheld without motion blur. Additionally, a tripod is a must because of retouching. In order to stack exposures and blend them together while retouching, the images must align perfectly. If the camera is off just slightly, there will be blur and focus issues when trying to merge the photos together. That is a mess that can easily be avoided with a good tripod.
There are a ton of styles of tripods, but I prefer the twist-to-lock options as opposed to the lever-to-close types. I’ve used both styles and have found that the lever type has screws and nuts that eventually need tightening to prevent the tripod from suddenly collapsing. The twist-to-lock types have never failed me in that way and I never have to tighten loose screws. Trust me, I’ve had a tripod collapse and destroy a lens—and nearly a whole camera—because of one loose screw!
Another consideration for me is weight. I take the subway to shoots while running up and down stairs carrying my camera bag. The last thing I want to add is more weight! I prefer a carbon fiber tripod as it’s the strongest and lightest option. When looking for one that fits your budget, make sure that the tripod has at least one bubble level built into it. It’s super helpful to quickly see if the tripod is level and which direction to adjust if it’s off.
Cable Release: Cut or Keep the Cord
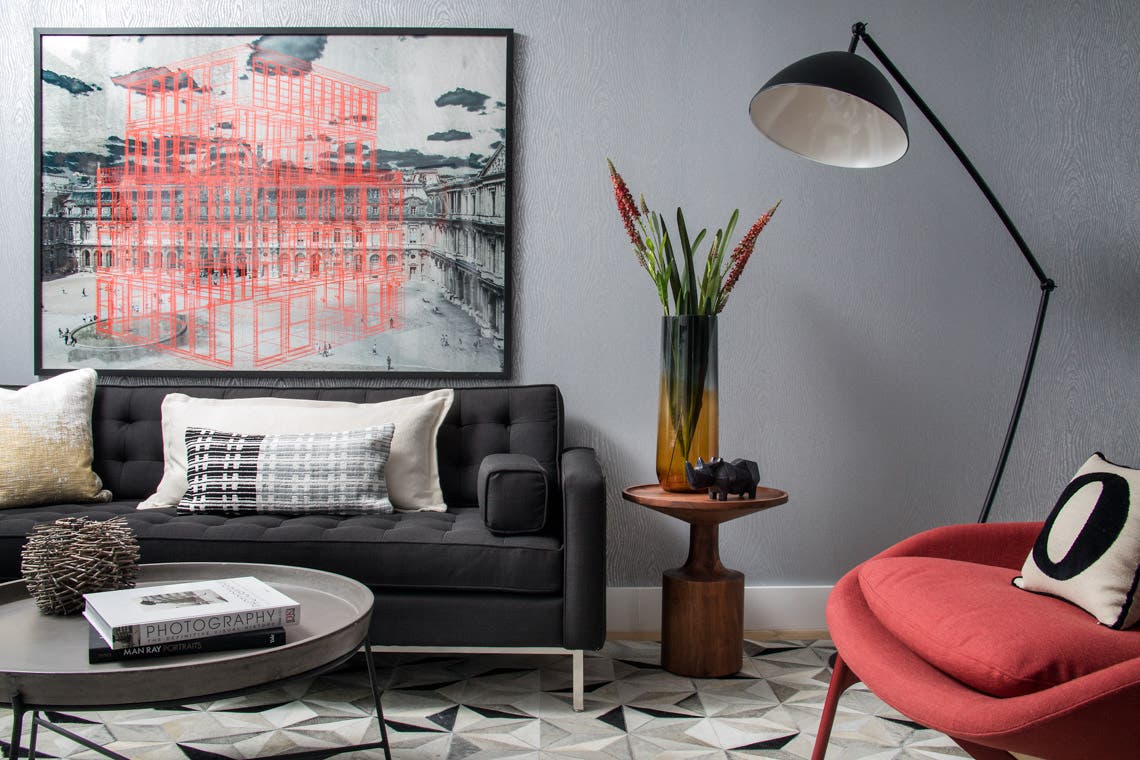
I had a fascination with cable releases as a kid playing with cameras. They seemed so simple and exciting, yet somehow so unnecessary. Why not just push the button on the camera? Years later, this small tool would become indispensable to my real estate photography career. You cannot make great images shooting interiors without one and the reason again comes back to the long duration exposures. I’ve seen some people use the timer delay as a stand-in for using a cable release, but this is a blurry photo disaster just waiting to happen. Depending on the brand of camera you use, there are a ton of options: corded, cordless, and wifi-based remotes. I always keep a standard cord-based release in my camera bag as my go-to backup.
For my day-to-day shooting, I prefer to use a wifi-based camera control app. There are several options to choose from, including using apps provided by your camera manufacturer. They all offer different options and conveniences. My three factors for use are: Does it work consistently? Is it fast? Does it drain the camera battery? Each has its advantages and disadvantages, but you can just start with a simple standard cable release.
Wide Angle Lens: Distorted Disaster
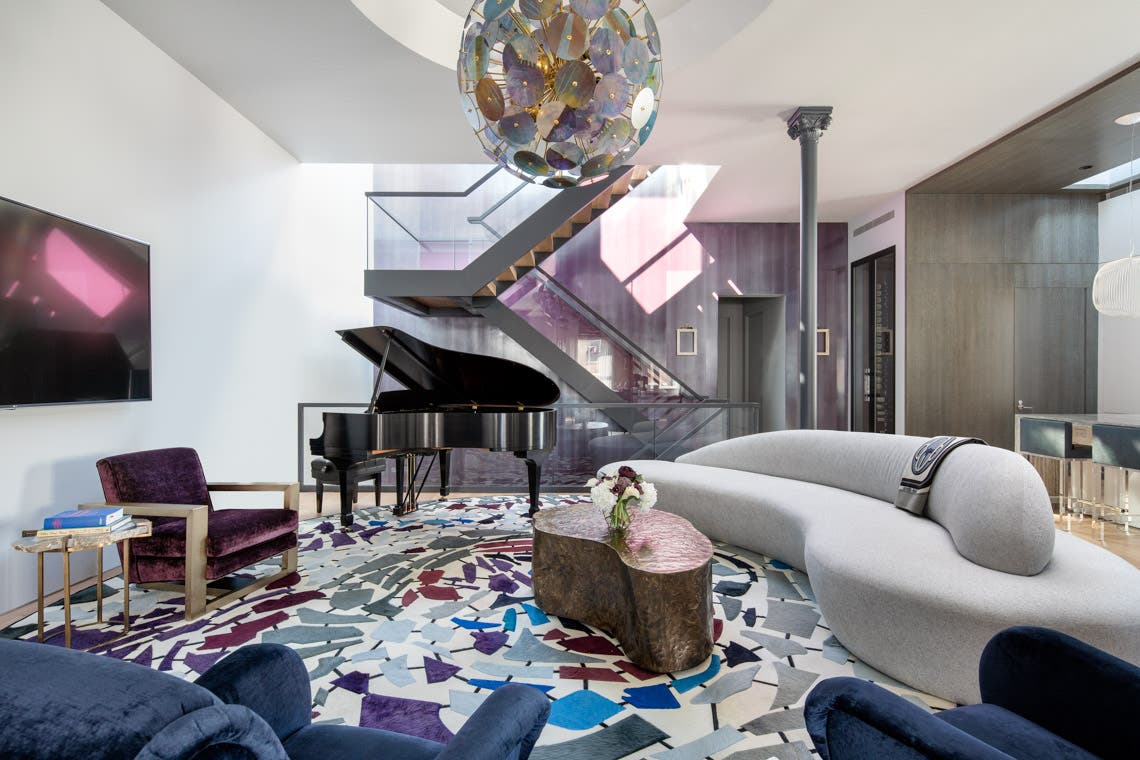
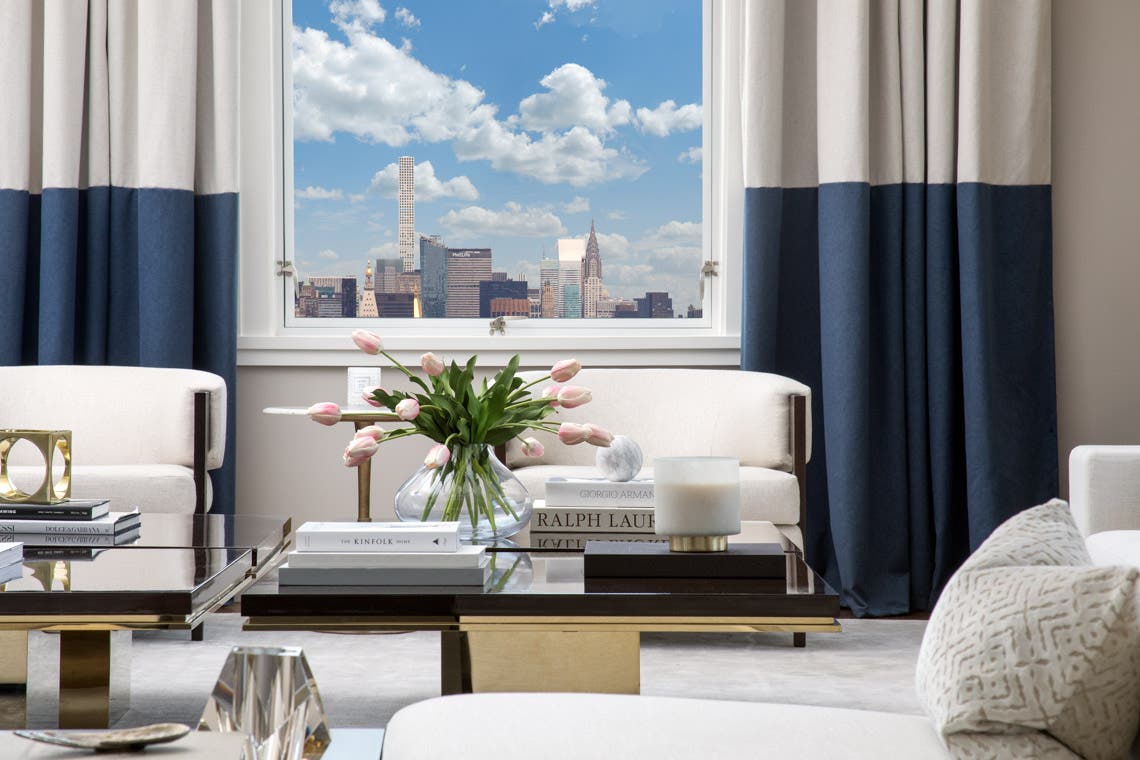
Using a wide angle lens is like making scrambled eggs: easy to do and easier to mess up. Getting everything in one shot is easy, but can you make it look spacious without looking distorted? Can you convey the size—or lack there of—in a space that has constraints and challenges? If you have the right lens for the job, you’re half way there. With so many options when it comes to the ultra-wide and wide lens, it can be tempting to get a wide zoom lens to cover your bases. I always prefer a prime lens as they are sharp, have minimal barrel distortion, and forces you to move around the space instead of just zooming in or out. This may seem trivial but it forces you to engage with the space and open your eyes to a new angle to frame the shot.
I use a prime 17mm and 24mm for the bulk of my photos. Be very mindful of everything in the foreground and near the edges of a wide angle lens. A chair can quickly be stretched into an awkwardly long couch and a kitchen island can look like it ate the whole kitchen. Often the issues can be addressed by taking a step back with the camera and giving a bit of breathing room to the space. If you step back too far, the opposite can happen and make a dining room look like a boiling alley. With a wide angle lens, less is more and small shifts can make a big difference. This is why I prefer to shoot with a tilt-shift lens. It allows me to make tiny adjustments without moving the tripod.
Geared Tripod Head: Mark of a Pro
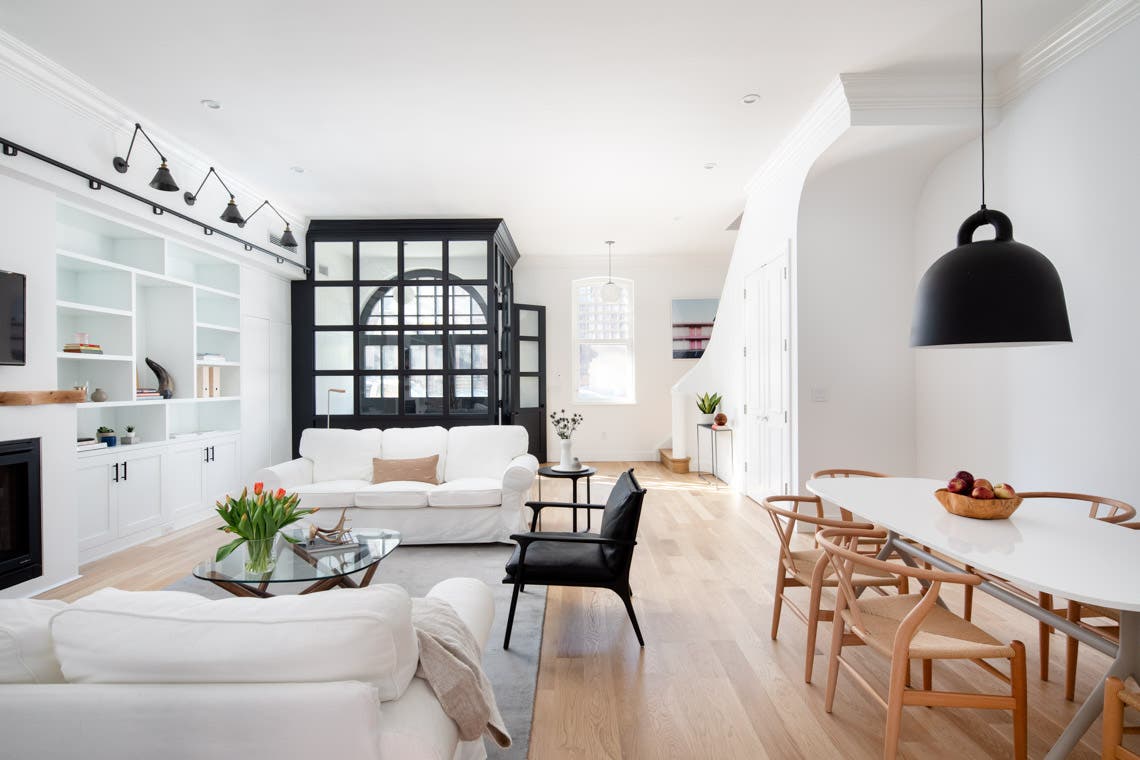
Speed was the name of the game when I first started shooting real estate photography 15 years ago, so I loved my pistol-grip head. It was super easy to quickly level-up a shot and then move and adjust to the next room. While the speed was nice on location, I quickly realized that I was sacrificing time in retouching. Straight vertical and horizontal lines are the mark of a true professional interior photographer and there is no better way to achieve this than with a geared head. Just like tripods, geared heads can range widely in price and quality. For me, I prefer a head that can quickly move for large adjustments and then slowly be dialed in. These heads help to keep everything level and make small adjustments very easy.
Camera Bag: You See Me Rolling
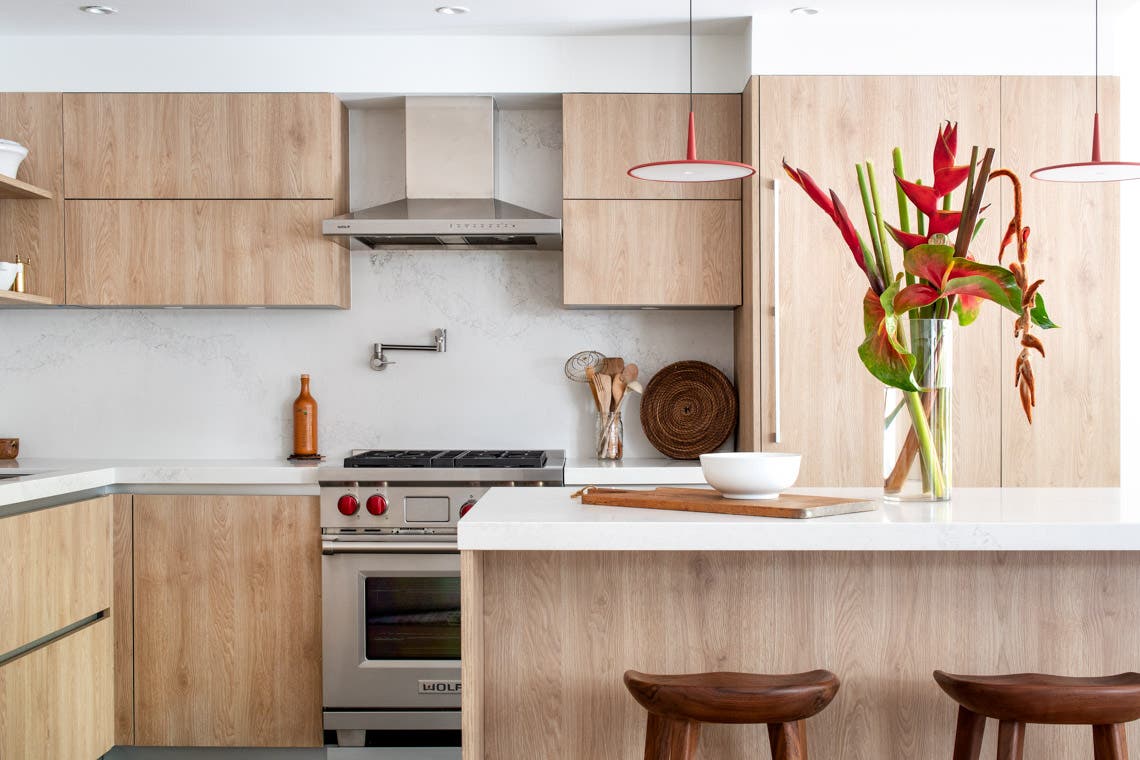
I’ve always loved a backpack to carry around my gear since it was easy and left my hands free. Over the years, my gear has expanded and my back has given up so I turned to one of our greatest inventions—the wheel. I have tried many brands of camera bags, read a ton of reviews, and dragged over a dozen of them across hundreds of miles of New York City streets. There are two things to consider: the type of wheel and how strong the handle is. I’ve tried rubber wheels, hard wheels, plastic wheels…but the best are the inline skating wheels. They are very quiet, last a long time, and are easy to replace if needed. The second issue is the handle. If it seems flimsy or has too much give, it may just give out when you need it most. Take a look at what options are in your budget and buy the best you can afford to start your real estate photography career. A good camera bag will last a long time with normal usage.
Real Estate Photography: Frequently Asked Questions
Can you make a living off real estate photography?
Real estate photography is a great way to make a living as a photographer. Your salary will, of course, depend on many factors: where you live, the caliber of your clients, and your experience. Most estimates for real estate photography salaries run from around $40,000 to $60,000, but again: this range is far from set.
How do real estate photographers get clients?
You have several solid options to find real estate photography clients. Try sending a letter of interest to a local real-estate company. Or, use targeted outreach on platforms like LinkedIn. Networking events are another great way to meet potential clients, as are websites like Upwork. Before you start prospective client outreach, it’s critical to have a polished website or real estate photography portfolio. This will prove to the client why you’re the one they should hire.
How to price your real estate photography work
Pricing your real estate photography is one of the trickiest parts of the business. You want to charge enough to make a living—but you don’t want to go too high or you’ll never get a client. So how should you price your work? One of the best ways to get a baseline is research. Ask for average ranges in regional photography Facebook groups to get a feel for the local market. If you have friends who work in the business, you can ask them as well. (If you don’t, hit up a photography networking event!)
As you’re looking for a standard rate across the board, it’s typically $125 to about $400 per hour without aerial, or drone, imagery. That said, you may need to go on the lower end as you’re starting out. And, as you make a name for yourself, you can go on the higher end—especially if you live in a higher-cost-of-living market.
Final Thoughts
The great thing about real estate photography is that you can start right away in your own home. You don’t need stylish models or far-flung locations to start practicing. Even the same room at different times of day can present difficult lighting and reflection challenges. Remember to keep your verticals straight, horizontal lines flat, and try to have fun while you’re shooting. I’ve never had a room complain to me that I made it look bad, and I bet that you won’t either!
