The process for making a compelling finished film or video is comprised of three stages: pre-production, production, and post-production. Each stage has its own series of steps and workflows that allow a project to move forward. In the pre-production stage, it’s all about devising a creative concept, scouting locations, creating shot lists, and preparing the gear to accomplish the goal. From there, the process moves into the actual on-location production, where everything gets put into action. In this article, we’ll be covering the third and final stage — post-production.
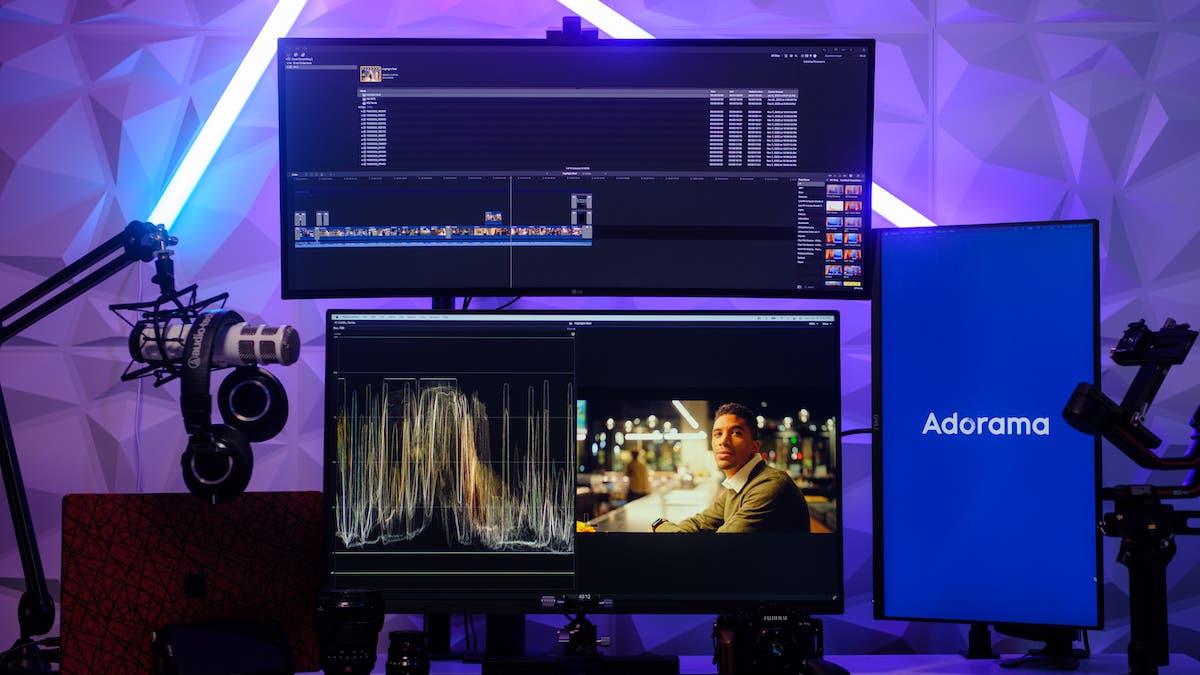
Post-production can make or break the final outcome of a project. All of the work that has been done leading up to it needs to be combined into a final product. It consists of a number of different components. This includes data backup, choosing selects, color correction, sound editing, graphics and titles, music, and more. Understanding and implementing a strong post-production workflow for video will ensure that you create a compelling final cut, and will give you a framework to work efficiently and successfully.
Components of My Post-Production Workflow
Backing Up the Footage
This is the first thing that I do after returning from on-location productions. Over the years, I’ve developed a system for the backup of my video projects to ensure I never lose my work. I create several copies of my files and store them in multiple places. This is a technique that I adopted from my days as an IT Specialist, where data protection, recovery, and redundancy are essential components of protecting important information.
Video productions also include crucial assets that are often very expensive to re-create, and need to be properly backed up and protected. I use a system for data back-up called the “3-2-1 backup strategy”. This strategy consists of making three copies of my assets, with two of them being on two different types of storage media and the third copy being off-site, which is typically cloud storage for me.
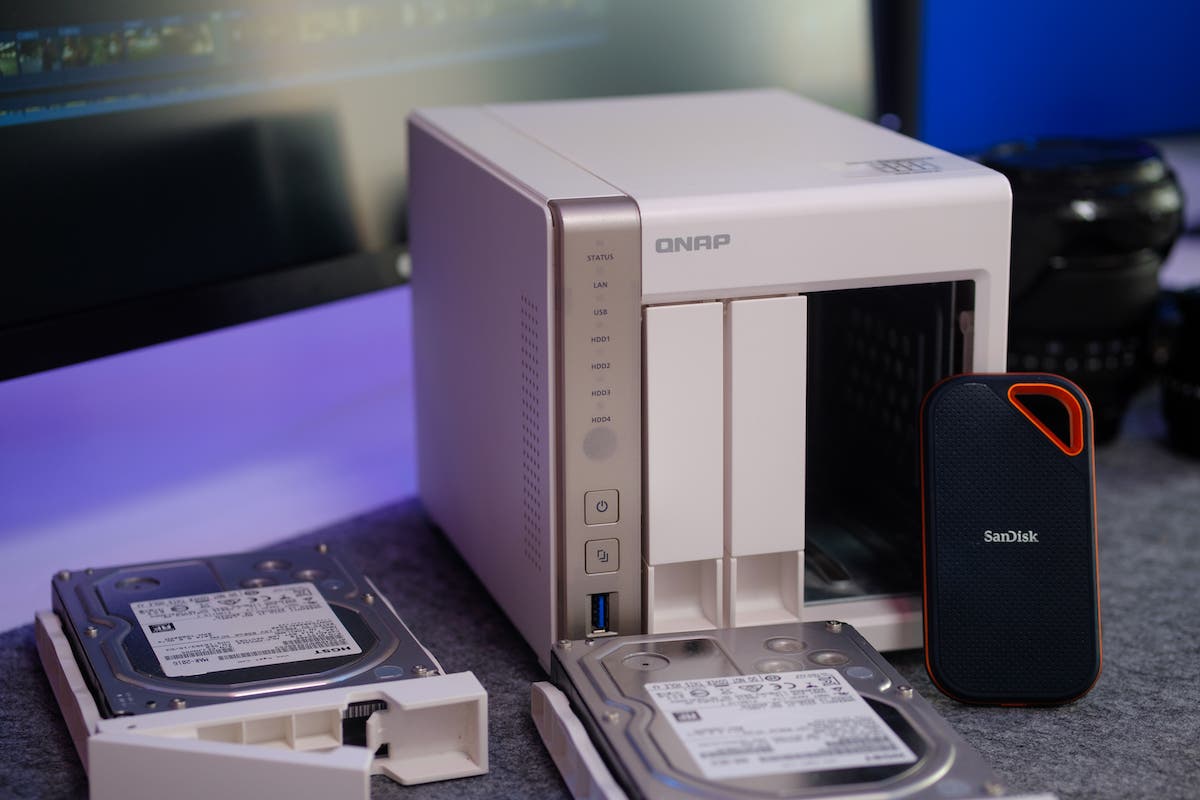
I typically start by off-loading all of my cards from my cameras, audio recorders, drones onto my computer. From there, I make my initial backup to my QNAP NAS, which has redundancy built-in to it already, through it’s RAID array of multiple internal hard-drives. From there, I’ll make a second backup of my project to my working drive for editing, which is my SanDisk Extreme PRO SSD. The final copy is uploaded to my cloud-storage platform of choice, Dropbox.
Organizing Assets into Folders
This is a very important step in my video post-production workflow, and has a significant impact on the efficiency of my editing. After backing up my project, I will turn my attention to curating and organizing all of my production assets. I typically create folders for each type of asset. This is so I can quickly find and manage my files once I’m inside of my NLE of choice, which is Final Cut Pro X.
Some examples of the folders that I create when curating and organizing my production assets include:
- A-Roll
- B-Roll
- Aerials
- Audio
- Music
- Photos
- Sound Effects
- Graphics
The reason why this is an essential part of my video post-production workflow is because of the way these folders translate into Final Cut Pro X during import. There is an option in Final Cut to create keyword collections based on folder names when importing. All of my assets get put into their own collections, based on the folder names that I create. This allows me to quickly find and select the elements I need to build my story. It saves me a lot of time that would otherwise be wasted searching in an endless list of filenames, trying to find a specific type of asset to put into my edit.
Creating a Library File and Adding a Sequence
There are a few decisions that I make at the outset of my video post-production workflow. These will determine the final output of my project. The first step when starting the editing process for me is to create the library file in FCPX. I typically create a new library file for each of my productions, since it helps to keep all of my productions organized. It also dictates specific parameters for my project, like color processing, rendering codecs, and frame rates.
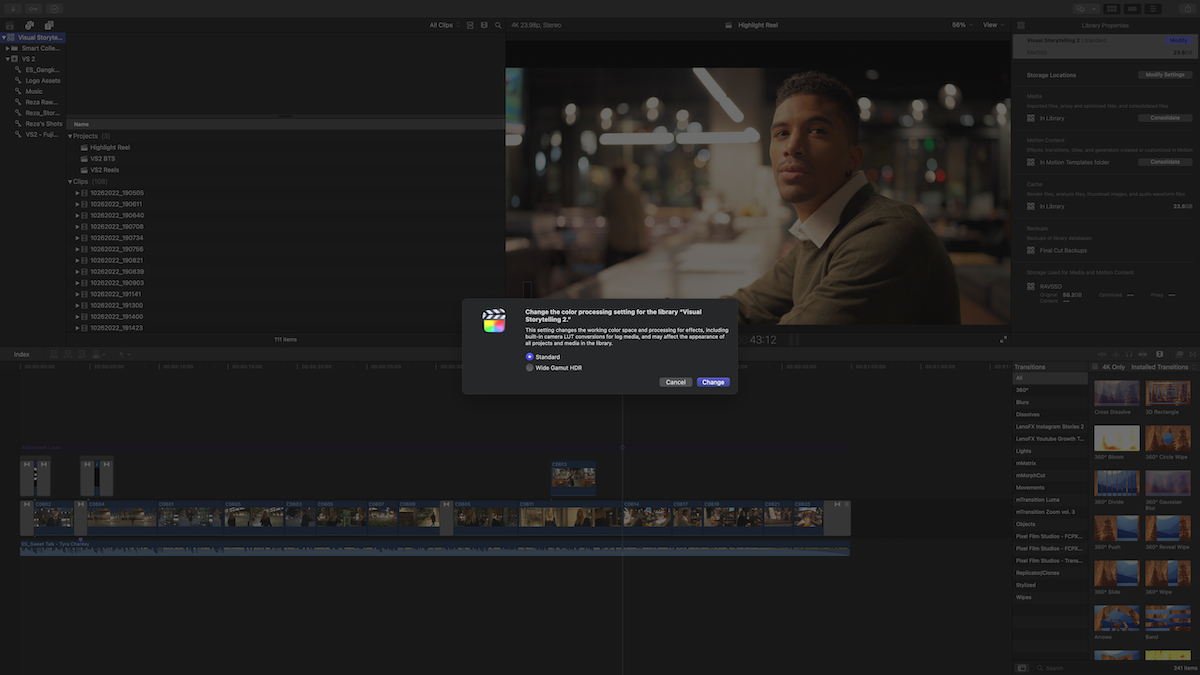
The color processing setting is the first choice that I make when creating my project library file. That depends on if I’m going to be delivering my final output in standard color, or Wide Gamut HDR. These choices determine the working color space and processing for my project. It also influences how my video clips look during editing and when the project is rendered out. Be sure to consider your final output when starting your post-production workflow, so you can make important decisions like this.
After I create my library file, the next decision I make is about the resolution and frame rate of my timeline sequence. This decision determines if I’ll be rendering my final video in 8K, 4K, or 1080P, and what the final frame rate of the video will be. I typically edit in a 23.98 FPS timeline. This allows me some flexibility to slow down higher frame rate video files without loosing any frames.
Choosing Selects
Another important part of my video post-production workflow is choosing just the selected parts of each clip, or “selects” that I’ll be using in my edit. This is important because it allows me to focus on building a timeline sequence more efficiently. It makes it easier to color correct just the sections of video that I’ll be using in my project. It would be much more time and resource intensive if I were to color correct all clips completely. My computer would have to render all of the clips in my project, regardless of which parts of each clip I’m going to select for editing.
It’s much more efficient and faster to go through all of my video clips first. I can then choose the specific part of each clip that I’ll be using in my sequence. Then, I only color correct those selections. I do this by scrubbing through the video collections that I created during import, and marking and “in” and “out” point for the selected parts of the clips that I’ll be using.
Color Correction
Color correction is typically dependent on how a video clip, or series of clips are captured on-location. If the color temperature and exposure of video clips is the same, I will typically color correct one of the clips from that group. I then apply those corrections across to the others. That makes it easier to color correct sets of clips quickly. That, in turn, leaves more time to focus on other video files that need individual attention. Then I apply an adjustment layer above my entire sequence. This imparts my stylistic “color grade”. The color grade is different from color correction, since it applies a look to the entire sequence. This gives my final exported video a consistent and cohesive look.
Sound Editing, Mixing, Effects, and Music
Sound design is a crucial element in my video post-production workflow. Wether I’m filming a wedding, talking head video, short-film, or YouTube tutorial, I’m always paying close attention to my audio. It all starts with making sure I have several sources of high quality audio on-location. I can have redundancy in case one of them malfunctions, breaks, or generally needs to be swapped out. Having good quality audio makes it easier for me to enhance my production audio with effects and mix audio tracks.

One the main things that I do in post-production is to balance the audio levels across all of my tracks. I try to avoid changes in levels between sequences, and do my best to make my dialogue stand out from background noises. Final Cut Pro X and other NLE’s have different audio enhancement effects for voice isolation, in addition to limiters, noise removers, and other useful tools. I edit and mix my audio using my Audio-Technica ATH-M50x Professional Monitor Headphones. Wired headphones are ideal, because they don’t introduce any audio delays when editing my sequences to music, allowing me to perfectly time my cuts to the beat.
When it comes to mixing music tracks into my video post-production workflow, I always ensure that I use licensed music from my preferred music licensing platform, which is Epidemic Sound. The offer personal and commercial licensing, and I always ensure that I’m using the correct license, depending on if I’m creating for myself, or for a client.
Visual Effects & Plugins
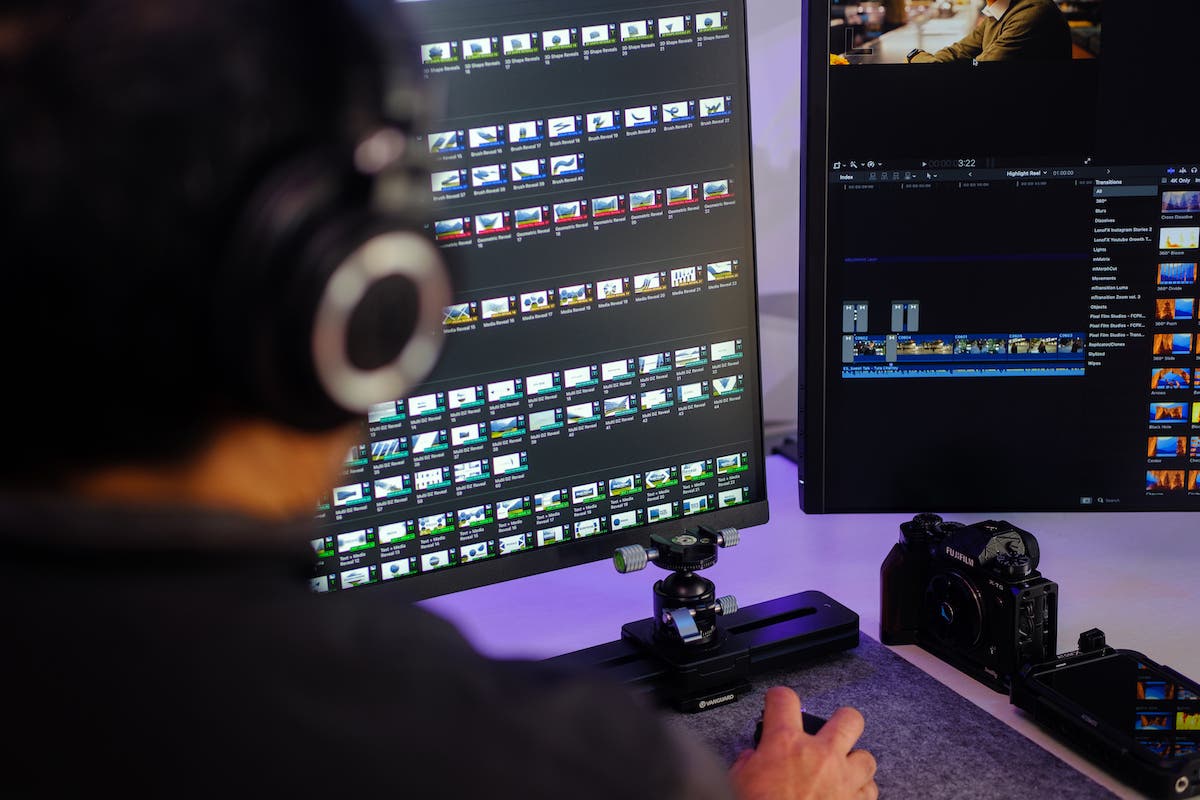
Adding visual effects and plugins into my video post-production workflow allows me to take my edits to another level. There are several types of plugins that I use from a number of different providers. They include things like zoom transitions, 3D trackers, lower-thirds, callouts, lens flare effects, de-noise plugins, slide-shows, and text tools, just to name a few. There are a multitude of effects and plugins that really help to take my video productions to the next level. They allow me to create effects in post-production that would normally require special filters and lenses to achieve on-location. I can easily create an anamorphic lens flare, halation and diffusion, prism effects, and much more using visual effects.
Depending on if I’m highlighting important details in a scene, or giving an introduction to a new character in a story, I can use visual effects like titles, credits, callouts, lower-thirds, and graphics to provide more context in my videos. These are some of the visual effects and plugins that I use in my video post-production workflow. To learn more about other available options, take a look at some of the most popular industry providers like MotionVFX, Motion Array, and Pixel Film Studios.
Conclusion
By having a well-defined and consistent video post-production workflow, I’ve been able to increase the overall efficiency and effectiveness of my visual storytelling. It allows me to implement a system that keeps me organized, protects my assets, and gives me a repeatable process that’s standardized and easy to implement.
Although you don’t need to follow my process completely, it is important that you have you own standardized workflow that incorporates the elements that we’ve covered in this article. Without a consistent way of approaching your video post-production, it will become difficult to efficiently create compelling work, since you’ll be using a different process every time you start a new project. Try to develop and maintain your own video post-production workflow, so you can consistently create compelling work that is consistent and easily recognizable as part of your body of work.
To learn more about how you can continue to level up your visual storytelling skills, check out our other articles on 42West.

