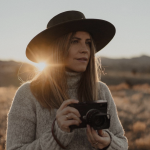

I get asked the same questions when working with new photographers. The first is, “What is the best camera I can buy as a beginner?”. The second is, “ I am looking to upgrade my camera within XYZ budget; what camera should I get?”. Aperture, shutter speed, and ISO are words we hear less than smartphone versus action cam and Mirrorless versus DSLR. However, they are essential, regardless of what camera you are using. Indeed, artistic vision and your unique creative style are central to photography. However, their underlying principles and technical execution often rely on mathematical concepts. Let’s take a step back and talk photography 101, starting with the exposure triangle.
Understanding your camera and how it handles light sensitivity in all scenarios will help you become a well-rounded photographer. For this, it helps to learn the basics of the exposure triangle and the balance of the three main components.
The amazing variety of new cameras on the market now may have exploded, alongside unexpected opportunities to develop a career in photography and filmmaking, but the fundamentals are still the same. The best camera you have is the one you know how to use.
Now, coming from someone who is dyslexic and “not good with numbers,” I am going to portray each of these three components in the way it was relayed to me – visually.
Aperture
I want you to envision the “eye” inside the camera to help you remember what this component of the exposure triangle means. The aperture is like the eye in that it is the opening in the camera lens that controls the amount of light let in. For example, when the eye is fully open on a typical day, it can see all the light. When it is partially or mostly closed, there is less available light to see. This is just an analogy, but it helped me in the early days.
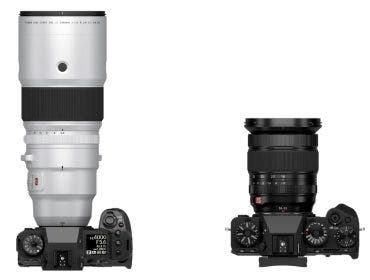
Aperture is measured in what are called f-stops, and you will find these numbers noted on your lens (e.g., f/2.8, f/4.5-5.6). The f-stop affects the exposure (or light let in) and the depth of field (what is in focus).
A larger aperture (which is actually a smaller f-stop number e.g f/2.8 – f/5.6) allows more light to be let in and is often described as wide open. So think of an eye wide open. Wide open = more light enters, and a shallow depth of field (meaning less in focus / blurry background).
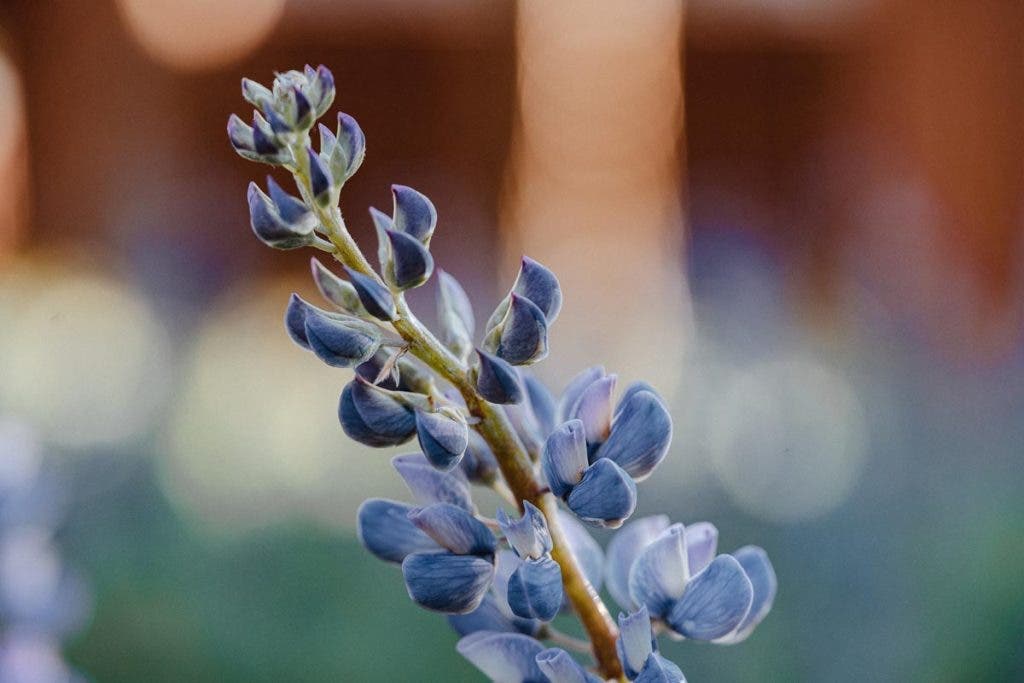
As you begin to stop down your aperture to a smaller aperture (larger f-stop number e.g F/11 – F/16), you let less light in. Using the same analogy, the eye is closing, so less light gets in, but it creates a deeper depth of field, meaning more of the image is in focus.

Shutter Speed
Using another analogy, think of a curtain shutter, like one that comes down from the top of a window. You can think of your shutter speed as the length of time it takes for the curtain shutter to reach the window sill.
Shutter speed is measured in fractions of a second (e.g., 1/10, 1/125, 1/500). If the shutter is quick, there is less time for the camera’s sensor to be exposed to light.
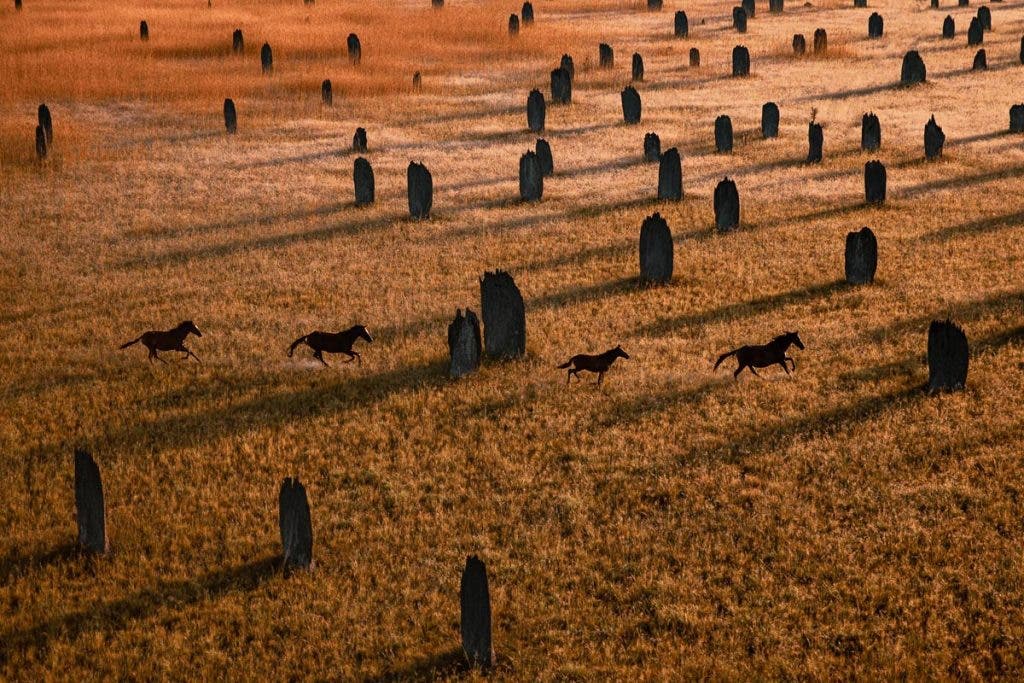
A fast shutter speed can be used to freeze motion. Think of sports photography, where a dynamic play seems frozen in time and everything is sharp.
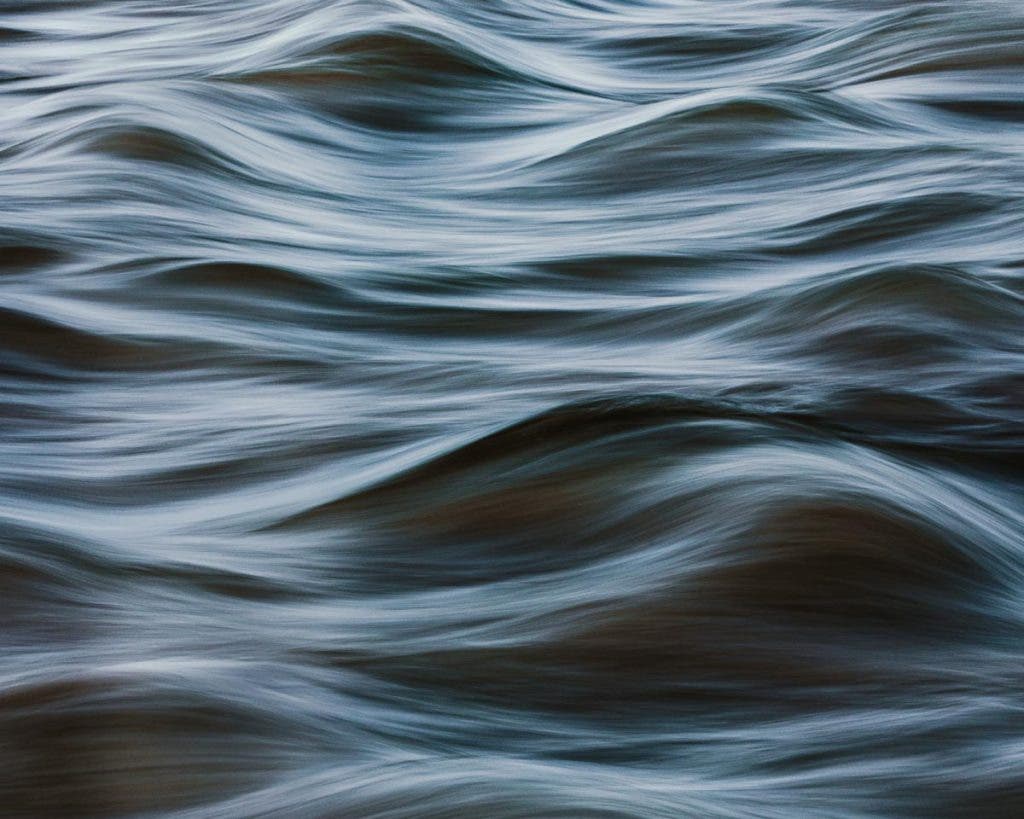
Conversely, for a slow shutter speed, think of those waterfall images where the water appears smooth and blurred. Leaving the shutter open longer often requires a tripod, as it allows more time for light to expose the sensor, creating motion blur.
ISO
The way I came to understand ISO was by referring to film speed, such as 100, 400, and 800. Think of ISO as the sensitivity of your camera’s sensor to light.
A lower ISO (e.g., 100) means the sensor is less sensitive, resulting in finer image detail and less “noise,” also known as grain.

A higher ISO (e.g., 1600) increases the sensor’s sensitivity, which can lead to a “noisier” or grainier image with less detail. Still, it allows the camera to perform better in low-light situations.

Balancing these three components of the exposure triangle helps you achieve the correct exposure, which you can monitor using your histogram (if you’re using a mirrorless or DSLR camera). Once you understand how aperture, shutter speed, and ISO work together, the real fun begins with experimenting and finding your own personal style.
Histogram and the Exposure Triangle
Now, i just threw the word histogram in there casually, and I realise the fundamentals are a lot to grasp when starting out, however the histogram is important to learn when it comes to digital photography. So what is a histogram?
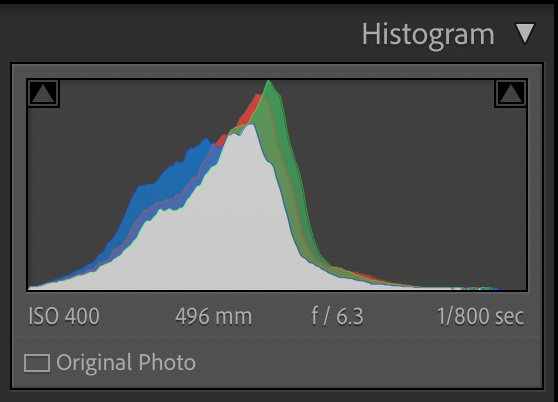
The histogram is a graphical representation of the brightness levels in your image. It shows the distribution of shadows (also referred to as blacks in your image), midtones, and highlights (also referred to as whites in your image).
The histogram helps you assess the exposure of the digital sensor and ensure that shadows or highlights are not “clipped.”
While histograms are crucial for assessing exposure in both DSLR and mirrorless cameras, mirrorless cameras and electronic viewfinders provide a live preview of exposure, allowing for real-time adjustments. For DSLRs, referencing the histogram is pertinent when considering printing images to avoid clipped shadows or highlights. That is, areas with no detail information.
These are the “rules” when it comes to a balanced image. However, sometimes a good rule is made to be broken. Remembering this, when it comes to creativity, certain techniques require you to understand the histogram. However, knowing how to use it can help you make informed adjustments to achieve your desired results when experimenting with light. Examples of photographic techniques that affect the histogram are “high key” and “low key” photography. This is something to discuss in depth another time as we are keeping this photography 101. Still, it is worth a Google image search for the visual representation.