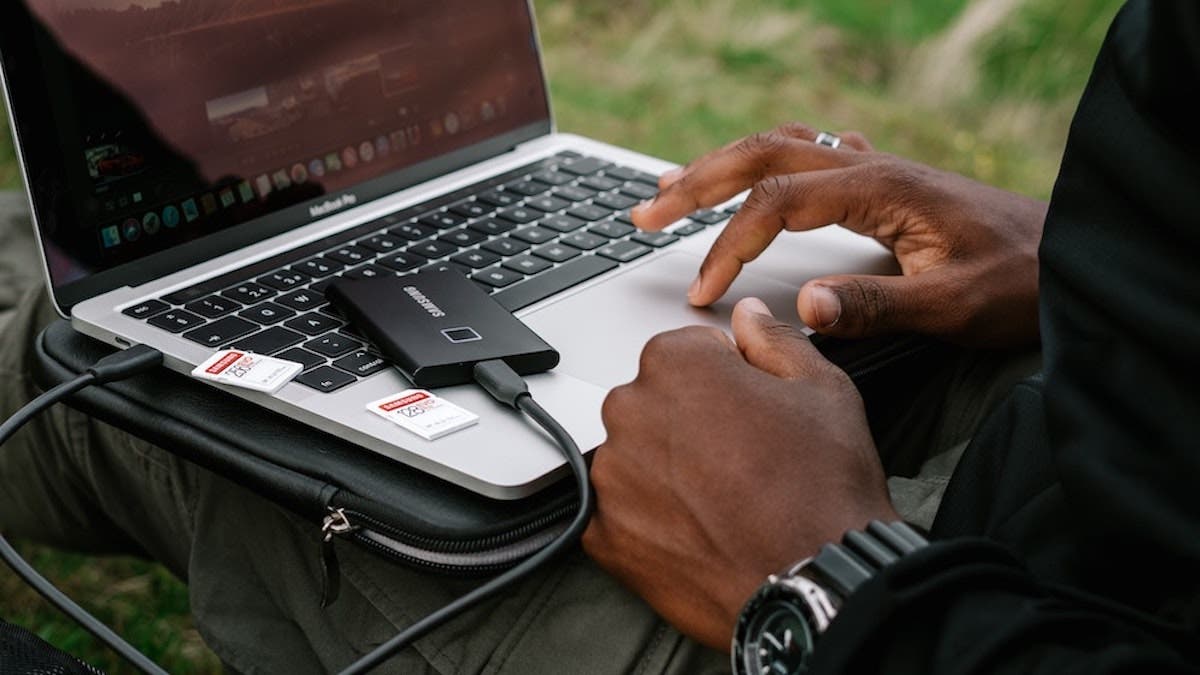
You’ve figured out the best camera and lens for your preferred photographic genre, chosen your accessories, and planned an amazing photo session. You are ready to take hundreds, if not more, photographs using the highest resolution and not compromising on image quality. But where are you going to store so many photos? And for how long should you keep them? Do you intend to save everything on memory cards, your computer’s hard disk, or the cloud? As beautiful and artistic photography may be, it has a practical side too. Dealing with photo storage is a big part of it.
Cloud-Based Photo Storage
You hear about cloud-based storage solutions all the time. But what is “the cloud”?
The cloud is a network of servers able to store huge amounts of data. Their owners take care of everything from the maintenance of physical devices to regular backups. If you want to keep your photographs on their servers (i.e., in the cloud), you need an internet connection, a browser or app, and an account. In the beginning, you may receive a certain amount of space for free. But if you exceed it, you have to pay a monthly fee.

There are plenty of cloud-based solutions to choose from. For example, you may prefer one of the popular services offered by Apple (Apple iCloud) or Google (Google Photos, Google Drive) based simply on their notoriety or familiarity with the brand. Or you may like a photo editing-related solution (e.g., Adobe Creative Cloud) where you receive access through your favorite photo editor (e.g., Adobe Lightroom). Sometimes, general purposes, cloud-based storage (e.g., Dropbox, Flickr, Box, etc.), where you can store everything from photos to documents to executable files, are the best choice.
With so many options, how can you be sure you choose the best one? Well, you should first analyze the offer. Does the cloud-based storage solution offer you enough space at a price you can afford? It’s no use to store your photographs through a service you won’t afford in a few months. Furthermore, moving all your photos from one place to another is time-consuming, and you need to verify somehow that everything has been transferred.
Then, you should consider the service’s accessibility (e.g., Does it work with your favorite browser? Can you access it using your phone, etc.) and reliability (e.g., Are your photographs safe? How often does the service experience technical issues? Does the service offer support to its customers?).
The good news about cloud-based storage solutions is that you don’t have to do anything. Just pay the bill and upload your photos. The drawback is the necessity of an internet connection to access your photographs. And, for some photographers, lack of control is an issue. Therefore, they stick to physical storage.
Physical Photo Storage
Physical storage represents any device that can store digital data, such as a memory card, the hard disk of the computer, a USB stick, or an external hard drive. However, you can only store as much on a memory card or USB stick. And, soon enough, your computer’s hard disk will be full too. The best long-term solution for physical photo storage is an external hard drive or a NAS (Network Attached Storage) if you are a bit more technical-minded.
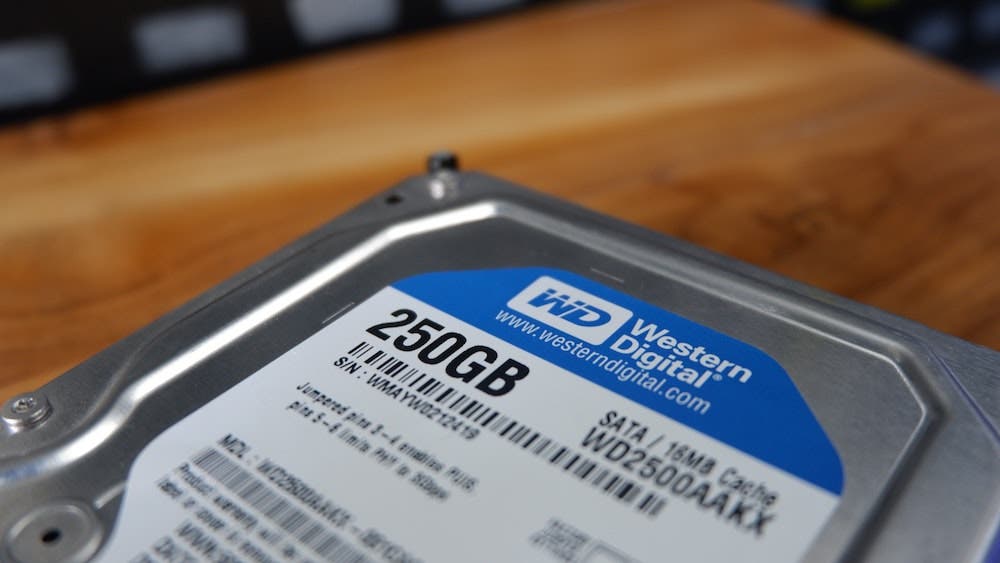
An external hard drive connects to your computer through a USB port. Some models require a power source. Others draw their power from your computer. You don’t need an internet connection to use an external hard drive. You can disconnect it when not in use. For example, you can store photos taken in different years on different drives and keep your photographs well-organized and secure.
HDD vs SSD
There are two types of external drives: HDD (Hard-Disk Drives) and SSD (Solid-State Drives). HDDs are affordable, but at the same time, they are slow, heavy, fragile, and bulky. You want them to stay in a single place and store your photographs for a long time.
Comparatively, SSDs are smaller, lighter, faster, and less fragile. However, they are more expensive. You can also find hybrid external drives (SATA SSD) that combine the large storage capacity of an HDD with the speed of an SSD. They also mix the drawbacks. SATA SSDs are slower, more sensitive than SSDs and more expensive than HDDs.
Most external drives brands offer products with a range of storage capacity between 1TB and 20TB. Probably the most popular brands are Seagate, WD, Toshiba, Samsung, SanDisk, and LaCie. However, base your choice not only on popularity, price, and storage capacity. The external drive should be compatible with your computer and operating system.
Photo Storage Options
Let us look at specific options for external storage that suit your workflow.
Angelbird
Suppose you want a very fast and reliable SSD that you can use for recording up to 6K video. In that case, the Angelbird Match Pack SSD2GO MK2 might be what you want to connect to your computer or into a Blackmagic camera or video assist. It has a high transfer rate of up to 560 MB/s and is small enough to fit in your pocket. It comes with different storage capacities, up to 1 TB.
Crucial
Crucial is actually a brand owned by Micron, which is one of the leading flash storage manufacturers in the world. Their external hard drives have a transfer speed of up to 1050 MB/s and storage capacity of up to 4TB and are reasonably priced.
WD
The WD My Passport Ultra 4TB USB 3.0 Type-C External Hard Drive might suit your needs if you want an affordable storage option for easy backup. It comes with password protection and backup software (WD Discovery). It comes in the sizes of 1TB, 2TB, and 4TB.
Seagate
If you need a lot of storage, but don’t require it to be portable, then the Seagate 18TB 3.5″ Expansion Desktop USB 3.0 External Hard Drive will give you 18TB in a single drive. It has its own power supply and is therefore not portable. However, it is a good option if the amount of storage you get is the most important factor.
What You Should Bring to the Field
Photo storage should be part of your preparations for a photo session. Based on the length of the trip and facilities along the way, the number of images you intend to store and the size of image files, and your organizational preferences, you may want to bring extra memory cards, a laptop, or additional storage devices (e.g., external drive, USB stick).
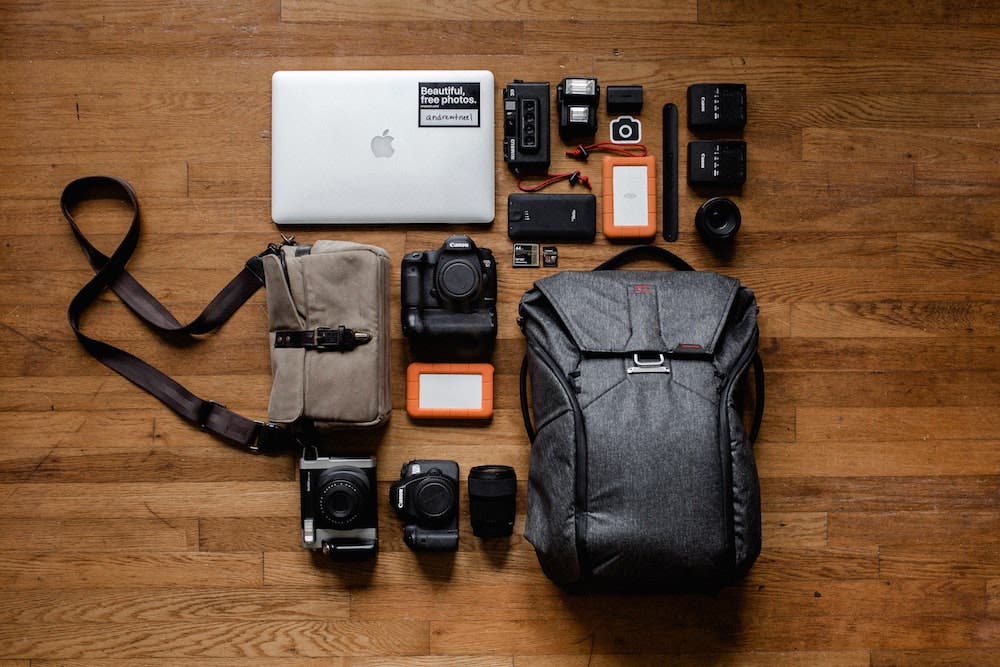
While there isn’t a ‘best way’ to plan your photo storage, there are some things any photographer should consider. To begin with, the memory card in your camera should be able to store all the photos taken in one leg of your trip. Especially if you take snapshots and candid photographs, you don’t want to miss the moment because the memory card is full. Smaller memory cards are perfect for categorizing photographs. For example, you may use one memory card per model, location, or leg of the trip.
Other good-to-have items at a photo session are a laptop and an alternative storage option. It’s always safer to backup the memory card at the end of a leg and safely store the photographs on the laptop’s hard disk or external drive. Suppose your bag with all your memory cards gets stolen, then you would still have the backup on your laptop or external drive, as long as this wasn’t in the same bag as well. If you have an internet connection, you can upload them directly to the cloud. The more backups you can make, the better.
What You Should Have at Home
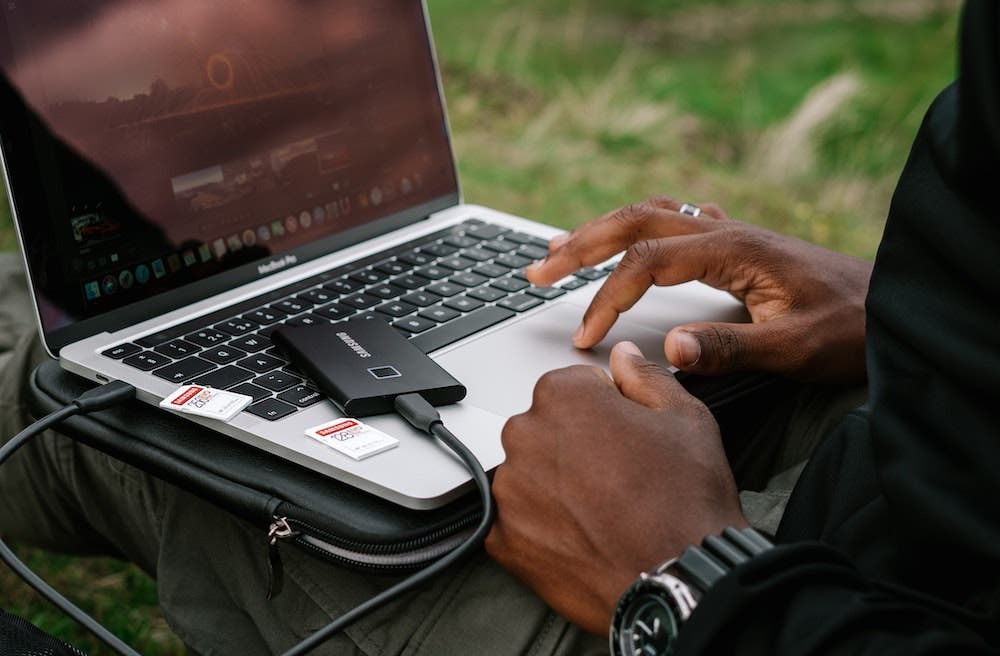
Speaking of backups, as soon as you have culled your photos, store them in a safe place. It’s the first thing to do when you are home after a shoot. If you didn’t have the laptop with you, download the memory cards, select the good shots, and store them in well-organized folders on your computer, external drive, or cloud service.
Many photo editors provide digital asset management, which are tools for managing your photographs. They help you classify your photographs, add labels and markers, organize your folders and search particular images, and even upload photos in cloud-based storage solutions. As a result, you can cull your images faster, edit the ones that need adjustments, create multiple versions of the same image, and keep your photographs well organized.
If your backup doesn’t happen automatically, it is important to back up older photos periodically. You can create archives of folders you rarely or never use and keep them in a safe place, such as an external drive that doesn’t usually stay connected to the computer. Keep just the new photographs you need at hand all the time in the cloud or on the computer. This way, you’ll use less cloud or computer space for your images and save time looking for a particular image.
Tips for Photo Storage
The best tip for photo storage is to develop a folder structure system that works for you. For example, portrait photographers may want to organize their photos using the model’s name. Travel and landscape photographers may use locations. Commercial photographers may use the client’s name. You can also classify your photos chronologically, which is useful for private photos. I prefer to use locations as the organizing principle since, for all my nature photography, I can more easily remember where I took a photo than when it took it.
However, a single criterion is sometimes not enough. In that case, you can find other criteria that fit your workflow. For example, you can combine time with location and subject matter. The order in which you apply the criteria is up to you. The file naming structure set in the camera, metadata, and digital asset management features may help you with that. Remember to be consequent and use the same labeling system every time.

Like the labeling system, create a habit of backing up your photos periodically. The trigger may be a particular period of time (e.g., every six months, once a year, etc.) or event (e.g., end of the photo session, end of a contract, publishing your photos, etc.). Use reminders and calendars until it becomes second nature. Healthy habits help you use your time more efficiently, avoid losing your files, and not see photo storage as a burden.
Conclusion
We like to think photography is just art. The truth is it isn’t. The artistic part is an important one, but so are the technical, editing, and administrative ones. To save more time for the creative part, you need a fluid workflow for the rest of them. Find the gear that works for you and stick with it. Maximize the use of the photo editor of your choice. Create a habit of when and how you back up your photographs. Trust your instinct and customize the process to fit your personality and style.

