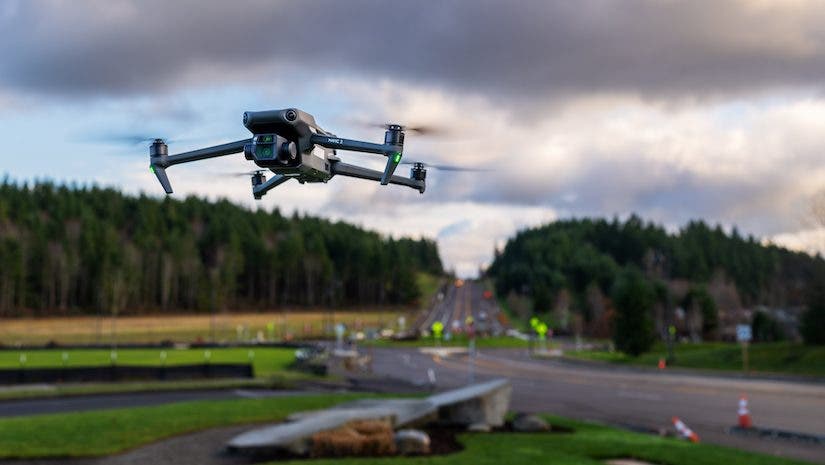
The DJI Mavic 3 is a powerful imaging platform offering cutting edge technologies that are revolutionary for a compact, prosumer drone. It comes equipped with a class-leading 4/3 Hasselblad CMOS sensor capable of capturing 20MP RAW photos with 12.8 stops of dynamic range. It has a 24mm equivalent primary lens with a variable aperture of f/2.8 to f/11.
The DJI Mavic 3 also includes a tele-camera featuring a 1/2 inch CMOS sensor and a 162mm telephoto zoom lens. The tele-camera enables 28x of hybrid zoom is perfect for creating beautifully compressed panoramic landscape photos.
In this guide, we’ll discuss two exciting creative opportunities offered by the dual-camera system on the DJI Mavic 3. We’ll look at how to set up the primary Hasselblad camera for manually capturing panoramic HDR photos. We will also cover how to set up the tele-camera to create uniquely compressed panoramic landscape images.
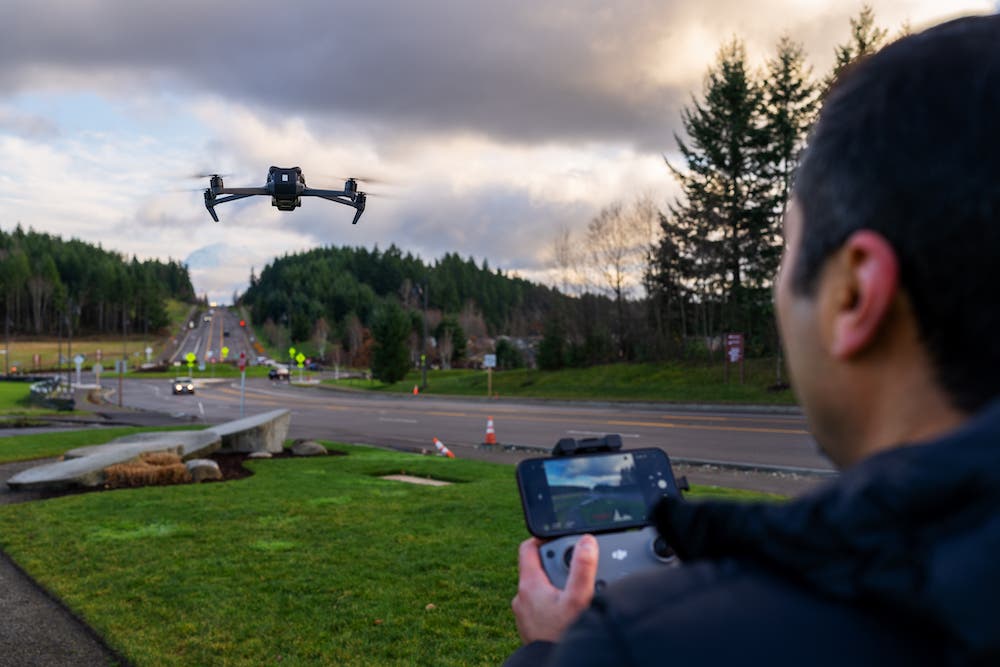
What Are Panoramic Photos & Why Should You Learn To Shoot Them?
Executing panoramic photos can enable drone photographers to create images that simply aren’t possible with another method. Panoramic photos are created by capturing a series of overlapping images, which are subsequently stitched together in post. This creates a final photo with a significantly wider field-of-view than the original image.
Typical wide-angle drone photos are captured with 24mm lenses. These lenses are usually have a deep depth-of-field and little to no foreground compression. In contrast, by shooting panoramic landscape images with long telephoto zoom lenses, the unique combination of foreground compression and a wide-angle field of view can be achieved.
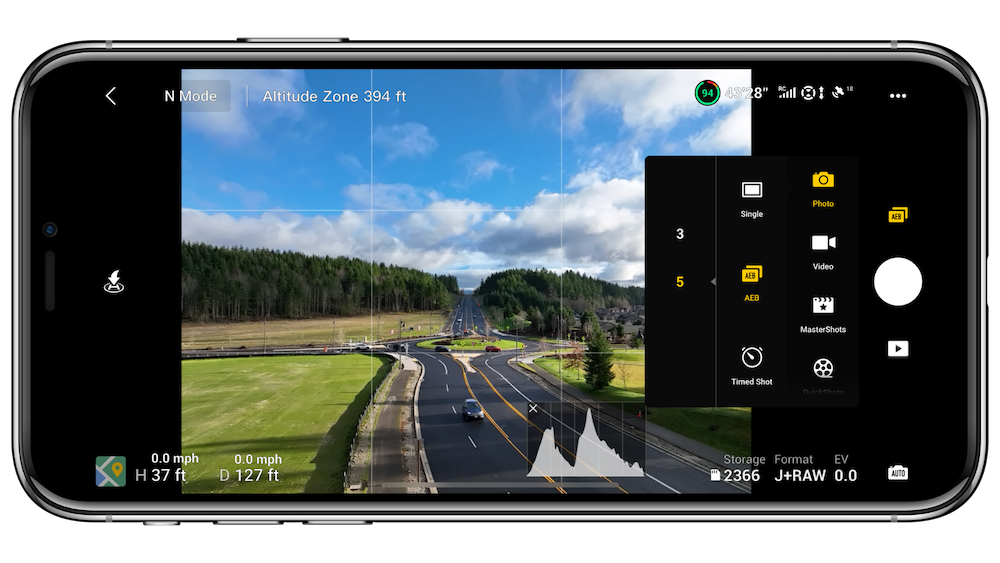
How to Set Up the Hasselblad Camera for HDR Panoramas
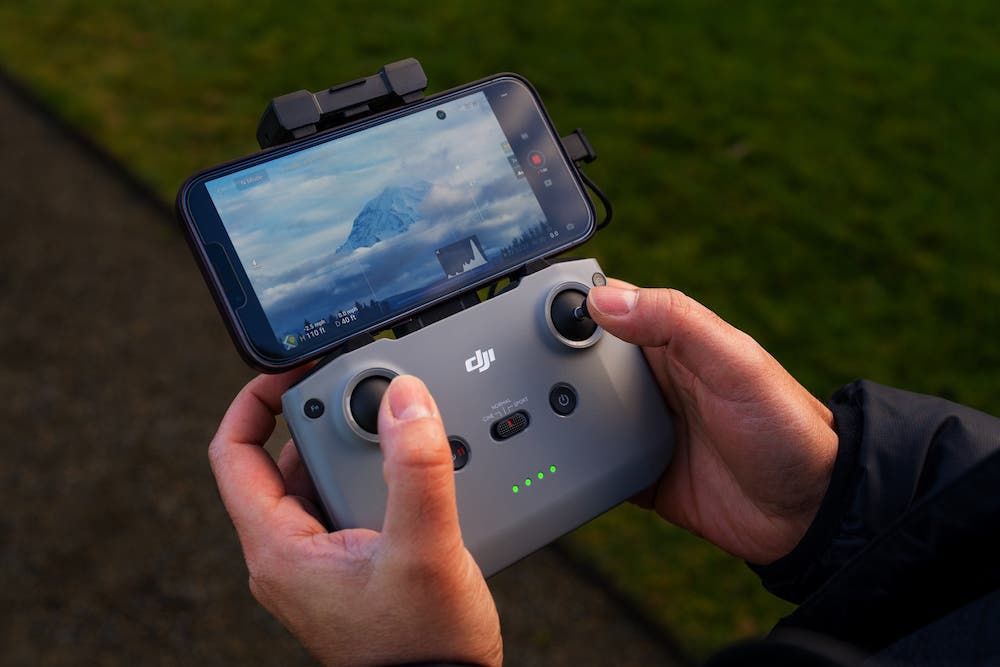
The DJI Mavic 3 cameras can be controlled by using the DJI Fly app, which is available for iOS and Android mobile devices. It is also available on the new DJI RC Pro remote controller. Although the Mavic 3 will eventually support the automated panoramic photo modes within the DJI Fly app, those modes are not activated in the DJI Fly app as of now. Fortunately, it’s relatively simple to set up the DJI Mavic 3 for capturing HDR panoramic photos manually.
There are a few simple settings that you’ll want to adjust before capturing the images, which include:
- Changing the photo mode from single to AEB (3 or 5 images, depending on the dynamic range of the scene)
- Setting the file type to either RAW, or J+RAW
- Changing the exposure mode from auto to manual, enabling full control of aperture, shutter speed, and ISO
- Setting your Mavic 3 controller to Cine mode in order to dampen the movements of the Mavic 3
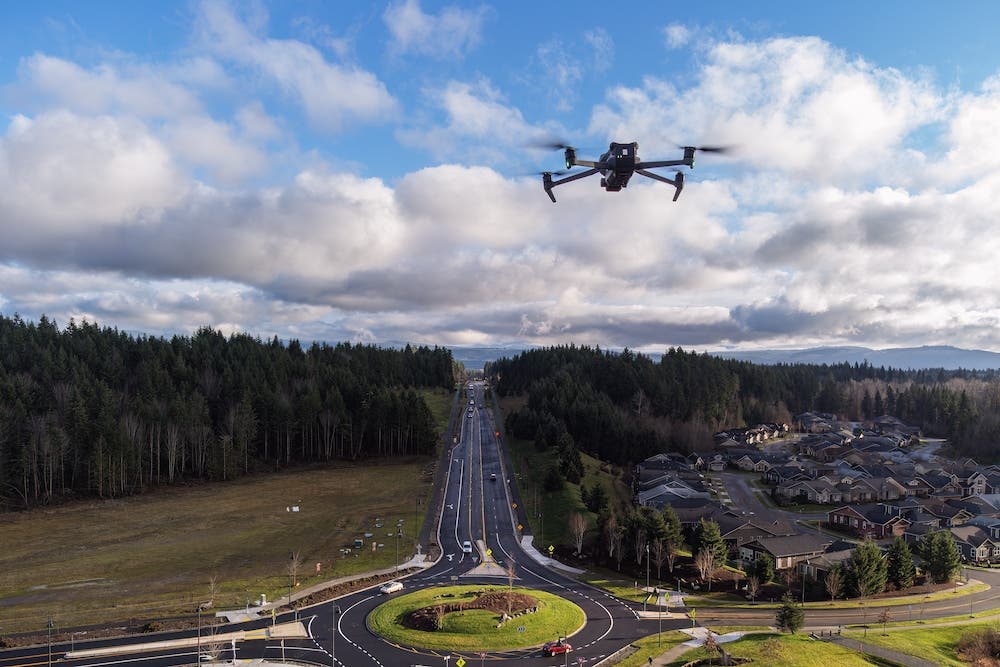
How to Manually Capture HDR Panoramas on the DJI Mavic 3
You’ll want to begin by flying to the center of your envisioned composition. This will be the starting image, which will serve as the foundation for the overlapping images you’ll need to capture. Ensure that all of the above setup configurations are in place. Begin by taking a single 3 or 5 shot AEB bracket of images in the center of your composition.
You’ll want to give the Mavic 3 enough time to complete each set of images. Moving the drone before the set is complete will result in a blurry image. Once you’ve captured your foundational center frame, start to slowly rotate your drone to the right and overlap the composition of your previous images by a margin of 30-50%.
Make your way as far to the right as you’d like your field-of-view to reach. Then, come back to the center and repeat the process by shooting 30-50% overlapping AEB image sets as far left as you want your composition. After you’ve completed the entire breadth of your desired composition, you should have a series of bracketed image sets for post-production. Then, you’ll need to merge them together to create an epic HDR panoramic photo.
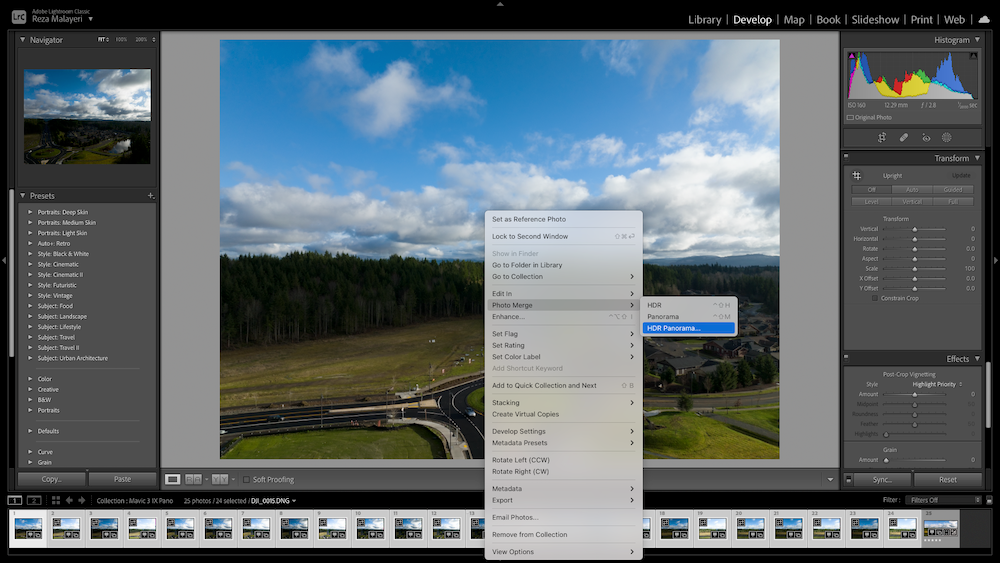
How to Merge HDR Panoramas in Lightroom
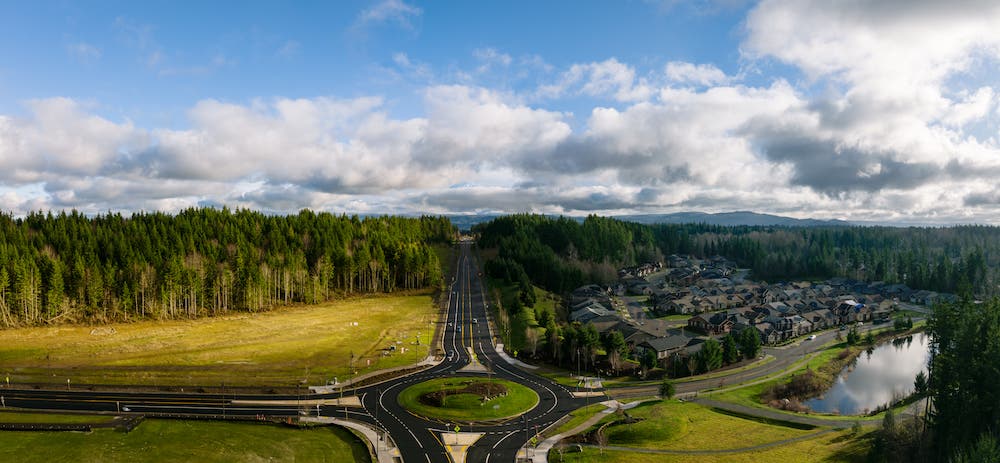
Merging your HDR panorama in Adobe Lightroom is a relatively simple task once you’ve imported the images from the DJI Mavic 3. In this example, I captured 5 sets of 5-image AEB exposures across the entire frame of the composition. I imported them into Adobe Lightroom, and separated them into their own collection for easy management. After the basic exposure and color corrections were complete, I selected the entire set of 25 images. I then right clicked on the series to get the secondary menu options and selected Photo Merge followed by HDR Panorama.
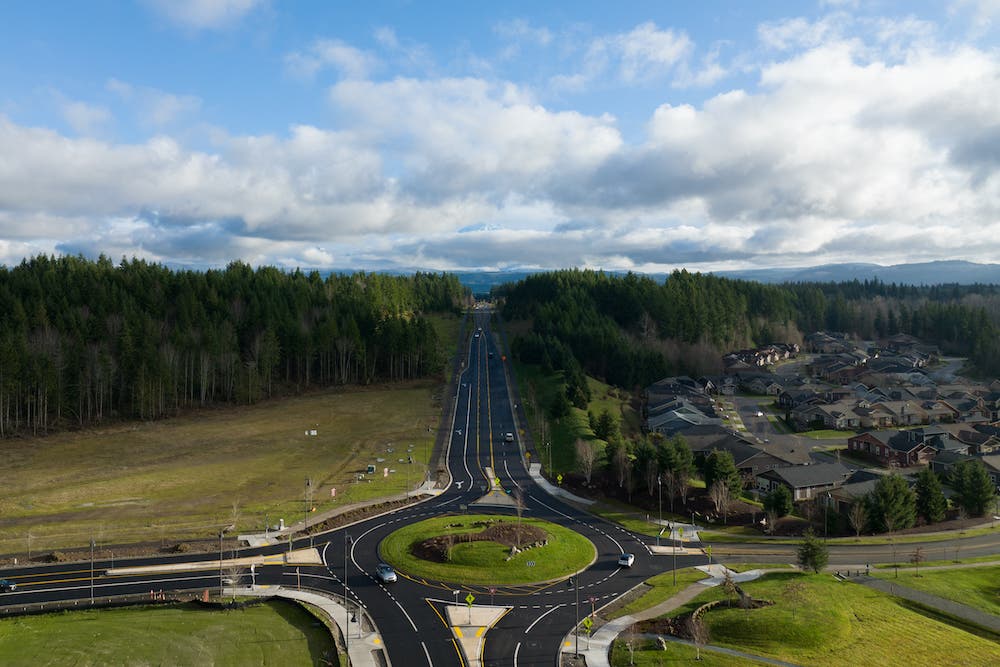
Lightroom conducted its calculations and provided me with the options to finalize my panorama. I’ve included a single non-HDR reference frame from the center of my composition, in addition to the finalized 25 image HDR panorama below. These images were captured using the 24mm 4/3 Hasselblad sensor on the DJI Mavic 3. They illustrate the significant differences in the tonality, and the field-of-view of a single non-HDR image versus a panoramic HDR image.
Single image – Mavic 3, Hasselblad 24mm lens
25-image HDR panorama – Mavic 3, Hasselblad 24mm lens
Creating a Wide-Angle Panoramic Photo Using the Telephoto Zoom Lens
The DJI Mavic 3 can create unique panoramic images that weren’t possible with another prosumer drone in its class. The 162mm equivalent tele-camera gives a compressed telephoto perspective that can create stunning panoramic images which are not often seen from typical compositions.
The procedure for capturing the series of images required to stitch a panoramic drone photo is the exact same as the process outlined above. There are just a few adjustments to compensate for the limitations placed on the tele-camera by DJI. Unlike the flagship 4/3 Hasselblad sensor on the Mavic 3, the smaller tele-camera only shoots photos in JPG. It does not offer RAW photos, or manual exposure capabilities. In order to get the best photo output from the tele-lens of the DJI Mavic 3, ensure that you’ve adjusted the following settings:
- Choose an appropriate white balance for the lighting conditions in your scene
- Lock the camera to your chosen manual focus for the entire duration of image capture
- Tap to meter the exposure in your scene, and use exposure compensation to control over, or under-exposure of the auto-exposure settings on the tele-camera
- Capture your desired series of images, using 30-50% overlapping images across your entire envisioned panoramic composition
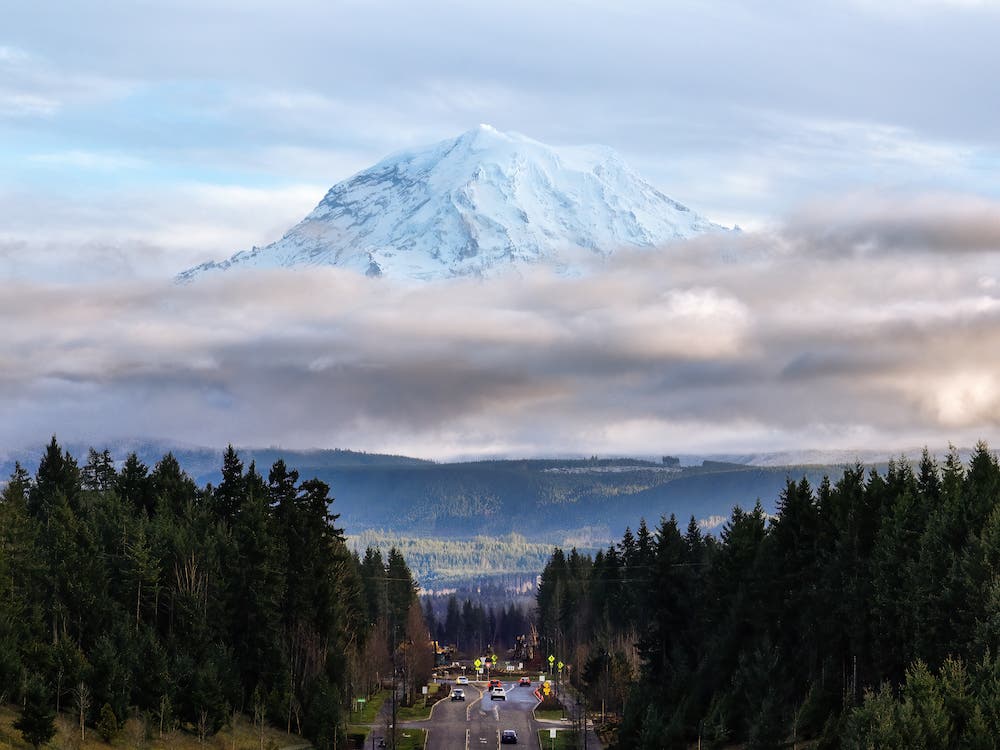
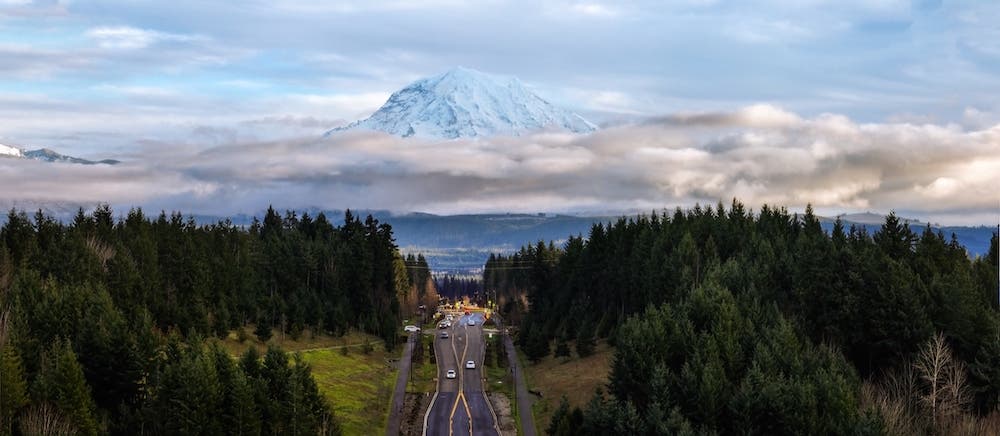
Here are the finalized samples of a single frame and the finished aerial panorama using the 162mm tele-camera of the DJI Mavic 3.
Single image – Mavic 3, 162mm tele-lens
20-image panorama – Mavic 3, 162mm tele-lens
Final Thoughts
Learning to create compelling panoramic photos using non-conventional cameras, lenses, and techniques can be a rewarding way to make your photography stand out. Most of the drones, cameras, and mobile devices on the market today offer some form of automated panoramic photo modes. So, don’t hesitate to implement the techniques mentioned in this guide using any other non-aerial camera that is readily available to you wherever you are. Just remember the all-important rule of making sure that you’re having fun and that you’re always creating — no matter what.
