In a perfect world every outdoor portrait session would have perfect light that casts perfect shadows on your subject at the perfect angle. Not surprisingly, that perfect day is a very rare thing indeed. As lovely as natural light can be, flash photography to overpower the sun is a popular pursuit for many portrait photographers who want to take control of the lighting on location.
Start with Less Light
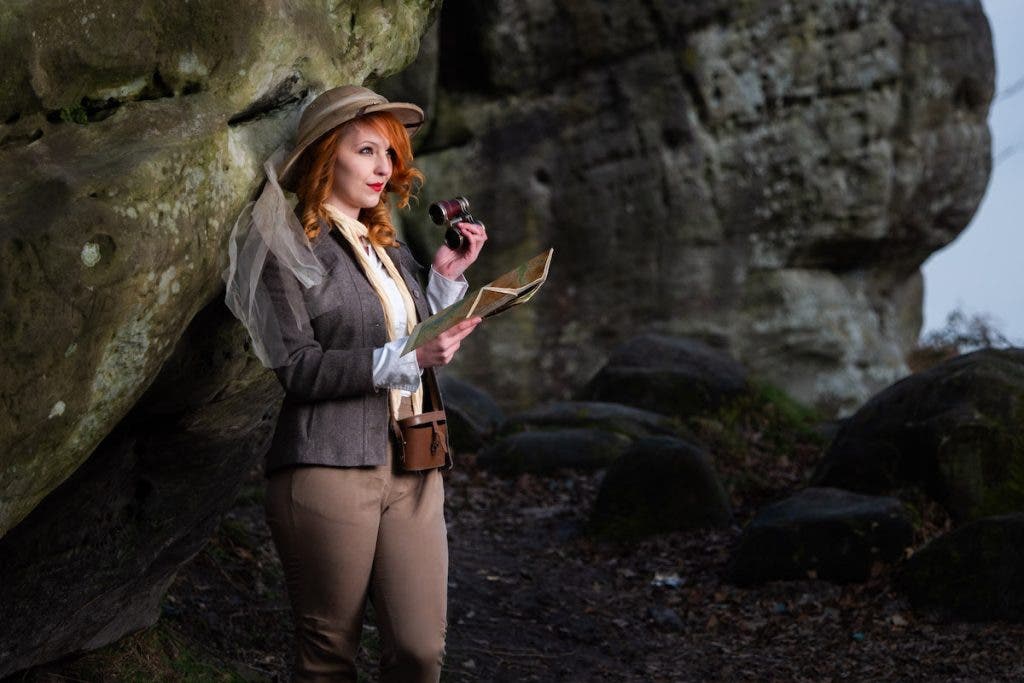
The phrase “overpower the sun” doesn’t always mean what it says, but let’s start by literally overpowering the sun and creating a black studio-style background.
The first step in this process is finding the right location. You might think “why bother?” when the goal is to make the location vanish from the photo—but hear me out.
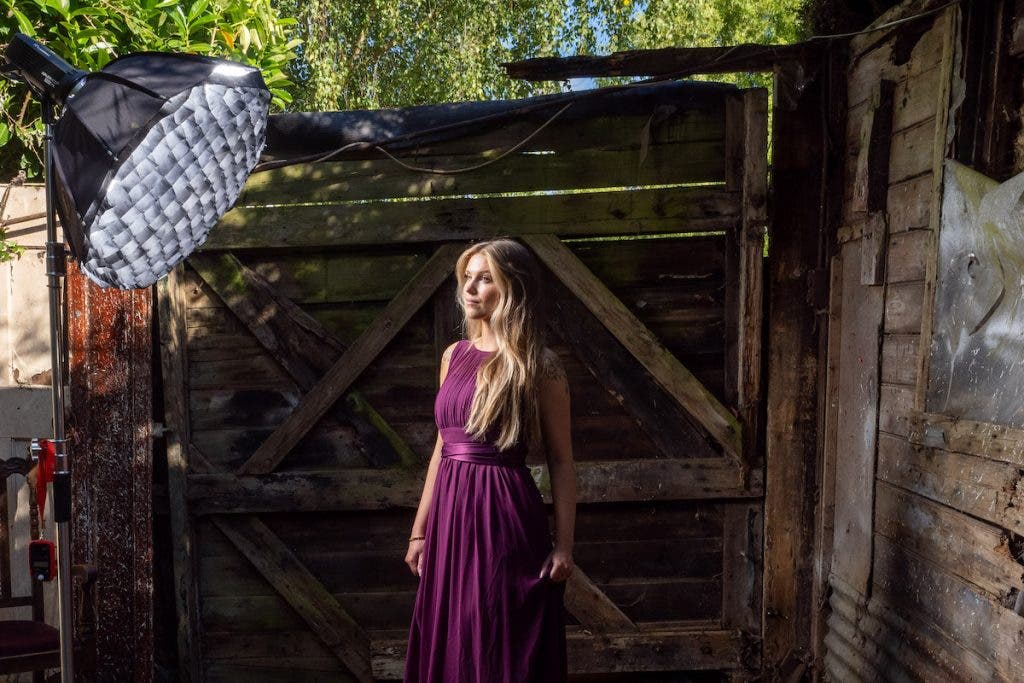
If you stand your subject in full sun, you’re unlikely to achieve your goal. Finding shade for your subject might be as easy as turning their back to the sun. Finding a shady background can be trickier but starting with a dark background makes the process much easier.

Light the Scene
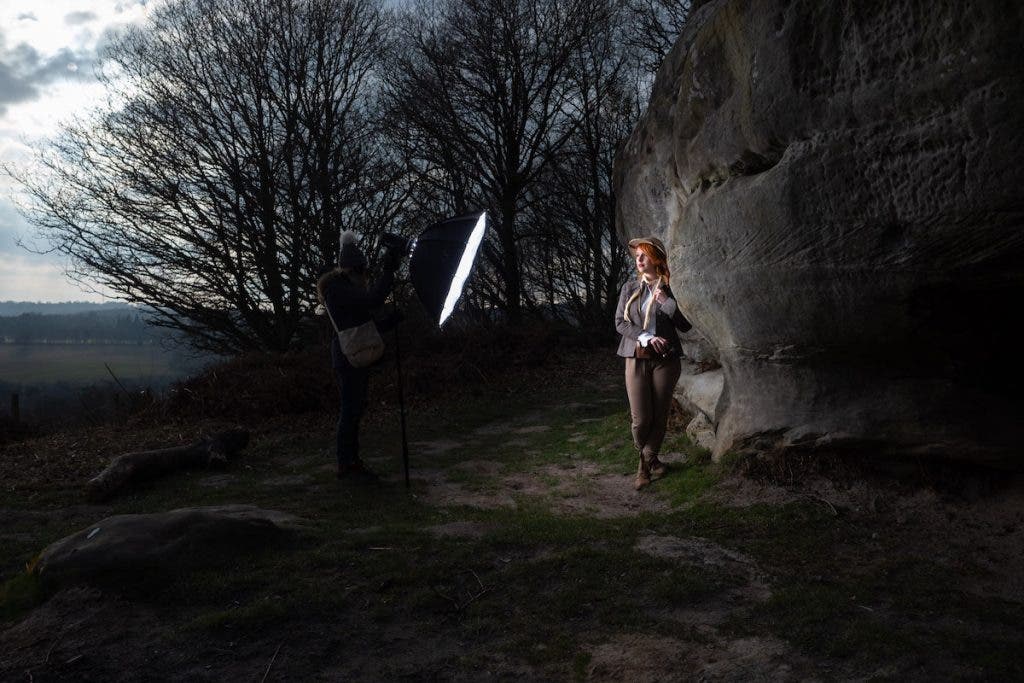
Just like in a studio, your camera settings need to be set to the classic “no flash = no photo.” Next, get your light as close to your model as possible while still being out of frame. If the background is also close, turn your flash away from it to minimize the light that reaches the background. Use TTL or ½ flash power, take a test shot, review and adjust the flash. The trick is to make your flash illuminate only your subject.
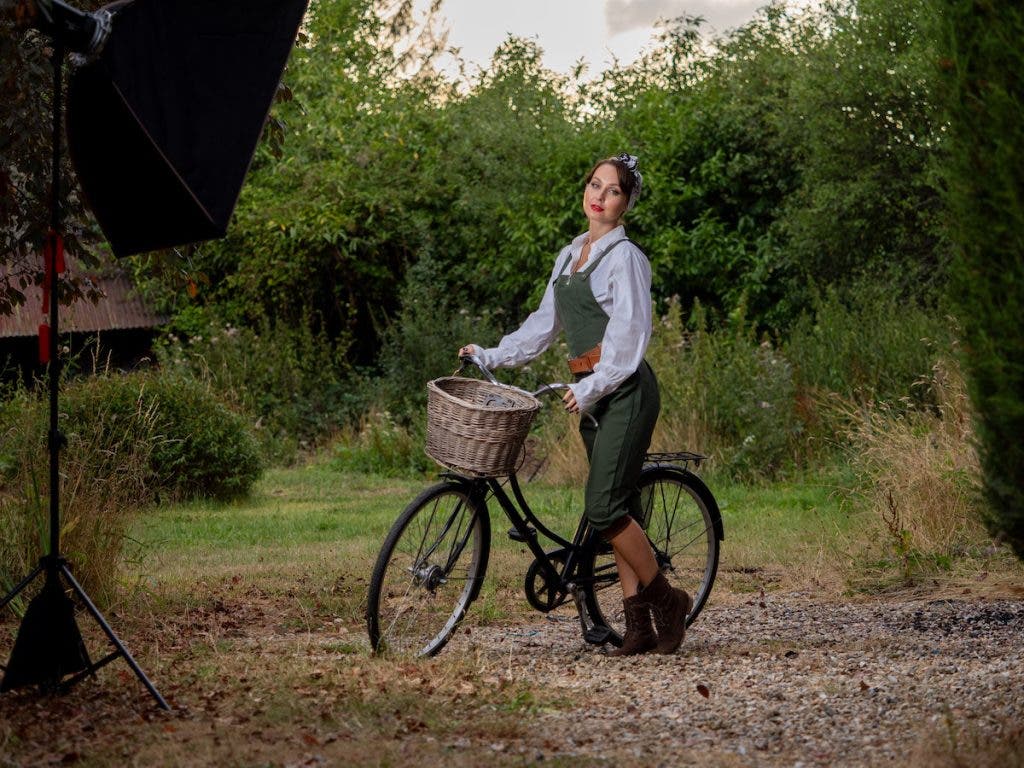

Your perfect portrait location can be urban, rural, industrial—frankly anywhere. A good location should compliment, but always be secondary to, the person in the photo. We can do that by blurring the background with shallow depth of field, but flash gives you the power to make your subject stand out by being brighter than their environment. This is still classed as “overpowering the sun” and, once you master how it’s done, you can choose the strength of the effect.
Just as before, controlling the ambient light is the first and most important step. Choose your location for both its aesthetic qualities and ease of exposure. Basically if it’s a sunny day, put your subjects face in shade. If you can do the same with the background, that’s a bonus.
How to Choose Your Camera Settings
Take a test photo at the cameras suggested exposure and then dial it down by one stop, then another, and another. Ideally, you’ll do this in manual mode for consistent results but, either way, it’s the background (not the subject) that matters right now. Choose a background brightness that feels right to you. Then, it’s on to the flash.
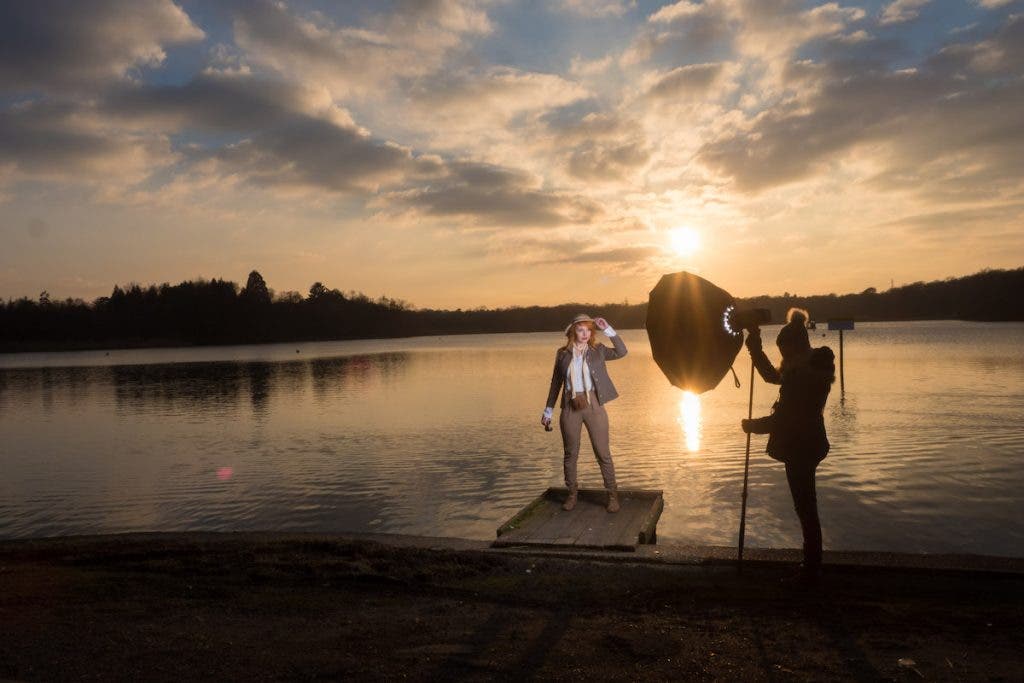
If your camera is set to manual mode, you’ll have a fixed exposure consisting of an ISO, shutter speed and aperture. That exposure is creating the dark, underexposed background (good) and also underexposing your subject (bad). The purpose of your flash is to fix the underexposure on your subject and return them to a “normal” brightness.
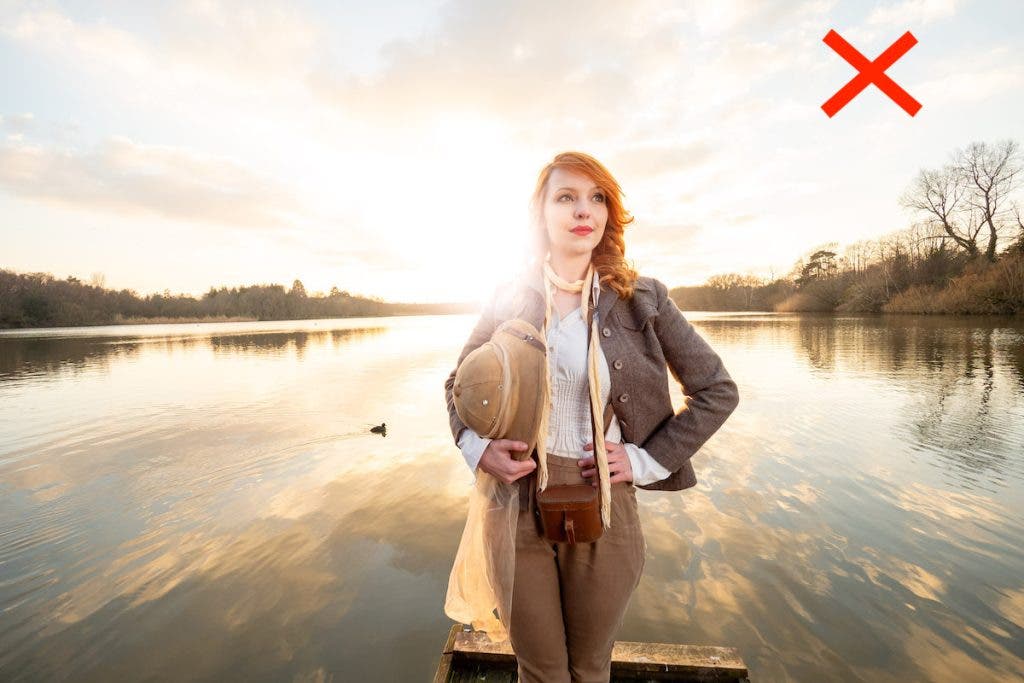
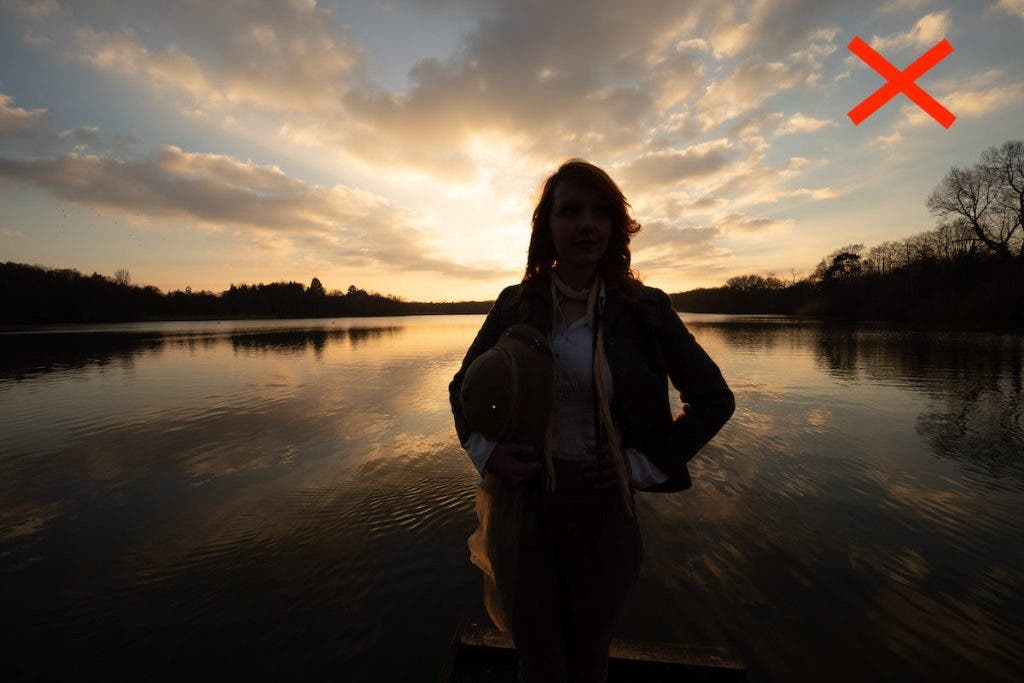
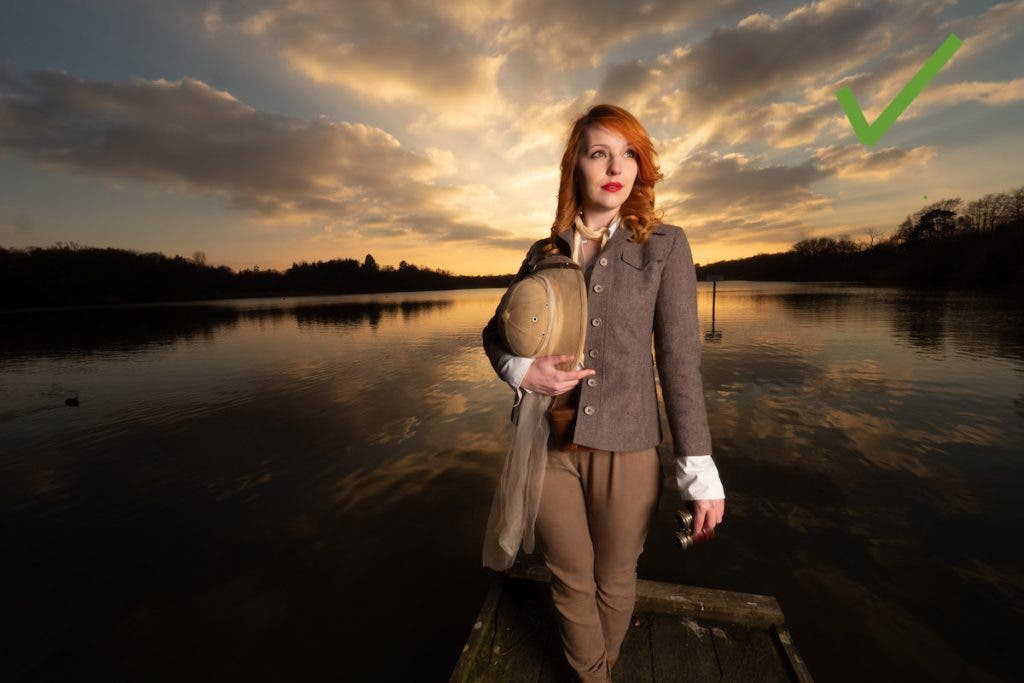
To get there, you can go one of three ways:
1. TTL Flash
Let your flash and camera do the hard work by using TTL flash. You’ll need a TTL-enabled flash (more info on those shortly) and a transmitter that is dedicated to your camera brand, such as the Flashpoint R2 Pro Transmitter. Then, in theory, you’ll take your photos and the flash will calculate the right amount of light to get the exposure you want.
2. Light Meter
A light meter is a great option with manual flash. There’s a few to choose from, but the classic Sekonic L-308X-U is a great no-frills choice. With a flash meter, you dial in the ISO and shutter speed of the camera, test fire the flash, and the meter tells you the aperture. For overpowering the sun, you just need to adjust the flash power so the aperture on the meter matches the camera. Your background stays dark while your subject looks bright.
3. Your Eyes!
No flash meter? No problem. You already own the best meter available (and no, it’s not the one in your camera!). Let your eyes be your guide with the trial, error, and adjust technique. Set your flash to ½ power and take a test photo. If the subject is too dark, increase the flash power. If they’re too bright, lower the flash power. Repeat until your subject looks correct.
Best Lights to Overpower the Sun
So, what light do you need to overpower the sun? I’ve mentioned flash a lot in this post. f you’re just after a quick answer, then a flash of at least 400ws would be a good place to start looking. The Flashpoint XPLOR600PRO would be an obvious choice. But not every location shoot happens in midday sun on a clear blue sky day in the middle of summer. Overcast days have more even light on the background and, as that’s the bit you can’t control, it’s well worth seeking out.
Light levels change all the time and, when they are lower, a small speedlight like the Flashpoint R2 Li-on Zoom X might be up to the task. You’d have to forego a softbox and run the little flash at full power, but itwill work at a pinch. Just remember: if you rapidly fire too many full power flashes, the speedlight will overheat and shutdown.
The most beautiful light in the sky is usually found at the very beginning and end of the day. It may only be fleeting but, if you’re in the right place at the right time with the right light, you’re in for some stunning photos. Overpowering a setting sun can be done with continuous LED lights, with two big advantages. First, what you see is what you get: there’s no messing around with a flash meter. Second, if you get an RGB or Bicolor LED, such as the Nanlite Forza 150B, you can alter the color of light on your subject to match the warmth of the sunrise or sunset.
Should You Consider a Light Modifier?
The last piece of the puzzle is light modifiers. You have two basic choices: go big and soften the shadows on your subject, or use a reflector to maximize the flash power and maximize the shadows.
Softbox
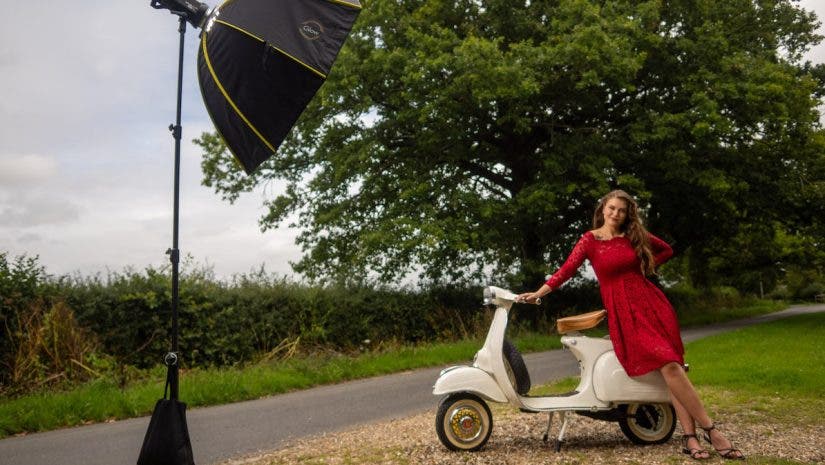
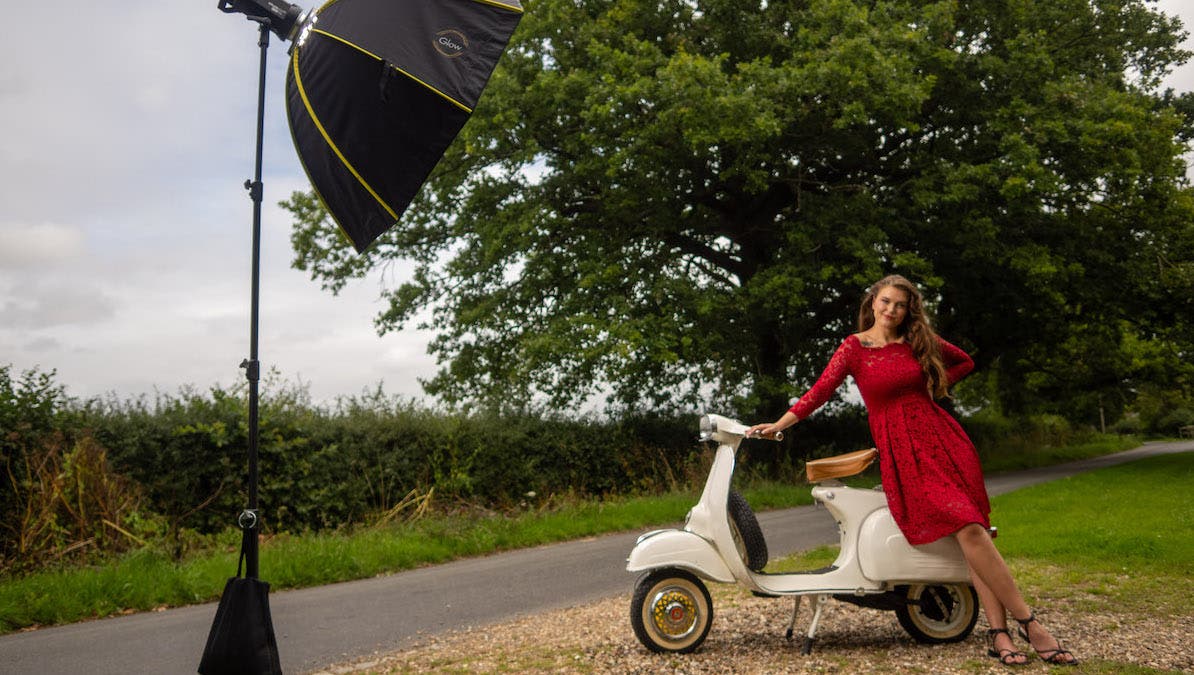
A softbox is a great option for location lighting as it creates controlled lighting and potentially soft shadows. The trouble is, you’ll need to keep it out of the scene (or remove it in Photoshop). That means backing your light away from your subject. As you do, the effective size of the softbox becomes smaller and the shadows harsher. For wide angle photos and full-length portraits, think about packing the biggest softbox you can carry, such as the Glow Parasnap 44” Octa. Remove the inner diffuser, if it has one, to pack the most powerful flash you can.
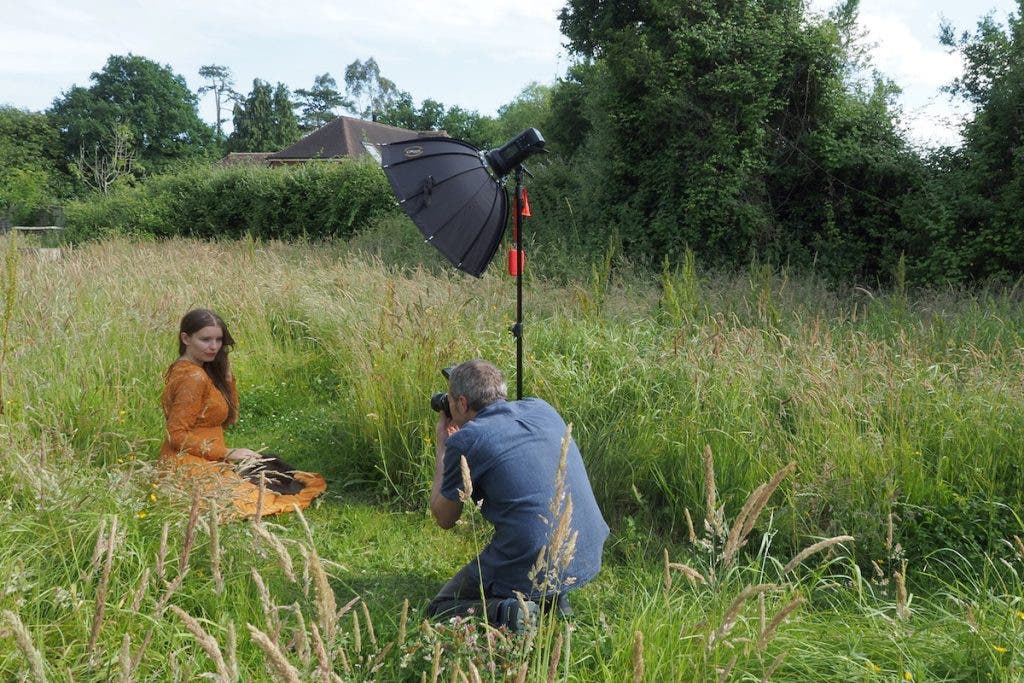
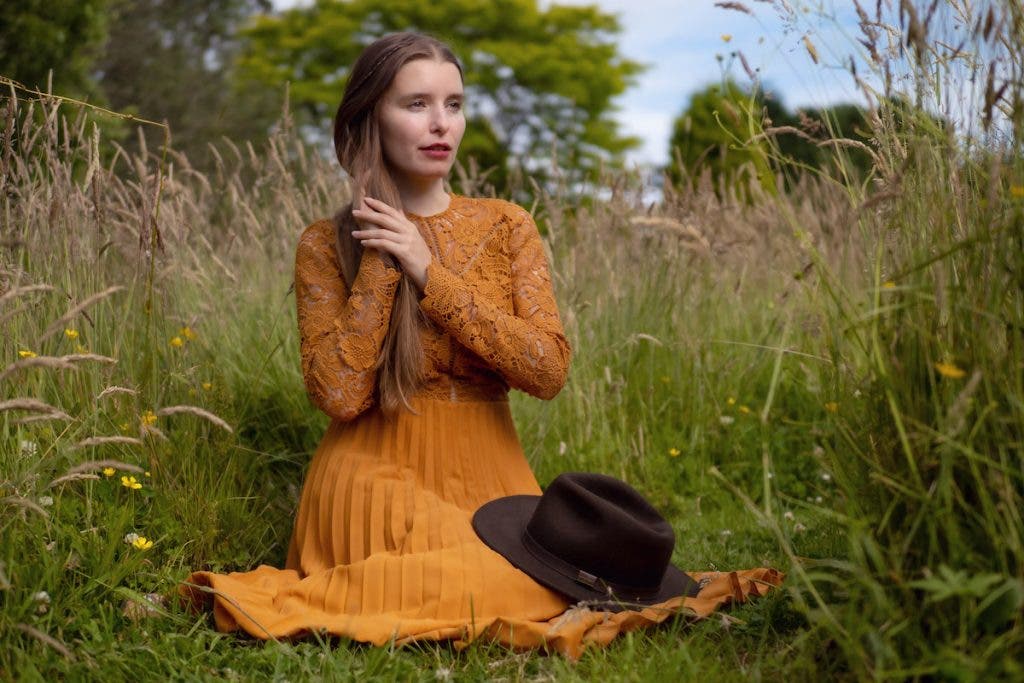
Reflector
If you are OK with shadows, a reflector is a great choice. Not only is it smaller to transport, but it can actually increase the effective power of your flash. Take a look at the long focus style reflectors such as the Glow 45 Degree Long Focus. These will allow you to either back your flash well out of the frame, bring a much less powerful flash to the location, or both!
If you’ve made it this far, you’ve probably realized that when you overpower the sun, it isn’t a single setting. It doesn’t even have a single meaning. It’s actually two very separate exposures from two different light sources. They both happen in one instant and the results can be either very subtle or highly dramatic. The only person who can say which is right is you!
All photos by Gavin Hoey
