
With all the tools available today, over-editing your photos is, unfortunately, easier than ever. Most RAW photo editors contain more tools than anyone could ever need or want to use, and oftentimes, the hardest part of a photo edit is just knowing when to stop. We’ve all been there, and if you’re new to photography, know that finding a rhythm and developing a consistent style takes time. In the meantime, check out this guide to know the five signs that you’ve over-edited your photos.
How to Know If You’ve Over-Edited Your Photos
Too Much Color
One of the most common editing mistakes is the dreaded oversaturated image. Adding too much color to your images can be easy, with two sliders playing the culprit. The vibrance and saturation sliders are the easiest ways to increase the color in your image, and it isn’t difficult to overuse these two sliders. Overusing the individual hue, saturation, and luminance sliders can also negatively affect your photos.
It can be tough to tell just how much is too much when it comes to color in your images. Over-editing by adding too much color generally happens when trying to make a scene look even better than it is in person. The best way to determine if you’ve made this mistake is to judge your image honestly. If you want your images to look realistic, try to emulate the same colors you saw in the field. Additionally, try using the vibrance slider more than the saturation slider.
The vibrance slider targets and increases the intensity of slightly less dominant colors. Saturation adjusts all colors in the image equally, which can lead to over-saturation far quicker than the vibrance slider. If you use the individual hue, saturation, and luminance sliders, be certain to use them sparingly and always closely inspect your image as you adjust the sliders.
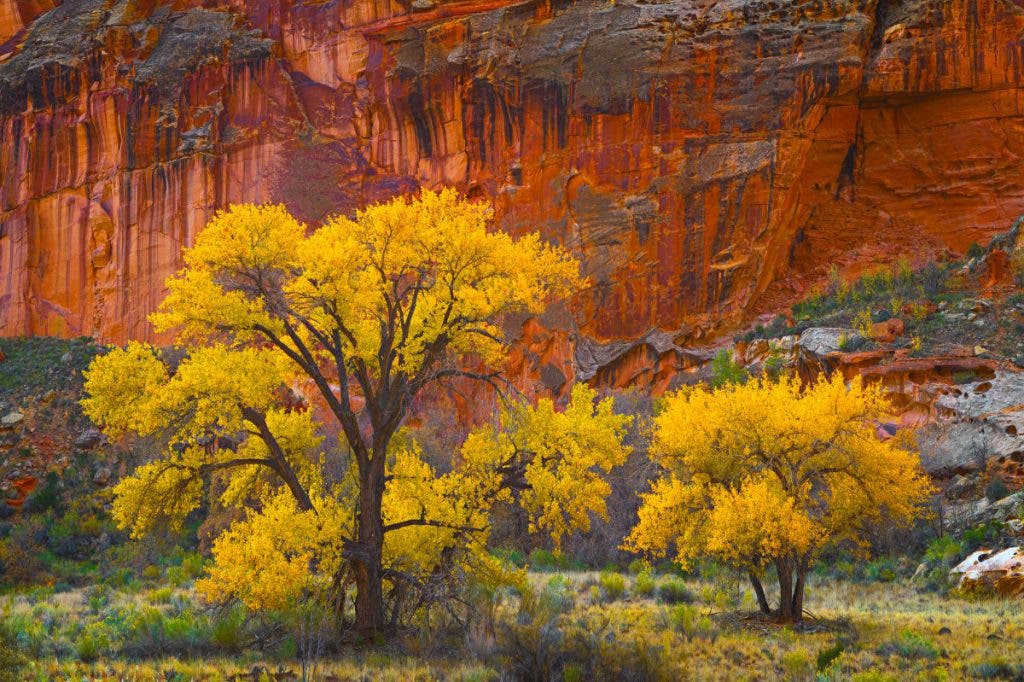
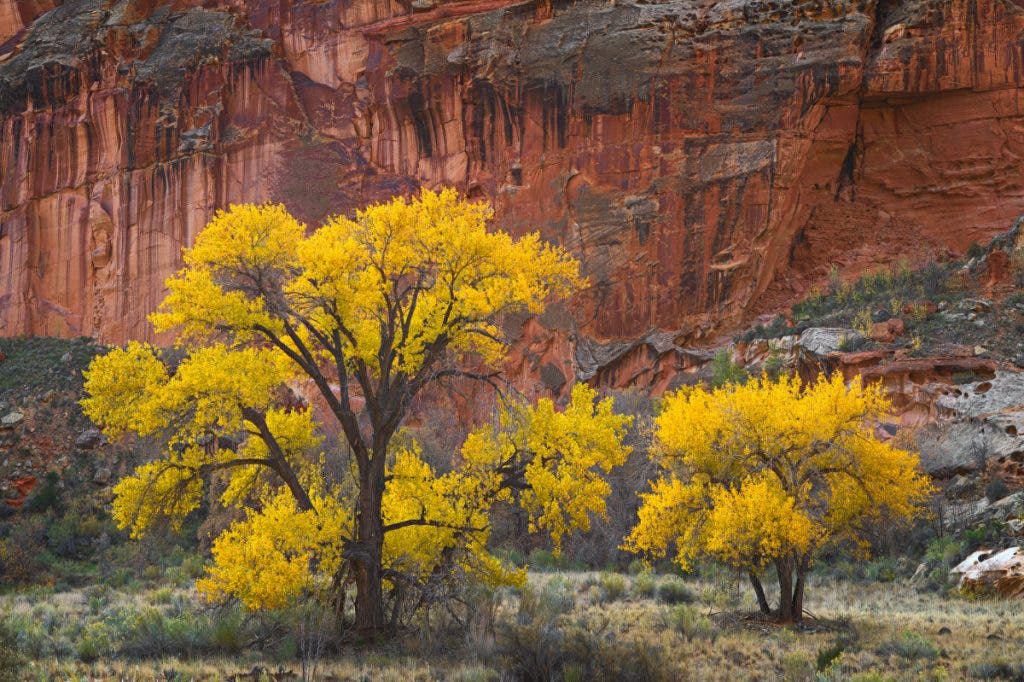
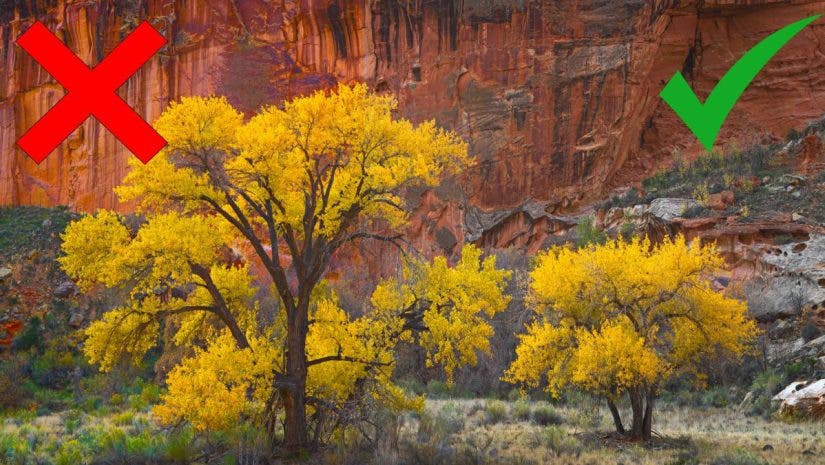
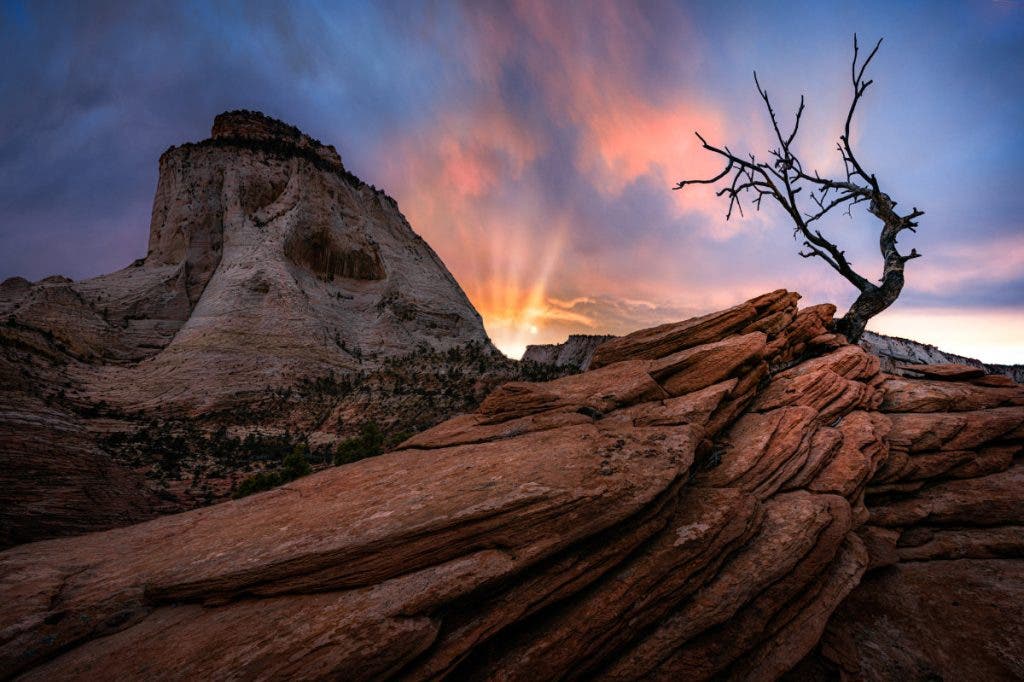
Too much color in the first image doesn’t look realistic, giving my photos an over-edited look.
Too Much Contrast
Adding too much contrast to your images is one of the strongest signs you’ve over-edited your photos. Having too dark shadows or too bright highlights might give your image some punch, but more contrast isn’t always ideal. Having a wide range of tonality in your images helps to sell a realistic look, meaning you should have the shadows, midtones, and highlights well-represented in your photos. When you over-adjust the contrast slider, you push the tones in your image away from the midtones, towards either highlights or shadows.
One key indicator of too much contrast is shadows that are dark with no detail or highlights that are too bright and blown out. If you’re finding it difficult to hold back on the contrast slider, consider using either the tone curve or the whites and blacks sliders to increase contrast in your image in a way that is far more controlled than the contrast slider. In Lightroom, you can hold the alt/option key as you adjust the whites or blacks slider, enabling you to see any completely light or dark pixels. Avoid clipping the darks or brights for the most well-balanced and realistic-looking image.
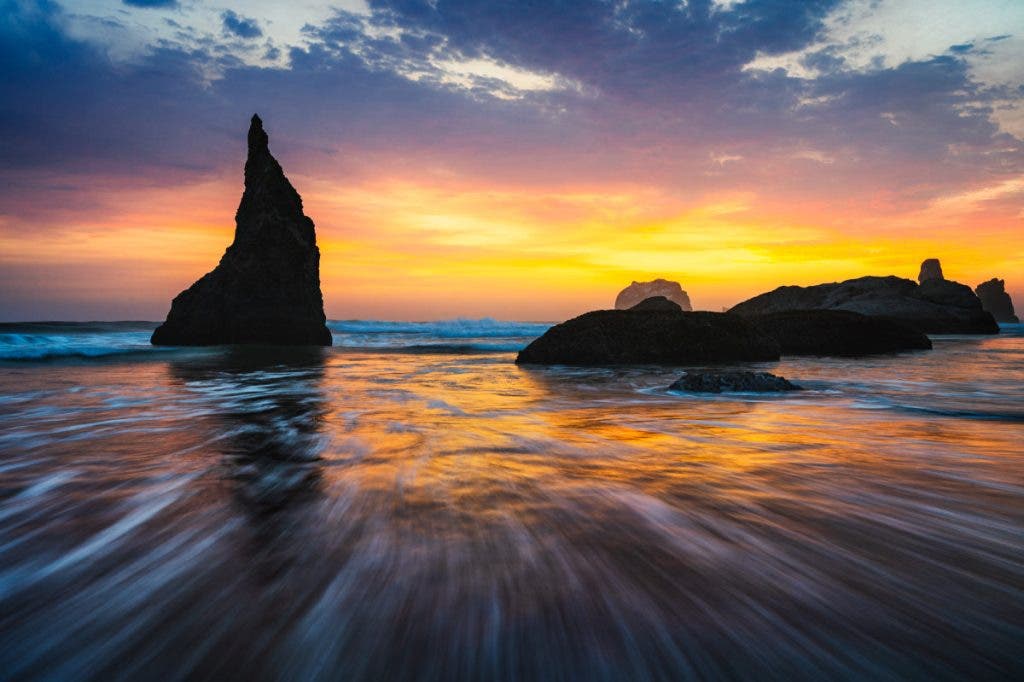
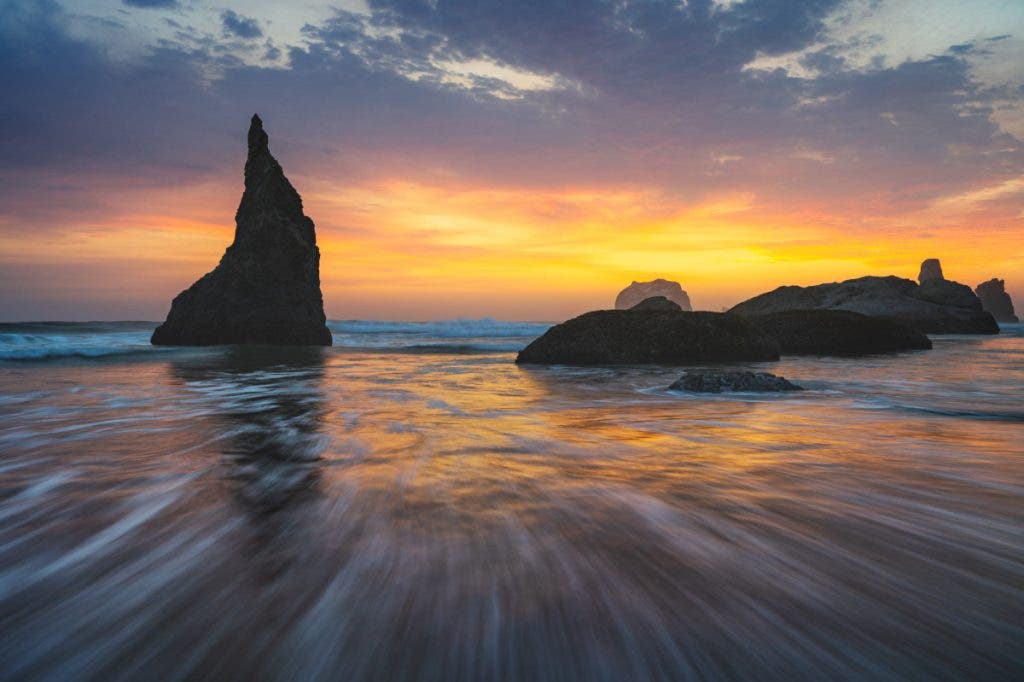
The image on the left has too much contrast. Even though the sunset pops, it appears over-edited.
Halos (over-sharpening)
Many photographers make the mistake of over-sharpening their image, creating halos. A halo is when there is an outline around the high-contrast areas in your scene, usually white or light blue. Halos are commonly seen where the land meets the sky, as this transition usually contrasts strongly. When you over-sharpen your image, you increase the contrast, oftentimes resulting in a halo on the edge.
Always zoom in on your image when sharpening to avoid overediting that leads to halos in your photography. Look at some of the high-contrast edges in the scene, like where two vastly different objects meet. Increase the sharpening until you start seeing a halo, then dial it back just a touch to avoid halos.
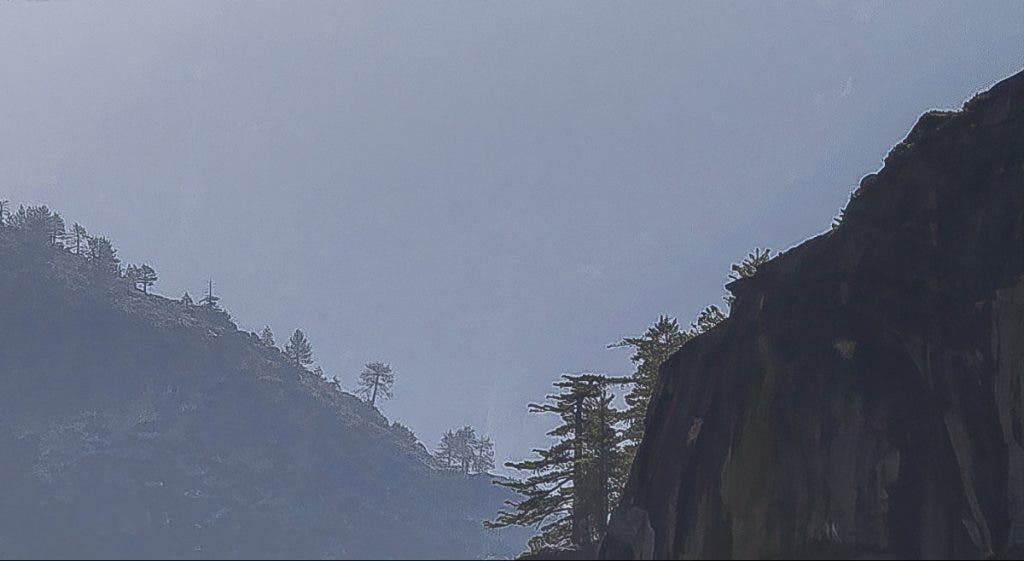
Notice the halos on the edges of the trees and rocks. This image has been over-sharpened.
Obvious Masking
With such powerful tools at our fingertips, it is very easy to have an editing effect go awry. Many photographers try their hand at using local adjustments, which can look fantastic when done correctly. However, these adjustments work best when you can’t tell they’ve been made. If you don’t make a good selection of the area you’re trying to affect, it can oftentimes become very obvious that you’ve made a local adjustment. Additionally, it can be obvious if you try to do too much with one local adjustment.
To avoid obvious masking issues, make sure to significantly feather any adjustment you make or spend adequate time making the selection so that the edge of your selection perfectly matches the edge of the subject. Be especially careful if you’re adjusting something like exposure since these adjustments are far more obvious, especially if you don’t feather your selection.
You can tell I’ve tried to brighten the area around the tree because I didn’t make a successful mask with enough feathering.
Unrealistic highlights or shadows
Most photographers reduce the highlights and increase the shadows of their RAW files, but you need to be sure you don’t overdo this process. Reducing highlights and increasing shadows helps improve your scene’s dynamic range, but you shouldn’t maximize the sliders. Just because you can does not mean that you should. Make sure everything in your image meets the eye test. An object in the shadows should be darker than something catching sunlight. It sounds obvious, but it’s an easy mistake to make if you aren’t paying attention.
You might think that bringing up the shadows and getting the absolute most detail out of every bit of your image will make it look better. Unfortunately, it usually has the opposite effect. Embrace the fact that most images should have both bright highlights and dark shadows, and you don’t always need the most detail possible in the image. In fact, having dark shadows or bright highlights without detail can help your viewer focus on your subject.
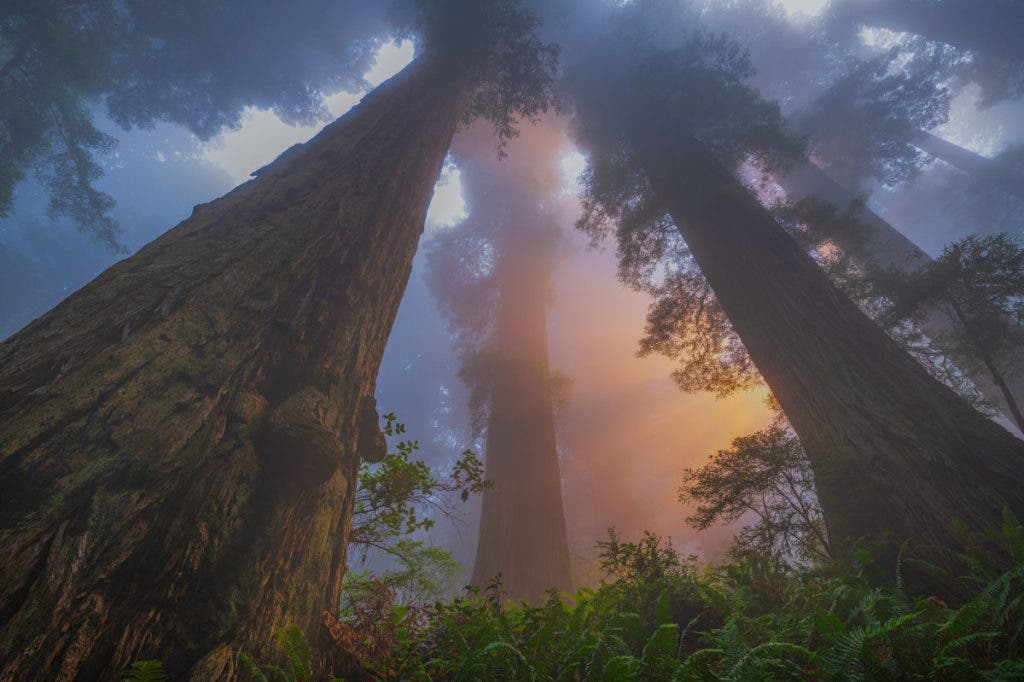
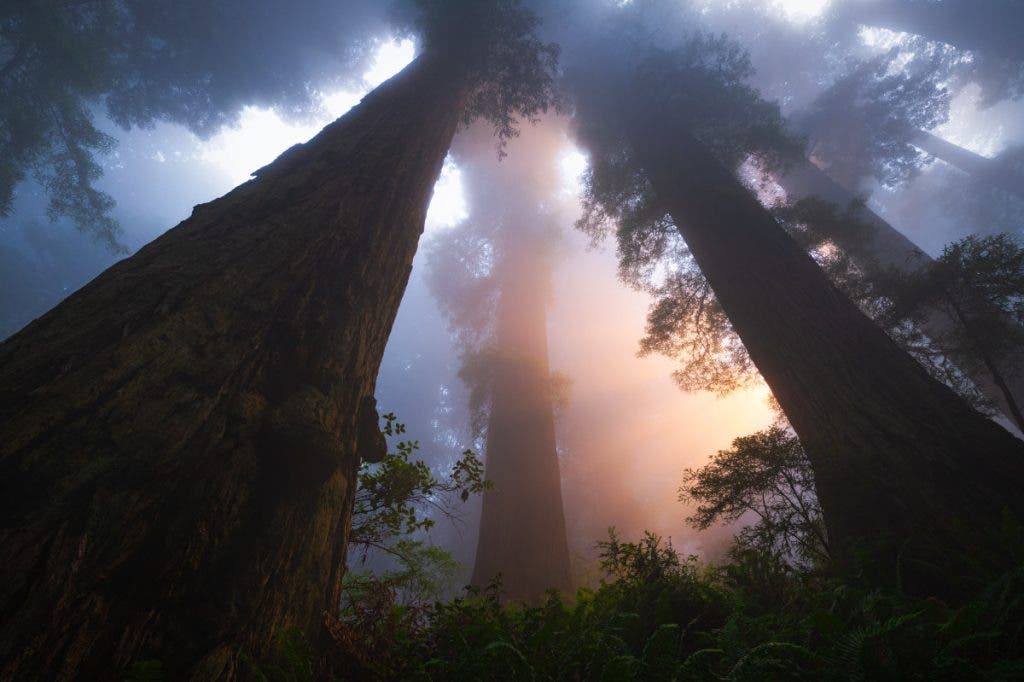
The image on the left has been far over-edited, and the areas that should be shadows are nearly the same brightness as the highlights. The image on the right is corrected.
Conclusion
If you have to ask yourself if you’ve committed one of these over-editing mistakes, you probably have. Luckily, most of these problems are easy to fix. Once you realize the common signs you’ve over-edited your photos, avoiding them in the future becomes easier. As you continue to gain experience editing your photos, you’ll find your style, and it will be easier to realize just how much you can push and pull your images without over-editing.