People need headshots for all sorts of reasons and uses. It can be for their social media profile, or for their business. It’s a skill every portrait photographer should know. So, if you’re only here for the quick tip, here you go… Keep it simple, keep them happy, keep it short! This can be made easy by shooting one light headshots. A one light headshot session means there is less to go wrong, less time needed to change the lighting, and a less intimidating experience for your subject.
Choose Your One Light Source
Small Flash
Use a small flash, like the Flashpoint XPLOR 300 Pro, to make your setup lightweight and flexible. It has built-in TTL flash and, with a transmitter like the Flashpoint R2 Pro Transmitter, you can forget about re-metering the light if you find that slows you down.
LED Continuous Light
If you’re in the market for a new one light headshot setup, a LED continuous light has some amazing features. For starters there’s no flash of light, so no explaining what’s going on or worries about blinking at the flash. What you see is also what you get….so setting up the light and keeping your subject in the light is a breeze.
With LED lights, there’s no pops or beeps from the flash. Even the click of the camera can be eliminated with the electronic shutter of a mirrorless camera. In fact, if you put your camera on a tripod and use its silent shutter feature, your subject might not even realize you’re taking photos! LEDs, like the NanLite FS-200, can be very bright.
Turn the brightness up slowly to give your subject’s eyes time to adjust. This will avoid dilated pupils, making the subject’s eye appear brighter.

One light headshots are simple, quick, and the results make everyone happy. If you need more lights, a Glow 5-in-1 reflector is the perfect partner. Remember that one light portraits means only one catchlight in the eye. For some photographers, that really matters!
Choose a Background
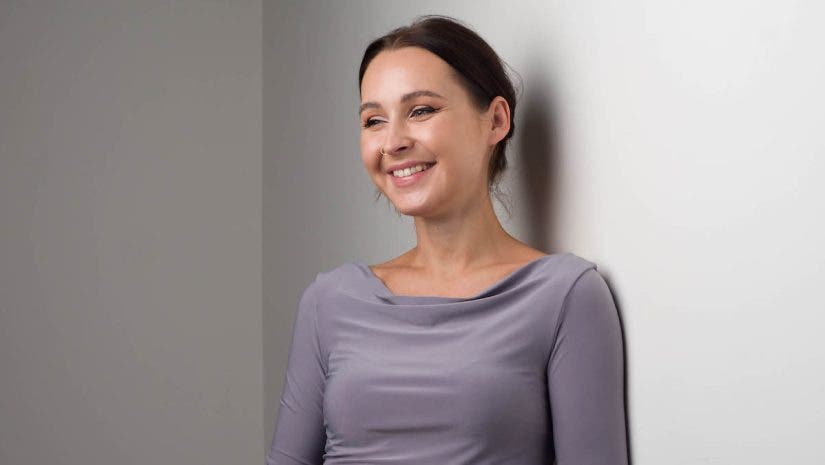
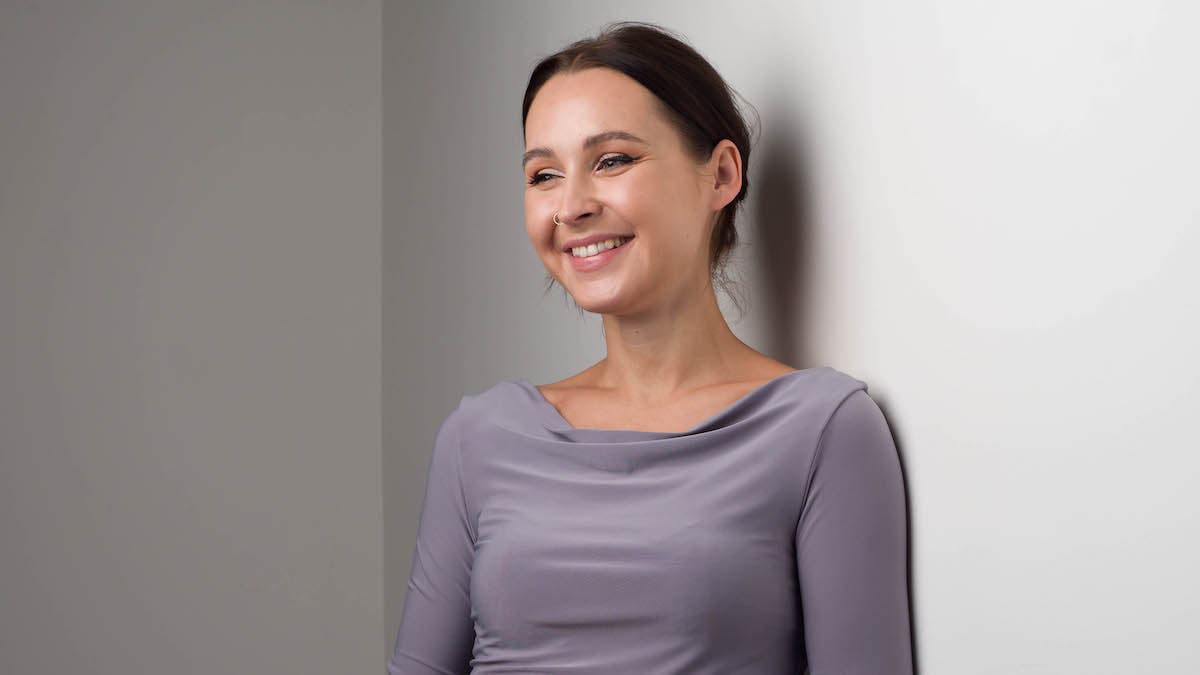
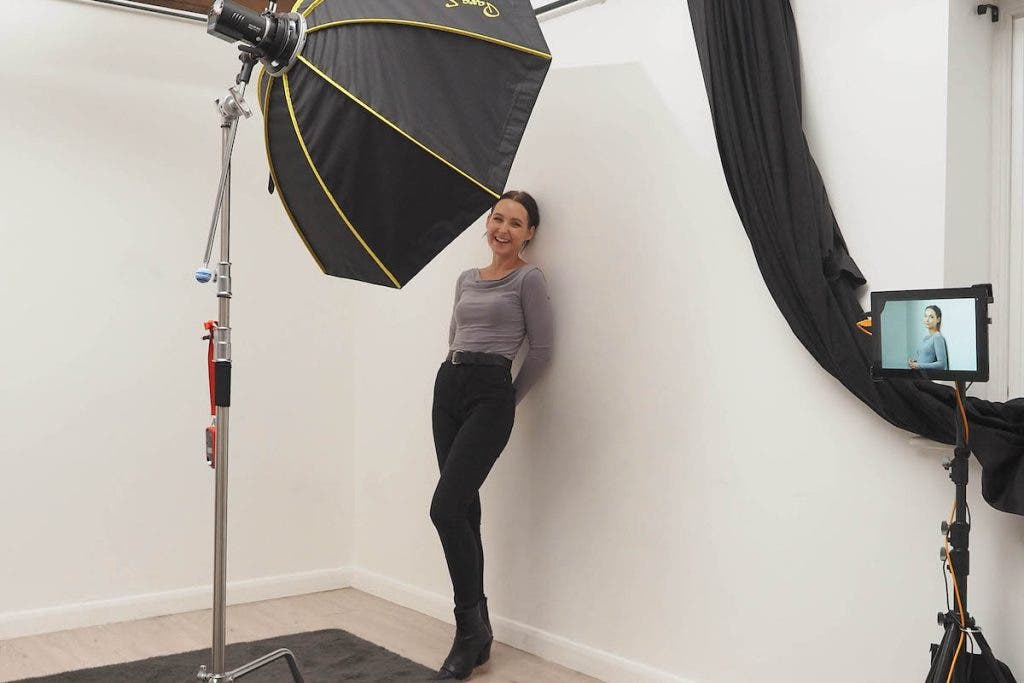
Backgrounds don’t get much simpler than a white wall. Although, with one light headshots, you’ll always see some detail in the white wall. Make sure you choose a section with no scuffs or patchy paintwork. Other colors of wall will also work but the more neutral the color, the more useful it is.

Leaning against a wall is also instantly more relaxing than sitting down. Ask them to lean one shoulder against the wall, then both shoulders, then one shoulder and an elbow… and so on. If you can find or create an uncluttered corner, that can be a useful tool too. Include the corner as part of your background and you’ll imply depth to your headshots. Just make sure the corner doesn’t cut through their head!
As a general rule, headshot portraits are supposed to make your subject look their very best. If dark and moody portraits are your thing, headshot photography is unlikely to be something you’ll enjoy. When it comes to headshot portraits, light size really matters and bigger is better. Soft shadows, bright eyes, and realistic colors should be your aim. This means a large softbox or umbrella will come in handy.

Set Up a Softbox
The size of your softbox is relative. The Glow ParaSnap 44″ Octa Softbox placed 12 feet away from your subject might not give you the soft shadows you want. Although, it will make your subjects skin look extra shiny. This effect is called specular highlights. Move the same softbox to three feet from your subject, its size increases (from the subjects’ point of view) and the shine on their skin will reduce.

The temptation might be to move the light even closer for an even more dramatic change—don’t. Unless your subject is an experienced model, being squeezed against a softbox can feel claustrophobic. It severely limits the model’s freedom of movement and can really mess with your exposure.
Avoid Tight Crops
Headshots, as the name suggests, are all about the face but don’t fall into the trap of mistaking headshots for identity card or passport photos. Those require tight crops of a subject facing directly to the camera and lack the more casual feel you want from a headshot. And, despite its name, a headshot will often frame your subject from their head to their midriff. This means we need to think about their hands.

Folded arms make a big statement and should be used sparingly. For the right person in the right situation, folding their arms might be the right look. Although most will instinctively fold our arms, it’s often the photographer’s job to gently suggest otherwise.
If your subject is open to light posing, direct them to avoid making a fist with their hands. I call it the “No Fingers Fist.”

Incorporate Their Craft
If your subject enjoys the photography experience, that will always be visible in the final images. One way to do this is to get them involved. Do they do a sport, play an instrument, or have tools of their trade? If so, use them.

From your subject’s point of view, the ability to hold something familiar can help them feel more relaxed and involved in the session. It creates a wider range of images when using props that add to the headshot, and not overpower it. Remember that you’re creating a headshot—not an action shot—so pick your props carefully and don’t let them dominate the session.
Another Headshot Example
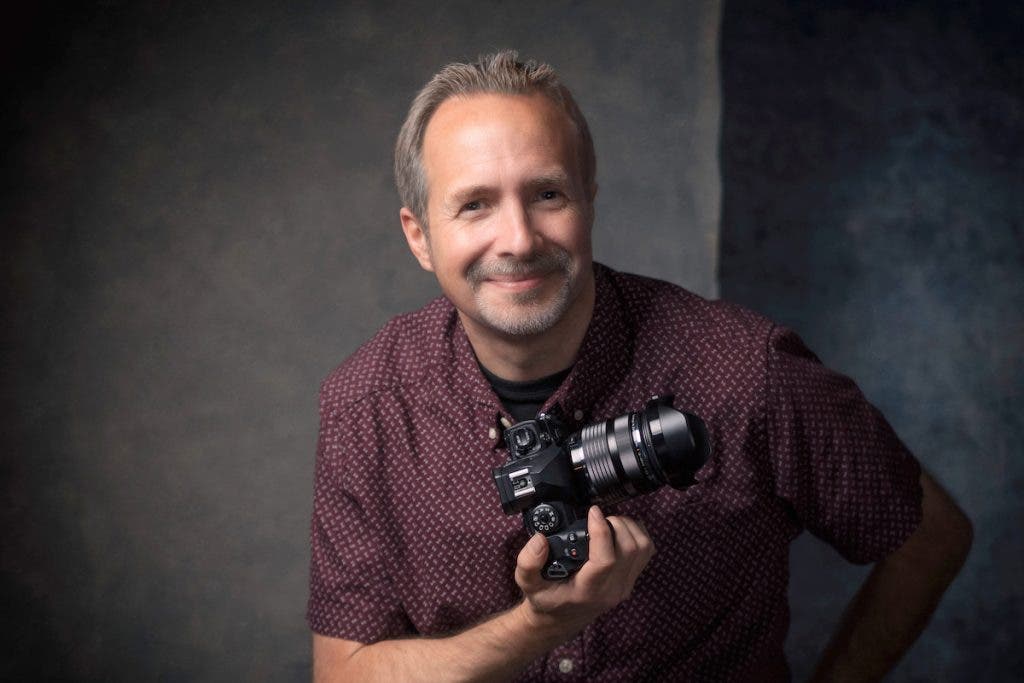
A headshot is more than just a quick way to see what someone looks like. It’s the opportunity to instantly understand someone’s character or vocation. Let’s say you’ve been tasked with taking a headshot of someone from the photo industry. The photo will be used to promote their demo at a photo expo… basically, my headshot!
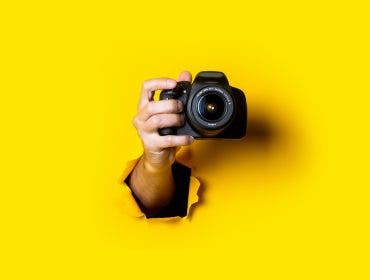
If your subject—me—is holding a camera, so it’s obviously communicating that I’m a photographer.
Now, should I look happy or serious? A serious expression suggests I’m professional and focused. A smile suggests I’m happy and approachable. Both are OK, so always ask your subject what look they want.
If you follow these tips and tricks, it should make it easier than ever to take one light headshots that will impress your clients while saving you time and energy.
