It is a myth that working with off-camera flashes or a detachable camera flash is only for advanced and professional studio photographers. Nature and macro photographers should use external flash units from time to time, even if they take photographs outdoors and benefit from natural light. Portrait photographers should learn to use flash from their very first photographs, regardless of the environment they use. Flash is also an essential requirement for product and food photography, interior design pictures, and still-life artworks. That’s why I’ve compiled a comprehensive guide to working with off-camera flash to get you started.
Although having an off-camera flash can come in handy, the price for this type of equipment is high enough to make you think twice before buying it. Therefore, make sure you get one that suits your needs but most of all, learn how and when to use it.
Why and When You Need an Off-Camera Flash
An off-camera flash is any flash unit that is not the built-in flash of your camera. An off-camera flash can be mounted on the camera or lens, or placed anywhere around the subject. Typically, an off-camera flash is better than the built-in flash and provides more features. However, this isn’t the main reason for which you buy one.
You want an off-camera flash because it increases your freedom of expression. With an artificial light source at hand, you can take great photographs in less-than-perfect lighting conditions without compromising other settings such as ISO and shutter speed. Furthermore, you control the intensity and direction of the light, which allows you to aim for more creative compositions.
Instead of always lighting the subject directly from the front — as with the internal camera flash — you can use whatever lighting angle you want: back-lit, front-lit, or side-lit.
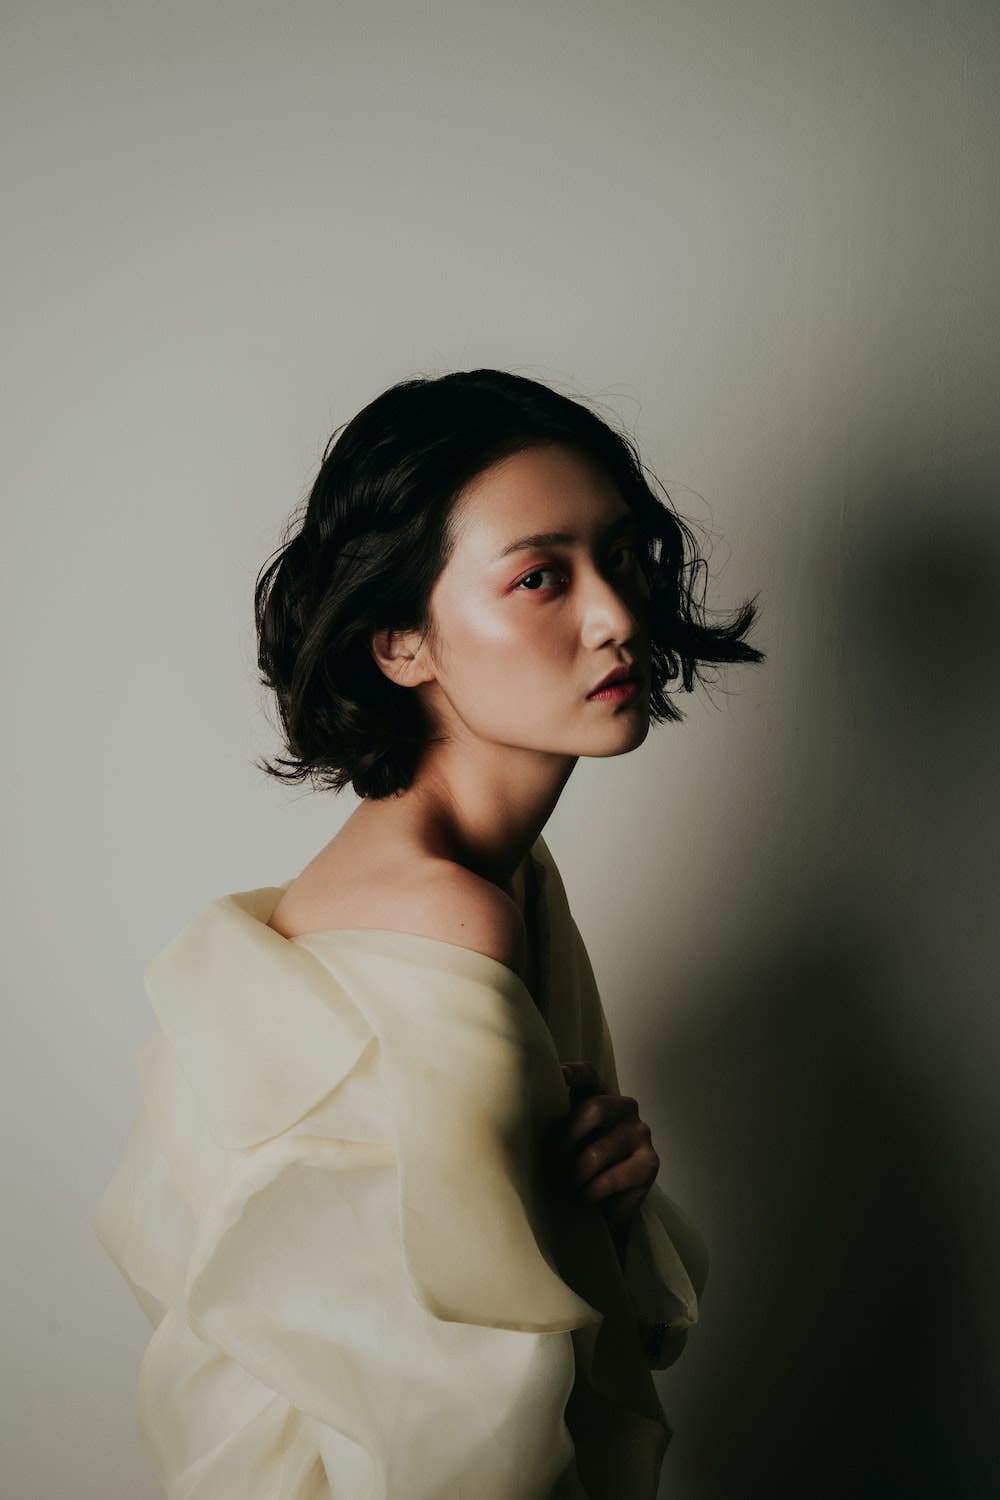
An off-camera flash is essential when you don’t have enough natural light in the scene or sunlight doesn’t come from the right direction. For example, an artificial light source can help you avoid backlighting and illuminate the subject the way you want.
The Best Kind of Off-Camera Flash for Your Photography Style
When you choose an off-camera flash, you have to take into consideration your subject matter and photographic style.
Single External Flash
The most versatile off-camera flash is a speedlight flash, which produces a burst of light similar to the built-in flash. You can use flash with any subject matter. However, the trick is to make it look natural and subtle. The easiest way to do this is by mounting the external flash in the camera’s hot shoe and pointing the flash up into the ceiling. You can’t change the direction of the internal flash. However, this simple change of direction of the flash and bouncing the light off the ceiling will evenly illuminate the room with soft light and make your image look like there was enough light to begin with.
It is a very easy way to use flash. However, bouncing light off the ceiling doesn’t work if there are low-hanging lamps in the room. Otherwise, it is a great and simple way to start using an external flash.
If you photograph children or pets, don’t get the flash too close to their eyes. Portrait photographers also prefer to keep the flash away from people’s eyes because it helps avoid red eyes and strange-looking skin tones. The easiest way is to place the flash off to one of the sides to avoid red eyes and create a bit more depth in your subject.
Candid photography (i.e., street photography, photojournalism, event photography, etc.) requires a fast and flexible approach like this with the external flash mounted in the hot shoe of your camera.
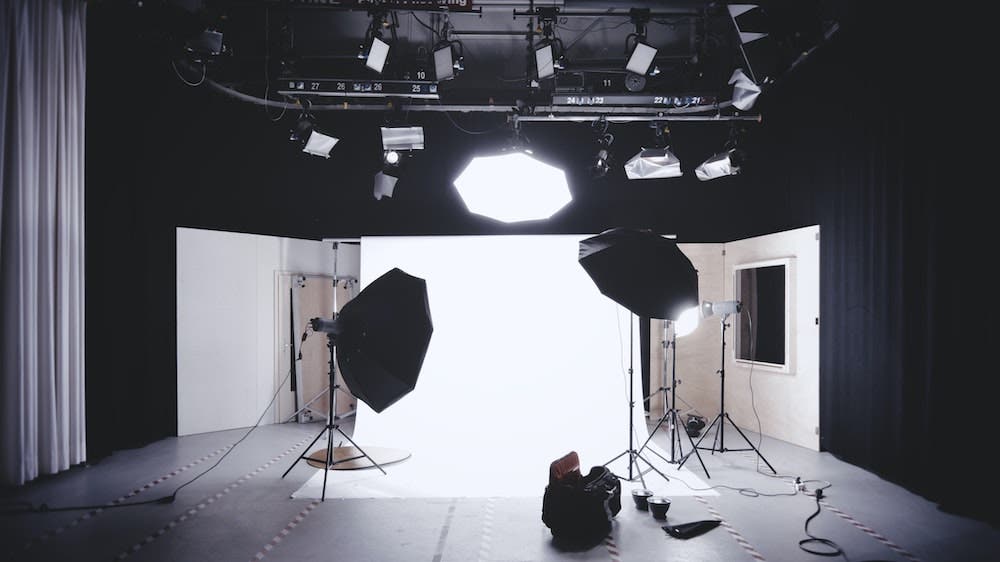
External Flash Triggered by the Inbuilt Camera Flash
A speedlight isn’t necessarily attached to the hot shoe of a camera. Furthermore, it is much more powerful than the built-in flash, gives you more control over the light, and has an adjustable angle. You can place it anywhere in the vicinity of the subject and trigger it when you press the shutter by letting the internal flash act as the trigger. However, with this setup, the internal flash will both trigger the external flash and affect the lighting, which might not be what you want.
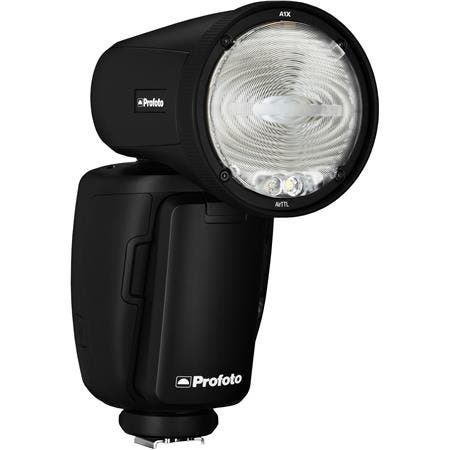
Using a Wireless Flash Trigger System
A speedlight with remote triggers is useful when you control the scene. Having control means having the time to set up a lighting system and a subject to wait for you. Use it with static subject matters (e.g., still-life, food, products) and human models. Most wireless flash trigger systems allow you to trigger multiple flashes with different settings, so you can sculpt the light as you want it.
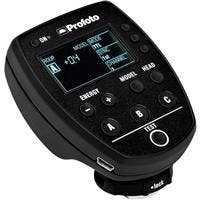
There is also a wired option in which you use a TTL flash cable to connect a single external flash with the hot shoe of the camera. It’s a wired version that permits placing the flash at around 3 meters from the camera. But compared with the up to 100 meters of range of a radio-frequency trigger, it’s not so much.
Ring Lights for Artistic Purposes
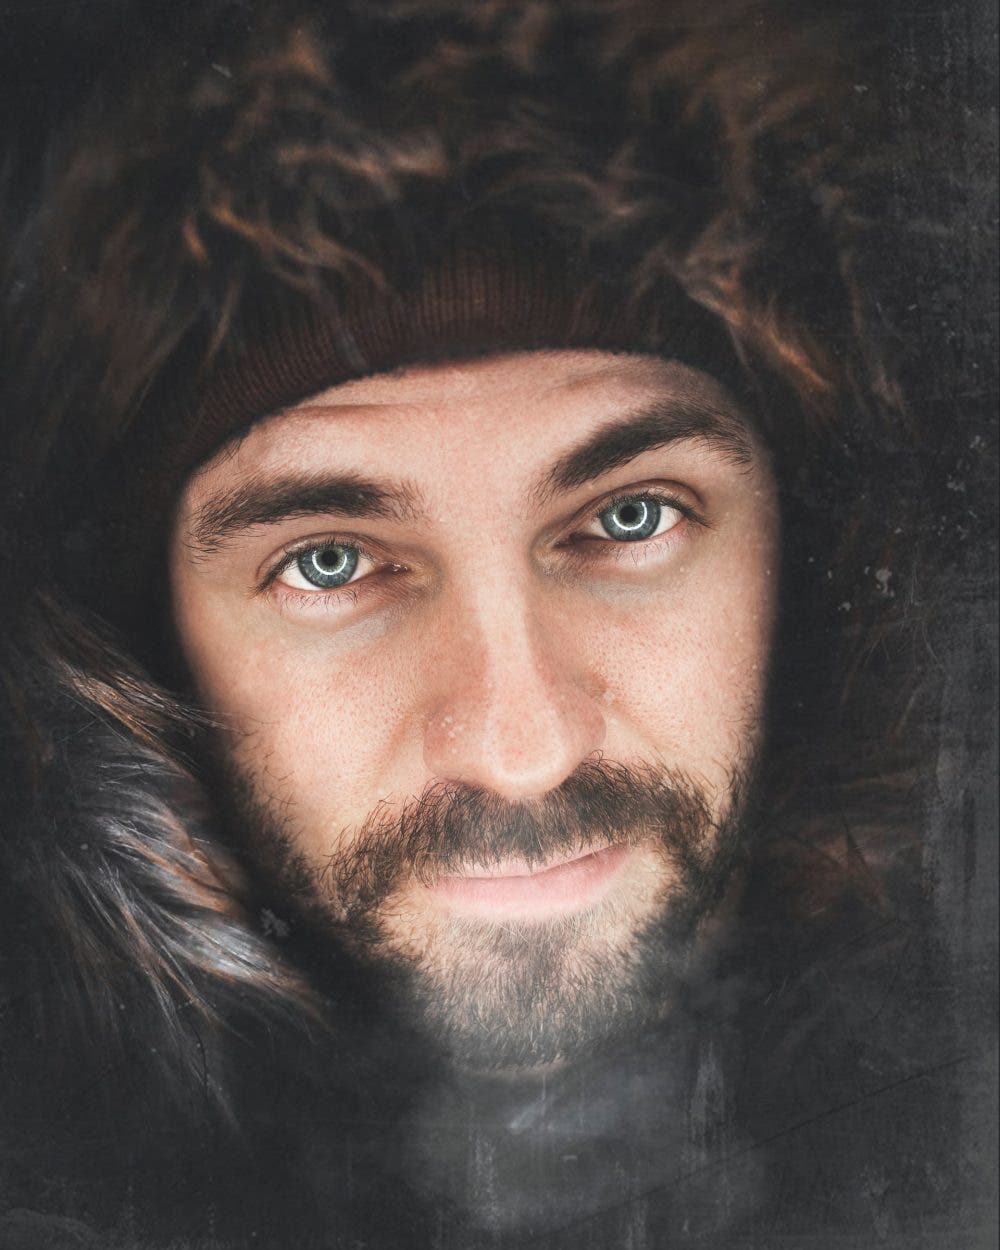
Ring lights are an exciting option for portrait photography. However, they attach to the front of the lens and thus provide less versatility than a speedlight. Instead, you get a soft and uniform light that wraps around the subject and softly fades into the background. Furthermore, you can create circular catch-light in the subject’s eyes.
What You Need to Set Up an Off-Camera Flash
Light Stand
If you choose to place the flash off the camera, you will need something to place it on. You can, of course, use anything you have at hand, from furniture to rocks, tree branches, or have someone assist you. The easiest method is to use light stands. Like the camera sits on a tripod, an off-camera flash sits on a light stand. And also, like tripods, light stands provide stability and versatility.
Light Modifiers
You should also consider other flash accessories such as diffusers and light shapers. Diffusers are simple boxes that you place on the flash cap to create a smoother and softer light. Usually they are white, but you can also find colored diffusers that slightly change the color temperature of light.
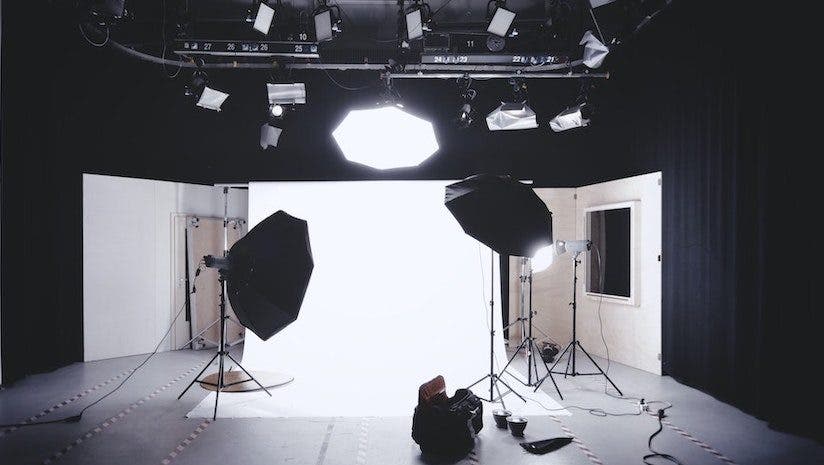
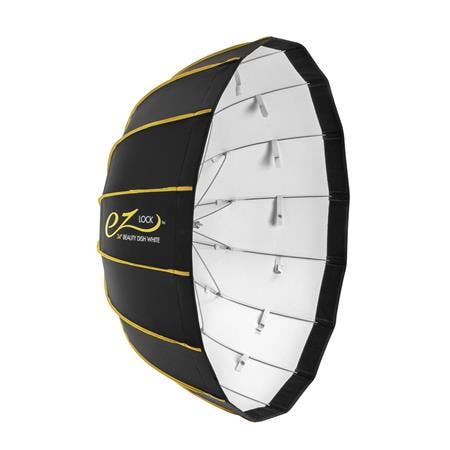
Light shapers are more advanced accessories that modify the light, making it softer and diffused (e.g., umbrella, scrim, softbox), or, on the contrary, harsher (e.g., grid spot, beauty dish, etc.). They are used often in studios where setting up lights can take as much as you need and it doesn’t change very often.
To change the color temperature of an off-camera flash, you can use color correction gel on your flash. For example, to create a warmer light, you need Color Temperature Orange (CTO) gels. They come in various strengths and change the standard color temperature of the flash (5500 °K) to one between 2900 °K and 4900 °K. You can also use blue-colored gels to create a cooler look.
This is where your lighting can get very creative. Use a flash with one colored gel to light your subject and another external flash with another colored gel to illuminate the background.
Concluding Words
Working with flash isn’t easy, but the results are amazing. Off-camera flashes allow you to take pictures in otherwise impossible conditions, mix ambient and artificial light for stunning effects, and create more interesting compositions. You can use them for creating natural-looking photographs or abstract artworks. Working with flash adds a new dimension to your visual story and enhances the narrative. It isn’t a technical skill — it’s a storytelling skill.
